Changing the CPU Governor to Performance in Linux
Hi everyone,
In this post, I’ll show you how to change the CPU governor in Linux to the Performance mode. This will allow your machine to run to its full potential as the CPU will be running to its maximum supported clock regardless of the load.
Normally, we can choose between these CPU scaling governors:
- performance: Sets the CPU to the highest supported clock speed.
- powersave: Sets the CPU to the lowest supported clock speed.
- userspace: Allows the root user to set the cpu speed manually by creating a configuration file called
scaling_setspeed. - ondemand: Dynamically set the CPU speed based on the CPU load.
Therefore, if we want to get the maximum performance, we should use the performance governor.
Some Linux distributions may also use another governor called schedutil which should communicate better to the hardware to set the CPU frequency dynamically, but you may want to switch to performance if you want to bypass this. As a downside of doing this is that your machine will definitely be consuming more power as your CPU will be operating in its highest clock speed.
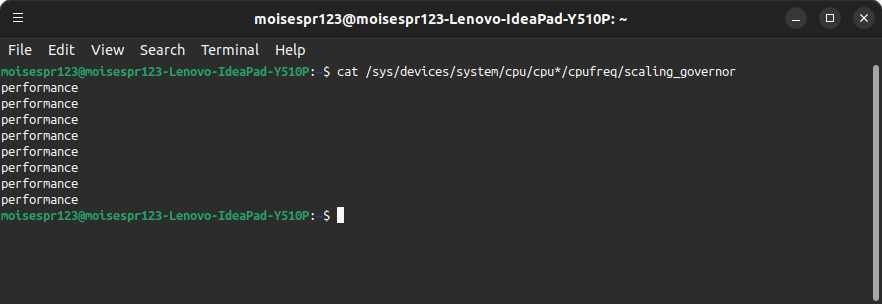
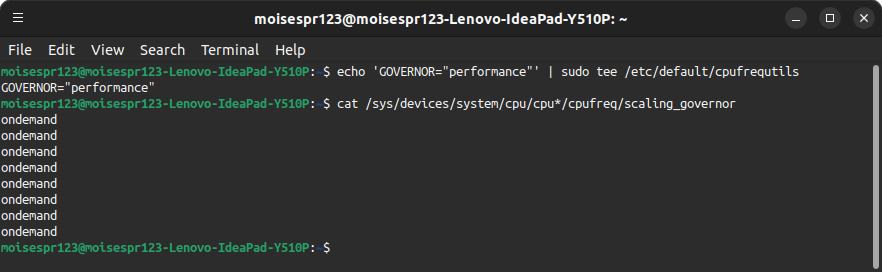
You can verify the CPU governor currently in use by checking the content of the scaling_governor file. This is located in /sys/devices/system/cpu/cpu{cpu core or thread number}/cpufreq/
To print the governor of every CPU thread, you can use an asterisk wildcard (*) when passing the CPU core or thread number when using the cat command:
cat /sys/devices/system/cpu/cpu*/cpufreq/scaling_governor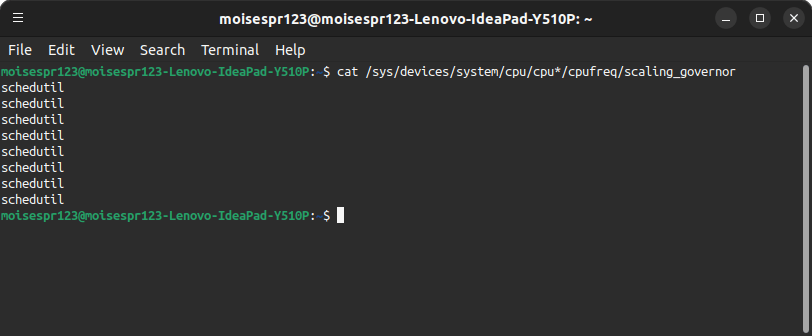
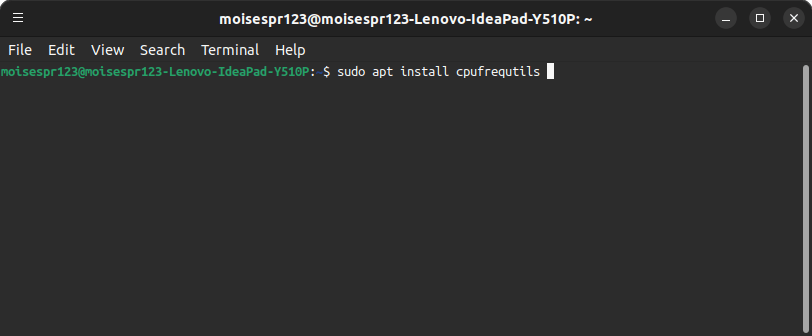
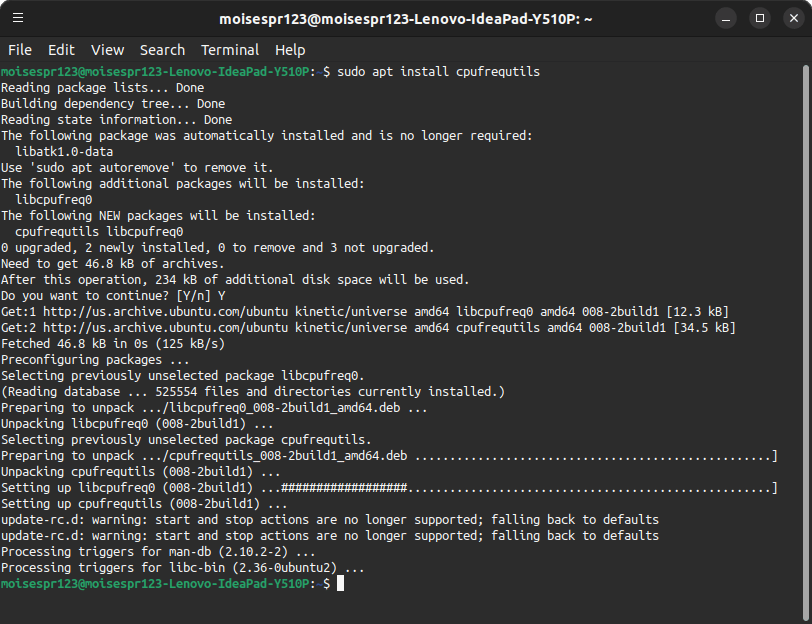
To change our CPU governor to performance, we must have the cpufrequtils package installed in our system. To install it, type sudo apt install cpufrequtils:
Confirm the installation with the Y key and pressing Enter:
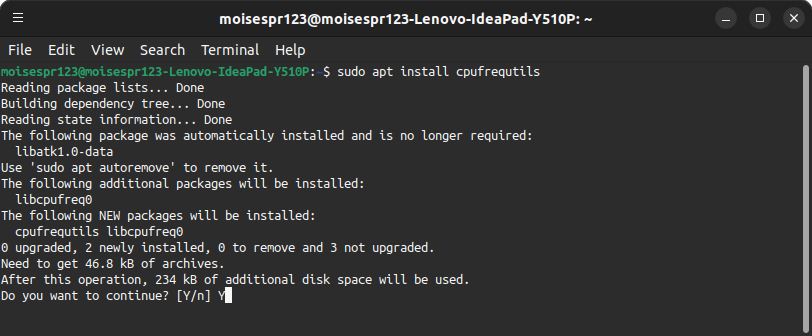
The installation should now complete:
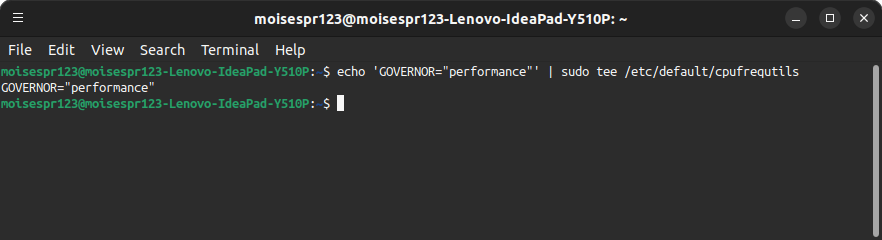
Next, we will write GOVERNOR="performance" to the cpufrequtils configuration file which will make our CPU be always set to performance. There are multiple ways to write this, but we can easily type the following in the terminal window to write it:
echo 'GOVERNOR="performance"' | sudo tee /etc/default/cpufrequtilsNote the single and double quotes.
Press Enter and it will print the echo line to the screen, while writing it to the /etc/default/cpufrequtils file.
If we were to check our CPU governor now, we will see that it is set to ondemand as a consequence of installing cpufrequtils.
To change it to our newly defined performance governor, we will restart the cpufrequtils service:
sudo systemctl restart cpufrequtils.service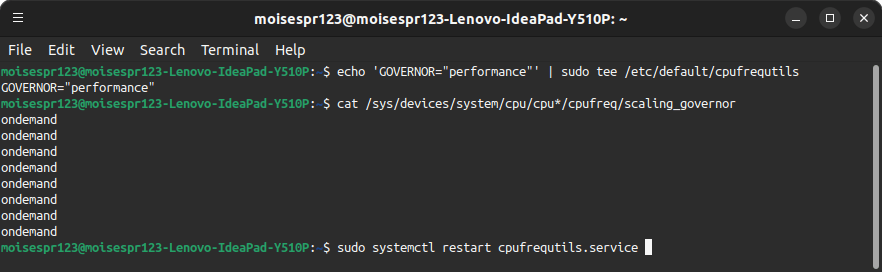
Finally, we can once again check the current CPU governor and it should be set to performance now:

And with this, we have concluded changing our Ubuntu default CPU governor.