Compiling the Linux Kernel on Ubuntu
Hi everyone,
In this post, we will be seeing how to compile the Linux Kernel on Ubuntu.
Unfortunately, in the past few weeks, we have not had a successful compile of the latest Linux 6.1.0 rc6 and rc7 releases. If you go to the Ubuntu Kernel daily page, you will see that the last successful build was on November 18th, and that there has not been a valid build since then.
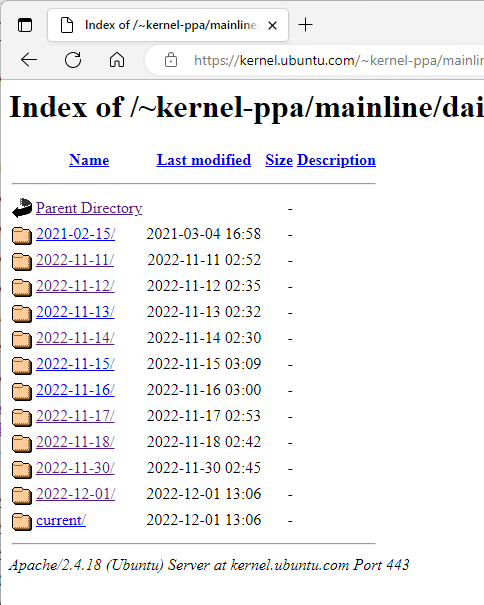
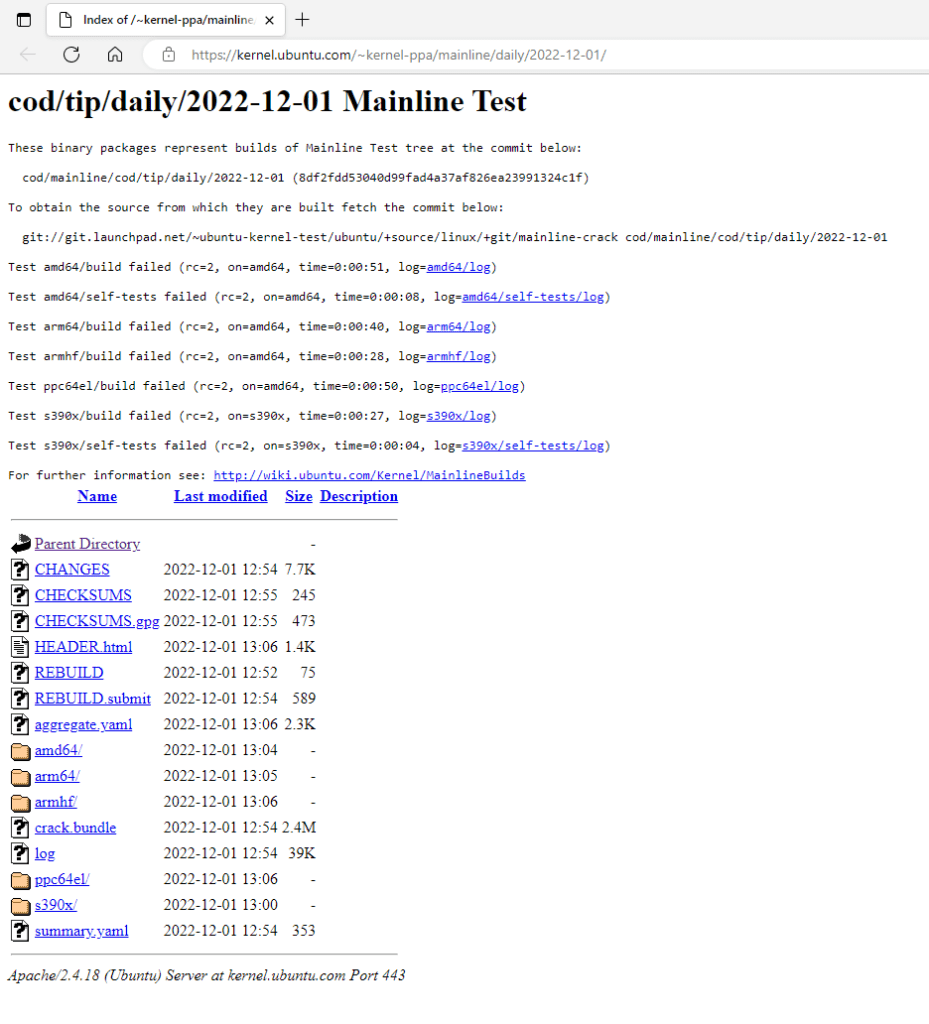
Therefore, we will be setting up our environment to be able to build the kernel by using the Linux master branch.
Step 1: Setting up the environment
First, we must setup our environment by installing a few essential packages that will allow us to build our Linux Kernel. These packages can be installed with apt-get:
- bc
- bison
- build-essential
- fakeroot
- flex
- git
- libelf-dev
- libssl-dev
- ncurses-dev
- xz-utils
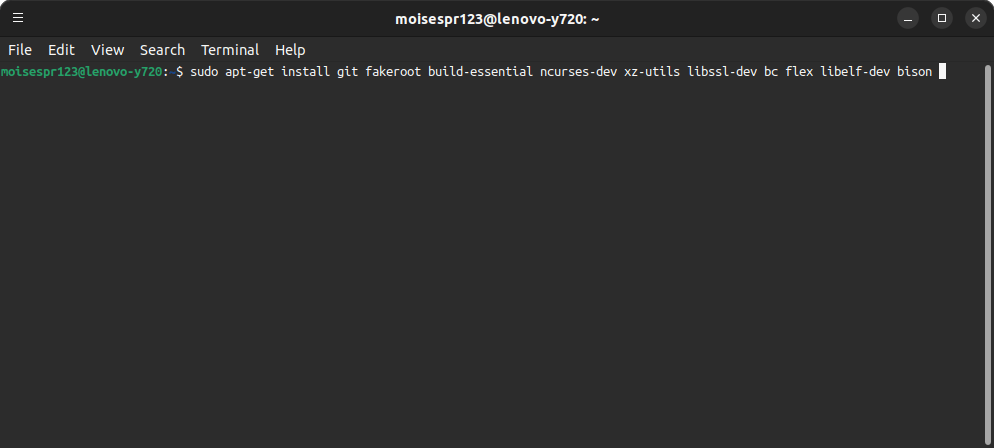
Our command line will be like this. The order of the packages doesn’t matter:
sudo apt-get install git fakeroot build-essential ncurses-dev x2-utils libssl-dev bc flex libelf-dev bison
We will accept the installation of packages by pressing the Y key followed by Enter:
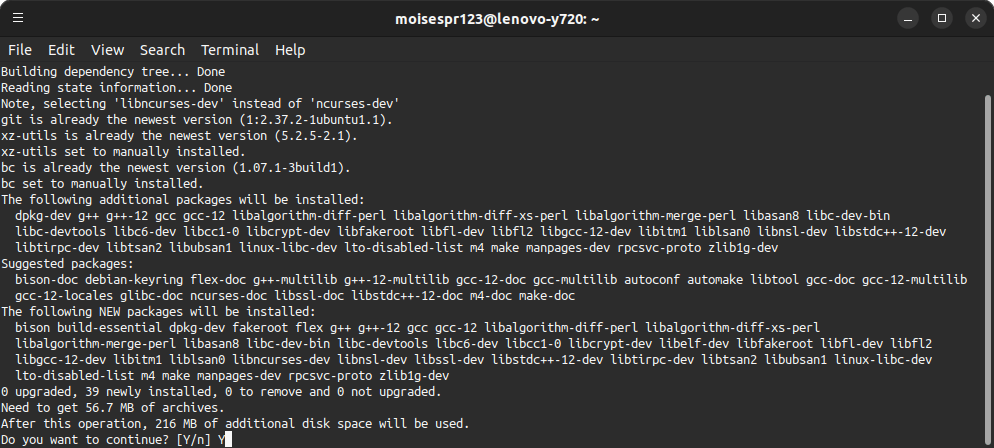
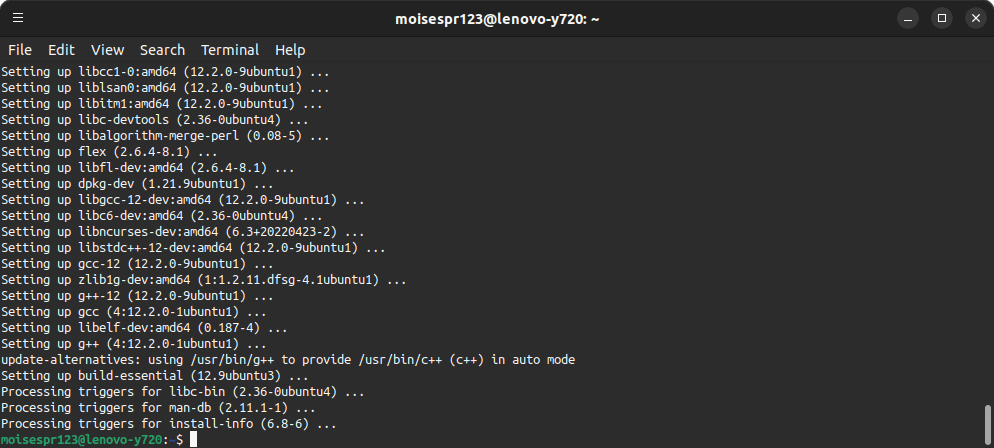
The installation of packages will proceed and should finish without any issues:
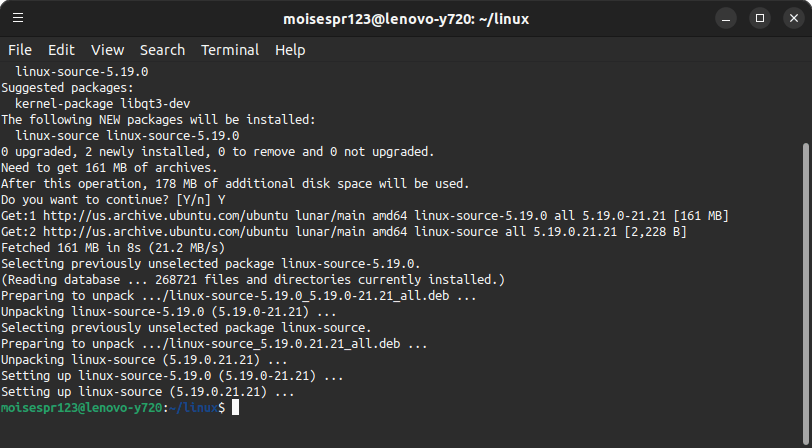
Next, we will also install the linux-source package. This is needed because in it are the certificates used by the build process to sign the kernel components. We will also install this package with apt-get or apt:
sudo apt install linux-source
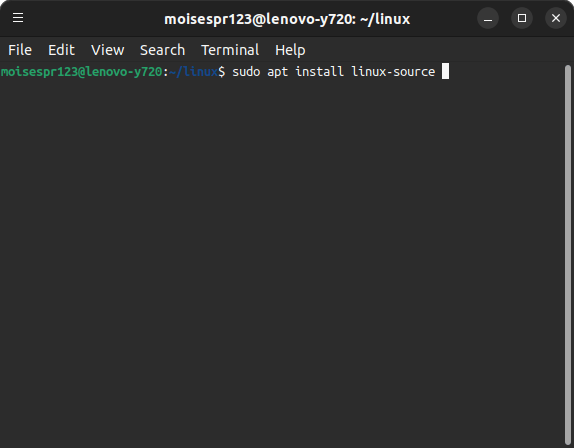
Accept the installation with the Y key, followed by Enter:
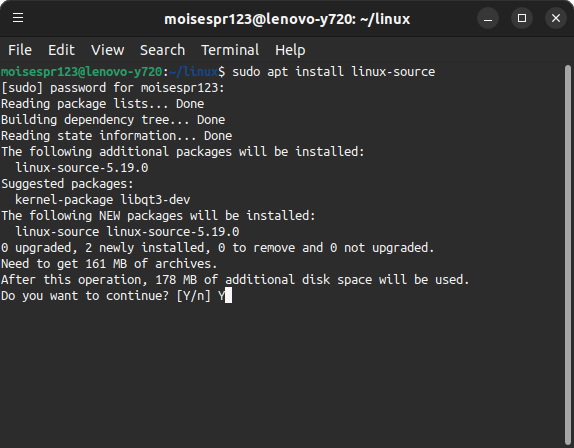
The package will install successfully:
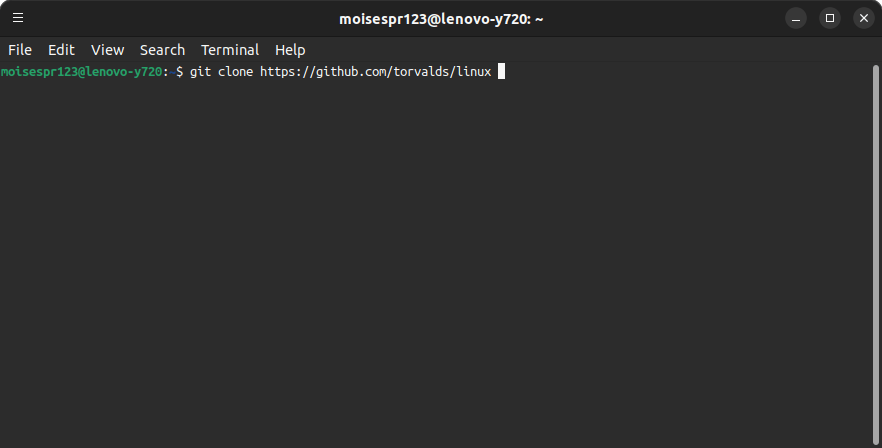
Step 2: Cloning the Git repo of the Linux Source Code
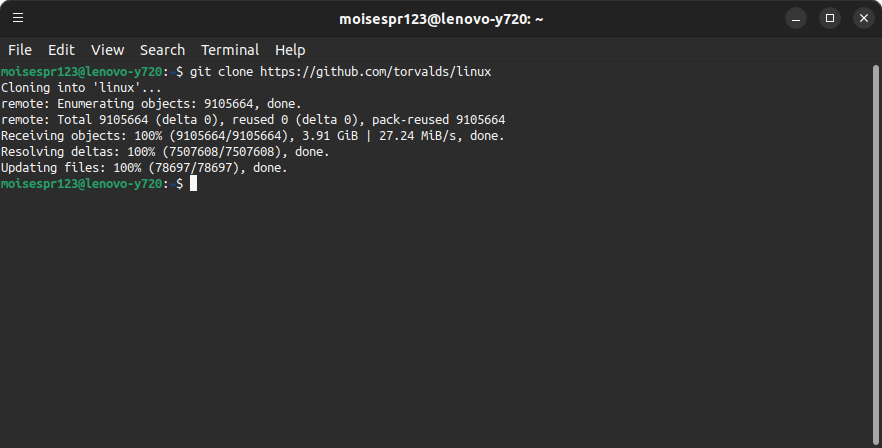
Now, we will clone the git repo for the Linux Repo by using git. I chose to use the GitHub mirror in this step from Linus Torvald’s account:
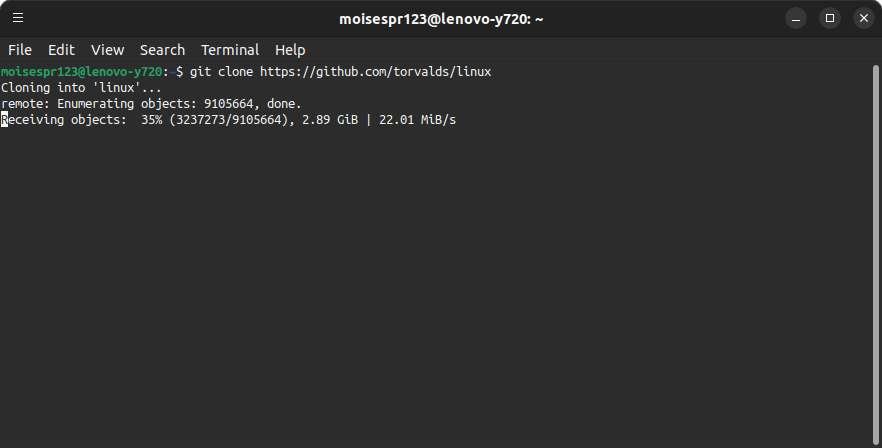
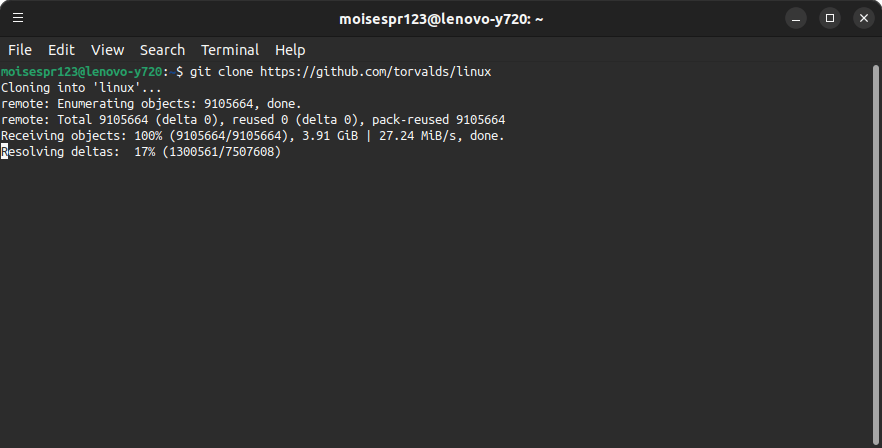
git clone https://github.com/torvalds/linux
This process may take a while depending on your internet connection and hard disk drive speed, but will eventually finish successfully:
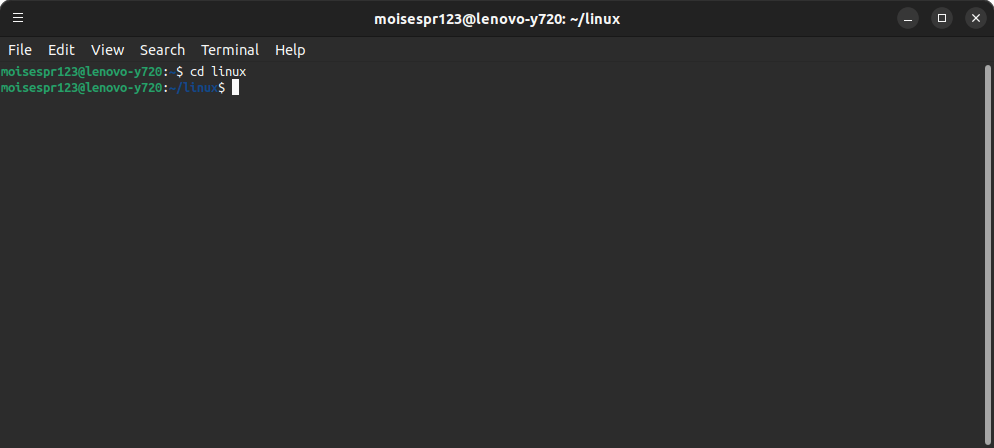
Now, change the directory to the newly cloned linux repo with cd linux:
Step 3: Copying your current Linux Kernel config file and changing the path to the Canonical certificates
We need to copy your current Linux Kernel config file. This will speed up the new .config file generation by using the values from your current configuration file. This way, it only asks you to accept the default value or change it on new settings that may be added on newer kernel versions.
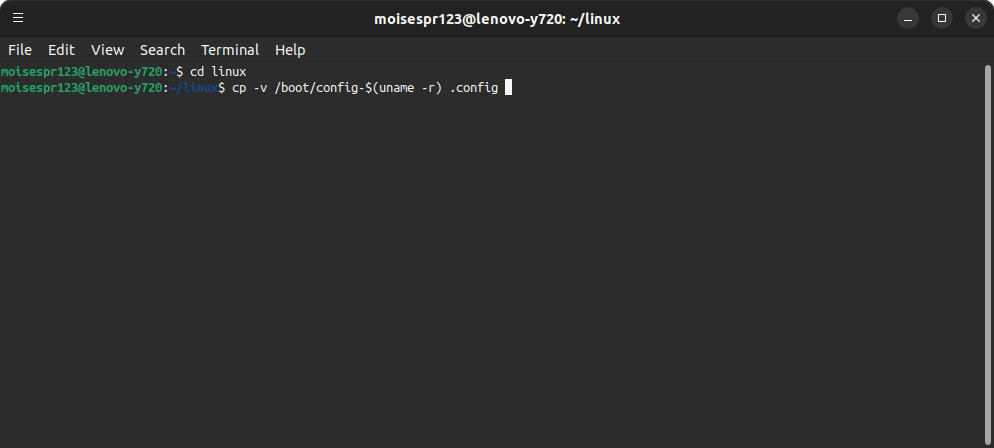
To copy the previous kernel configuration file, we use the following command line:
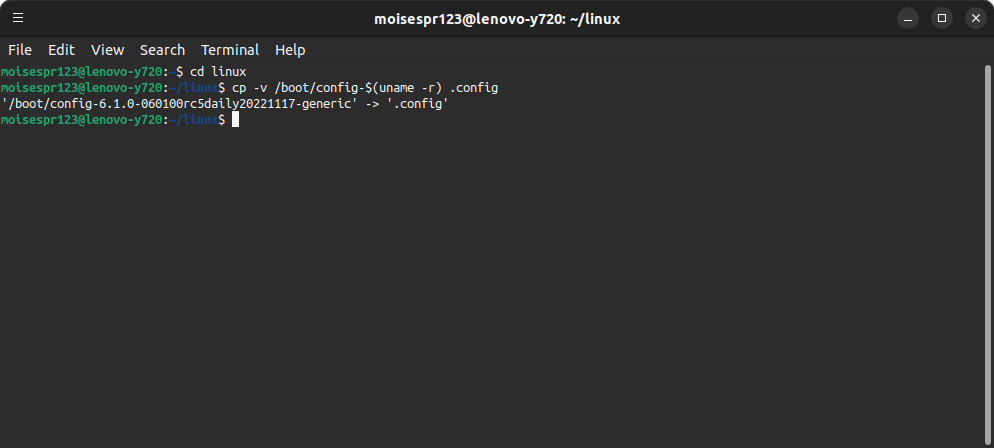
cp -v /boot/config-$(uname -r) .config
The file should be copied, and you should see something similar to the following output:
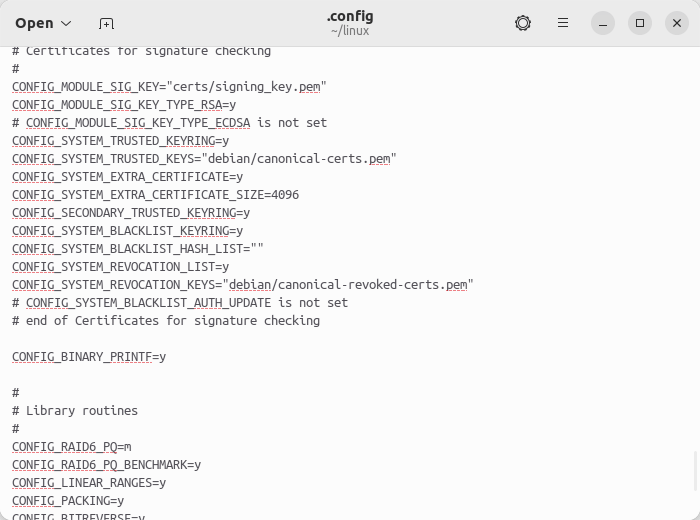
Before running the command that will generate the new config, we will change some values on the old config file to point to the location of the Canonical certificate files. Open your current .config file in your favorite text editor and look for these 2 lines:
CONFIG_SYSTEM_TRUSTED_KEYS="debian/canonical-certs.pem"
CONFIG_SYSTEM_REVOCATION_KEYS="debian/canonical-revoked-certs.pem"
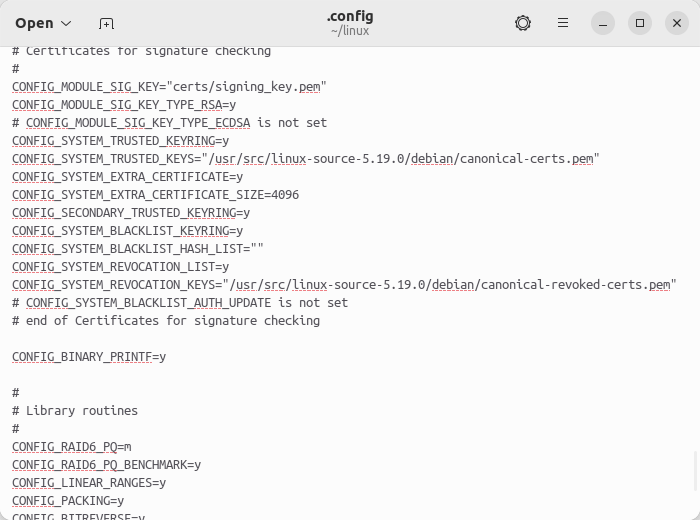
We will change these values to point to the linux-source location. Currently the linux-source in Ubuntu 23.04 as of this post installs the linux source code in /usr/src/linux-source-5.19.0, so we will be appending that path to those configuration parameters.
The lines should look like this:
CONFIG_SYSTEM_TRUSTED_KEYS=”/usr/src/linux-source-5.19.0/debian/canonical-certs.pem”
CONFIG_SYSTEM_REVOCATION_KEYS=”/usr/src/linux-source-5.19.0/debian/canonical-revoked-certs.pem”
Save the file, and now we are ready to generate the new config file.
Step 4: Generating the new config file
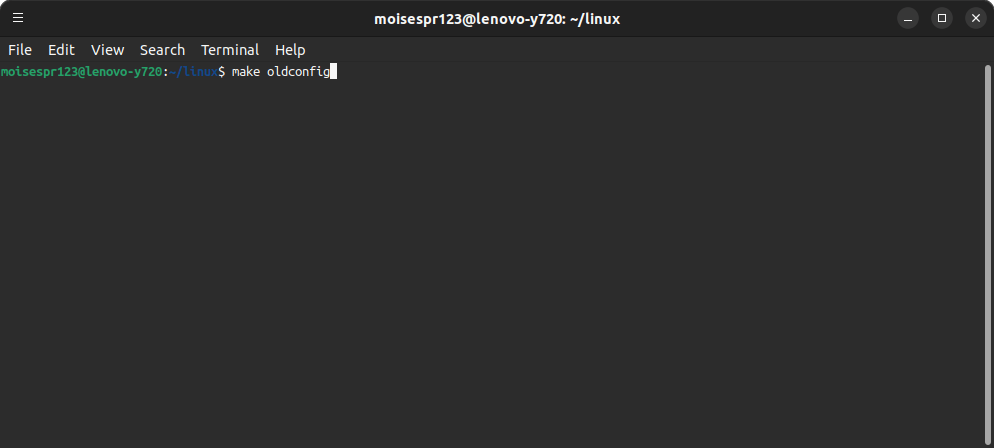
Before building the kernel, we must run the make oldconfig command. This will use the old configuration file values and we will only be asked to accept the default values on new parameters that may be added in newer Linux kernels or we can change them. I would recommend leaving the parameters with the default values.
First, run make oldconfig:
It seems there are new parameters in the latest Linux kernel code (Currently 6.1.0-rc7). We will just accept the defaults by pressing Enter:
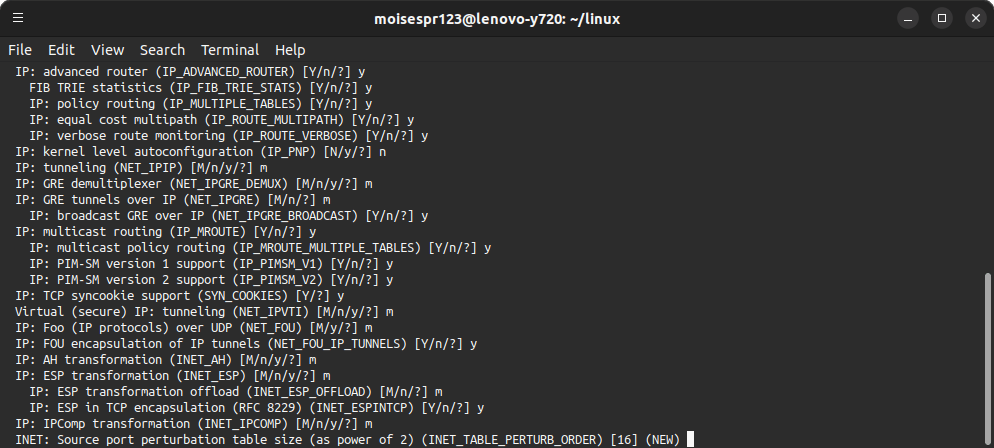
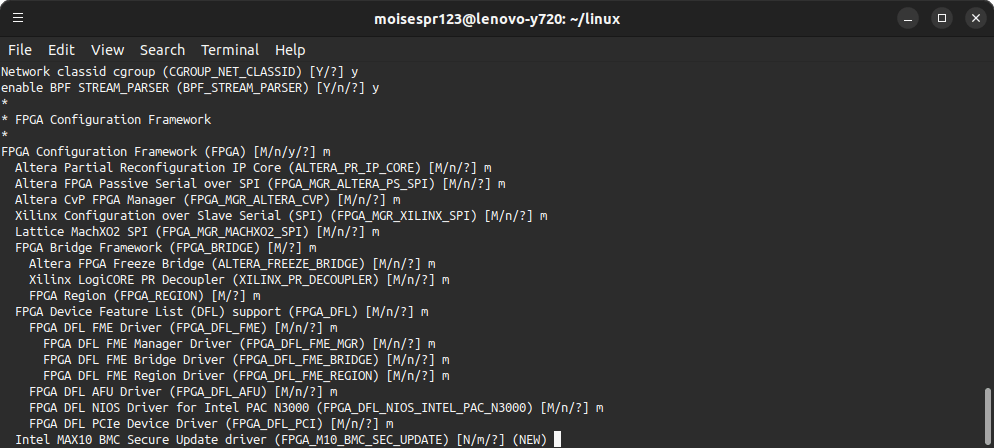
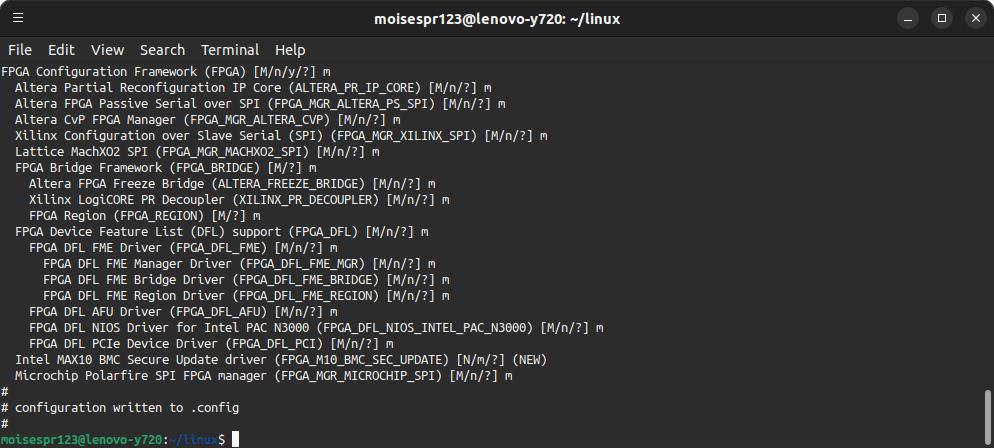
The new configuration file will be generated:
Now we are ready to compile the Linux Kernel.
Step 5: Compiling the Kernel
Note: This is a very intense process and is recommended to do this on a multi-threaded, multi-core machine. This will significantly speedup the compile time.
Now that we have created the new configuration file, we can go ahead and compile the Linux Kernel with the following command:
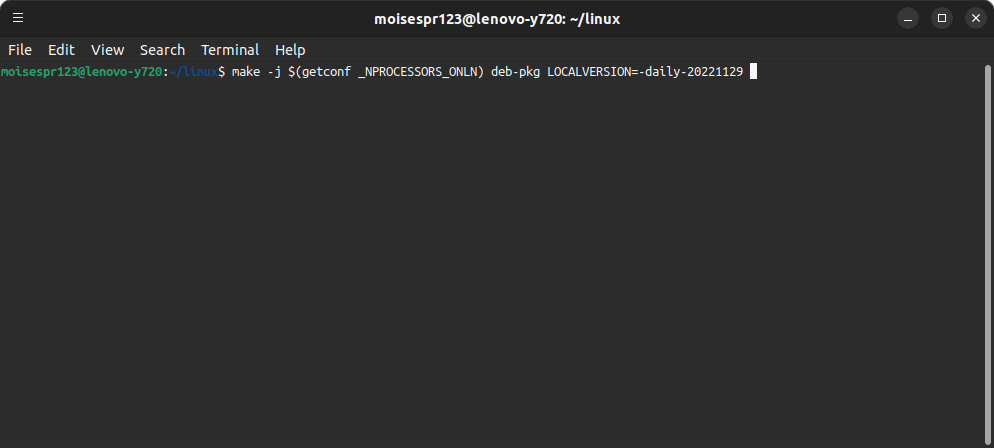
make -j $(getconf _NPROCESSORS_ONLN) deb-pkg LOCALVERSION=-daily-20221129
You can change the value of LOCALVERSION as you like. I used -daily-20221129 because that was the date when I compiled the kernel. I recommend using a date format if you will be compiling the kernel daily like I do. getconf _NPROCESSORS_ONLN returns the number of CPUs available, which will speed up the compilation time for the Linux Kernel.
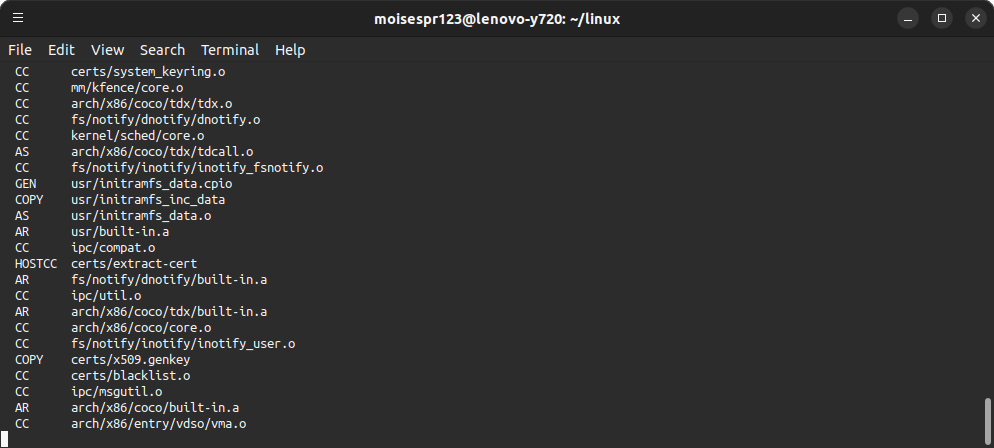
The Linux Kernel will begin to compile. This will take several minutes to some hours depending on your machine capabilities and speed:
Once the kernel compiles, it will begin to create some .deb packages. This seems to be a single-threaded process, and will take several minutes to complete.
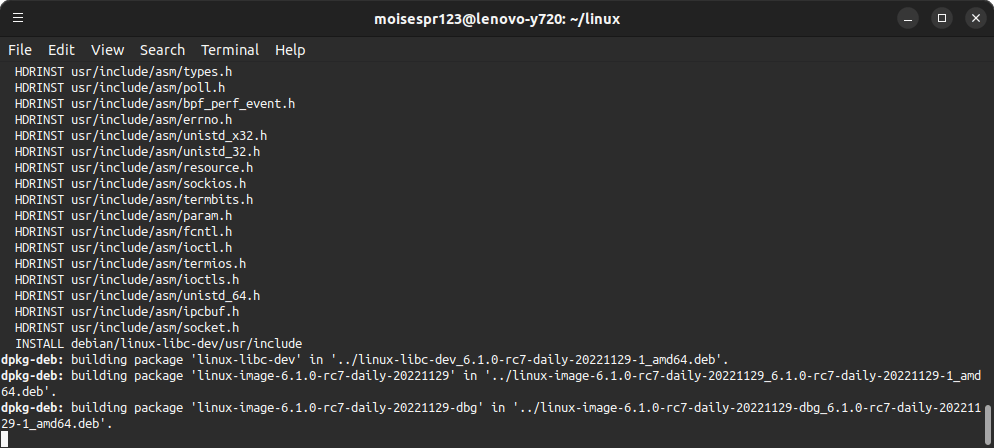
When it finishes, you should see that everything ran successfully:
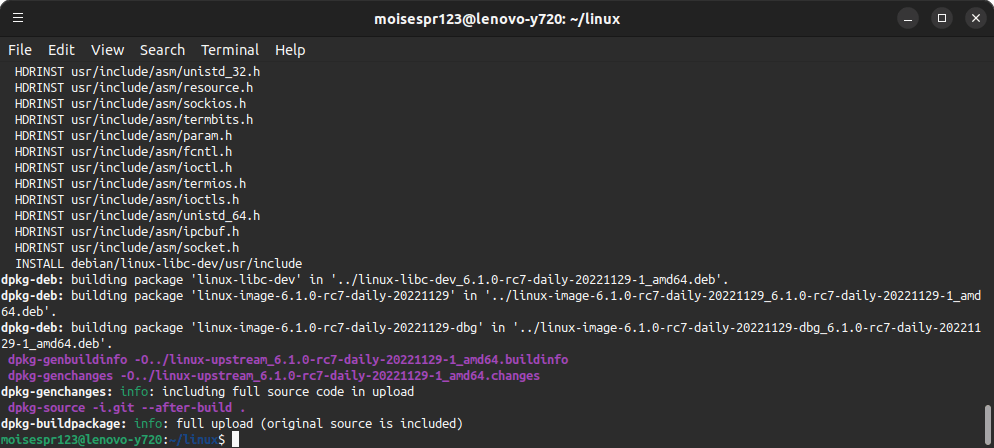
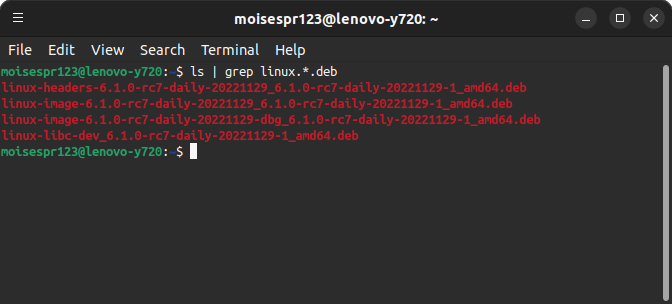
The .deb files will be in the previous folder:
At this time, we have successfully compiled the Linux Kernel.
Step 6: Installing the newly compiled Linux Kernel
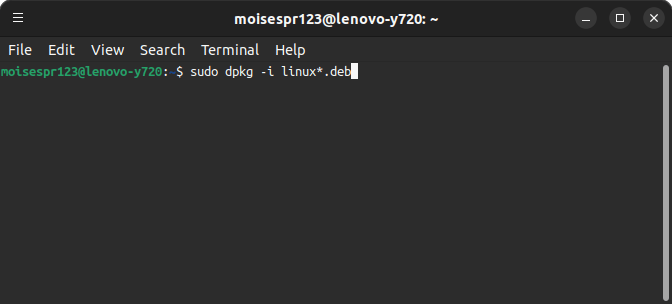
To install the newly compiled Linux Kernel, we will use the dpkg command to install the new .deb packages:
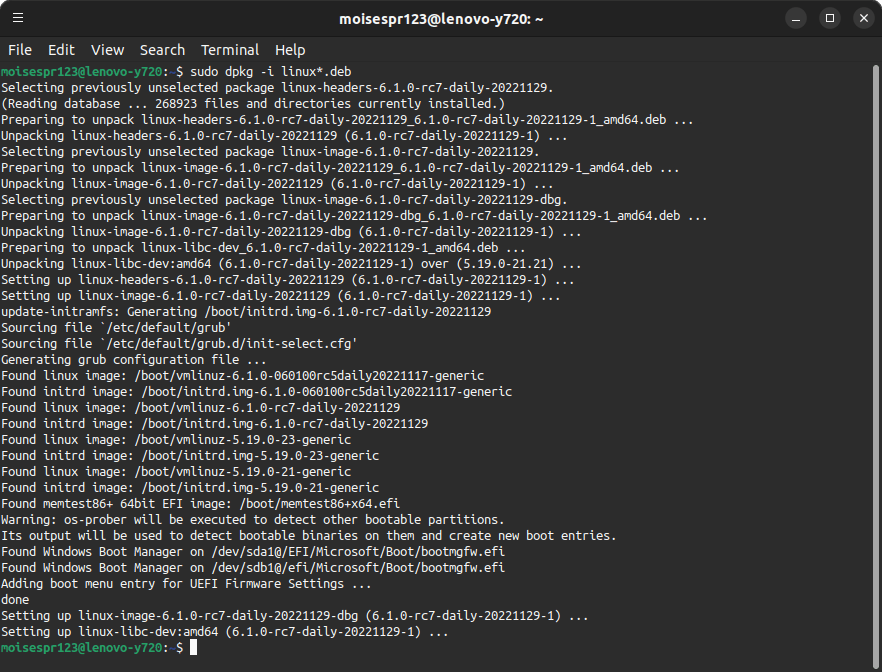
sudo dpkg -i linux*.deb
The .deb packages should install properly:
Now, restart your machine, but in the GRUB bootloader, be sure to select the new compiled kernel. It may not be the default depending on your system configuration.
Once you select the new Linux Kernel in the GRUB bootloader, and your system boots, you can confirm that the new kernel is being used by running uname -r:
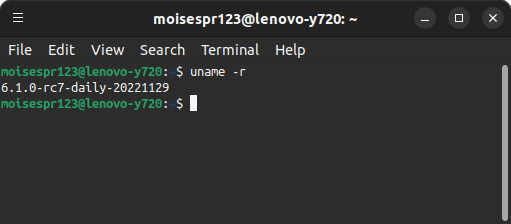
And that’s it! You have successfully compiled and installed your own kernel.
In the next post, we will be seeing how to update the source code and compiling it again.