New Gridcoin BOINC Challenge: Cosmology@Home – Installing VirtualBox and configuring the project
Hi everyone,
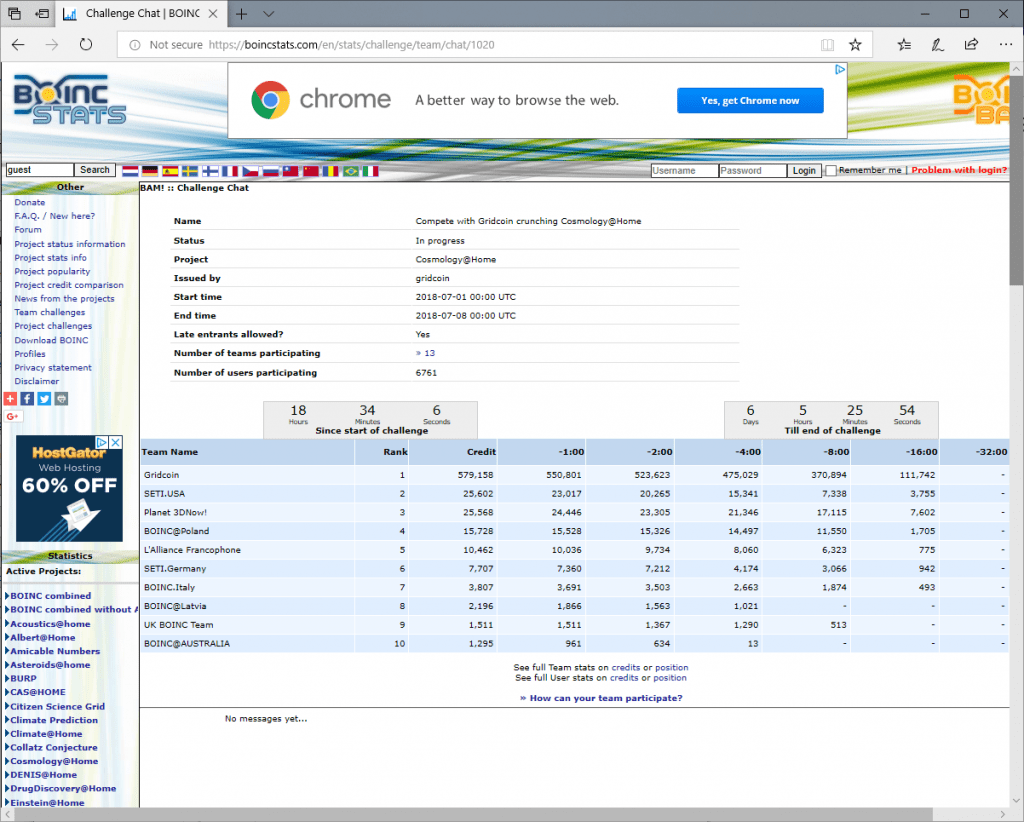
Today, a new BOINC challenge for the project Cosmology@Home started. This challenge was issued by Team Gridcoin:
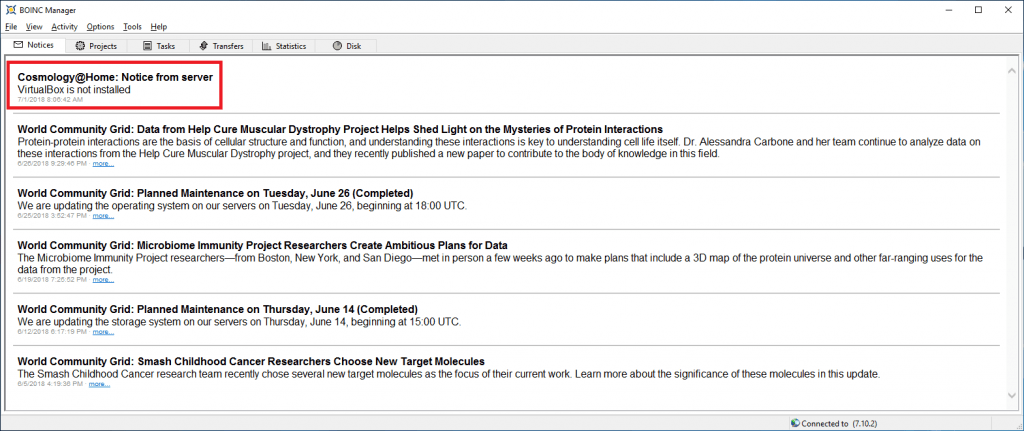
I went ahead and added my machines to this project, only to realize I need VirtualBox installed:
So in order to crunch tasks for this project, I went to install VirtualBox as well as configure the project. Here I detail you the installation and optional configuration process, which is really simple:
Installing VirtualBox
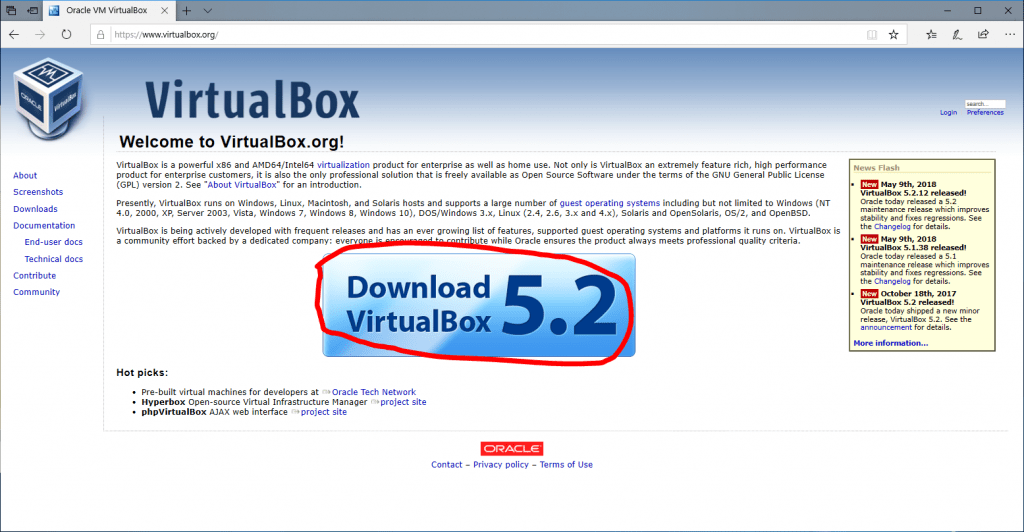
1. First, we go to the VirtualBox Website, https://virtualbox.org and click the Download VirtualBox button:
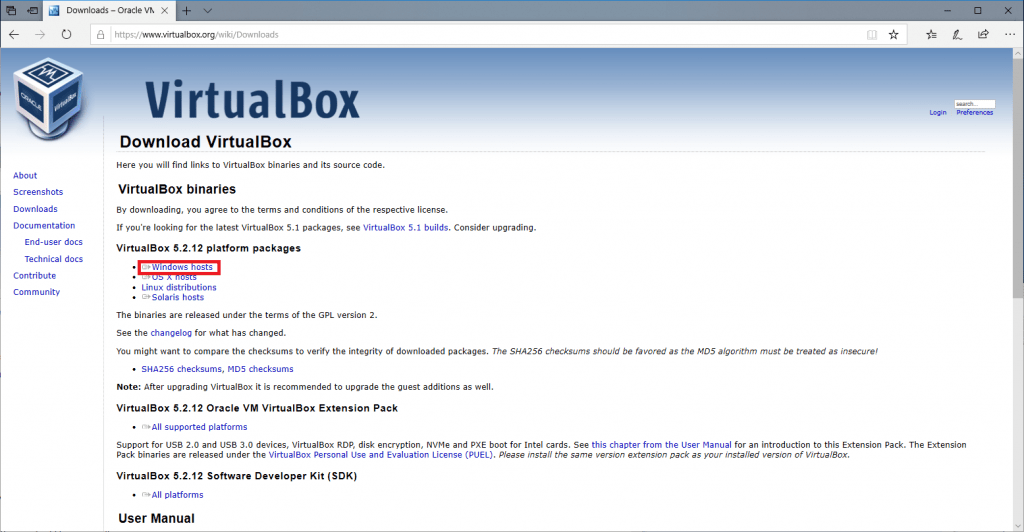
2. Because I’m using Windows, I’ll download the Windows version:
3. We’ll click Save:

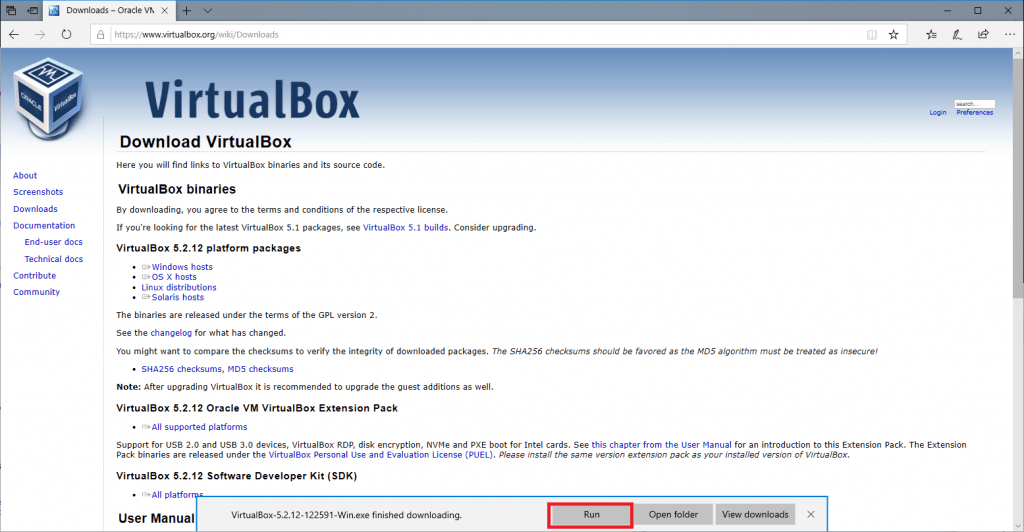
4. And after the download finishes, we will click on Run:
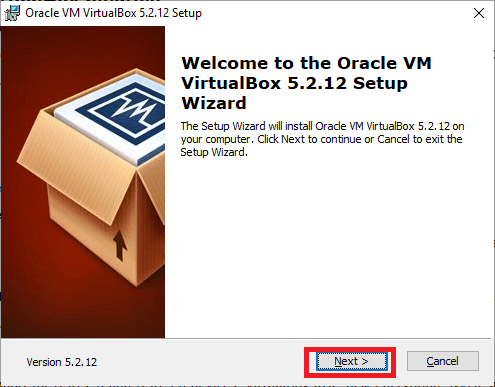
5. We press Next:
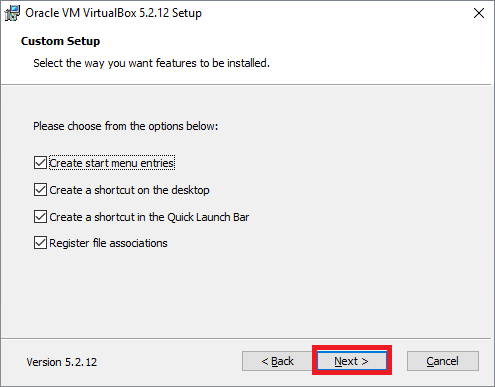
6. We’ll leave this as it is and press Next:

7. We’ll press Next again:
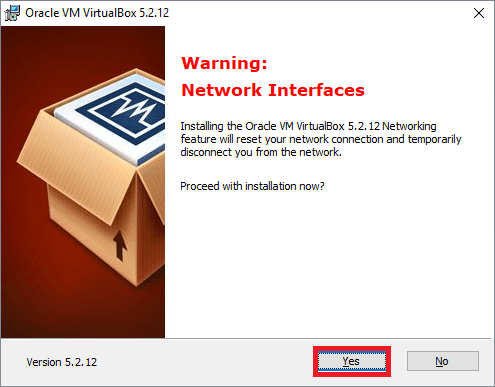
8. Now, we’ll click Yes:
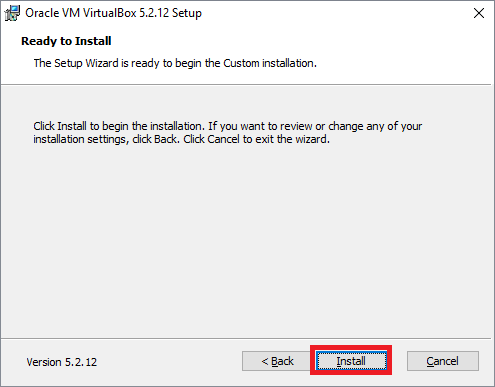
9. Now on Install:
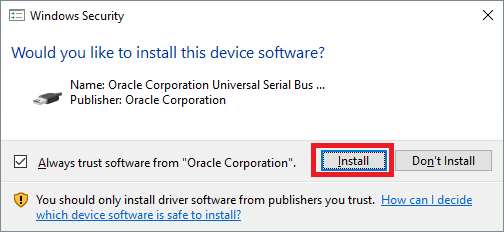
10. It will ask us to install some driver software. We’ll click Install:
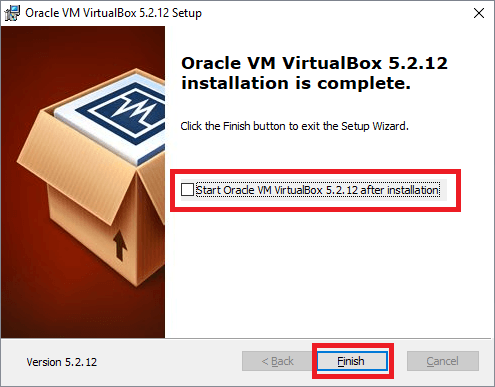
11. When the installation finishes, uncheck the Start VirtualBox checkbox and press Finish:
Configuring the project
I recommend doing these steps if you have a really bad lag or unresponsiveness in your PC. I had to apply a customized version of the configuration posted in the Cosmology@Home FAQ section as the VM would get stuck in my AMD Ryzen machine, so I configured it to use half the PC cores.
Here’s how to configure it:
1. Go to the Cosmology@Home Limit CPU section in the FAQ and copy and paste the app_config.xml template:
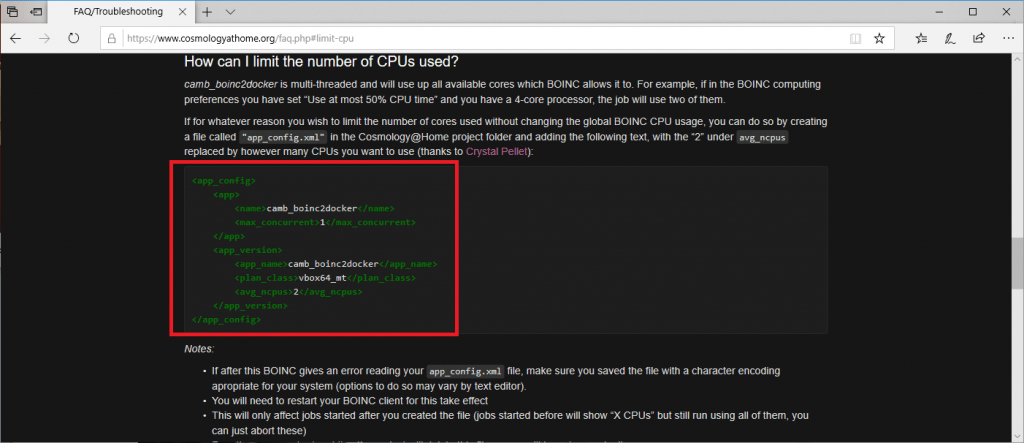
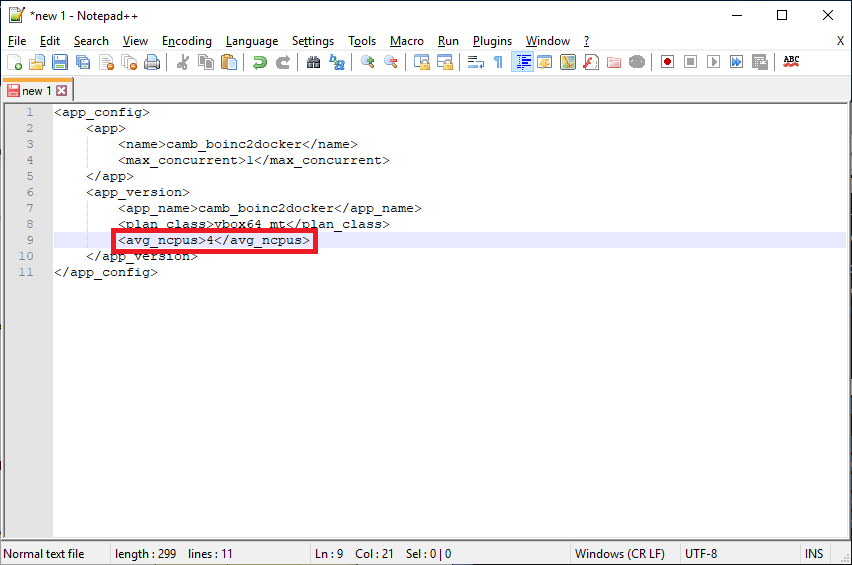
2. Open your favorite Text Editor and copy the contents you copied recently. I used Notepad++ here. Then, change <avg_ncpus>
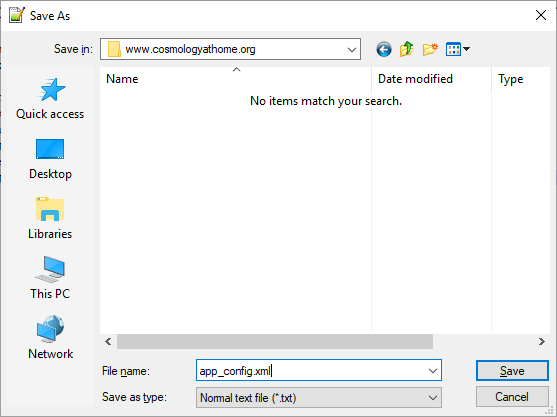
3. Save the config in the Cosmology@Home folder. If you installed BOINC and left the directories C:\ProgramData\BOINC\projects\www.cosmologyathome.orgapp_config.xml:
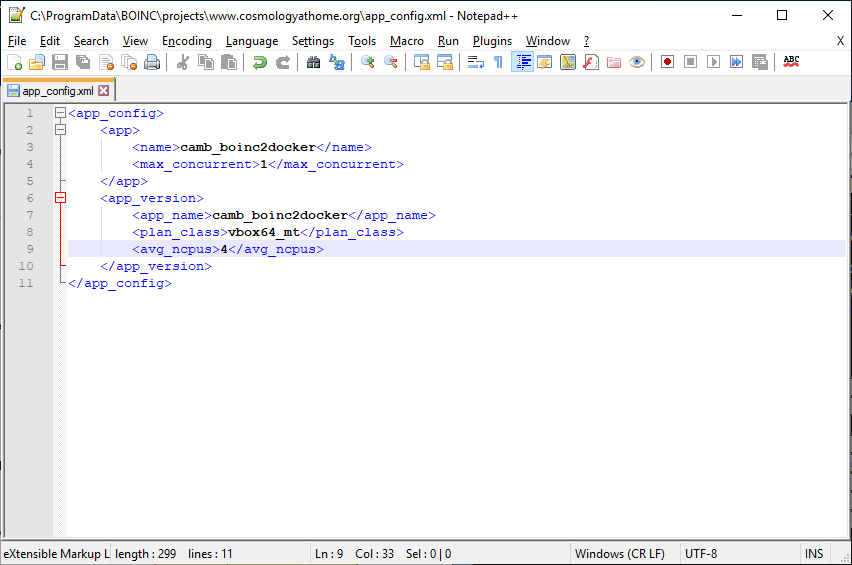
4. You’ll see the syntax is highlighted. It should be like this meaning it saved as an XML file:
And that’s it! We’ve finished the configuration.
Testing the installation and configuration.
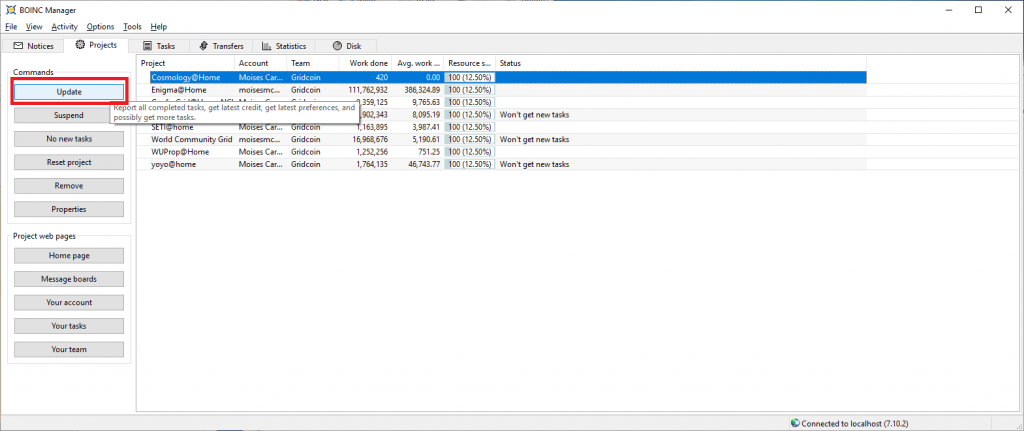
Now, we need to launch BOINC and perform a project update. For this, exit BOINC if it is already running and launch it again. Then select the Cosmology@Home project and press Update:
You should see in the log that it is downloading tasks:
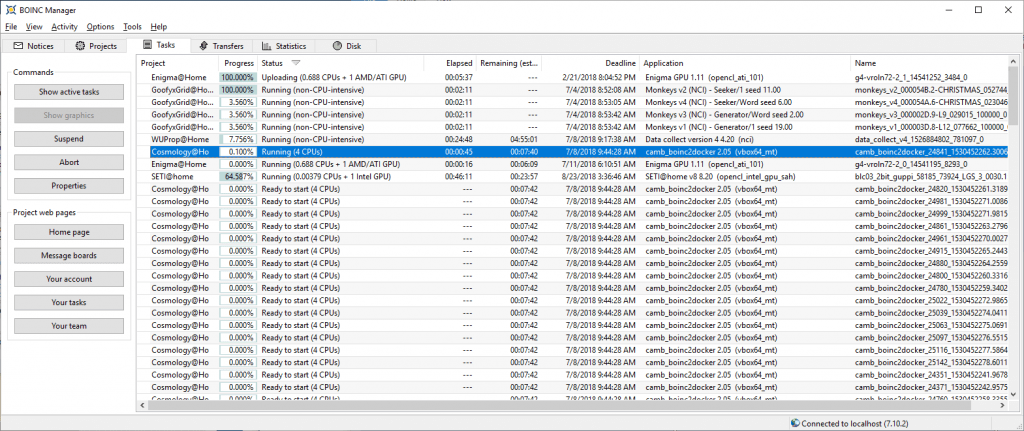
And that they are running:
You can also check VirtualBox and see that the task VM is running:

And here’s how the CPU of one of my Intel machines looks like:
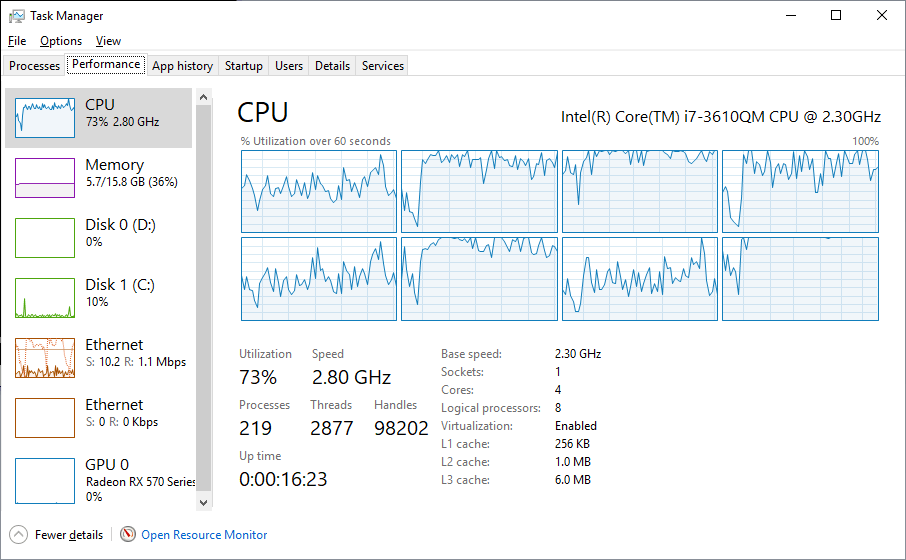
Eventually, I upped the CPU threads to 8 so that it can use every resource in it. The only exception is my AMD Ryzen 7 2700X machine which is limited to 8 threads out of its 16.
If you followed this guide and are running Cosmology@Home tasks, congrats! And I wish you luck in the competition!
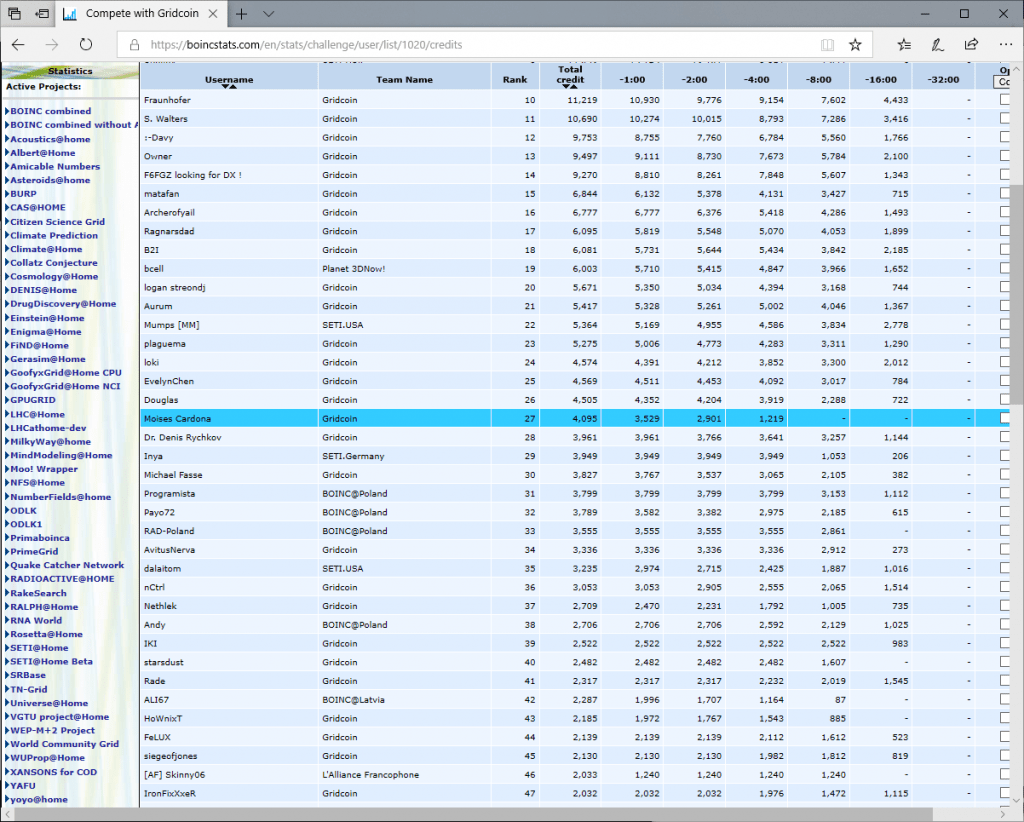
I’m at position #27 right now 😁:
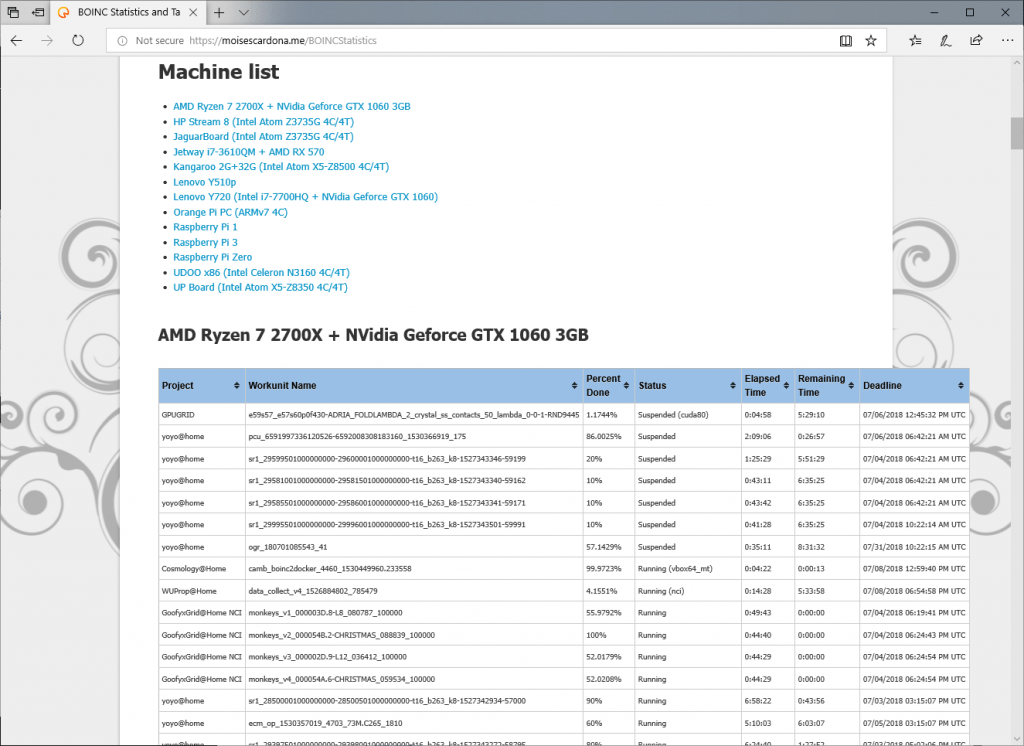
As a bonus, I made a section on my personal website where you can see the tasks I’ve finished processing:
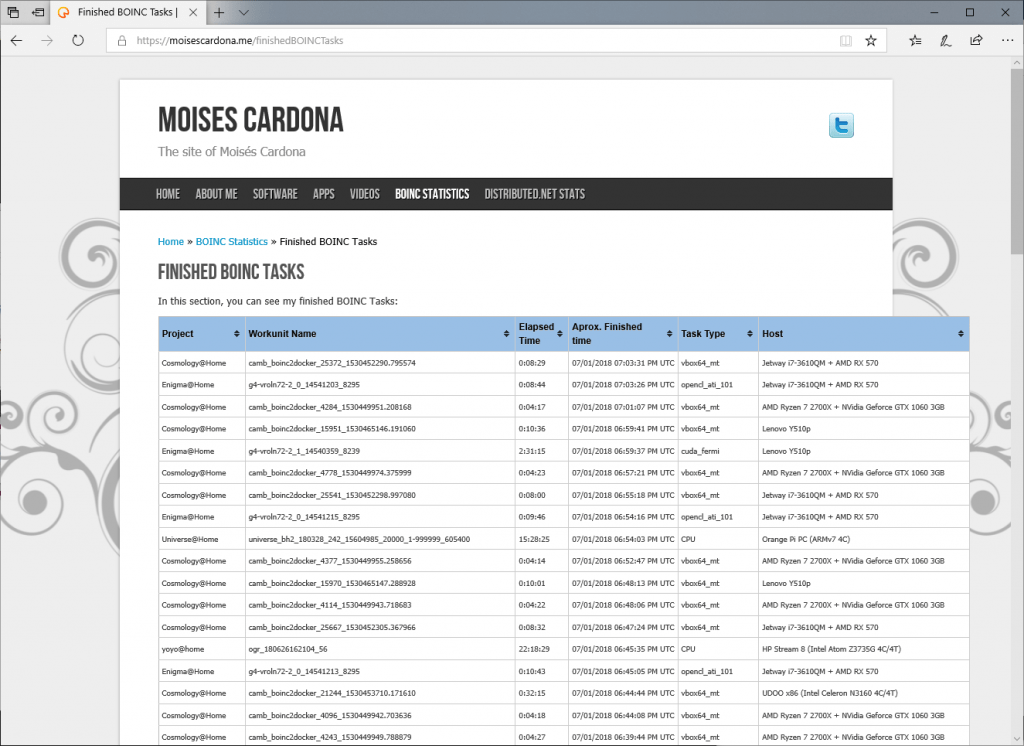
This required some coding in my BOINCToWeb software I wrote to accomplish this. I’ll talk about the code changes and additions in another post.
I also remember all of you that you can see the tasks I’m crunching by clicking here:
That’s all!