Installing the Linux Kernel 5.19 in Ubuntu
Hi everyone,
The Linux Kernel 5.19 was released last week and can be installed in our Ubuntu system with the help of the Ubuntu Mainline Kernel Installer. We can install this Kernel version really simple in just a few clicks and we will see those steps below.
Installing the Linux Kernel 5.19
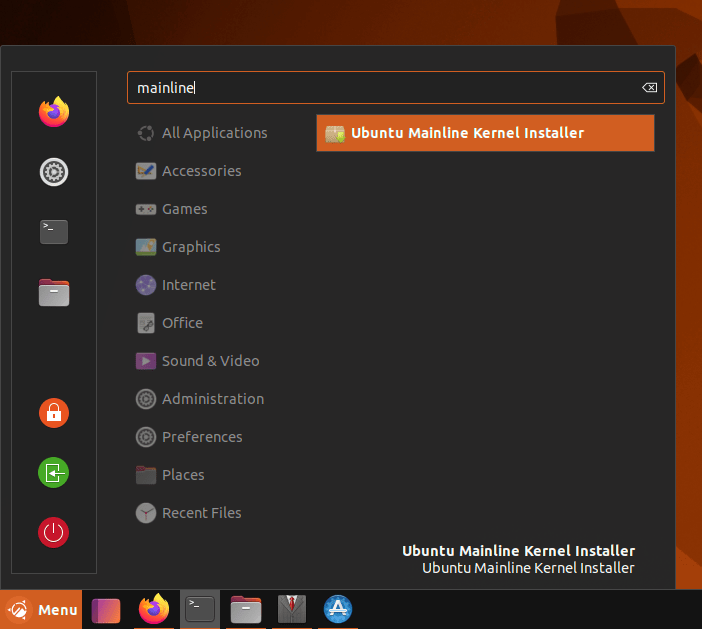
1. Launch Ubuntu Mainline Kernel Installer (Check the above link to install this tool if you do not have it installed):
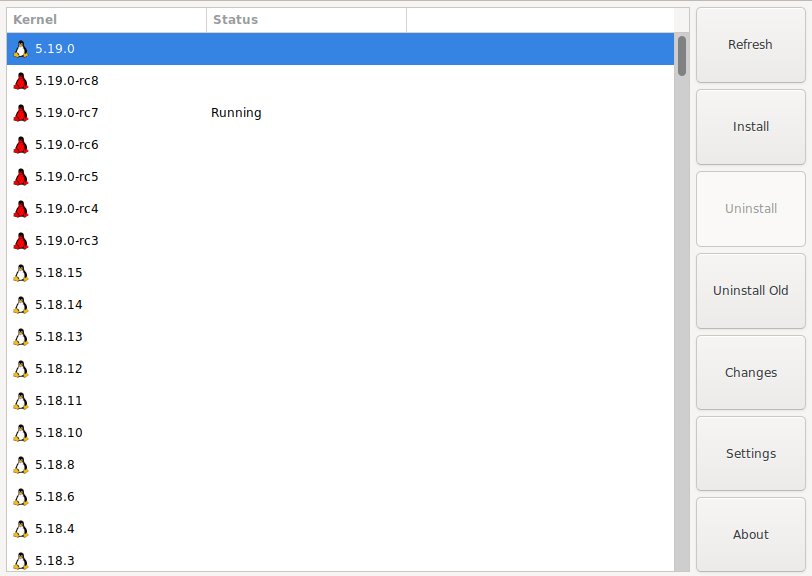
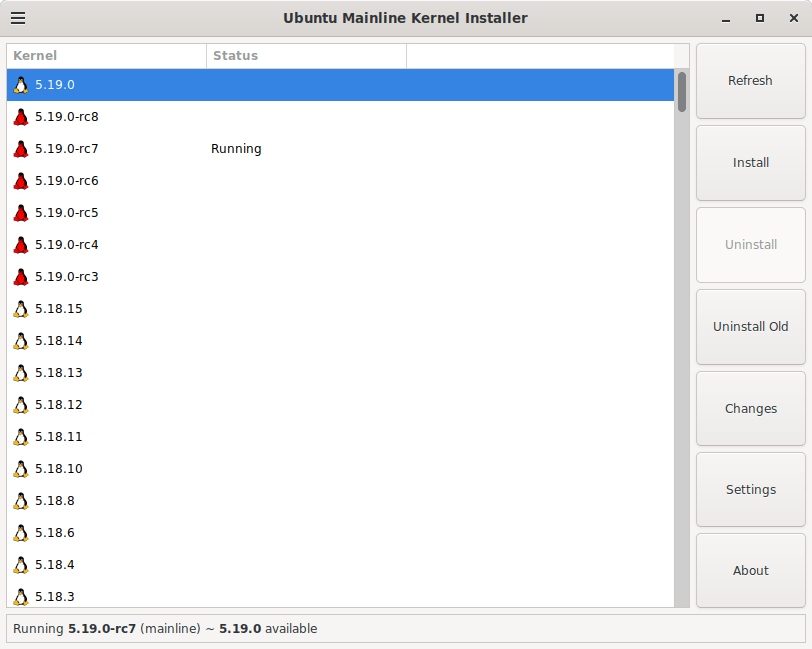
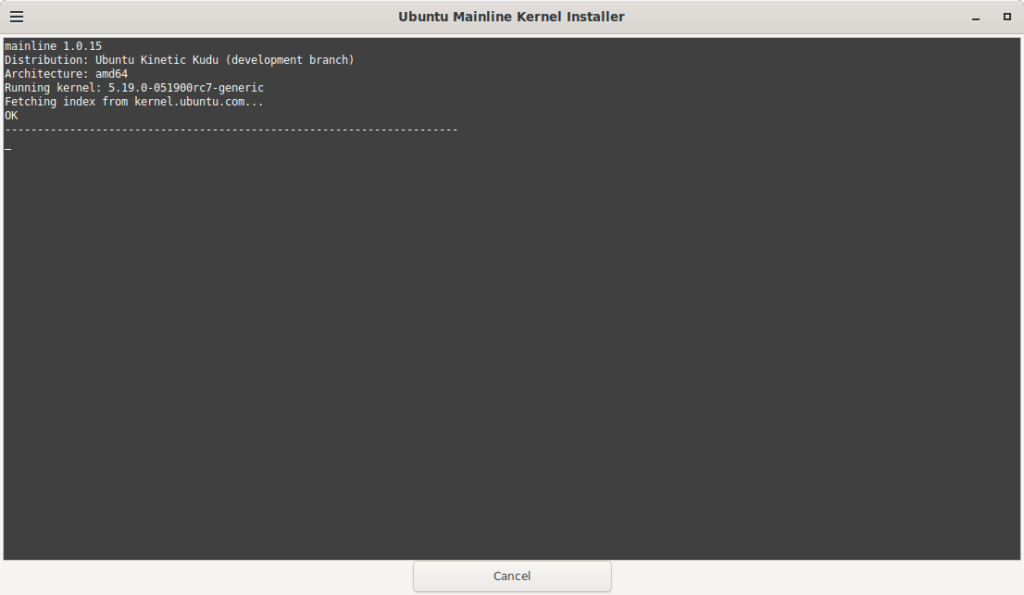
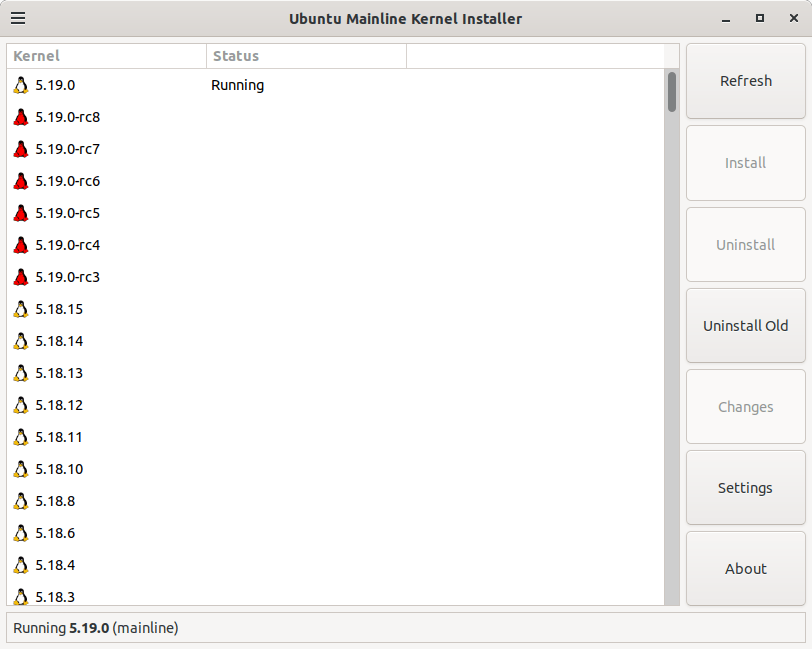
2. Wait for it to load. You should be seeing the Linux Kernel 5.19:
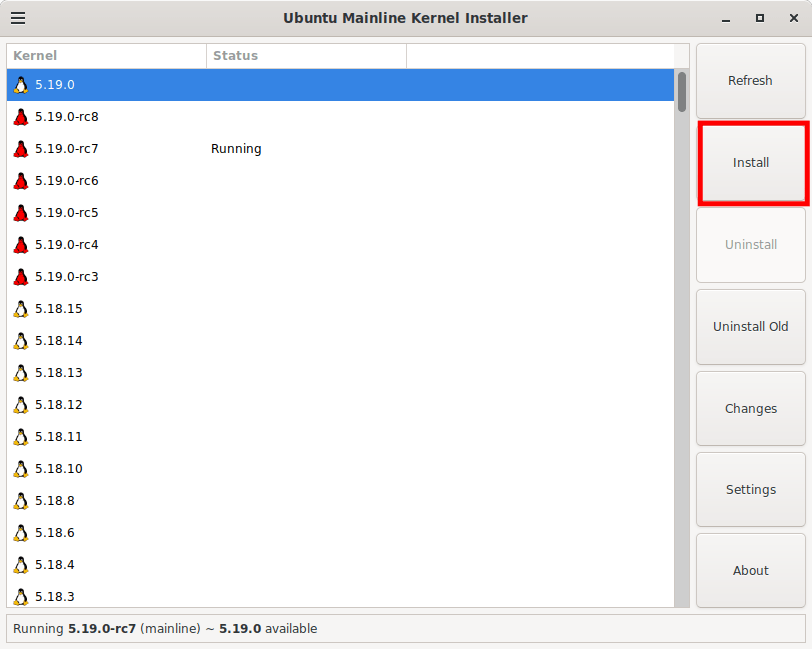
3. Select it and press the Install button:
4. The installation will begin:
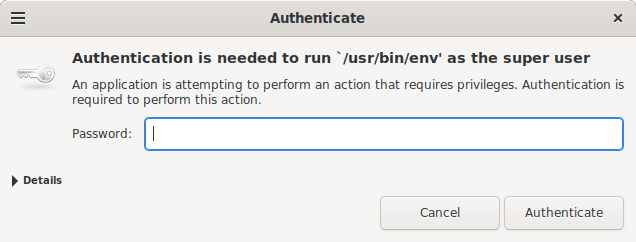
5. When requested, enter your password to allow it to install the kernel:
6. Installation should complete normally.
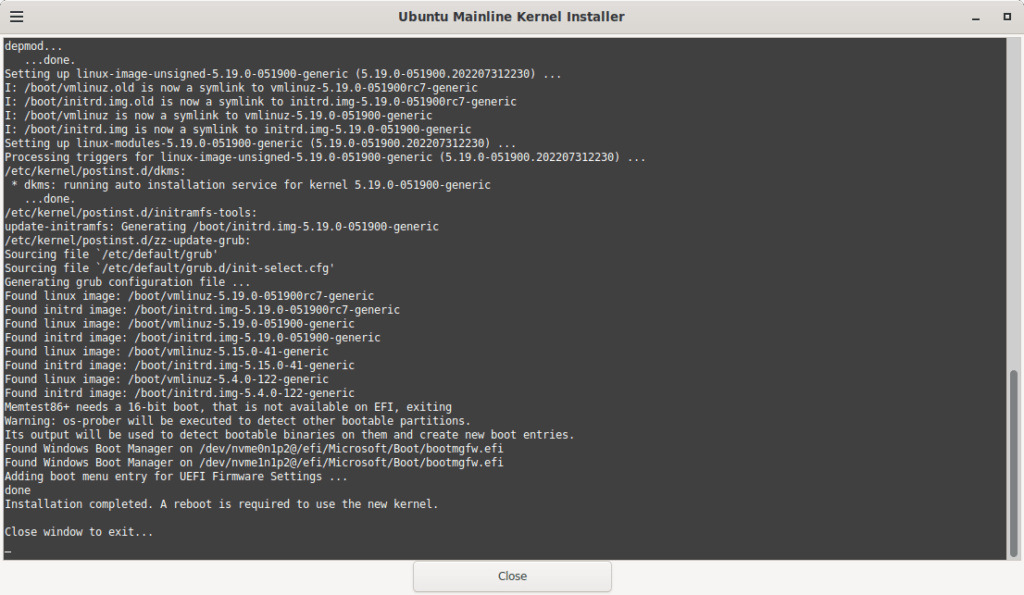
At this step, you have now installed the stable Linux Kernel version 5.19. However, it is possible that if you have one of the release candidate versions installed, that your system may still boot using it instead of the stable 5.19 version. For this, you’ll need to select the stable 5.19 version in the GRUB menu when starting up your PC. Then, you can remove the preview/development version. This will make the 5.19 be the default kernel to use the next time we start our PC.
Removing preview versions of the Linux Kernel 5.19
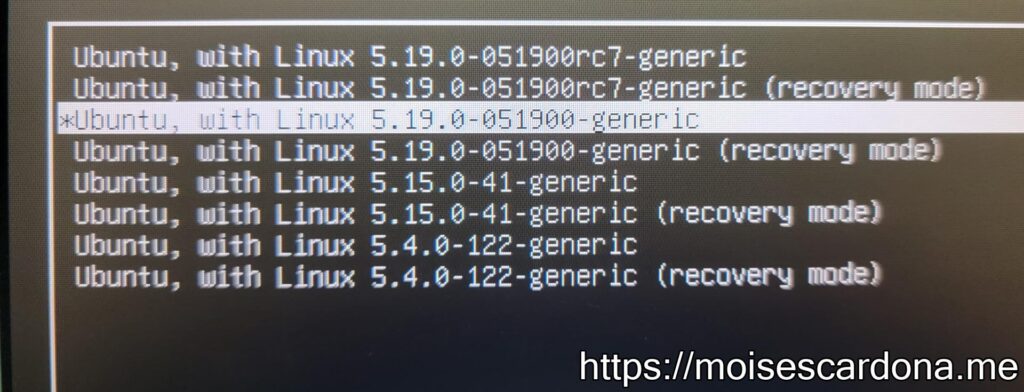
1. First, we will reboot our machine and select the final Linux Kernel 5.19 from the GRUB Advanced Options:
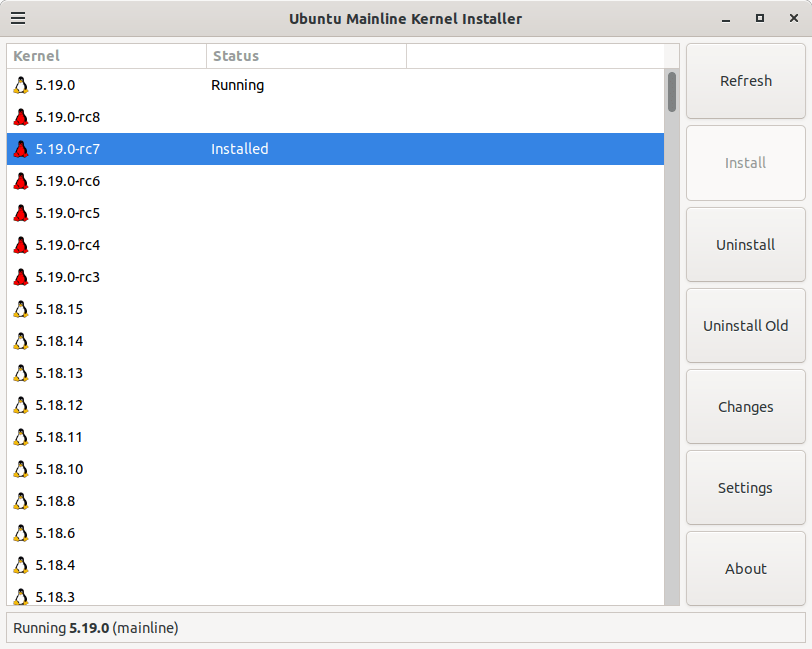
2. Once we boot back to our machine, launch again the Ubuntu Mainline Kernel Installer:
3. Select the previous Linux Kernel 5.19 installed in your system:
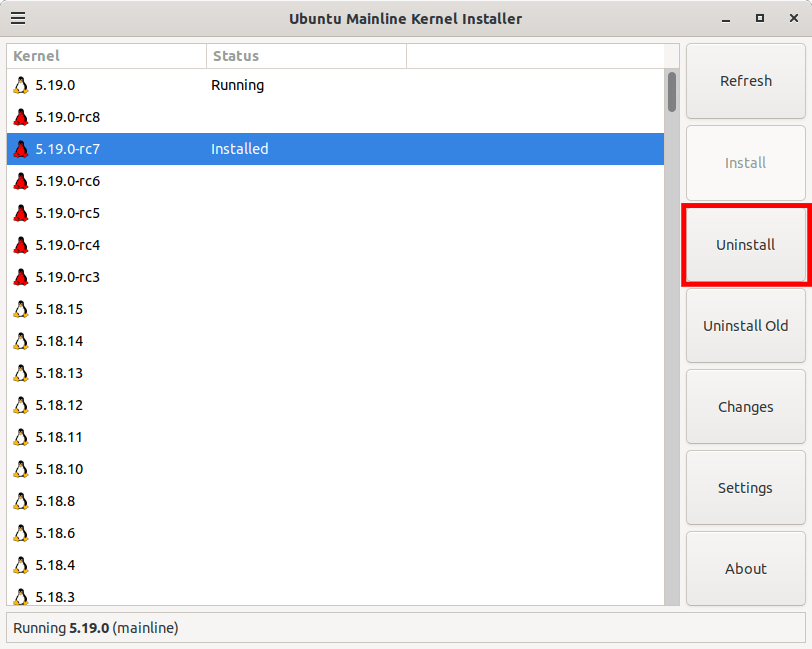
4. Click the uninstall button:
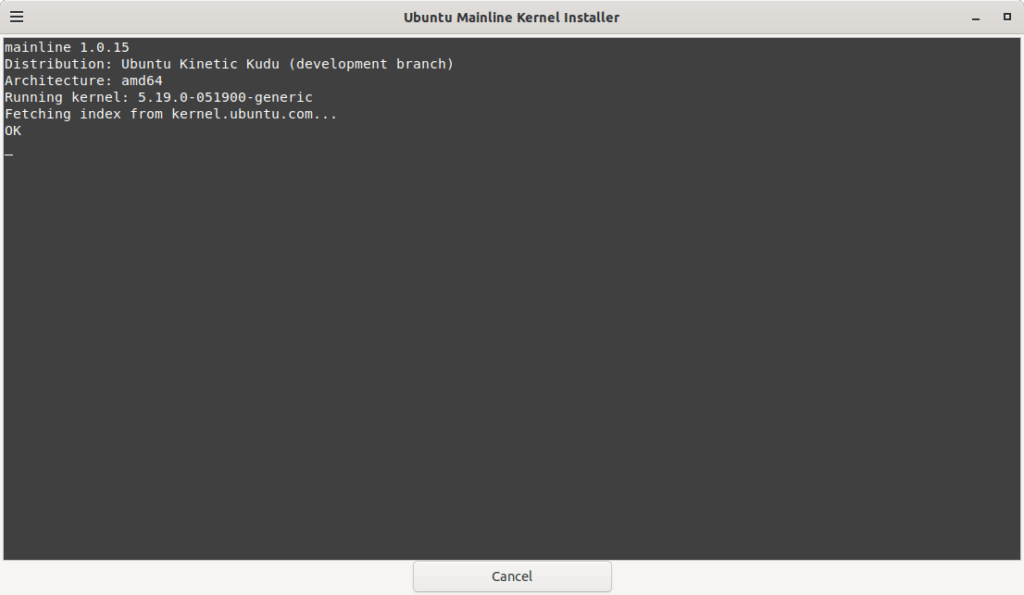
5. Uninstallation will begin:
6. Enter your administrator password to allow the tool to remove the old kernel:
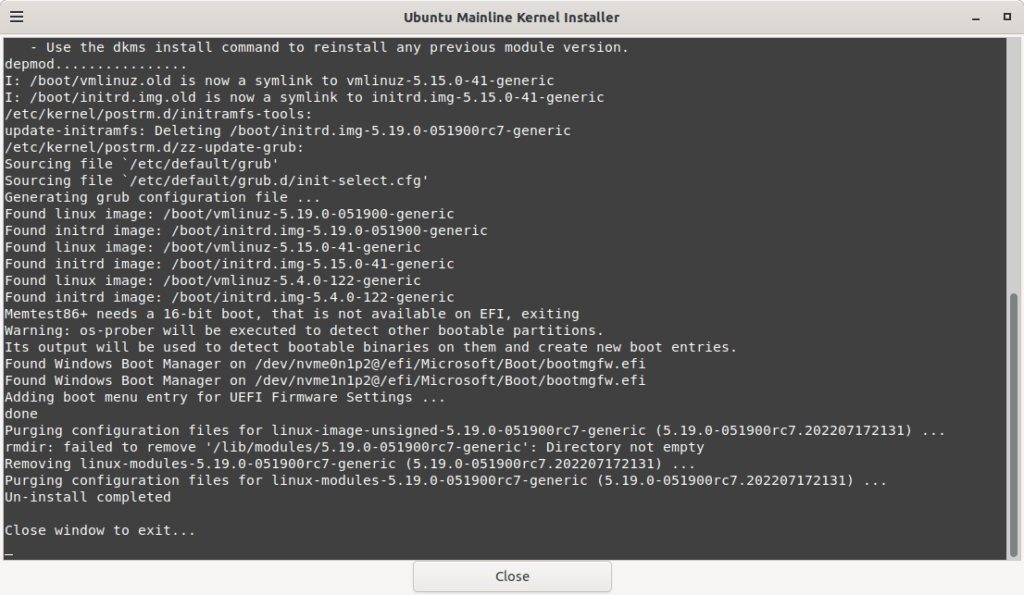
7. The uninstall process should complete successfully:
8. We should no longer have the old kernel listed as installed:
That’s it! We have just installed the stable 5.19 Linux Kernel and removed any previous version we may have had installed in our machine.