Using the Apple USB SuperDrive Optical Unit on Windows 11
Hi everyone,
In this post, we will be telling you how to use the Apple USB SuperDrive Optical Unit on Windows 11.
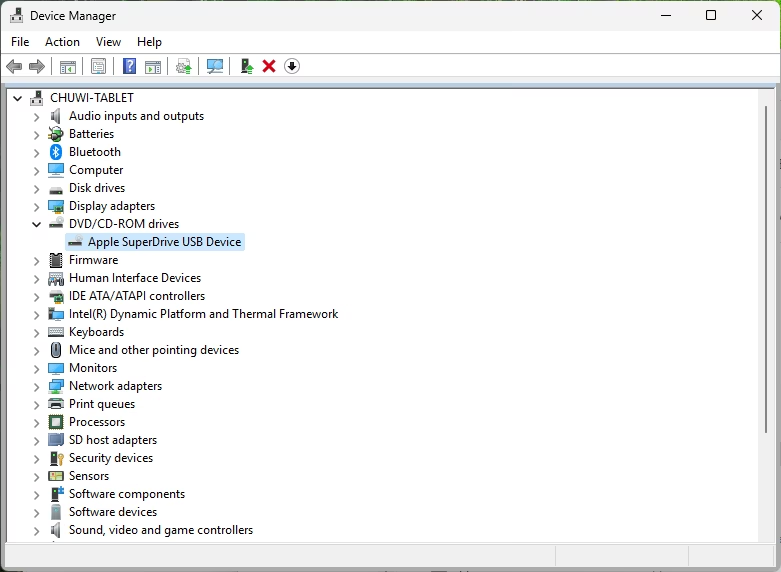
If you connect this unit to your Windows 11 PC, laptop or tablet, you will be surprised that it doesn’t work. This is because Apple has made this drive react to certain MacBook models. Windows does recognize this device, and will show as Apple SuperDrive USB Device, but that’s about it. It will not do anything:
The good news is that they have a Windows driver that can be installed in Windows 11 that will enable this drive to work.
Downloading the Apple USB SuperDrive Windows 11 driver
To start, you need to download the Boot Camp Support Software package. This is big at a bit more than 500MB of size, but the download is required because in this package is located the ODD enabler installer.
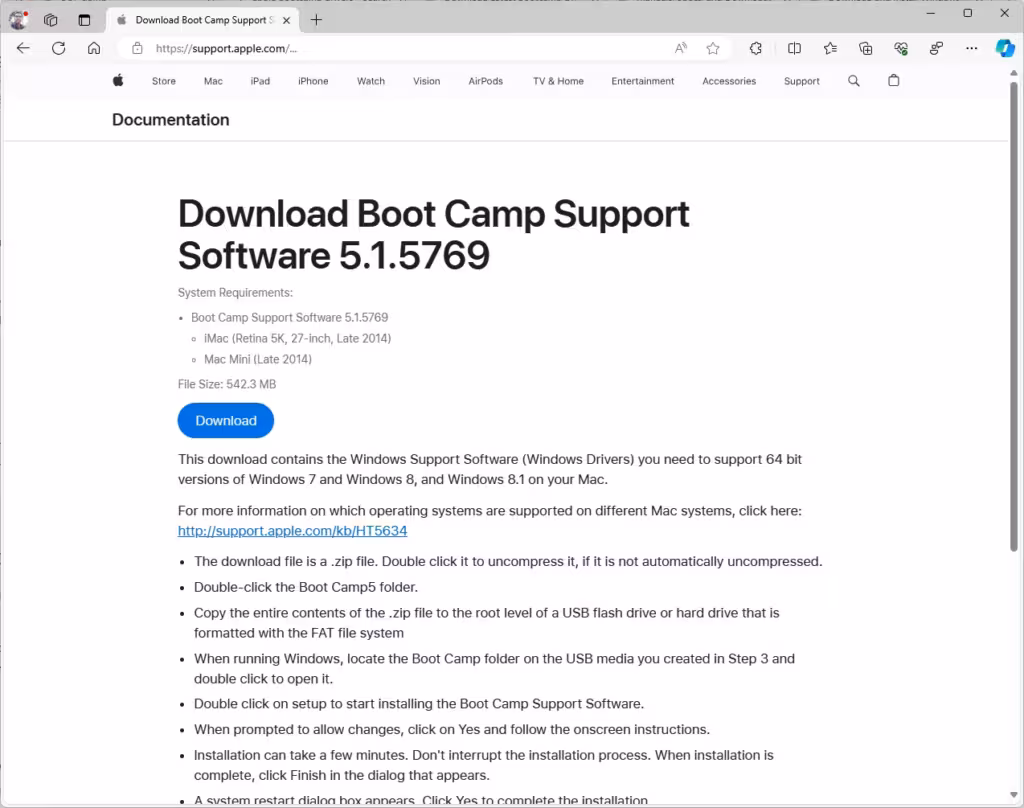
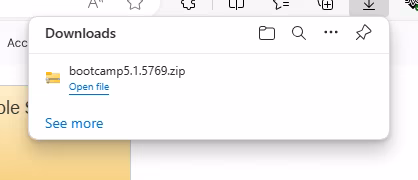
Click the Download button. Then, save this file:

Installing the Apple USB SuperDrive Windows 11 driver
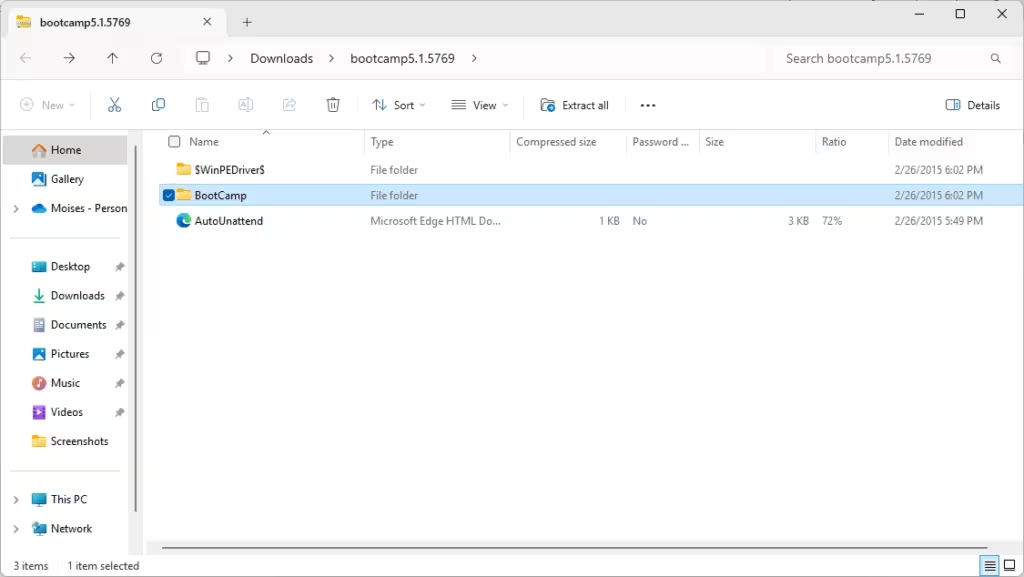
Now that the BootCamp drivers have finished downloading, we can open the archive in order to install the Apple USB SuperDrive Windows 11 driver. Start by Opening the archive:
Inside the archive, go to the BootCamp folder:
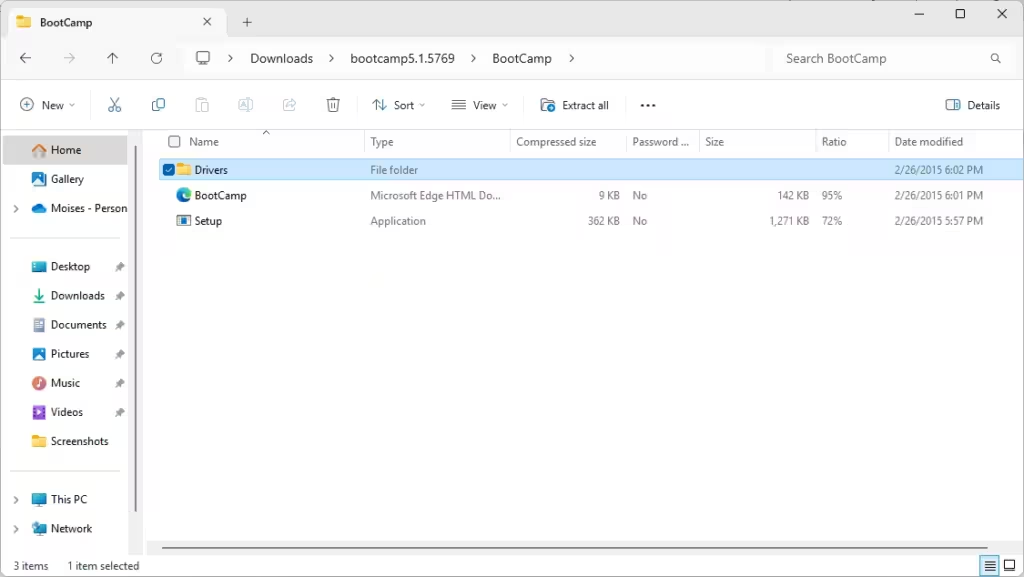
Then, go to the Drivers folder:
Now, go to the Apple folder:
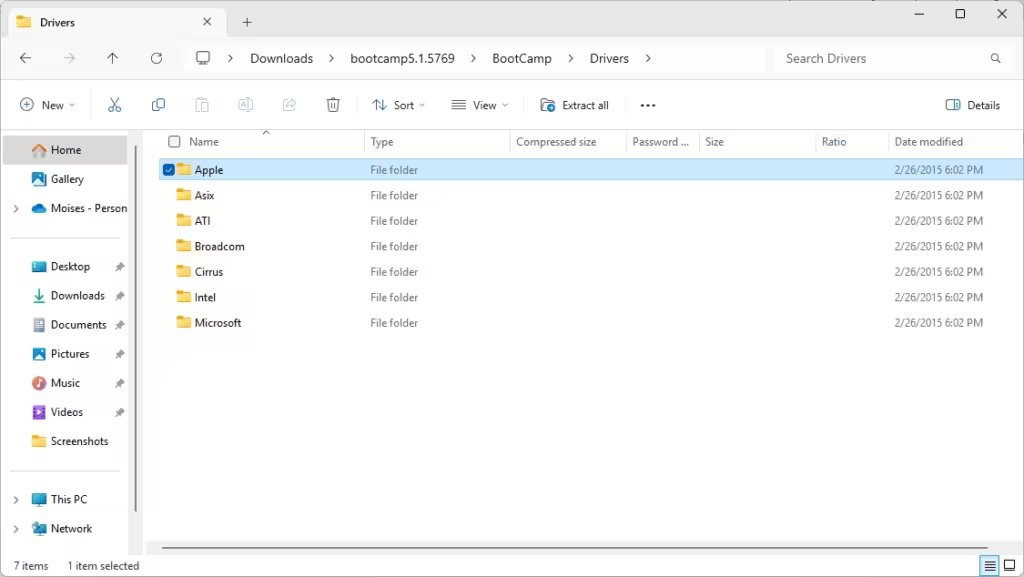
And now, launch the AppleODDInstaller64.exe installer:

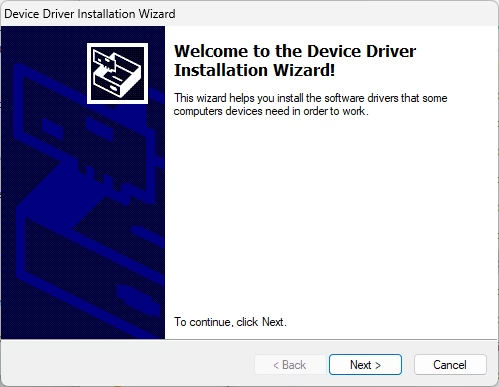
The Device Driver Installation Wizard will launch. Here, click Next:
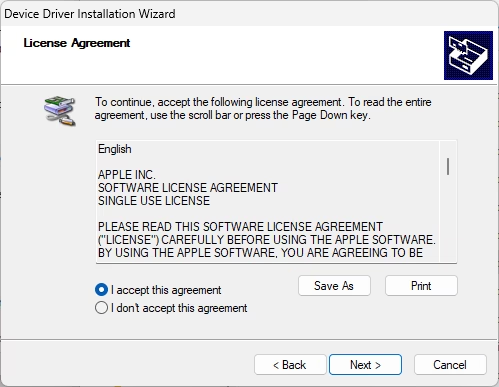
Accept the License Agreement and click Next:
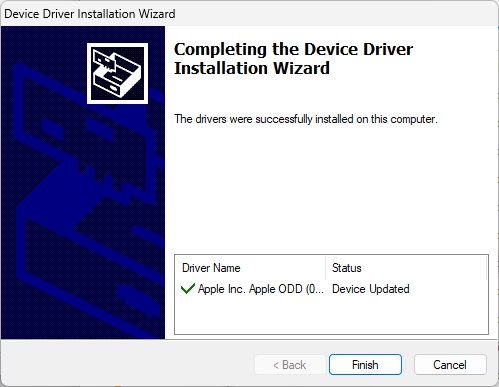
The driver will be installed quickly, and you should see this finished message. Click Finish to exit the installation wizard:
At this time, your Apple USB SuperDrive should start to work. If it doesn’t, try unplugging it and plugging it again and try to insert a CD or DVD.
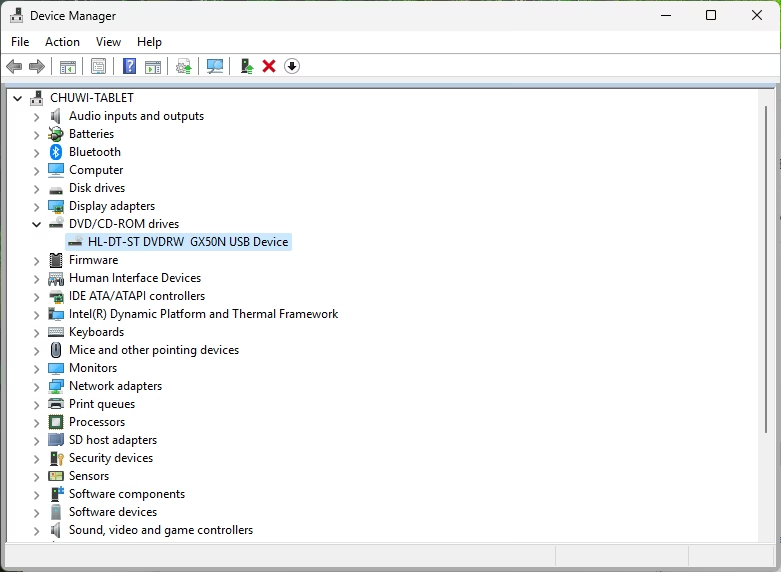
To confirm the driver was installed successfully, your Windows Device Manager should now report the drive as HL-DT-ST DVDRW GX50N USB Device:
And that’s it. Enjoy using the Apple USB SuperDrive on your Windows 11 machine!