Creating a Windows 10/11 ISO image from the downloaded UUP files
Hi everyone,
Today, we will see how to create a Windows 10 or Windows 11 ISO image using the downloaded Universal Update Platform files we downloaded on our previous post. For this, we will need to download a tool called uup-converter-wimlib. This tool is responsible for converting the UUP files into a working ISO file we can burn to a disc, use to make a bootable USB drive, or do an in-place OS upgrade.
Downloading uup-converter-wimlib
This tool can be downloaded from GitHub at the release repository. The tool is at the bottom of the page.
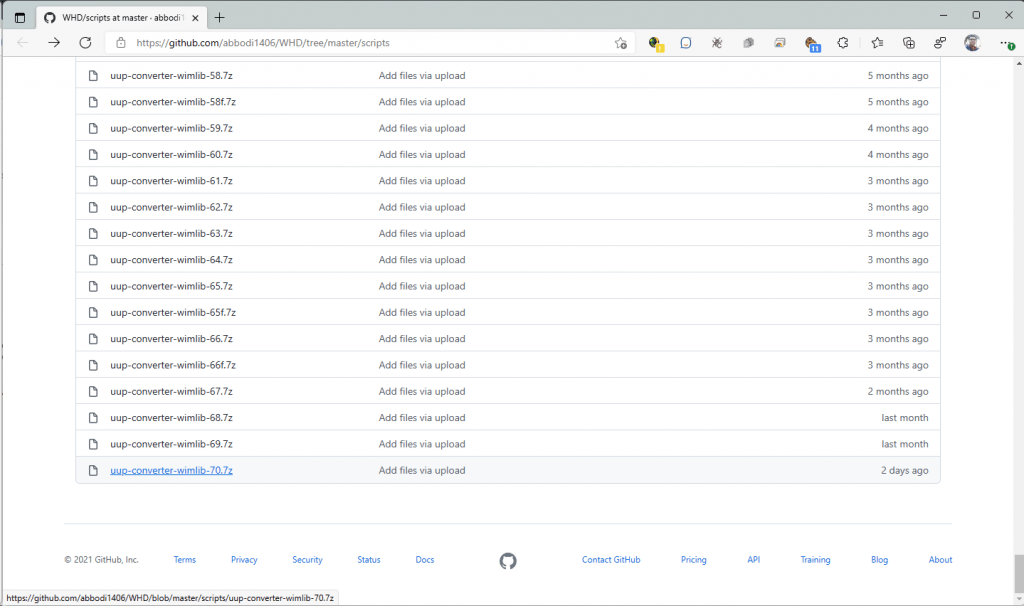
We will select the latest release available and click on the Download button:
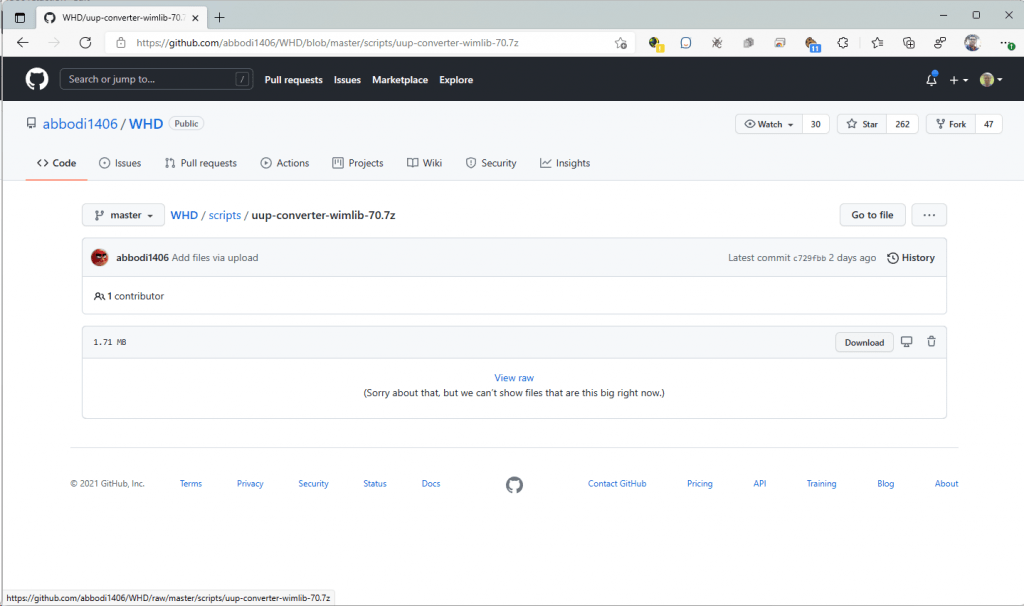
We will save this file:
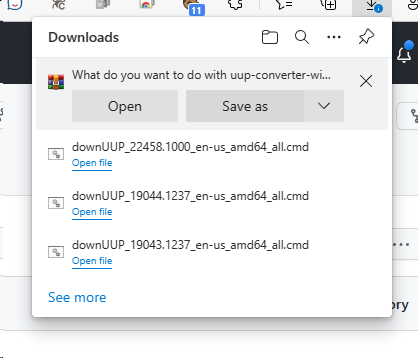
And we will extract it:
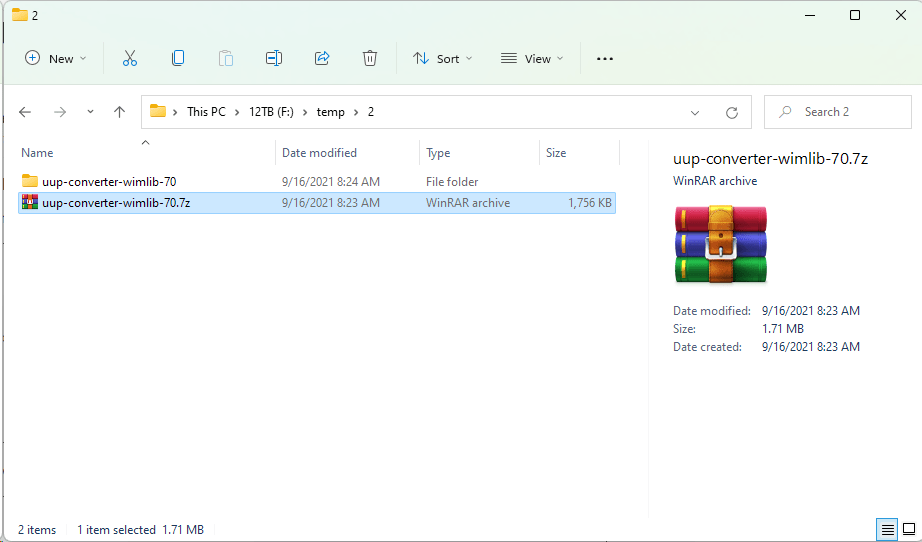
At this point, we have successfully downloaded uup-converter-wimlib.
Creating the Windows 10 or Windows 11 ISO file
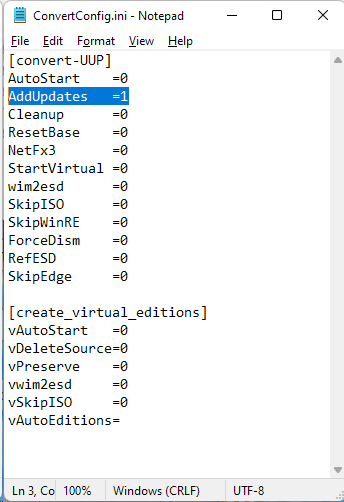
Before creating the Windows 10 or Windows 11 ISO file, it is important we do a small change to the configuration file called ConvertConfig.ini. By default, uup-converter-wimlib will not add updates to our Windows ISO file. For Windows Insider builds, this usually is not a problem as long at the build is a major upgrade, for example, 22454.1000, 22458.1000, etc. This, however would be a problem is we have a build with names like 22000.132, 22000.160, 22000.168, etc. The result would only be an ISO file that would result in the build 22000.1, excluding the updates.
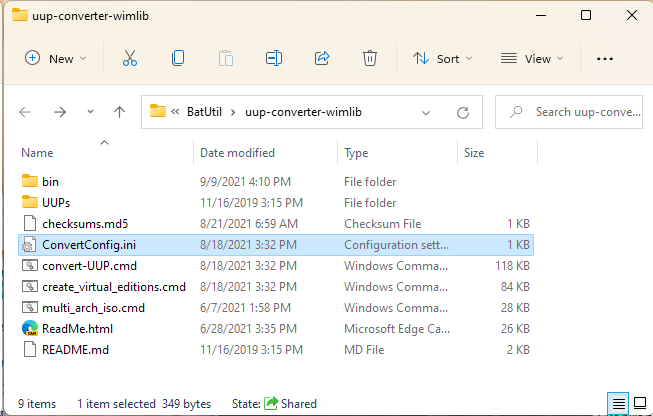
In order to have uup-converter-wimlib include updates while building the ISO, we will change the AddUpdate value from 0 to 1. This will integrate the updates in the Windows ISO as it is being created.
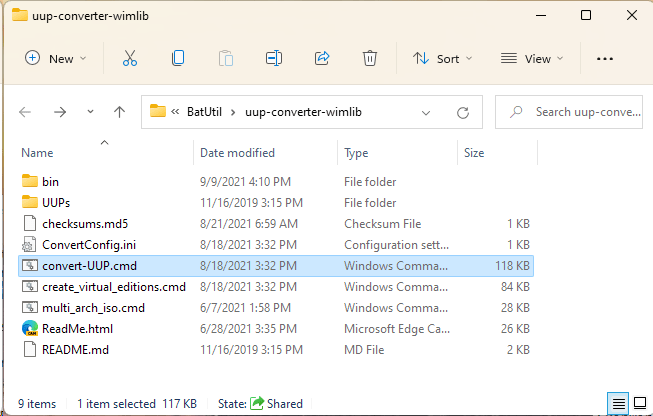
Now, we can execute the tool by launching the convert-UUP.cmd file.
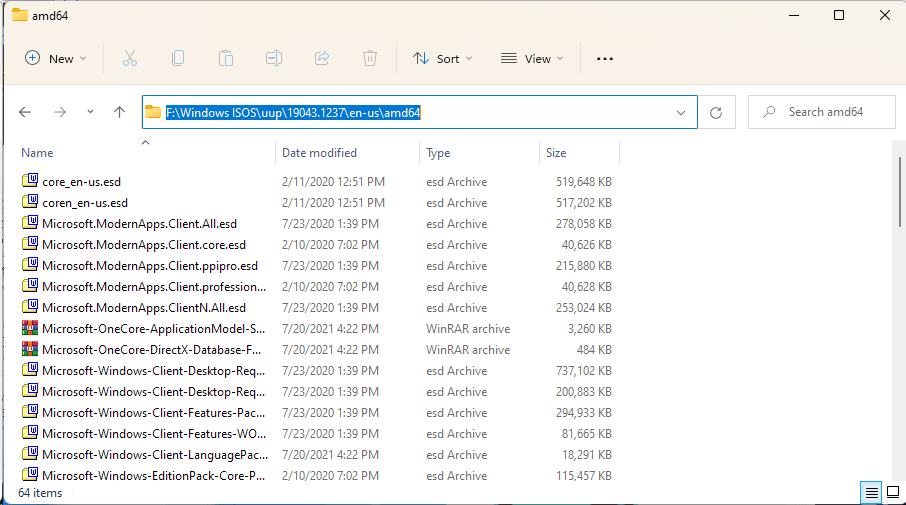
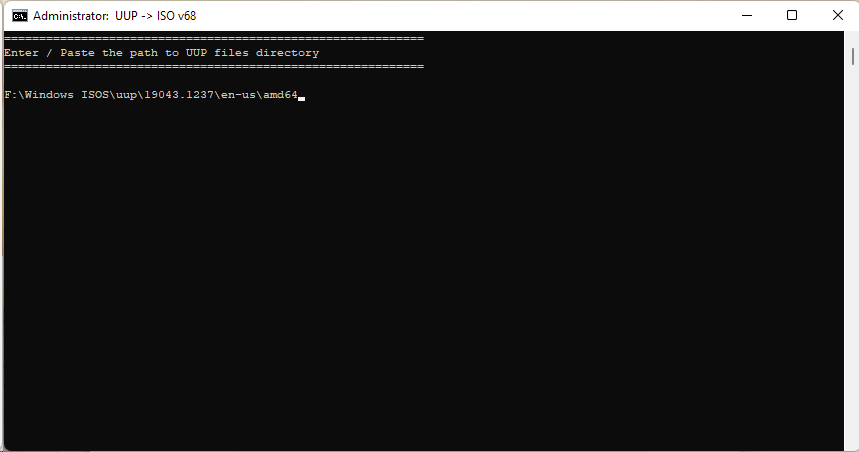
This will open a command prompt window asking us for the location of the downloaded UUP files. We need to copy the location of the path where we downloaded the files previously and paste it into the window. We will then press Enter:
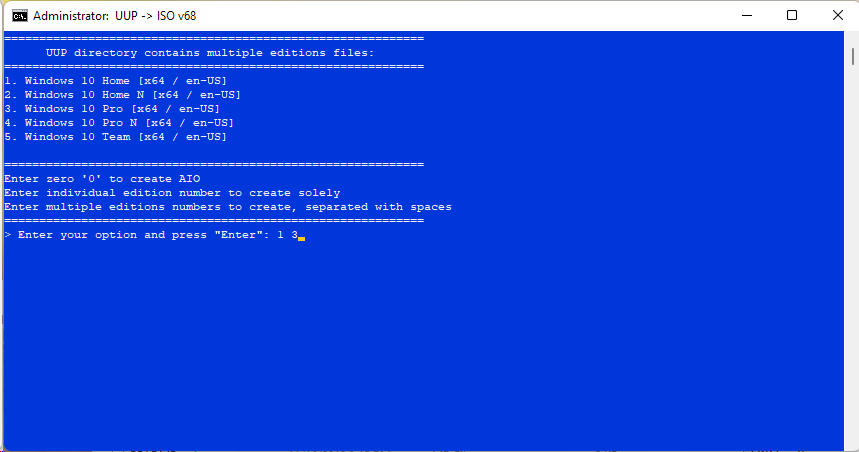
The next step asks us which Windows editions we would like to integrate in the ISO. My recommendation is to include the Home and Pro editions. These options are usually numbers 1 and 3, as seen on the screen, so we will enter those. We will press Enter:
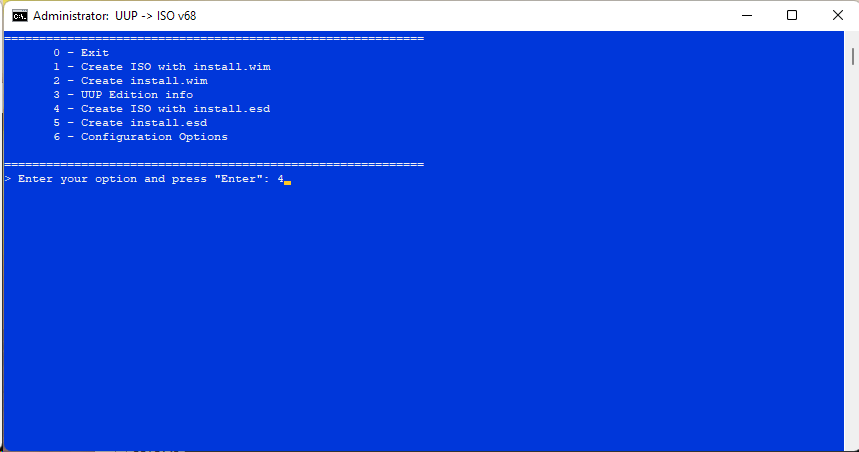
Finally, the next step asks us if we want to create the ISO file containing an install.wim or install.esd file. The main difference is that esd files are smaller than wim files. Based on my previous ISO generations, Windows builds that includes updates results in a file that can only fit on double layer DVDs, while a build without update fits in a standard DVD. The esd file, being more compressed, makes the images fit on a standard DVD. This only matters if you will be burning this file on a disc or prefer a smaller file. My recommendation is to go with an esd file. This is usually the option #4. We will enter 4 and press Enter, but if you wish to create the ISO file with a wim file, enter option 1 and press Enter:
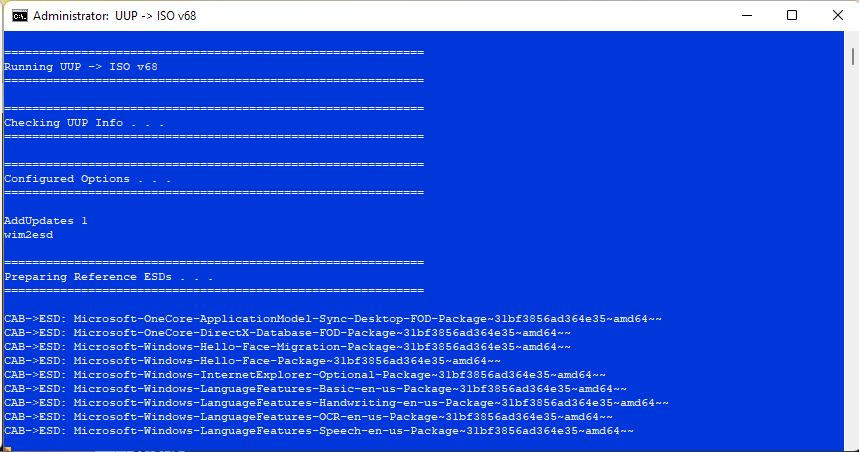
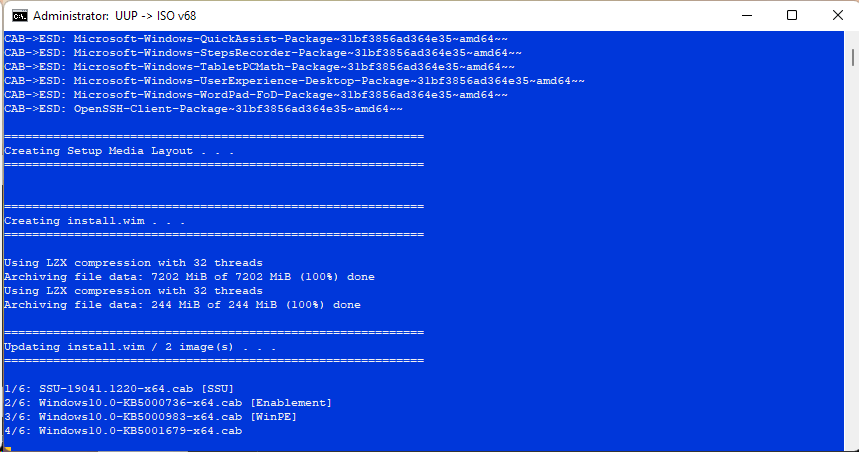
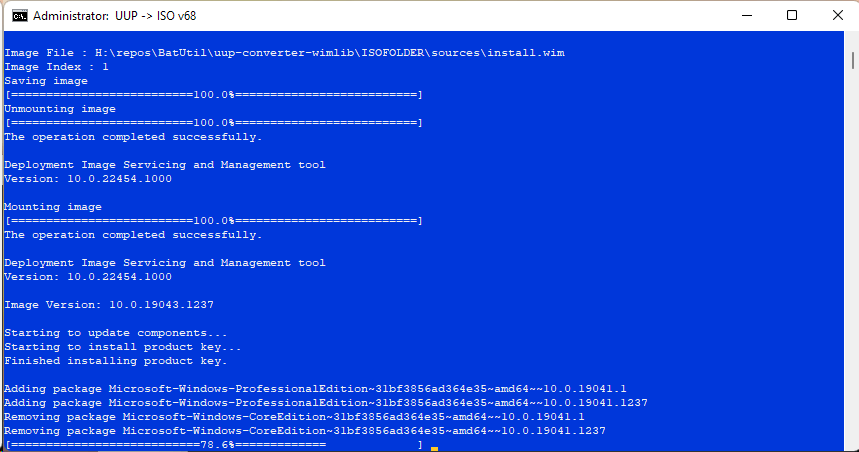
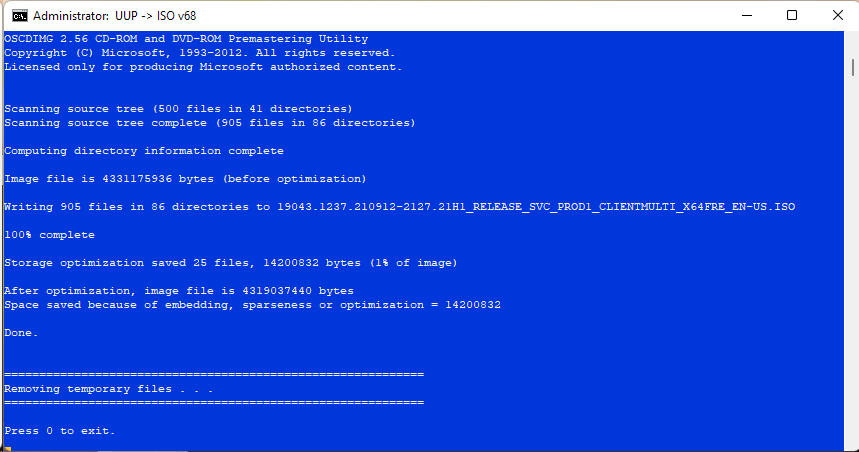
The magic will start now. This will take a while:
Once it finishes, we can press 0 to exit the tool:
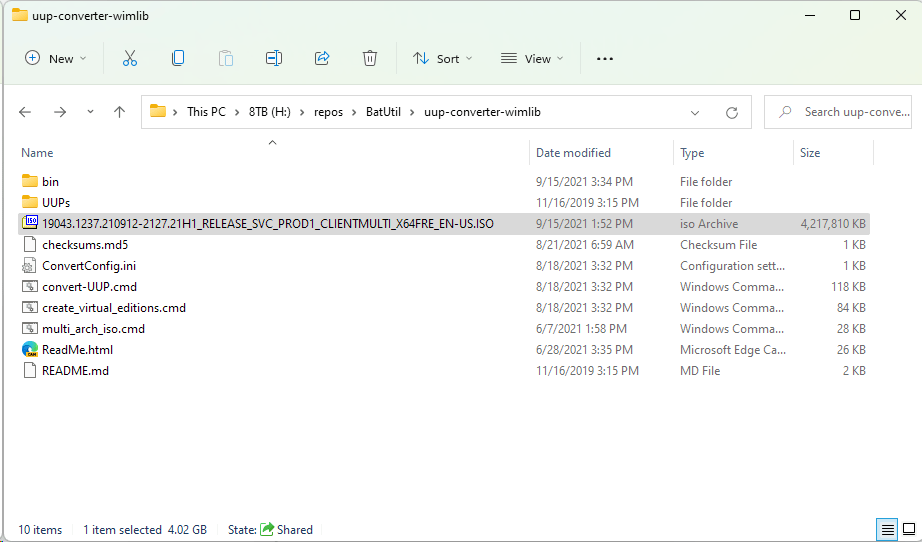
The ISO image will be located in the root folder of the tool:

Congratulations! You have now created a Windows 10 or Windows 11 ISO (depending on what UUP files you used). You can now burn this file to a DVD, use it to create a bootable USB drive, or perform an in-place upgrade.
