Creating a Working Windows 11 Installation Disc
Hi everyone,
In this post, we will see the steps to follow to make a working Windows 11 Installation Disc. The leaked ISO file currently only works if a machine has Secure Boot enabled and has a Trusted Platform Module 2.0 module.
It seems that these requirements are not really needed, at least in this build, but the installer will not let us move forward with the installation if a machine does not satisfies these requirements. This post will make you have a working installation disc. Note that these steps create a Windows 11 x64 installation disc, which will only work on x64 capable processors. With this in mind, let’s start.
First, you’ll need to have a Windows 10 installation ISO file. If you don’t have one, you can download and generate the ISO file yourself, by going to https://uup.rg-adguard.net and downloading the generation script for the latest version of Windows 10:

Windows will complain that the script “can harm your PC”. You can simply ignore this warning and store the file. You’ll need to run it in order to generate the ISO file. Now, this process will take some time, so go grab a Coffee, or take a walk, go to gym or find some other activity to do while the script creates the ISO for you.
In the end, you should have the ISO file generated in the same folder as the batch script:

The next step will be to mount the image:
This will create a virtual CD-ROM drive with the image mounted in it:
Make note of the drive letter as you’ll need this later.
You’ll now need to use a tool called ImgBurn. You can grab it from https://imgburn.com:
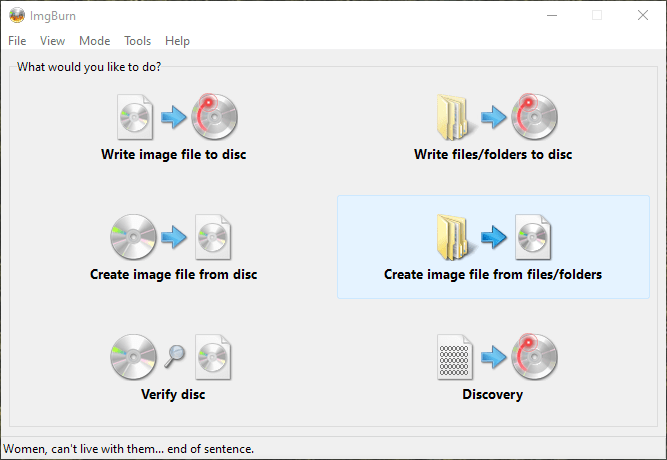
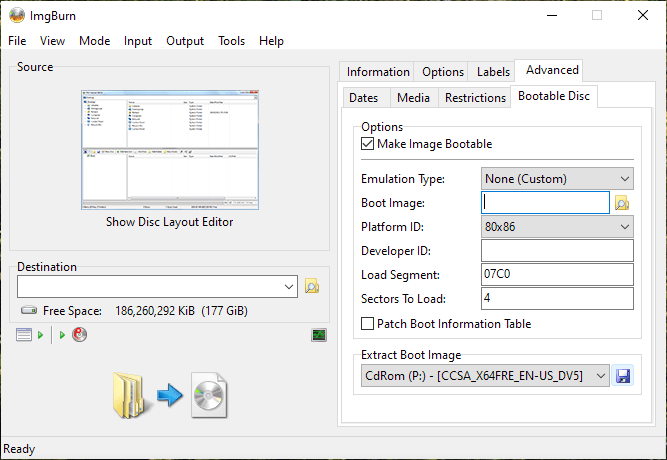
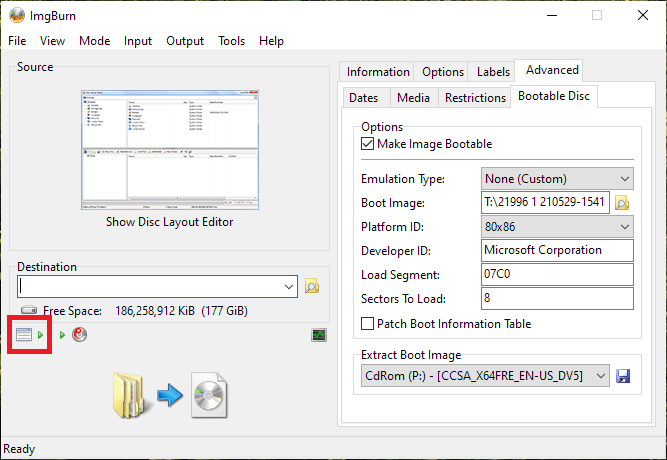
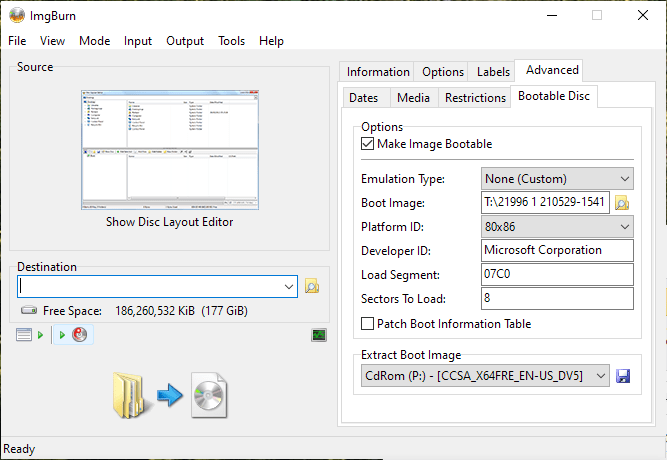
You’re going to click on “Create image file from files/folder” or “Write files/folders to disc”, and go to the “Advanced” tab, followed by the “Bootable Disc” tab. Here, you’re going to mark the option to “Make Image Bootable”, select the mounted virtual CD-ROM drive, and click the small save icon:
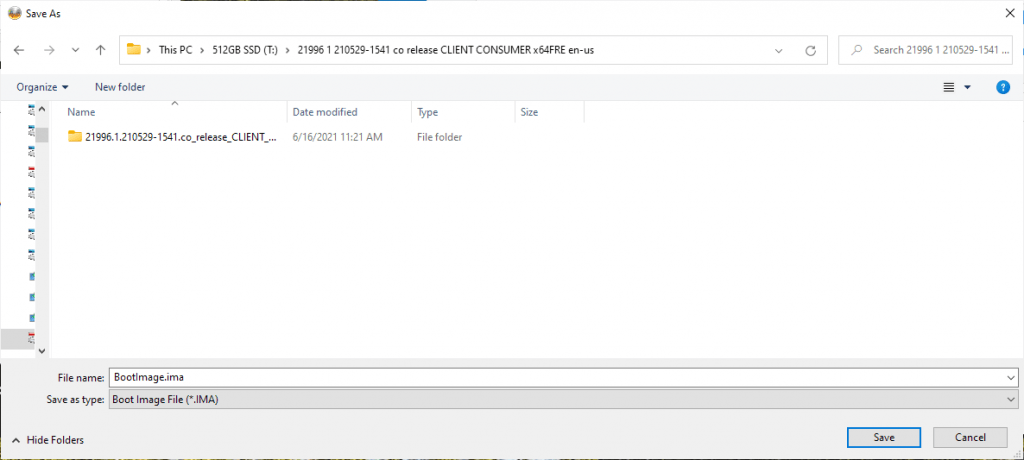
Save it anywhere you’d like. Here I saved it in the location that has the Windows 11 ISO:
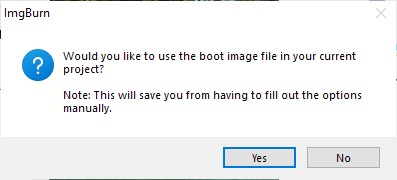
ImgBurn will promt you if you would like to use this image as the boot image. Click “Yes”:
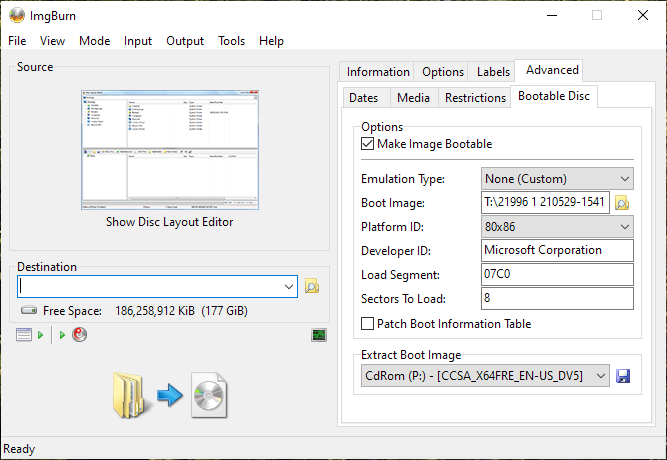
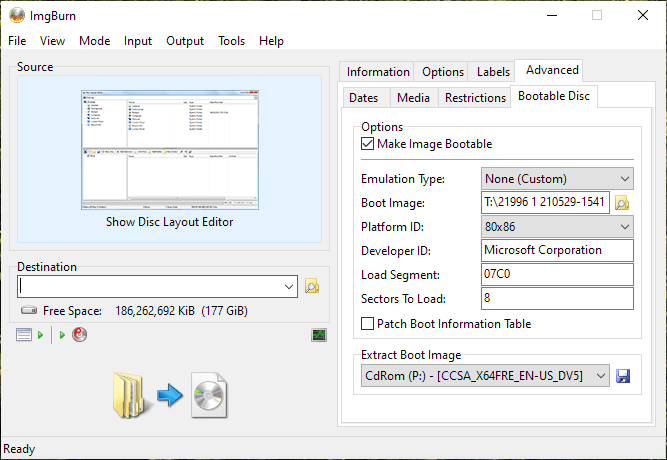
This screen should now look like this:
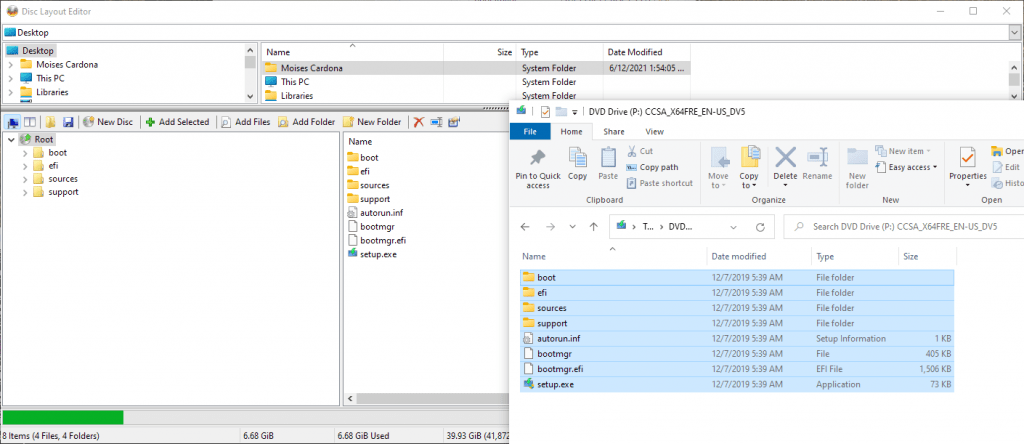
The next step is to click on the “Show Disc Layout Editor” button. If you don’t see it, click on the icon on the left below the text saying “Free Space”:
Once the new dialog opens, drag and drop everything from the mounted image into the ImgBurn window:
Now, we will need to either mount or extract the Windows 11 ISO. We are interested on a file called install.wim from it.
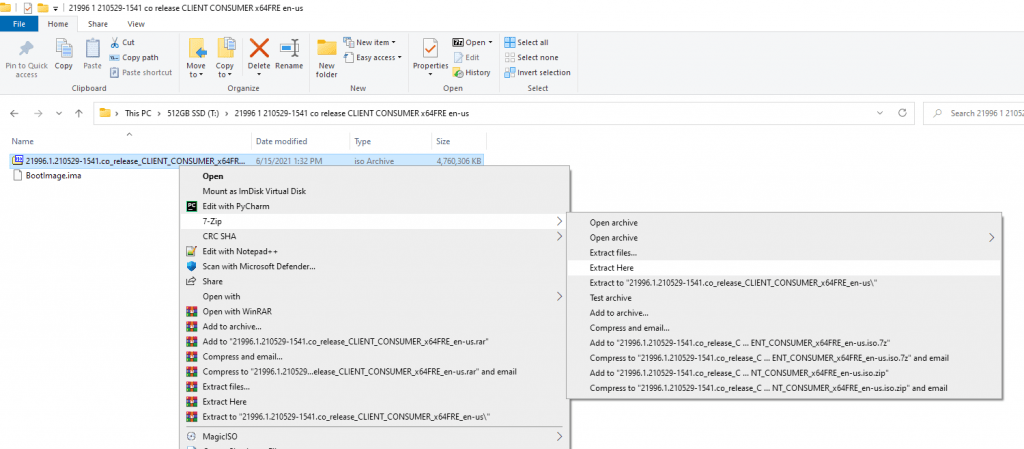
This file is located inside the “sources” folder. So, in both ImgBurn and in the extracted/mounted Windows 11 image, go to that folder:
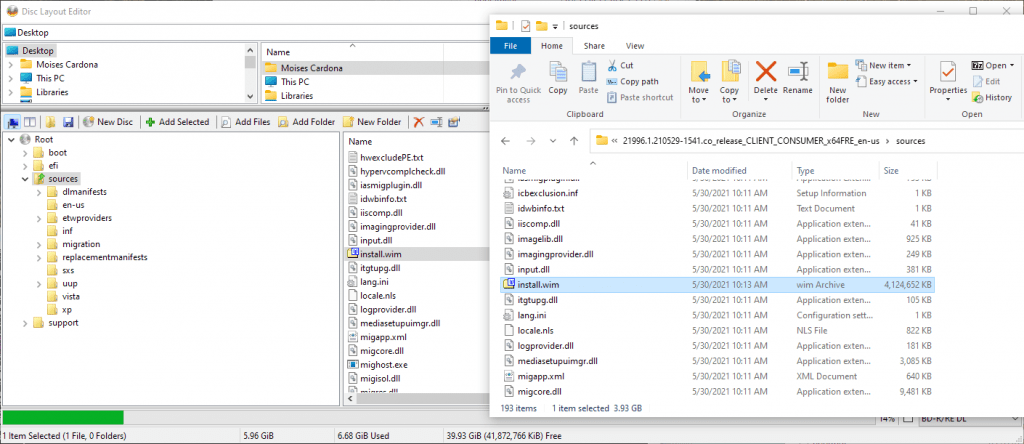
You are now going to drag and drop it into ImgBurn. When asked what to do, click on “Replace”:
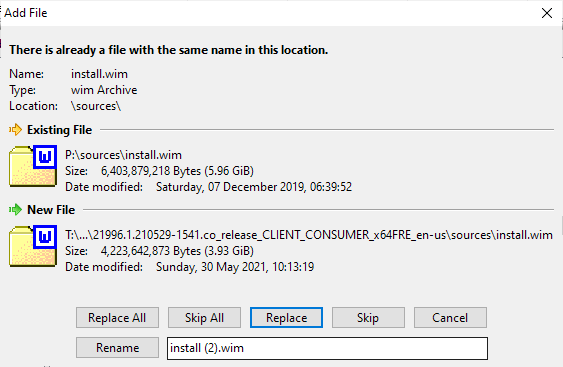
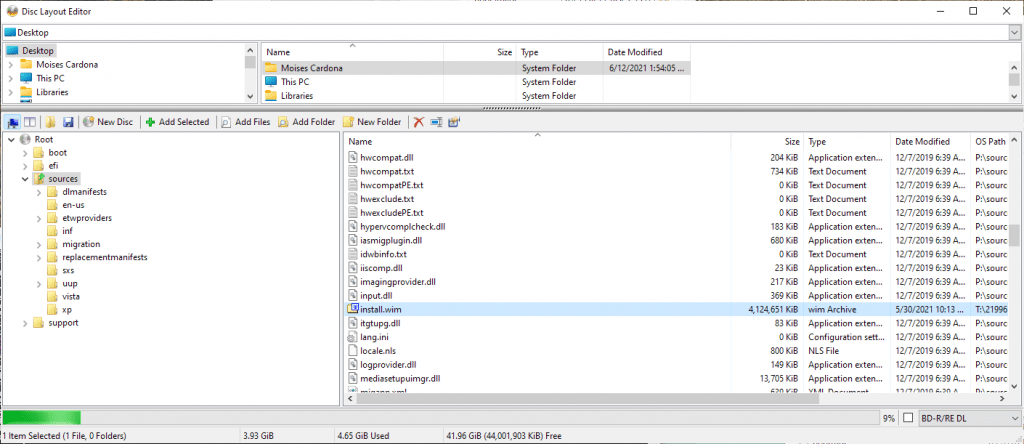
This file will replace the Windows 10 install.wim file:
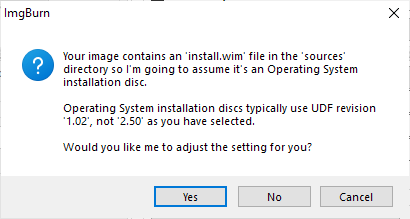
Close the window. ImgBurn may ask you if you want to use the correct filesystem for a bootable disc. Click “Yes”:
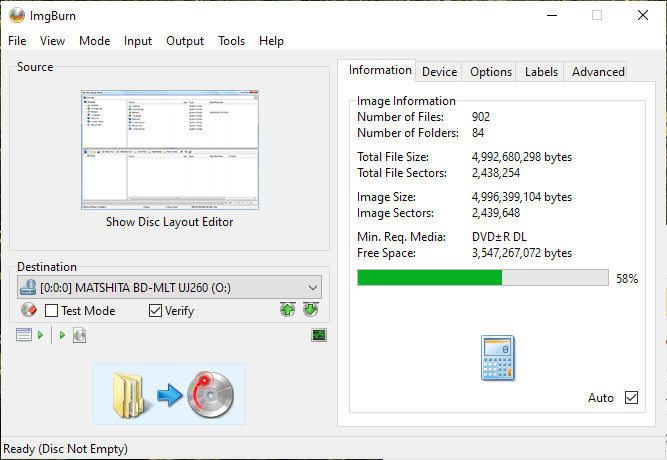
We are now ready to burn this on-the-fly image to a disc. If you selected to create an image, switch to drive mode by clicking on the little burning disc icon:
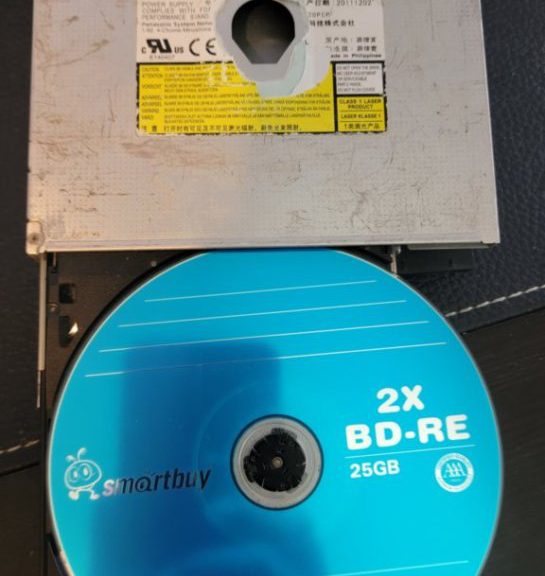
Select the drive to use and initiate the burning process. Note that you’ll need a DVD+/-R DL disc, or a BD-R/RE disc as this image is a bit bigger than what would fit on a regular DVD disc:
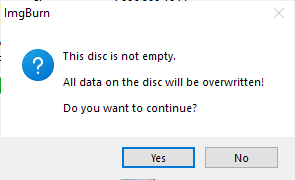
I used a BD-RE disc. If you use a rewritable disc, you may be required to erase it. Click “Yes” if prompted:
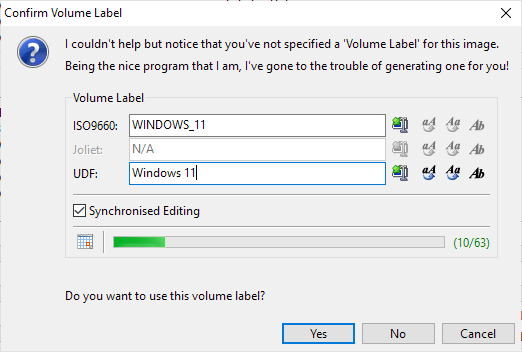
Next we are asked about the name of the disc. I simply wrote “Windows 11” here. Click “Yes”:
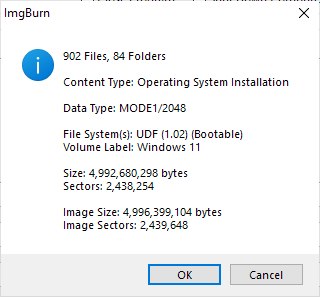
We will now confirm everything by clicking “Ok”:
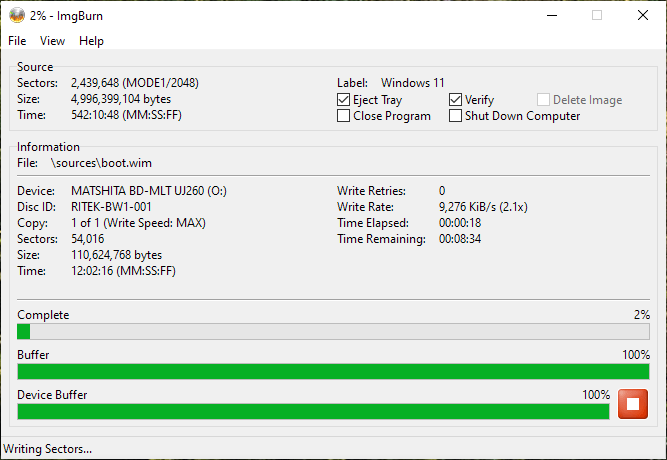
The disc burning will start. I recommend you also mark the “Verify” option. We don’t want to have a broken installation disc after all:
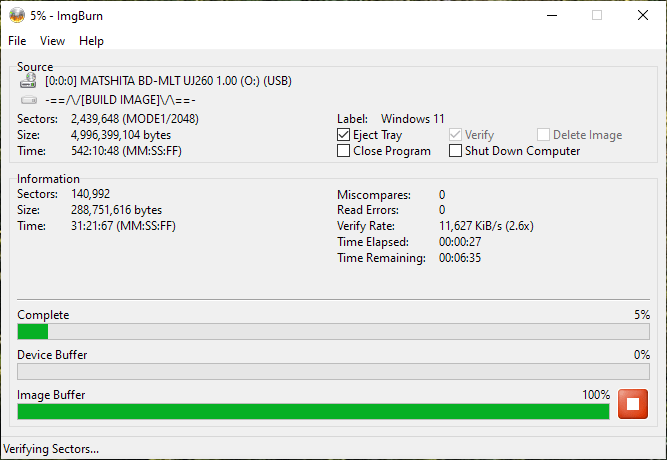
Once the disc is burned, the verification stage will start. If you use a laptop drive, you may be prompted to close it and press “Ok”. Desktop drives do not have to do that, as the software will cycle the drive automatically. It will then load the disc and start the verification process:
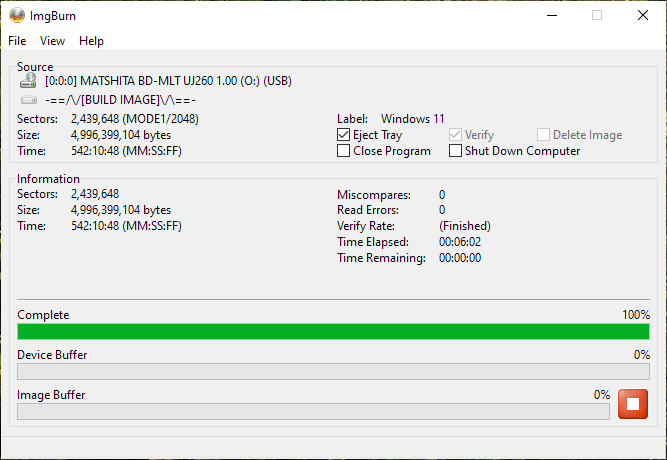
Once the verification process is complete, we will have a working bootable disc:

In the next post, we will attempt to install Windows 11 with this new disc.
