Installing Wine from WineHQ in Ubuntu 22.10
Hi everyone,
Today, we will be installing Wine from the WineHQ repository in Ubuntu 22.10. Wine is a compatibility layer that allow us to run Windows software on Linux. It is not an emulator nor a virtualization software. It simply translates the binary to Linux-compatible POSIX API call to allow the execution of them.
In Windows, Microsoft added the Windows Subsystem for Linux (WSL). There are currently 2 versions: WSL1 and WSL2. WSL1 can be considered the opposite of Wine, as it uses a compatibility layer to translate Linux software to Windows API calls. WSL2 uses virtualization to execute a real Linux Kernel. In this regard, Wine does not virtualizes a Windows NT kernel, so Wine acts like a WSL1 but in the opposite direction, allowing the execution of Windows software on Linux.
There are software that is only compiled to run on Windows, with no Linux build or version for them. This is when Wine comes in handy because we may be able to run them. Do note that Wine is not perfect, it is actively developed, and may not work with all software or have bugs.
Still, Wine is a good way to run those Windows-only software on Linux and here we will go through the setup steps.
Adding the i386 architecture
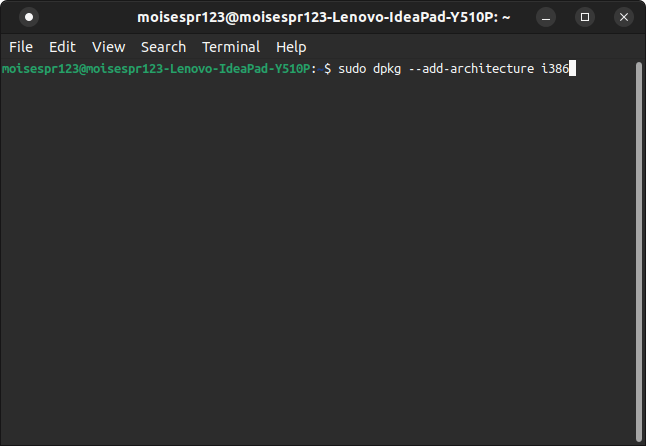
Wine needs to fetch some packages from the i386 architecture. I presume this is needed to allow the execution of Windows 32-bit software. So, we add this with the following line:
sudo dpkg --add-architecture i386
Adding the WineHQ repository key
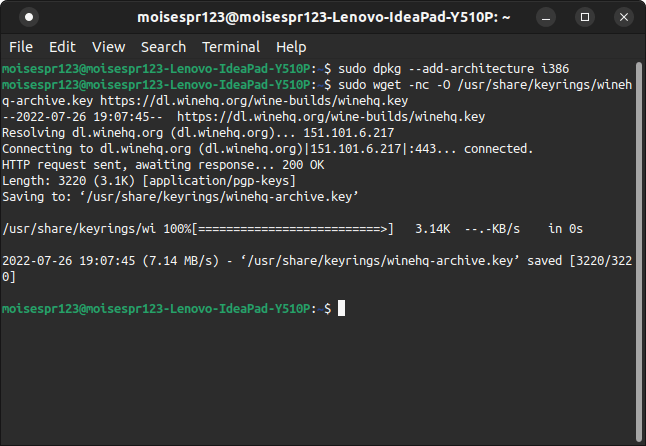
Keys are an essential part when adding repositories to our system. For WineHQ, we need to add the key before adding the repo, so we run the following command:
sudo wget -nc -O /usr/share/keyrings/winehq-archive.key https://dl.winehq.org/wine-builds/winehq.key

Adding the WineHQ repository
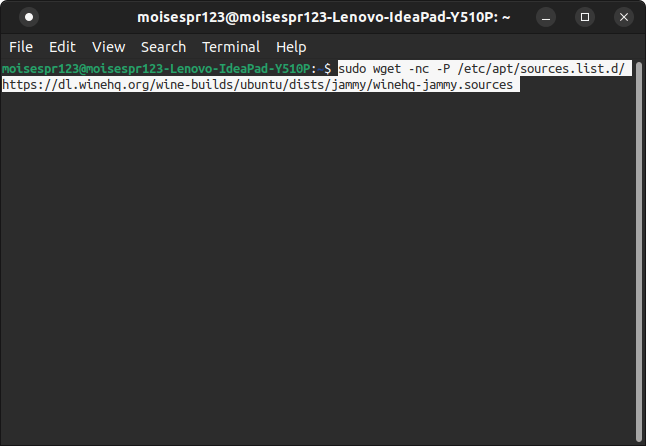
Currently, there is no repository for Ubuntu 22.10 Kinetic Kudu, so we will use the repository for Ubuntu 22.04 Jammy Jellyfish:
sudo wget -nc -P /etc/apt/sources.list.d/ https://dl.winehq.org/wine-builds/ubuntu/dists/jammy/winehq-jammy.sources
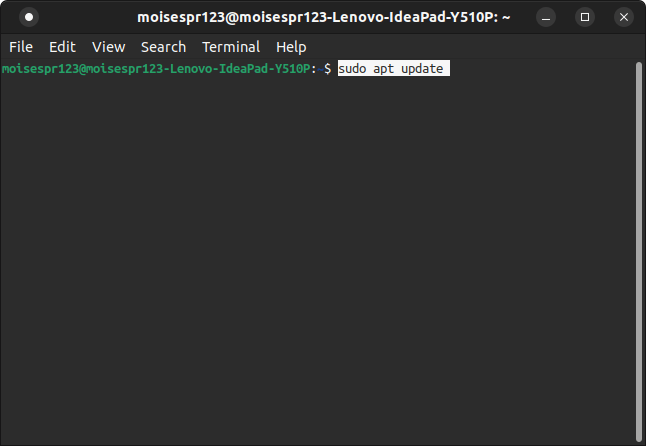
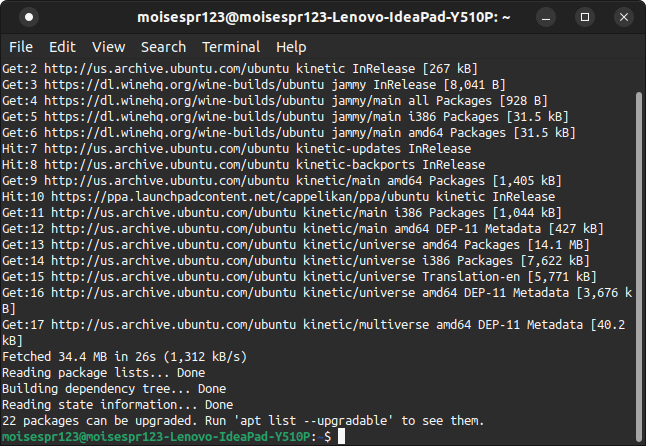
Now, update the apt package list:
sudo apt update
Installing Wine
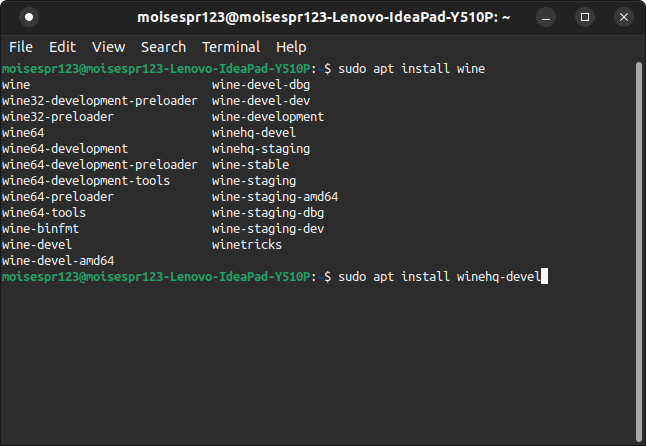
Our Ubuntu repository already contains a Wine package. It is simply called wine, while the wine packages from WineHQ are called winehq. I prefer installing the WineHQ packages because they come from their own repository, meaning it is likely they will be updated faster, and is also the official source.
There are also 3 available packages of Wine:
winehq-stableis the latest stable version.winehq-develis the latest development version. It is a few versions above the stable version and may incorporate fixes and allow the execution of software that may otherwise fail in the stable package. On the other hand, because it is a development release, it may also have some issues that may not be present in the stable package. That said, I would install this package to have the most recent changes installed in my machinewinehq-stagingis a package that should only be installed if we know that the Windows software we want to use require some sort of patching. These patches are not part of the stable or development packages, and I do not recommend using this package unless you’re sure it’s needed to allow the execution of your software.
I will be installing the winehq-devel package. Currently, the stable version is Wine 7.0 while the development version is Wine 7.14.
sudo apt install winehq-devel
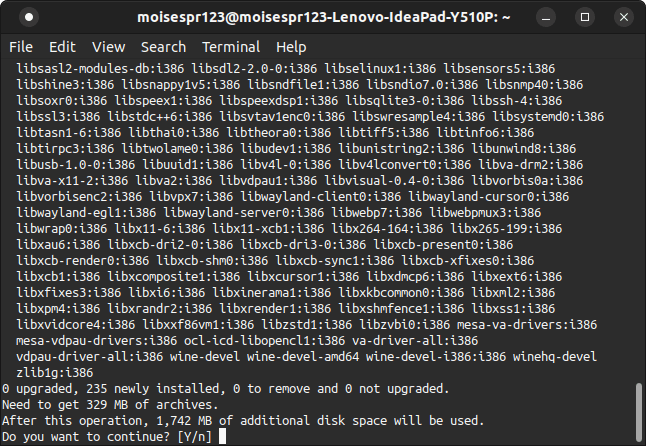
A lot of packages are going to be installed, most of which are i386 packages. We will confirm the installation of these pressing the Y key:
Once the installation is complete, we will proceed to the initial setup.
Optional: Initial setup
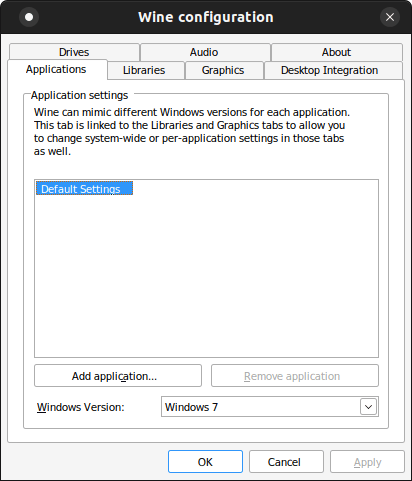
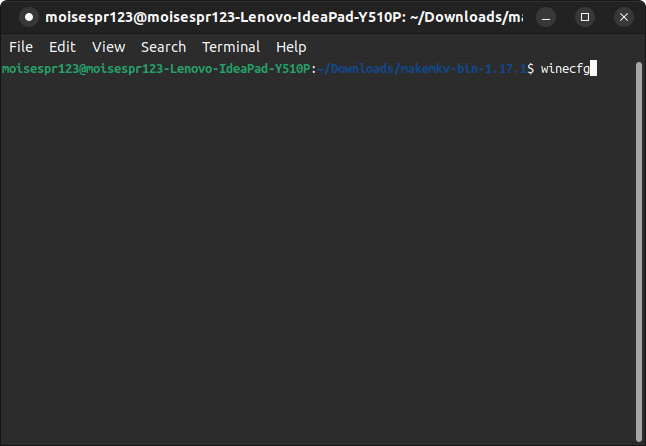
This step is optional but highly recommended. I recommend launching winecfg to allow it to initialize Wine before we try to execute any Windows software. For this, we simply type winecfg in the terminal:
winecfg
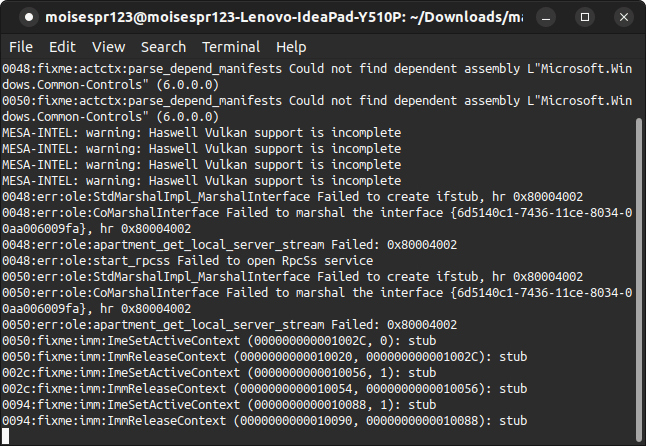
We will see some text being shown in the screen. This is normal.
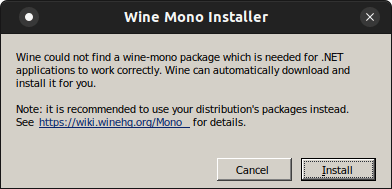
Shortly, we should see a window asking us to install the wine-mono package. This will allow us to make .NET software work correctly. We will click on Install:
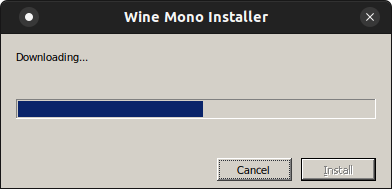
Wine will download and install this package for us:
Once this step is complete, we will be shown with the winecfg interface. We may close it, and we are now ready to run Windows software:
Congratulations! We have now installed Wine and are ready to run Windows software on Linux.