Labeling a DVD with Lite-On’s LabelTag technology in Linux
Hi everyone,
Today, we will see how to label a DVD using a LabelTag-compatible DVD drive and using Linux.
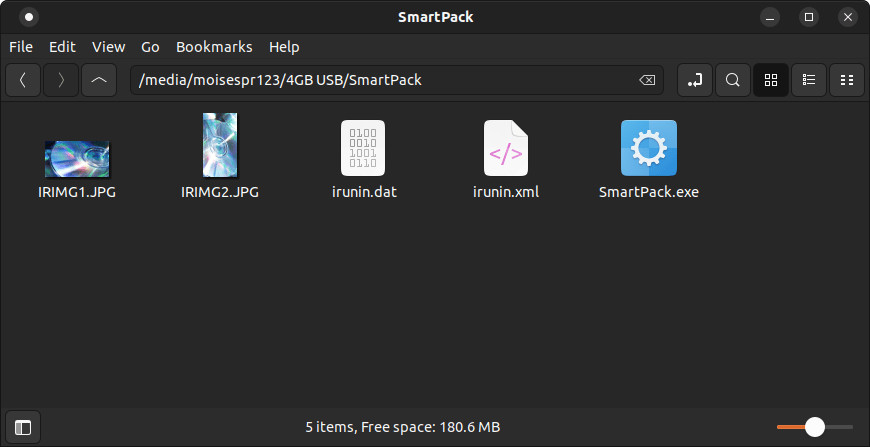
Before we proceed, you must have installed Wine in your system. If you have not, you can follow the steps I wrote in this post to install it. You’ll also need to have Lite-On’s SmartPack installed in your system. You can download it here.
Lite-On’s LabelTag is a technology they developed back around 2010, and made available on very few drives. One of them is the Lite-On iHAS524, which I brought around that time. It allows you to create circular labels on the data side of a CD-R and DVD+/-R if there’s enough free space available. The LabelTag software was made available on some versions of Nero that came bundled with the drive, but LiteOn also made it available with their standalone tool called SmartPack.
SmartPack is only a Windows software, so you’ll ideally want to use Windows to label your discs. However, thanks to Wine, we can use this software in Linux just as it would in Windows.
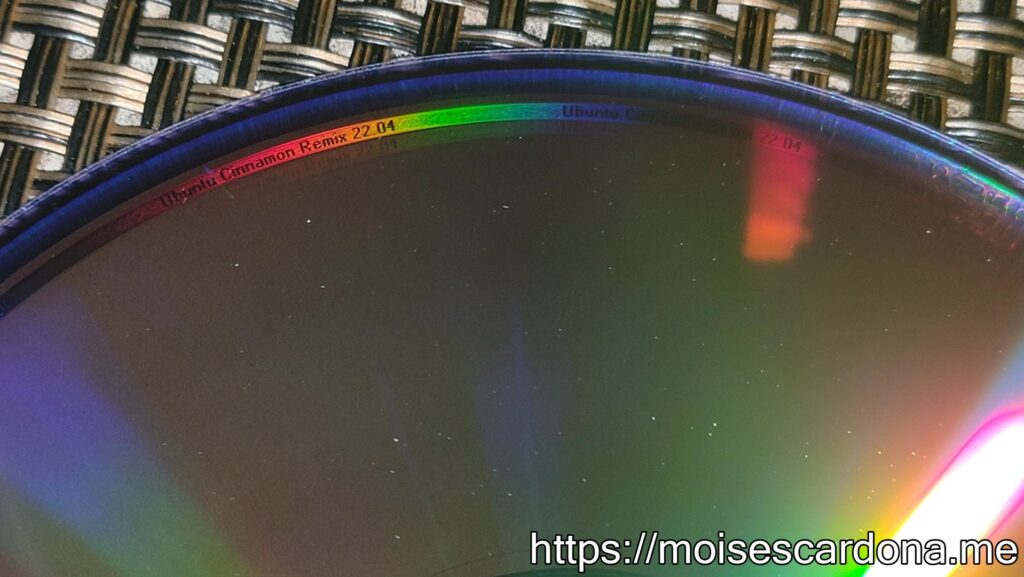
I will be labeling the DVD I burned of the Ubuntu Cinnamon Remix 22.04 ISO file. The image was about 3.7GB, and a DVD can have up to 4.3GB of data. This leaves us with some unused space in the data side of the disc that we can use to create a circular label. That’s what LabelTag does and that’s what we will do.
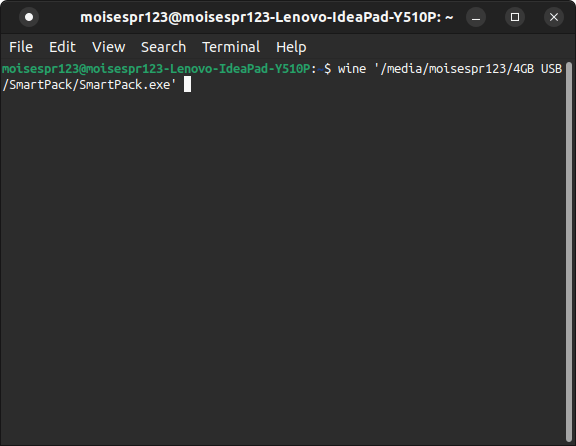
To begin, we will launch SmartPack.exe, which is the main tool. This will bring us to the main SmartPack interface. You can launch it directly from the file explorer, or you can use the terminal.
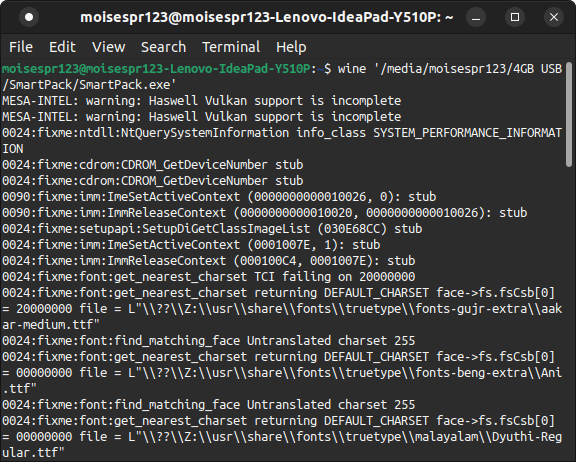
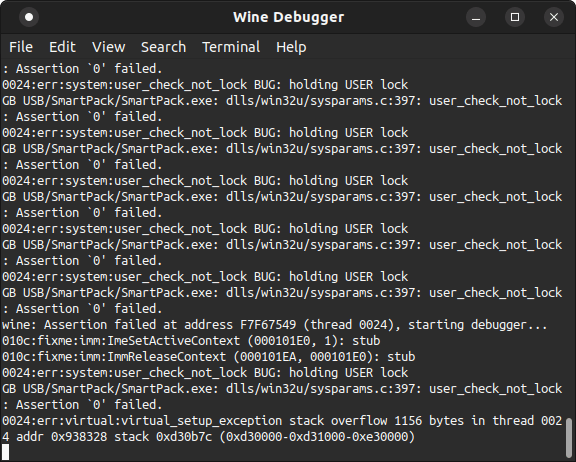
If you use the terminal, you’ll see more details shown in the screen and in my case, I like to see the outputs of Wine processing Windows software, in case I need to report some issues later.
The main interface should show up normally:
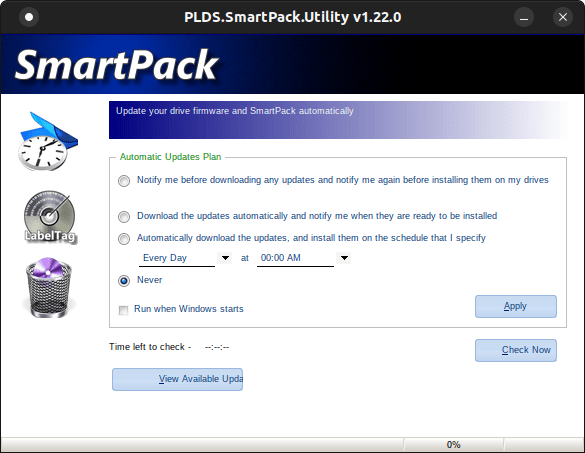
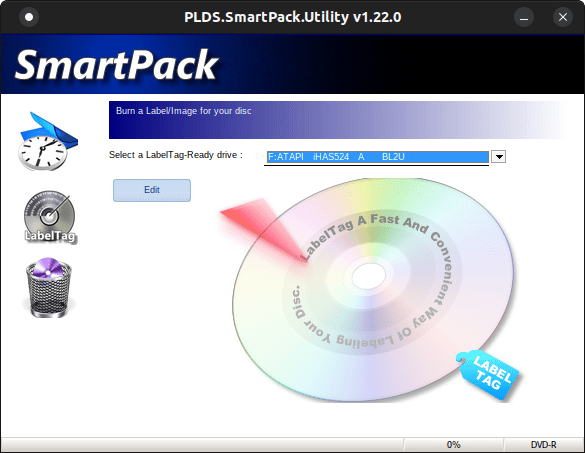
From here, we will choose the LabelTag option. We can see that it recognized our DVD drive perfectly and the Edit button is enabled. That button is disabled if we choose an incompatible drive, but since the LiteOn iHAS524 has the LabelTag feature in its firmware, we can proceed and click it. We do need to have a disc inserted for the LabelTag interface to show up:
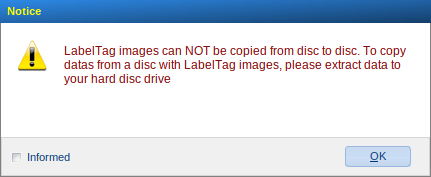
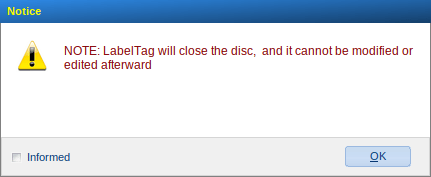
We may be presented with some warnings that we can discard by clicking the OK button, and we can select the “Informed” checkbox to not see them again:
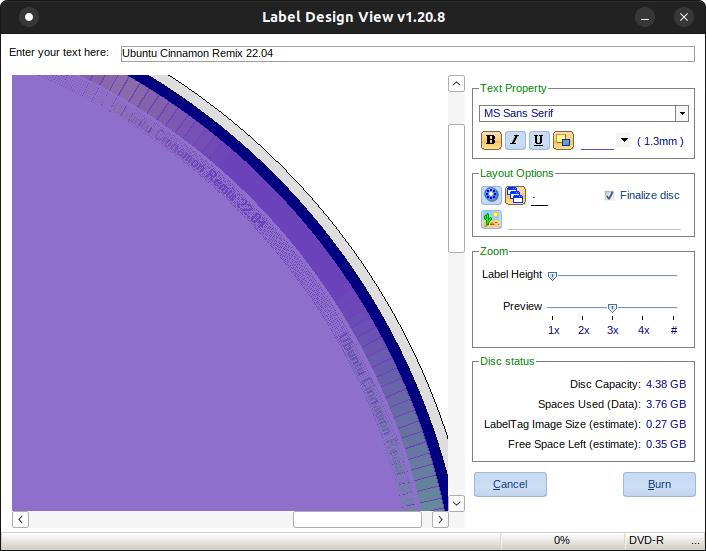
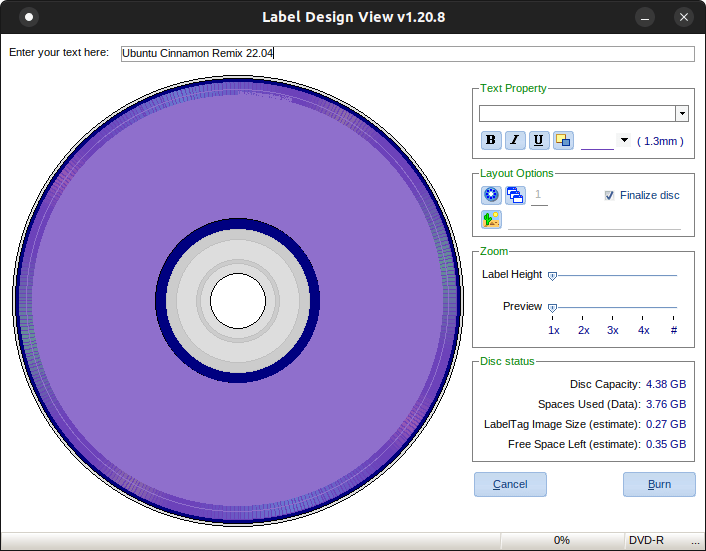
We should then be seeing the LabelTag interface, with a virtual DVD image showing the data consumed and the data available.
As we type the label, the LabelTag interface will update itself with a preview of how it will look. In this case, because of the small available space, we can´t choose the size letter.
We can duplicate the text around the disc so that it is easier to read later, due to its small size:

We can also invert the colors:

Because the label is so small, you’ll want to zoom in to see how it looks better:
One issue I found is that sometime scrolling will cause Wine to throw an exception and will crash the software. You have to be careful when scrolling an if this happens, you’ll have to start typing the label again.
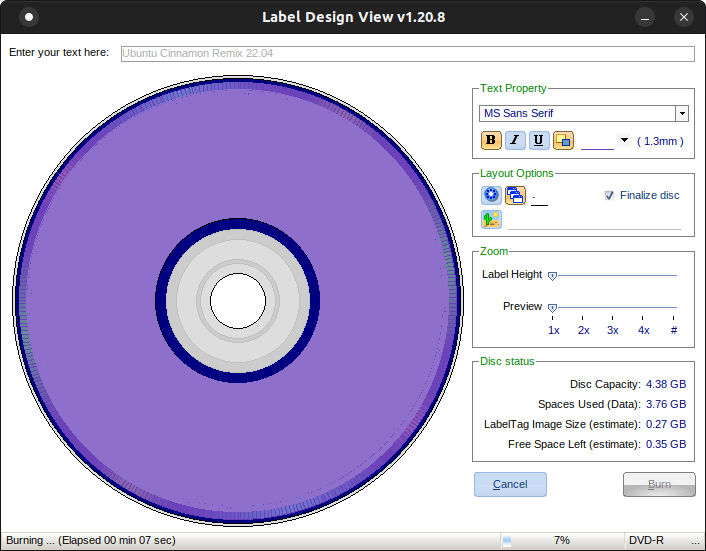
Once the label is complete, we can press the Burn button to begin burning it.


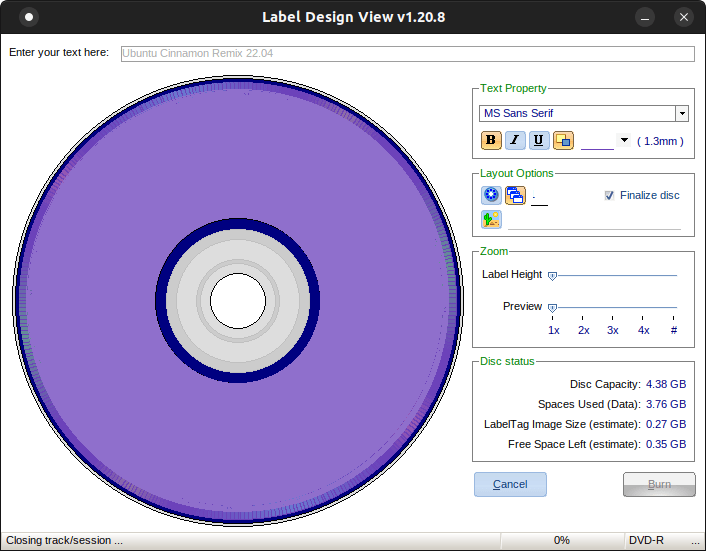
Once om the “Closing track/session” message, the drive should stop burning the disc and finalizing it. On Windows, SmartPack would eject the disc, but something I found out, at least on my system, is that the drive tray never ejects when a software tells it to. You’ll have to see when the drive stops burning by checking the LED. Once it’s done, you can manually eject it.
This is the result of our label in the disc:
And with this, I conclude this post. It’s good to know that the SmartPack software works well with Wine on Linux.
