Resizing and Watermarking images with Python and PIL
Hi everyone,
Today, we will be seeing how to resize and watermark an image using Python and the PIL library. This is very simple once I went through a few issues I experienced myself and a deprecation warning. This code is based on the code from the following page:
I have recently switched to Ubuntu Linux and am looking for alternative software to those I normally use in Windows. To watermark and resize my images there, I used IrfanView. This software is Windows-only although the FAQ says it can be used in Linux using WINE.
On Linux, we can use the ImageMagick toolkit to manipulate images. Unfortunately, I found it to be a bit complicated to use. This led me to write a Python script to handle these steps.
Python has the wonderful PIL library which is used to write code to do stuff with images. An advantage of this is we can update the code as we like in the future shall we want it to do other stuff. In my code, I’m doing 3 steps:
- Rotate the image by using the EXIF image metadata if it is specified.
- Resize the image.
- Apply the text-based watermark.
Step 1 is needed because otherwise, PIL will ignore the image orientation tag, discard it and proceed to steps 2 and 3, therefore having an incorrectly rotated image with the watermark correctly placed. This happens because when we take a picture with our phones, it stores the orientation in its metadata. This metadata standard is called EXIF. The image itself is not rotated, and it’s up to photo viewing software to respect this rotation metadata. Do note that none of these steps affects the original image with our code.
Other Python libraries we will be using is the os and the glob libraries.
oswill be used to get the file name and split the file extension.globwill be used to get a list of JPEG files (with the*.jpgextension) in the directory that holds our photos.
Now, let’s start with the code.
Step 1: The Python imports
Before we begin writing our code, we must import some libraries that will allow us to do the operations that we will do to our images. This is important. Otherwise, Python will fail to execute our code.
import os
import glob
from PIL import Image, ImageDraw, ImageFont, ImageOps
The first 2 imports are straightforward. The 3rd import specified which specific classes we want to use from the PIL library.
Imageis the main image class responsible from opening and saving our image.ImageDrawallow us to draw in the image. We will be adding a text to it, which is why we need it.ImageFontwill allow us to use a TrueType font installed in our system to render the text.ImageOpsallows performing operations in the image. We will be using it to rotate and resize them.
Step 2: Creating the main image function
We will be defining a function that will be in charge of running the above steps. It will be responsible for generating and parsing the file names using the os library. We will be calling this function resize_and_watermark:
def resize_and_watermark(file: str, path: str) -> None:
    print("Resizing and Watermarking file {}".format(file))
    filename = os.path.basename(file)
    filename_without_extension, extension = os.path.splitext(filename)
    output_filename = "{}-out-watermark{}".format(filename_without_extension, extension)
- In the
defline, we pass the file argument as a string (str), because the file path itself is a string. We also pass thepathargument as a string too because we need the directory path to save our image later. This functon does not return anything, so the expected output isNone. - We then print a message along with the file that it is processing (line 2).
- Moving forward to the next 3 lines, the first one parses the file name out of the full file path (
os.path.basename). - Then, we split the file name with
os.path.splitext. This returns us 2 strings: The first is the filename without the extension and the 2nd string is the extension itself. - The last line is the formatted output filename, appending
out-watermarkand the extension to it. Note that we pass the splitted filename and extension to it from the previous lines to the.formatfunction.
Step 3: Opening the image, performing the rotation, and resizing it.
Now that we parsed the file names, it’s time to add the code to open, rotate the image according to its EXIF metadata orientation and to resize it to a specified width and height in pixels.
    img = Image.open(file)
    img = ImageOps.exif_transpose(img)
    img = ImageOps.contain(img, (1920, 1080))
The first line will open the image file and the img variable will hold it. This variable will keep the image as we process it with our code.
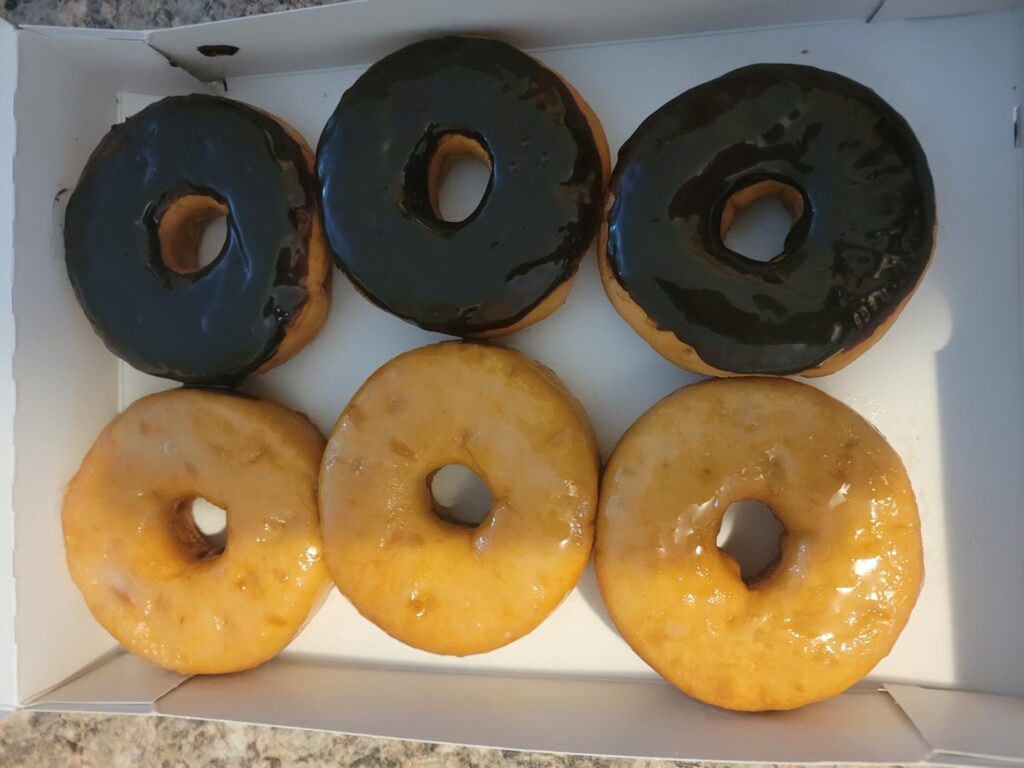
If an image has an EXIF orientation tag, we want to use it to rotate our images properly before we do any further processing to it. This is what the ImageOps.exif_transpose(img) line does. Without it, we would have a non-rotated image like this:
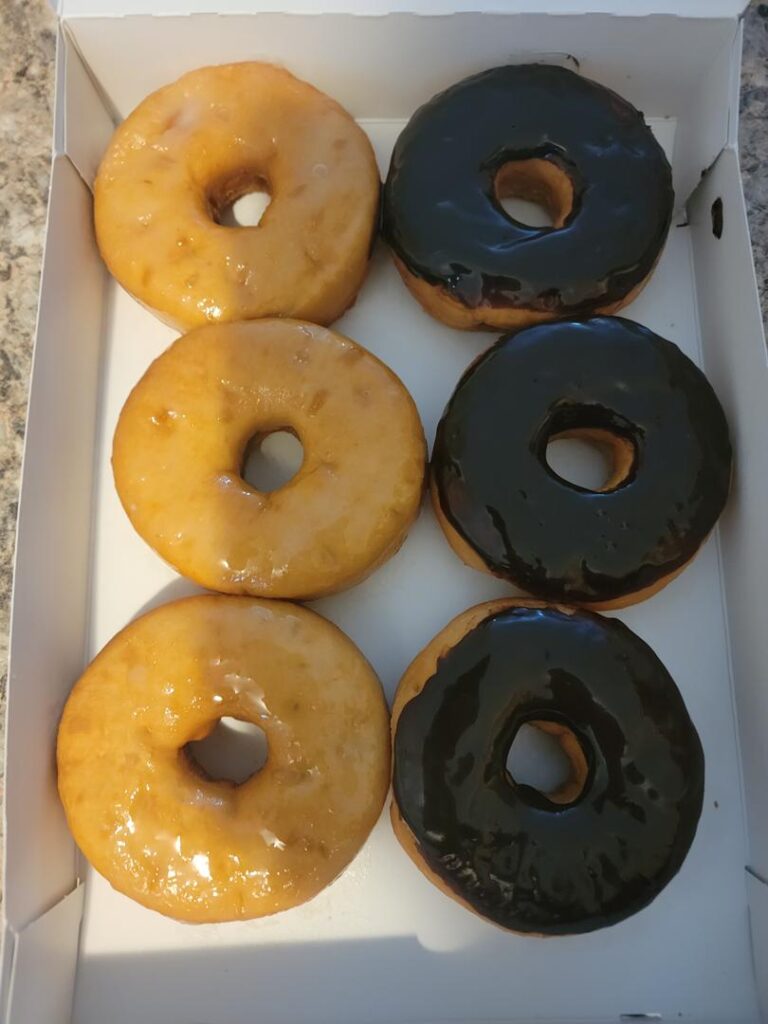
A rotated image using the above line will look like this:
The line ImageOps.contain(img, (1920, 1080)) will resize the image to 1920×1080 pixels maintaining its aspect ratio. This will help us keep our images small too, ideal to host on a website like this. You can change those 2 numbers to another resolution that fits your needs. It needs to be in the (x, y) format and be in pixels.
At this time, we have rotated and resized our image.
Step 4: Drawing the text
Now it’s the time to place the text watermark in our image. This piece of code is more complicated, so we will go in more details here:
    draw = ImageDraw.Draw(img)
    text = "https://moisescardona.me"
    font = ImageFont.truetype('/home/moisespr123/.local/share/fonts/micross.ttf', 48)
    textbbox = draw.textbbox((0, 0), text, font)
In line 14, we make a draw variable that will hold the image data and allow to modify the img object directly.
In line 15, we have the text variable that holds the text to draw to our image
In line 16, we use the ImageFont class to open a TrueType font installed in our system along with the text size (48 in this case). The first argument is the path to the TrueType font to use and the 2nd argument is the text size to use. The result is returned and is held in the font variable.
Finally, in line 17, we draw the text at the pixels (0, 0). The textbbox variable holds a slice with the size of our text along all 4 corners.
We can use a print statement to get this information:
    print(textbbox)
    # prints the following
    #  (0, 11, 550, 55)
These are the bounding pixels where the text starts and ends. We need the last 2 items in order to subtract the image width and height with them to place our text correctly.
This brings us to the next piece of our code:
    textwidth = textbbox[2]
    textheight = textbbox[3]
    width, height = img.size
    x = width - textwidth - 10
    y = height - textheight - 10
The first 2 lines holds the last 2 items from the textbbox variable, the text width and text height, respectively. We do not need the starting information in this case, since we will be placing our watermark in the lower right by subtracting the image width an height with these values.
Line 20 gets the image width and height and stores it in their respective variables.
The last 2 lines subtracts this to get the x and y location to place our text in the image. Iḿ also subtracting 10 more pixels to make it look better placed in the image.
Now, we can draw our text in our image:
draw.text((x, y), text, font=font, stroke_width=3, stroke_fill="#000")
draw.text is the function that will draw the text in our image.
- The first argument is the x and y location to place our text. It is the upper-left coordinate in pixels as PIL’s coordinate system starts there.
- The
textvariable holds the text we previously wrote in line 15. font=fonttells thefontargument to use ourfontvariable holding the TrueType font and the text size from line 16.stroke_with=3is the size of the stroke. It is basically the border of our text. The 3 is the size.stroke_fill="#000"is the color to use for the stroke.#000is the hex number for black.
At this point, we have drawn the text to our image. We now just need to save it.
img.save(path + "/" + output_filename)
This line is self-explanatory. It will save the data from the img object to a specified path. Note that we use here the path and output_filename variables.
Now, we need to write the loop function to go over each JPEG file in a directory.
Step 5: Looping through each image in the folder
All we need to do now is write some code that will go through each image in a folder. For this, we will be defining a path variable that will hold the directory path and we will get the file list using glob.glob.
if __name__ == "__main__":
    path = '/home/moisespr123/Donuts'
    for filepath in glob.glob(path + '/*.jpg'):
        resize_and_watermark(filepath, path)
    print("Done Resizing and Watermarking files.")
Because this is basically the code that will loop and call our resizing and watermark function, it is basically the main code part of our script. We want it to execute if it is called directly from our interpreter, which is the purpose of the first line.
Next, we see the path variable defined with a directory path.
Now, we will loop through the file list it generates on that same for loop by using glob.glob and specifying the path along with a wildcard to get only the *.jpg files.
For each JPEG with the *.jpg extension found, we will run the resize_and_watermark function, passing the complete file path (filepath) and the directory path (path) as arguments .
Once we have processed every file of the directory, it goes out of the for loop and prints the message: Done Resizing and Watermarking files.
Running the script.
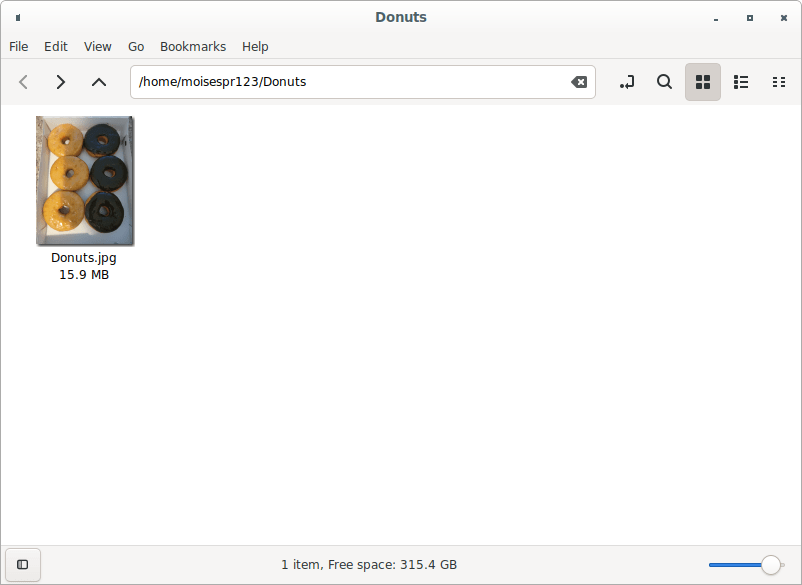
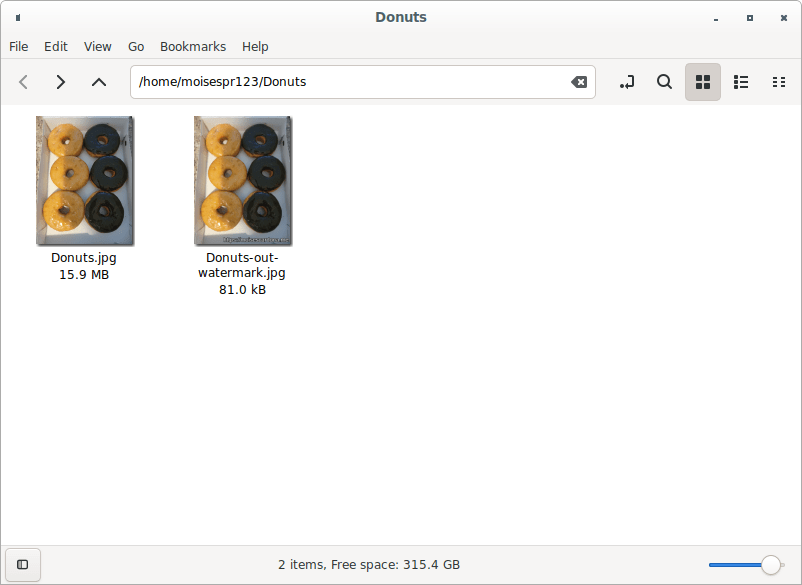
Now, we are ready to run the script. Here is the folder before running this script:
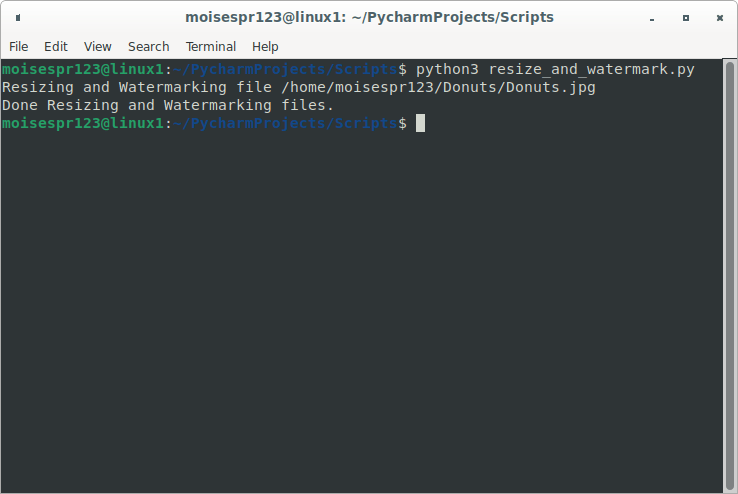
To run the script, we simply open the terminal, go to our scripts folder, and run the python3 command followed by the script name:
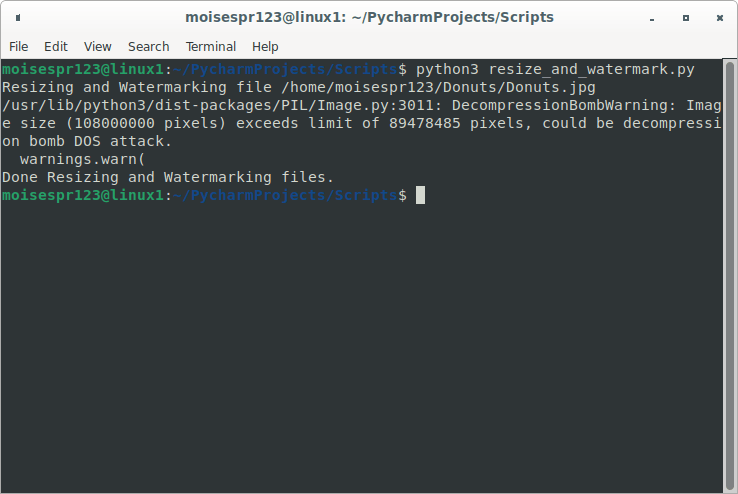
As we can see, the script ran, but gave us a warning. We’ll see how to disable that below. It doesn’t affect the output but if you try to process huge files, you get that message by default. Regardless of it, the script ran successfully and here is the output:
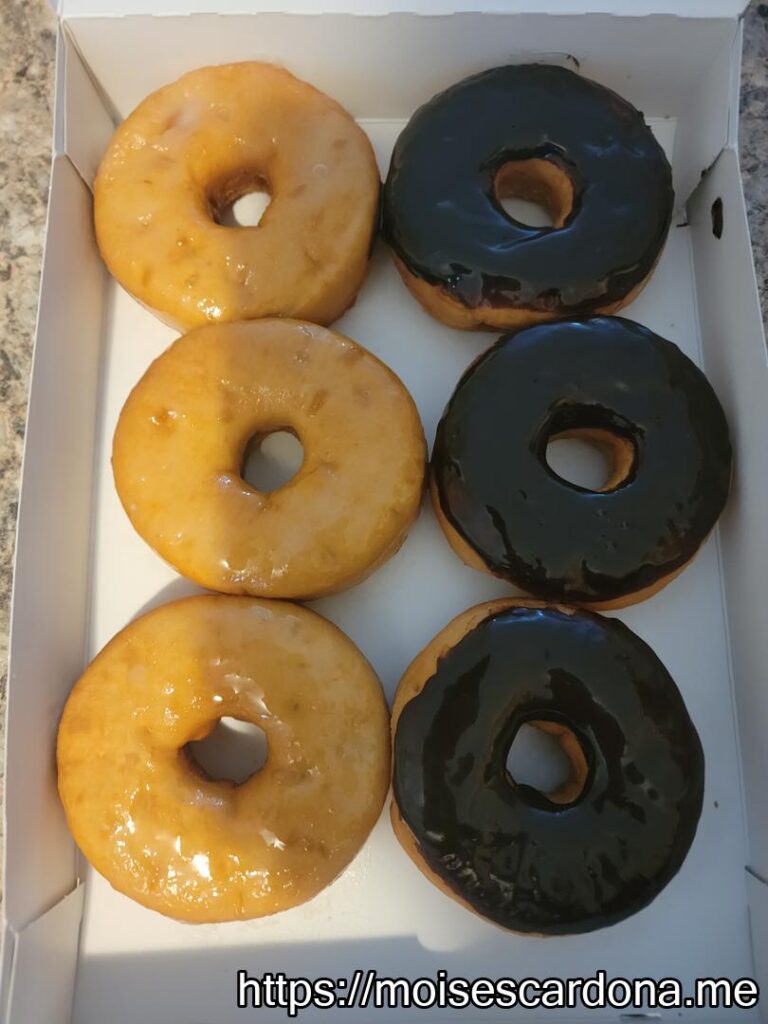
The watermark is located in the lower right corner. It is simple and ideal to simply watermark our images.
Here is the folder with the watermarked image. Note that the file size is also way smaller than the original:
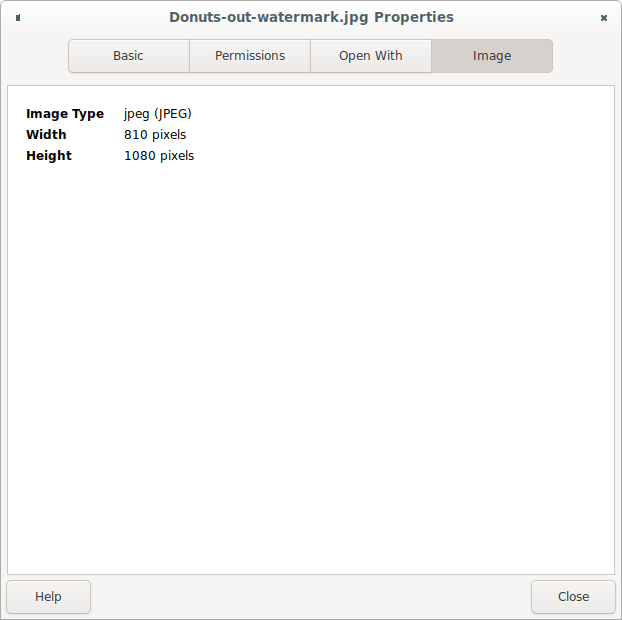
We can also see that the image follows our resizing limits as it has a height of 1080 pixels:
Congratulations! We have successfully resized and watermarked our image!
Bonus: Disabling the DecompressionBombWarning message
Because our image was taken with a resolution of 108MP, it exceeds a limit of pixels that PIL has in place. It just warns us, and we can ignore it, but also we can disable this warning in the code by adding the following:
Image.MAX_IMAGE_PIXELS = None
Now, when we run the script again, the warning no longer appears:
Congratulations! We have written our Python resizing and watermarking script. I hope you enjoyed this content and look up for more programming content!
The full script is below. Note that you need to change the following variables:
textto your desired watermark text.fontto your desired TrueType Font and text size.pathto the path containing your JPEG files to resize and watermark
Optionally, change the 1920 and 1080 values in line 13 to resize to another resolution. The watermark placement can be adjusted by changing lines 21 and 22 for x and y, respectively.
import os
import glob
from PIL import Image, ImageDraw, ImageFont, ImageOps


def resize_and_watermark(file: str, path: str) -> None:
    print("Resizing and Watermarking file {}".format(file))
    filename = os.path.basename(file)
    filename_without_extension, extension = os.path.splitext(filename)
    output_filename = "{}-out-watermark{}".format(filename_without_extension, extension)
    img = Image.open(file)
    img = ImageOps.exif_transpose(img)
    img = ImageOps.contain(img, (1920, 1080))
    draw = ImageDraw.Draw(img)
    text = "Your Text"
    font = ImageFont.truetype('/path/to/truetype/font.ttf', 48)
    textbbox = draw.textbbox((0, 0), text, font)
    textwidth = textbbox[2]
    textheight = textbbox[3]
    width, height = img.size
    x = width - textwidth - 10
    y = height - textheight - 10
    draw.text((x, y), text, font=font, stroke_width=3, stroke_fill="#000")
    img.save(path + "/" + output_filename)


if __name__ == "__main__":
    Image.MAX_IMAGE_PIXELS = None
    path = '/path/to/jpg/files'
    for filepath in glob.glob(path + '/*.jpg'):
        resize_and_watermark(filepath, path)
    print("Done Resizing and Watermarking files.")
FAQ
- Q: I get an import error saying PIL cannot be imported.
A: Be sure to install the Pillow library withpip3 install -U Pillow.
