Unboxing and installing the LG 29UM68-P UltraWide IPS Monitor
Hi everyone,
In this post, I’ll show you my unboxing of my brand-new monitor, the LG 29UM68-P UltraWide IPS Monitor.
My main reason to get this monitor is related to productivity, as I like to use a lot of windows at a time and this monitor is actually the one I have at my work. It’s really a game changer when it comes to multitasking, as I can now place a window at a side and see all of the content while working on other stuff. Previously, with my standard 1080p monitor, I was feeling disconforted as I was switching between windows a lot.
Now, I’ll use this monitor as my main, and the 1080p for additional stuff, placing windows side by side so that I can work with more stuff at a time.
So, let’s get started!!!!
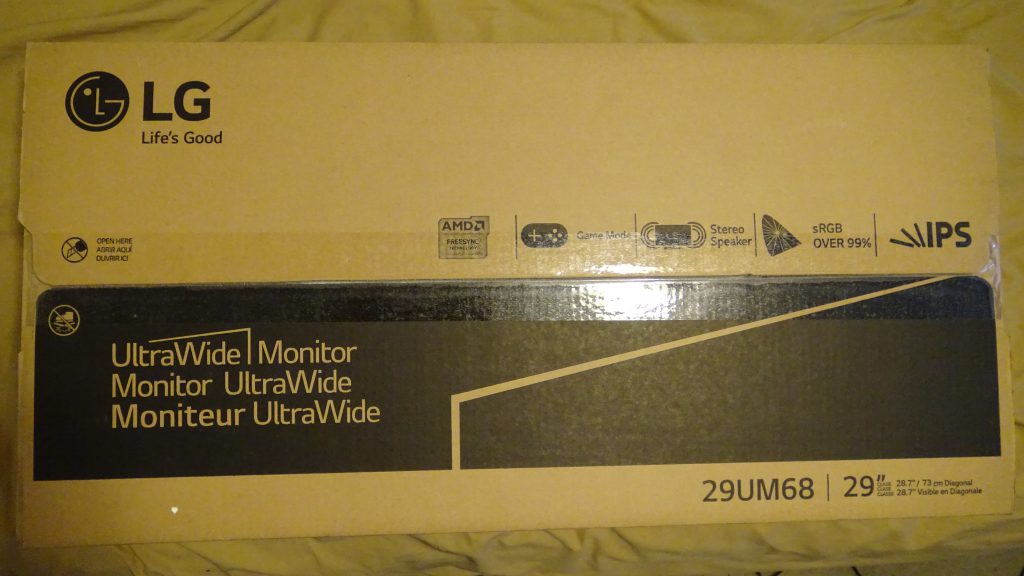
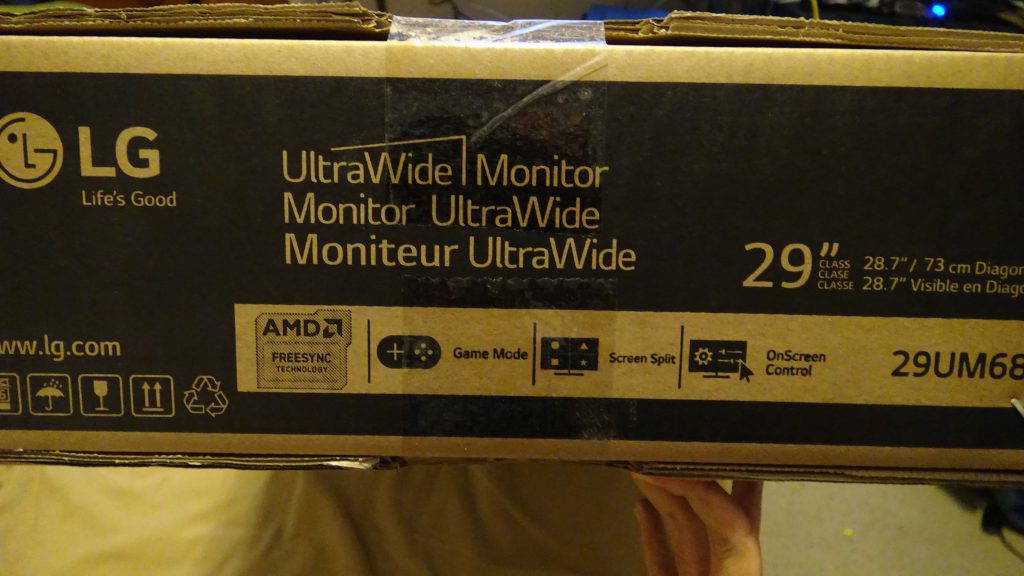
The box
The following are the front and two of the sides:
Inside the box
When we open the box, we see that it seems to have eveything well protected:
It had a piece of paper letting us know how to handle the contents:


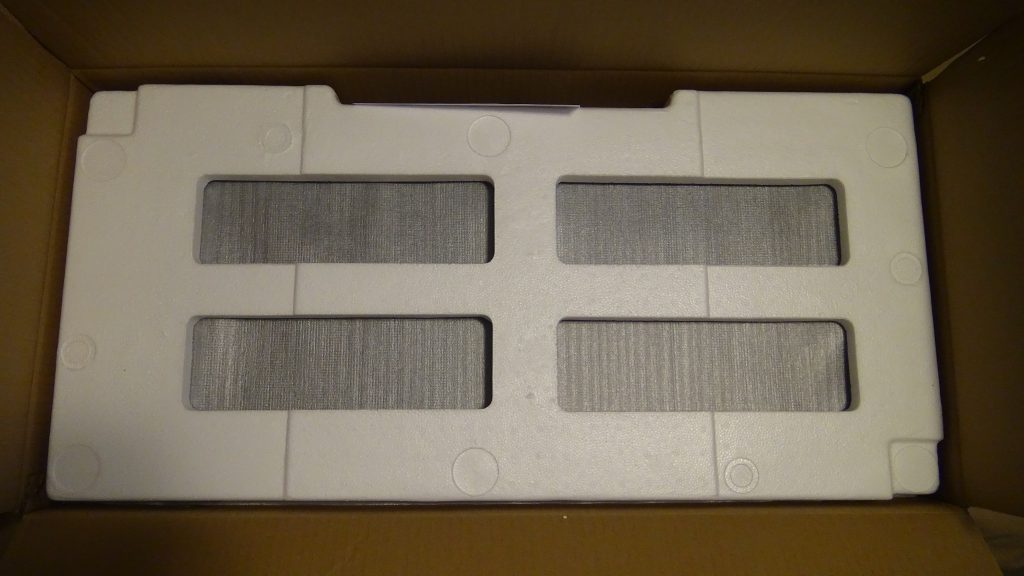
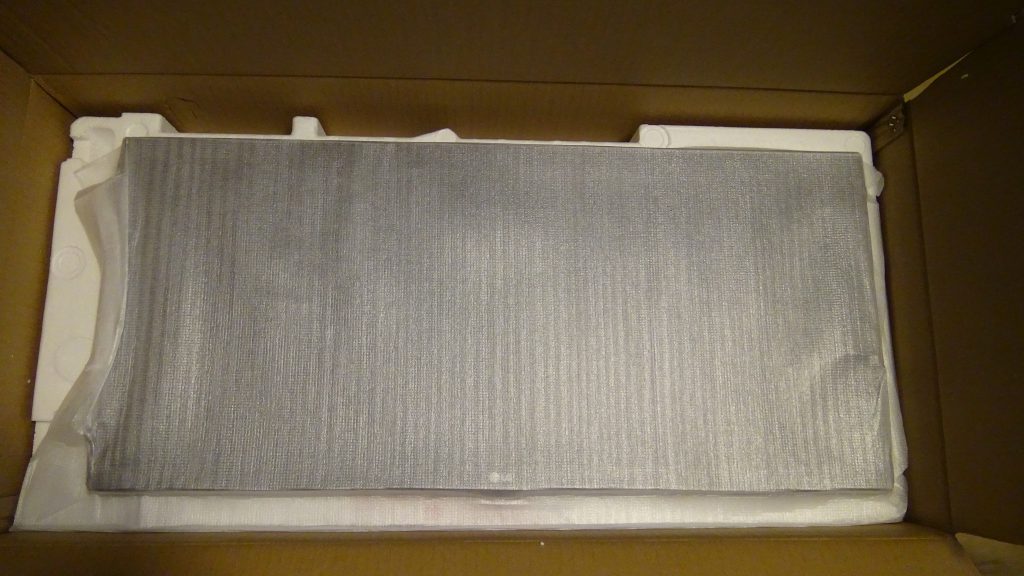
After removing the first piece, we see the monitor behind:
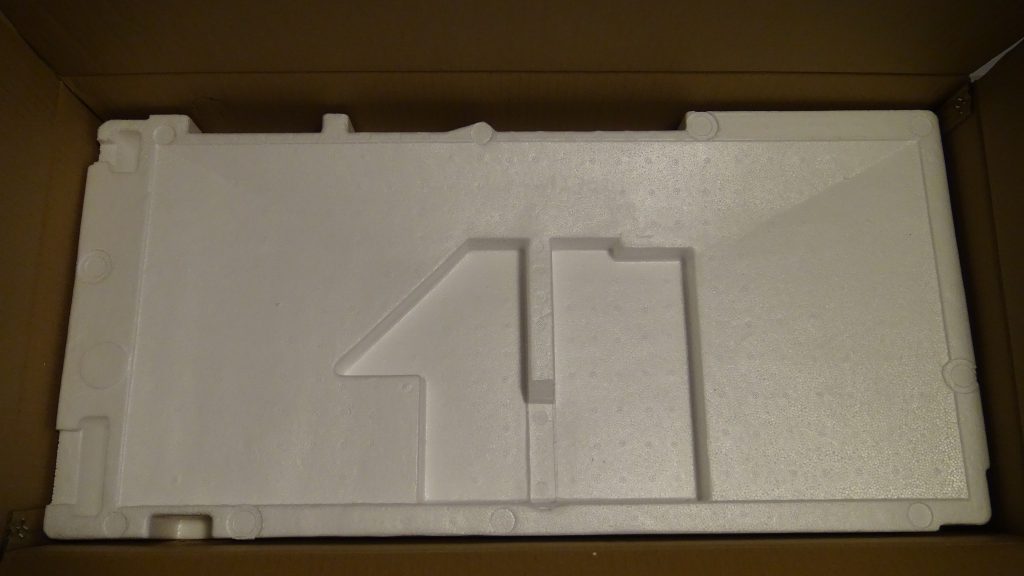
After removing the LCD monitor, we see the other protecting foam:
After removing the protecting foam, we see the monitor base, stand, and cable contents:

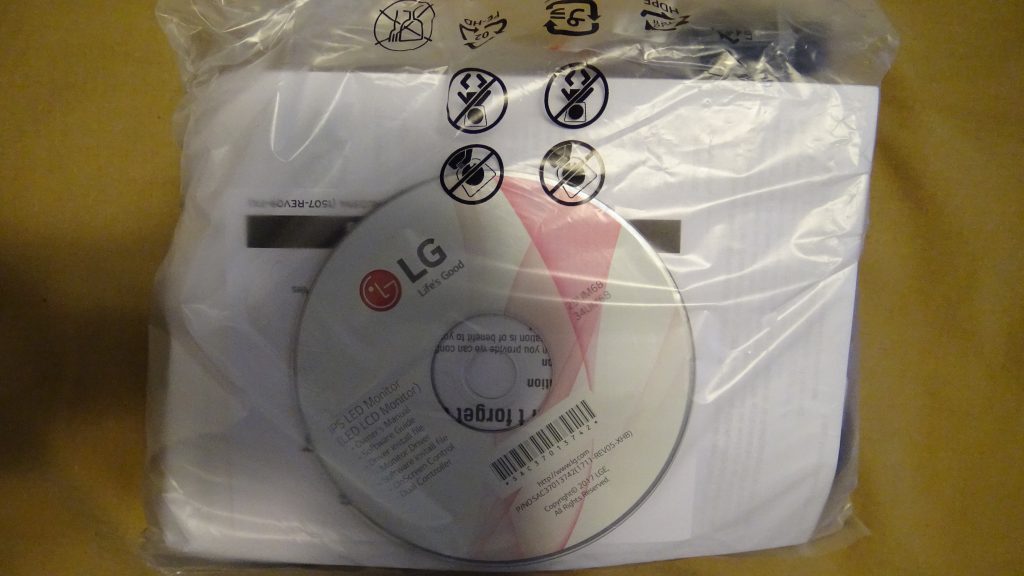
Taking a closer look at the bag where the cables, software, and some papers are:
Taking everything off the bag, we can see the cables, papers, and screws to mount the base to the monitor:
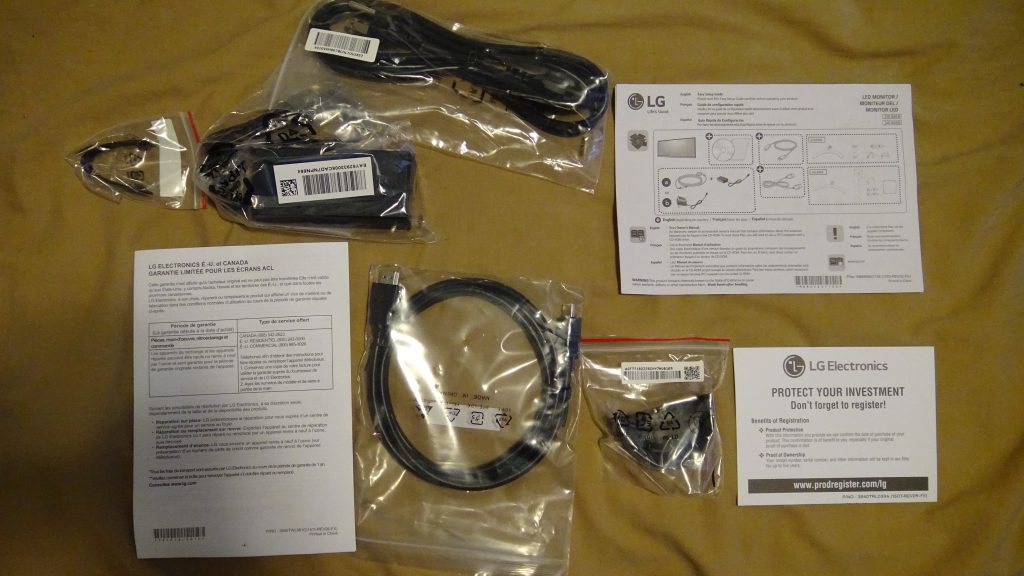
The cables:
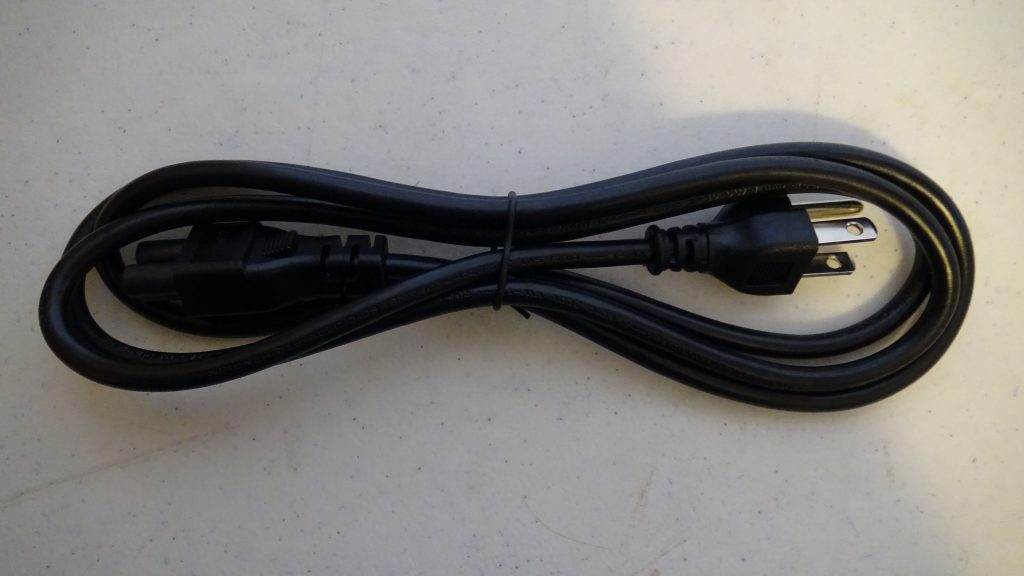
Power cord:
Inside the bag:

Outside the bag:
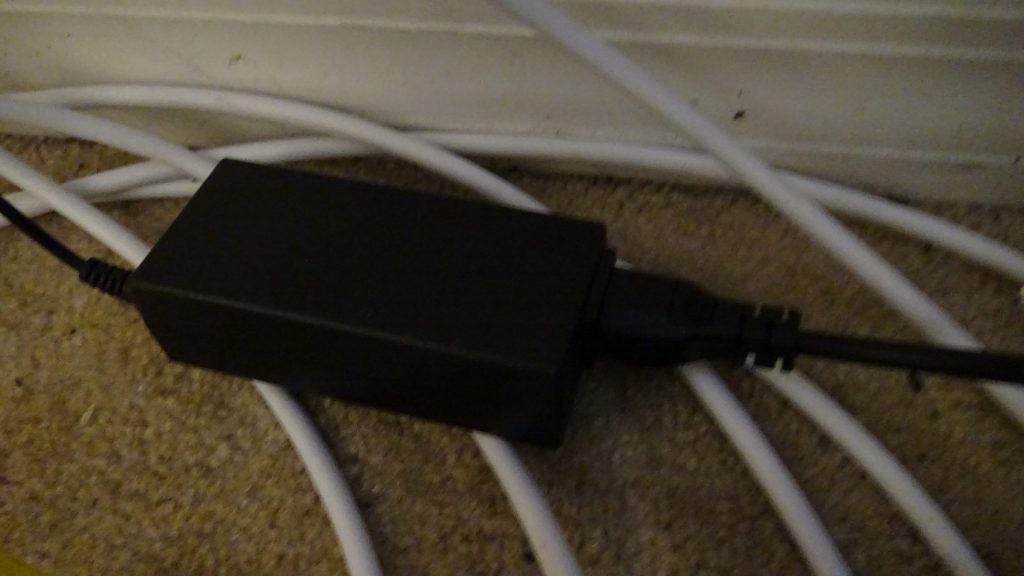
Transformer and monitor-end plug:
Inside the bag:
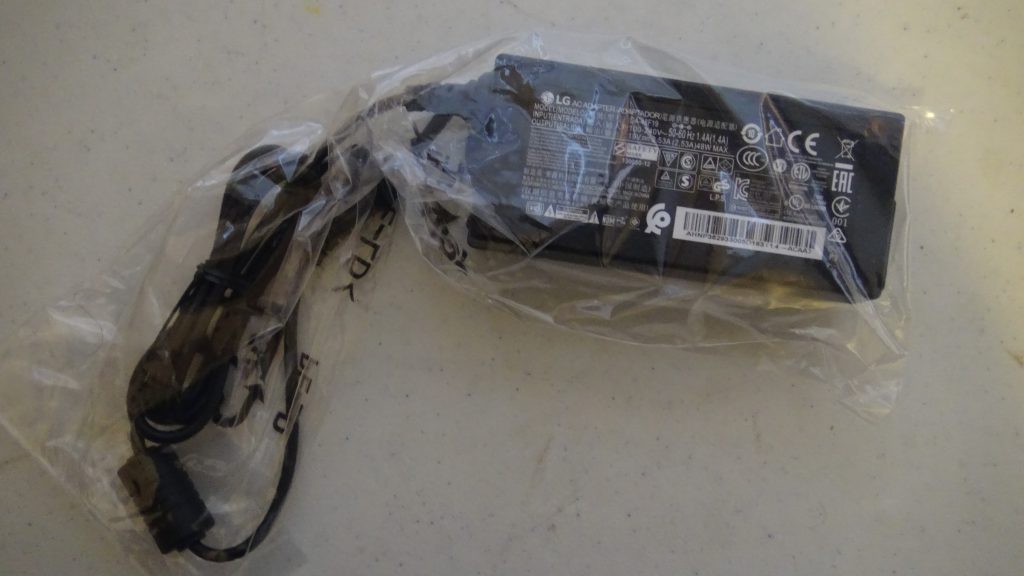
Outside:

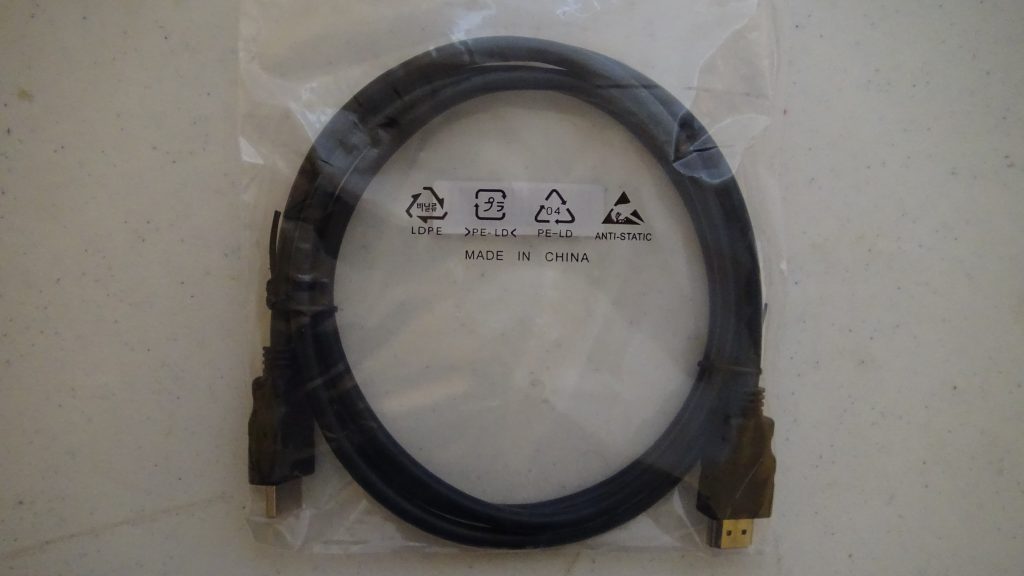
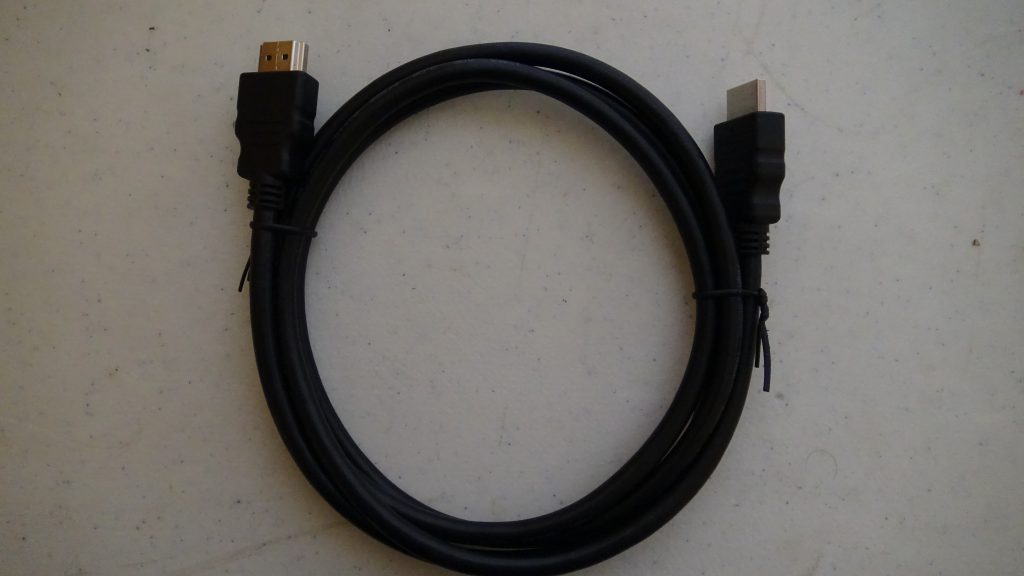
HDMI Cable:
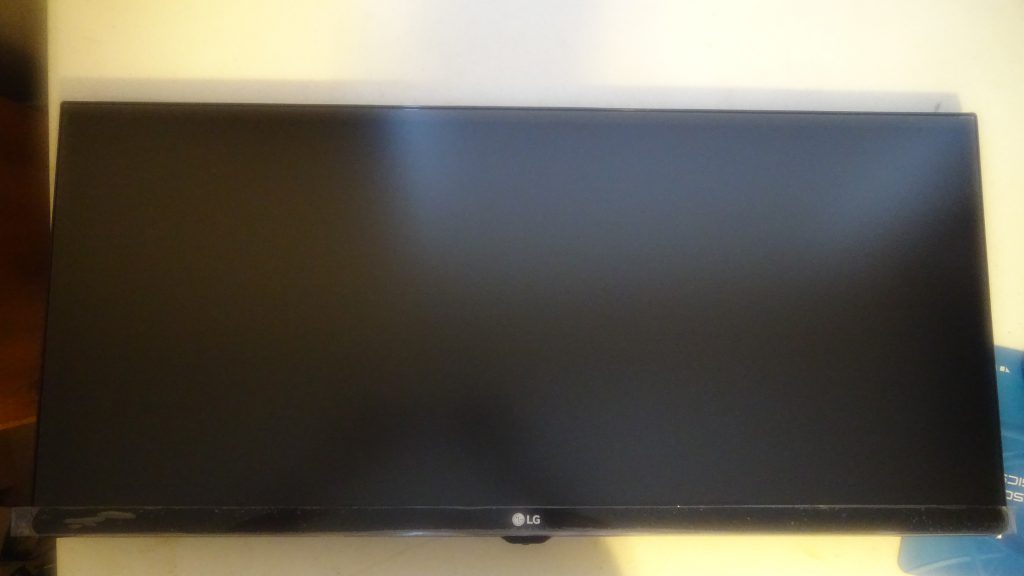
The panel:
So, here’s the monitor:
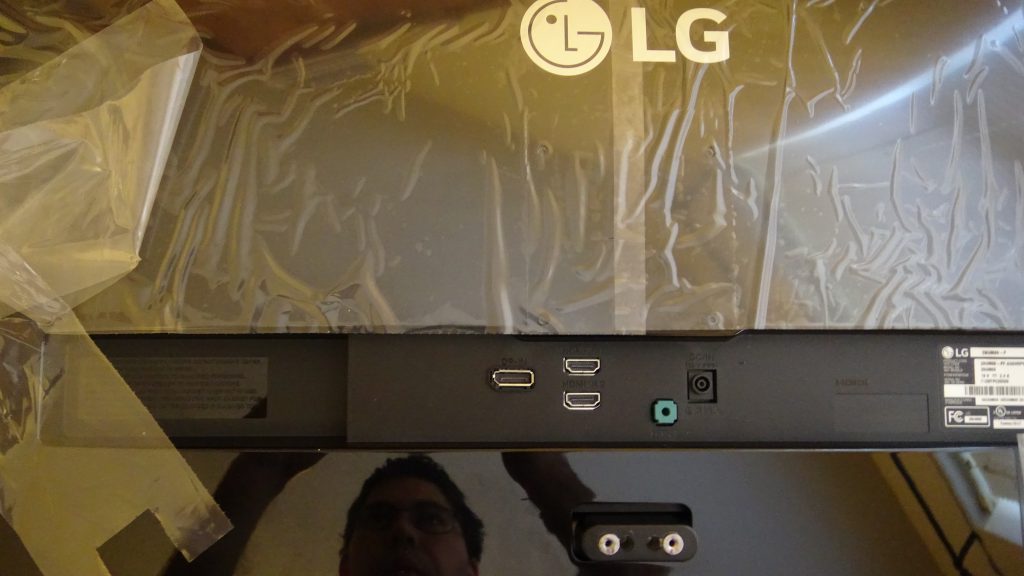
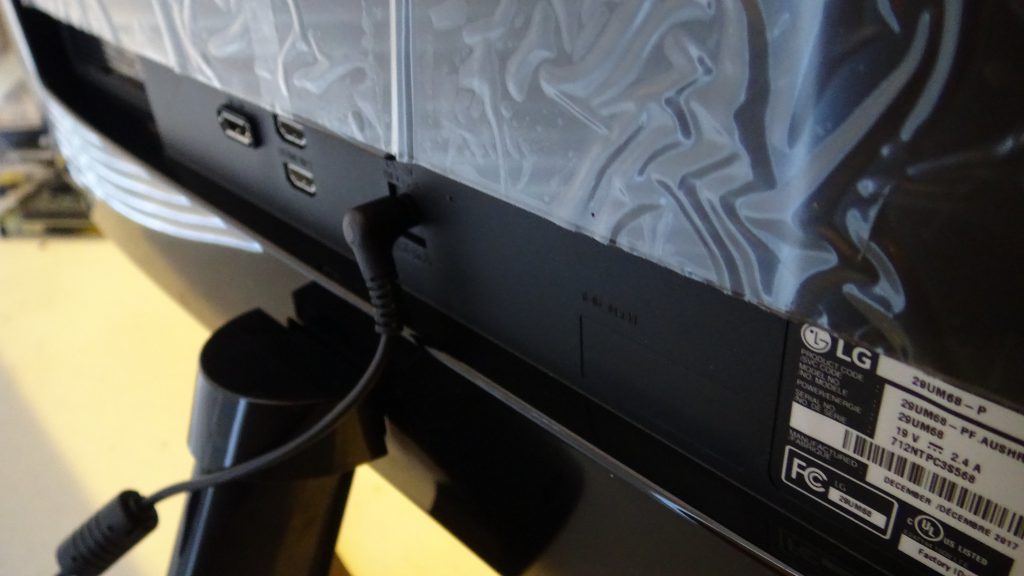
The back of the monitor:
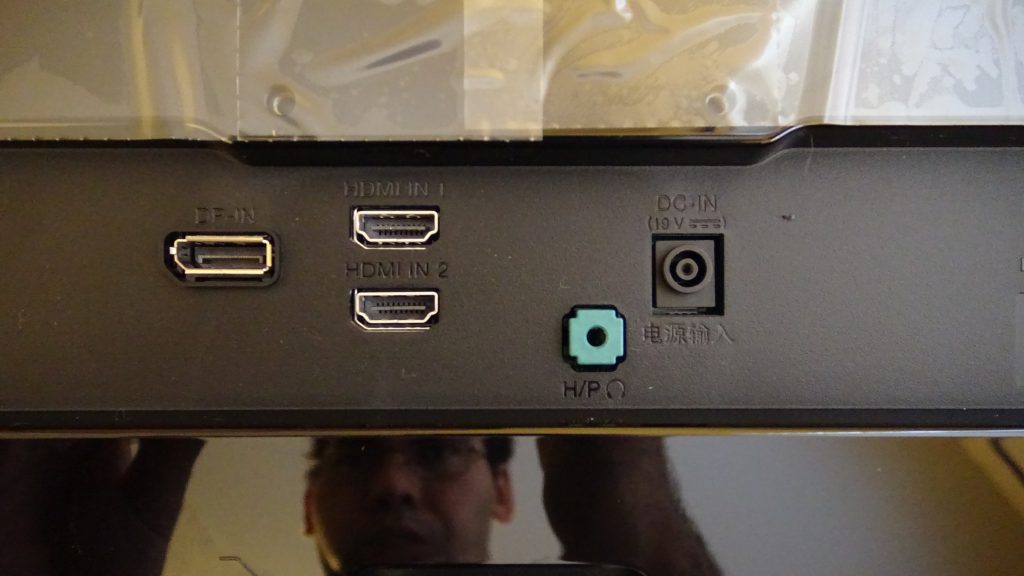
And the connectors. It has 2 HDMI connectors, a DisplayPort connector, and a headphone jack:
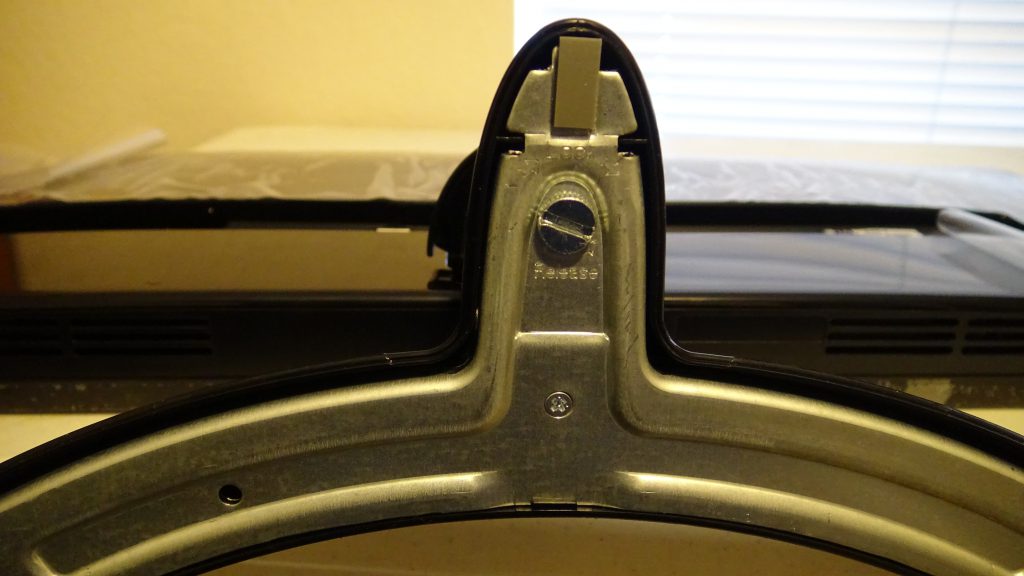
Let’s install the monitor stand!
The first step is to install this part of the stand:
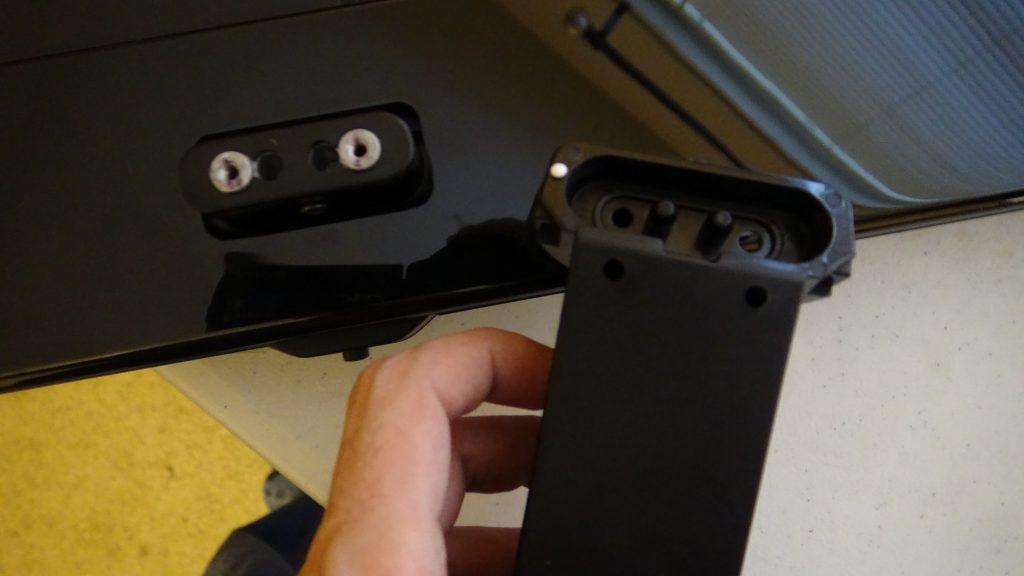
Attaching it:
Attaching the screws:
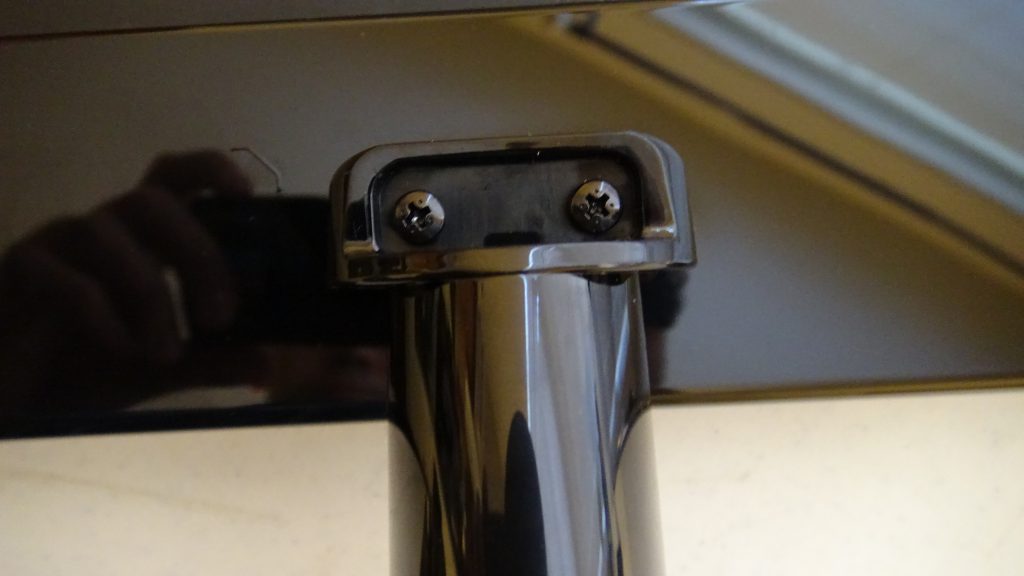
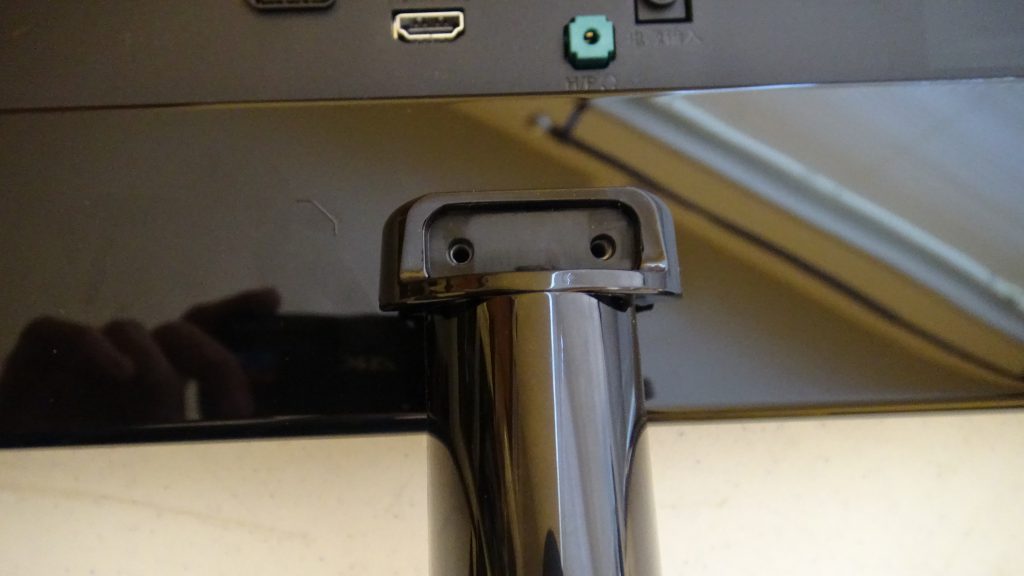
Now, we need to put the cover:


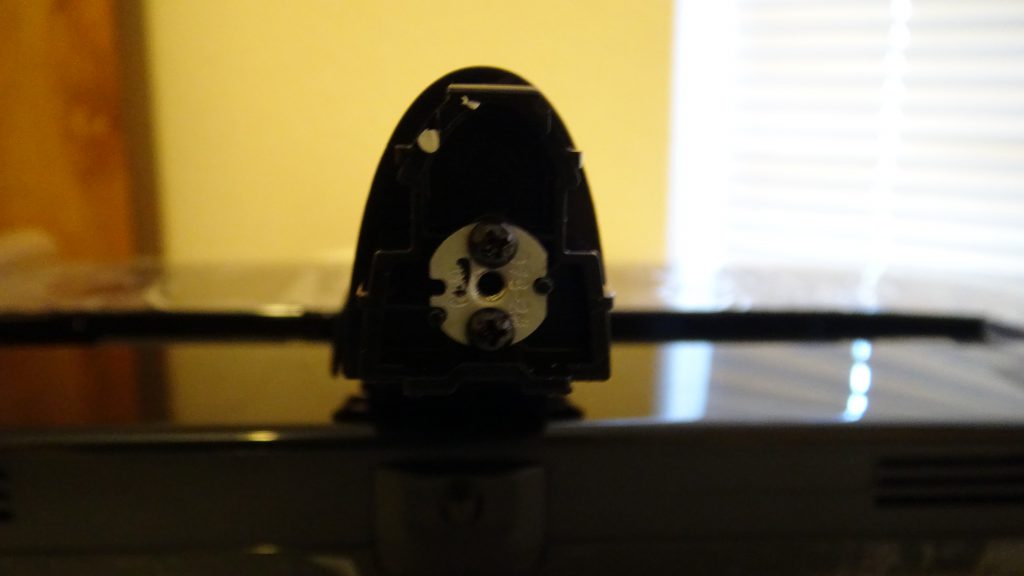
Next, we install the monitor base to the stand:
And that’s it!
Now, we’ll connect the cables:
The power cable on the back of the monitor:
And plug-in the power cord to the transformer:
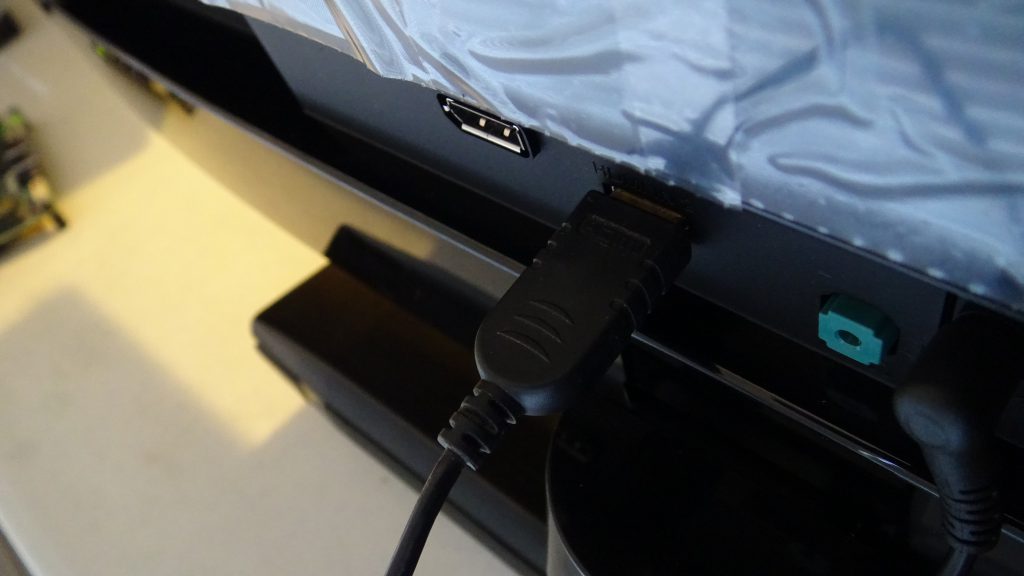
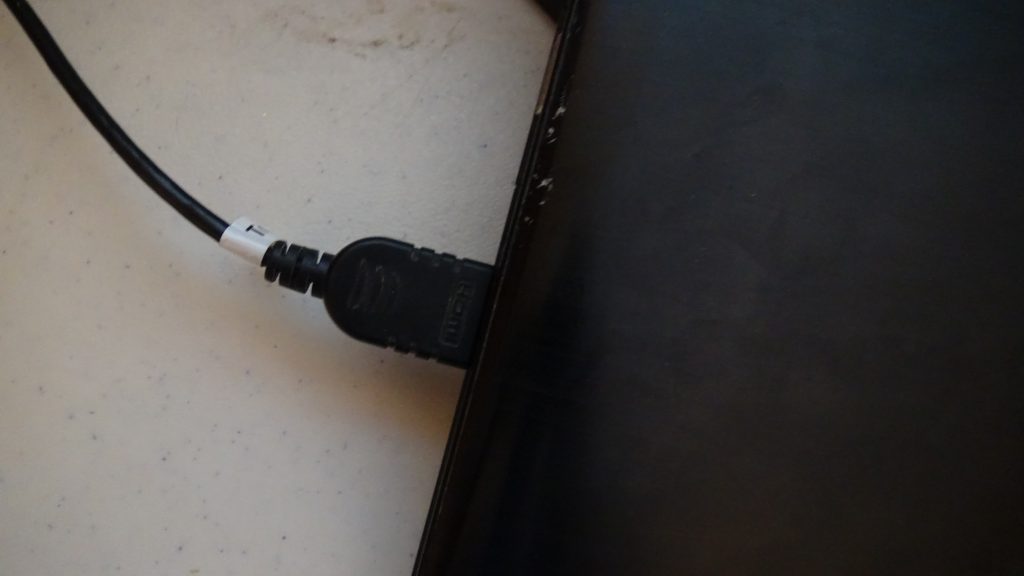
The HDMI cable:
On the monitor:
On the laptop:
And It works!
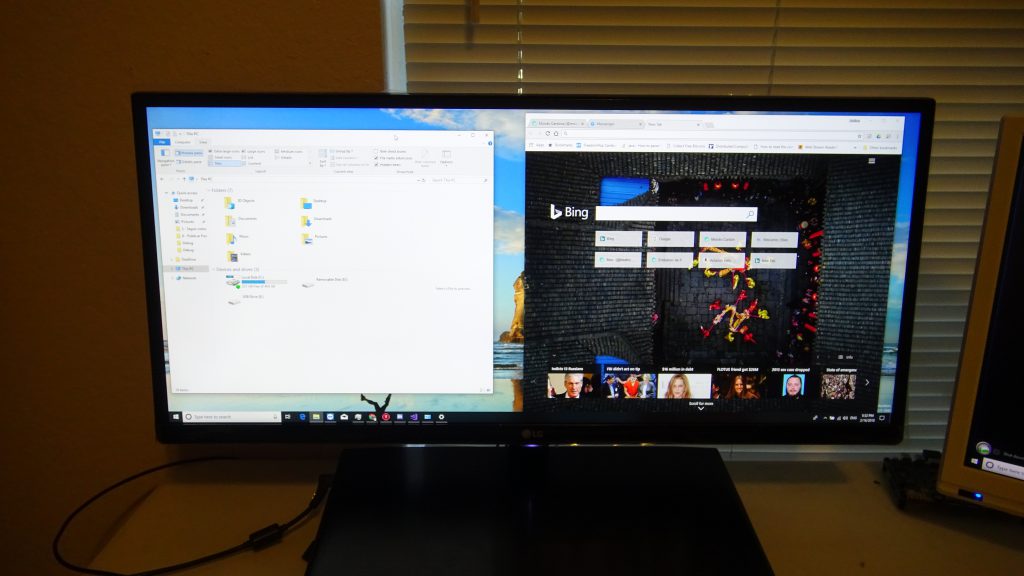
And it looks gorgeous:
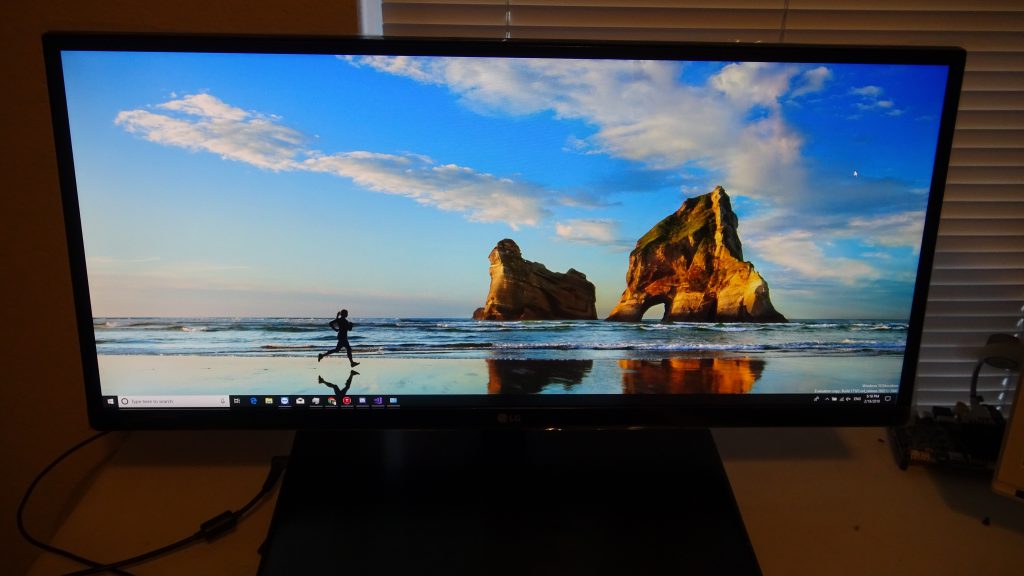
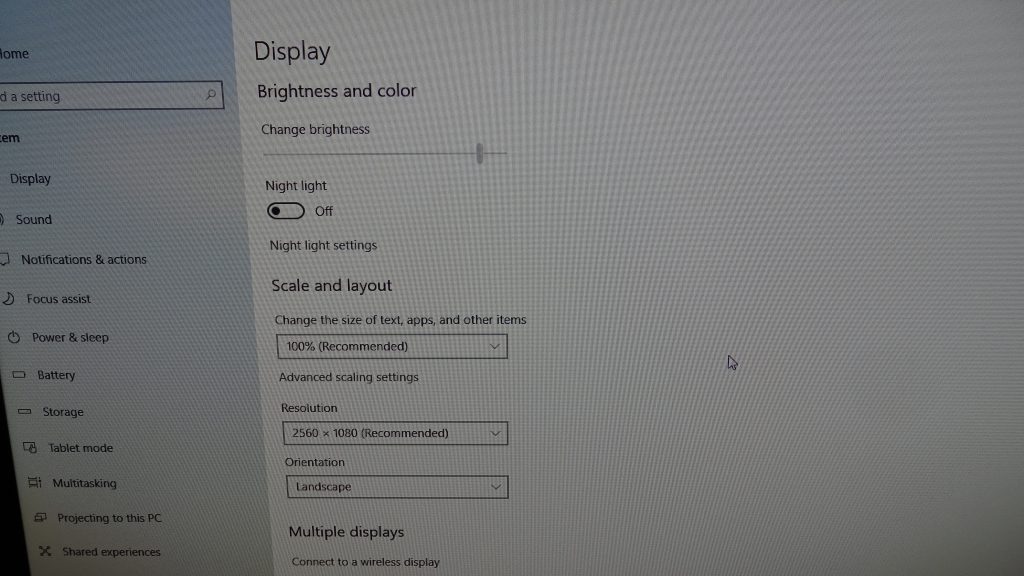
We can see this monitor has a resolution of 2560×1080:
Yup!
It’s just perfect for multitasking!
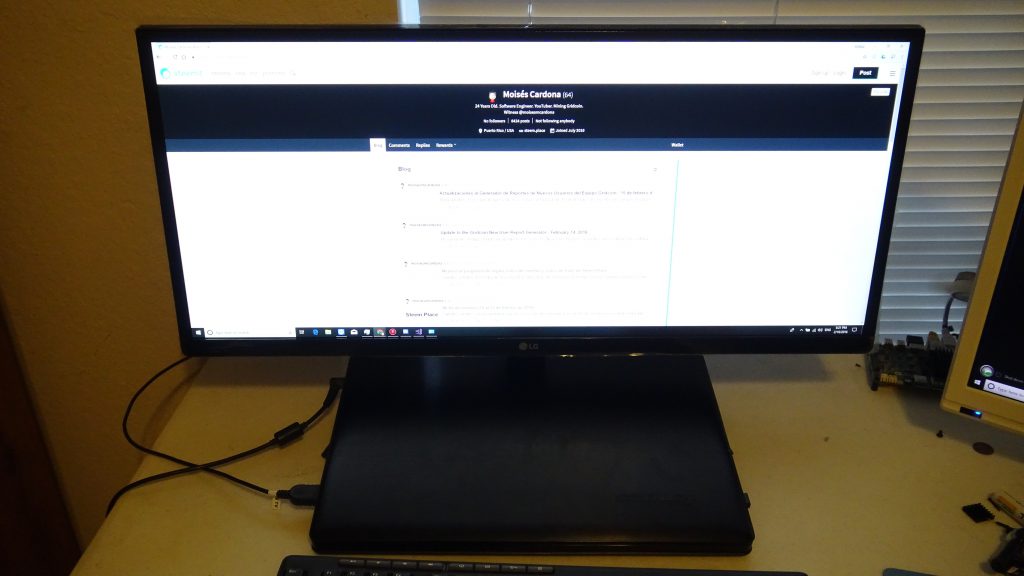
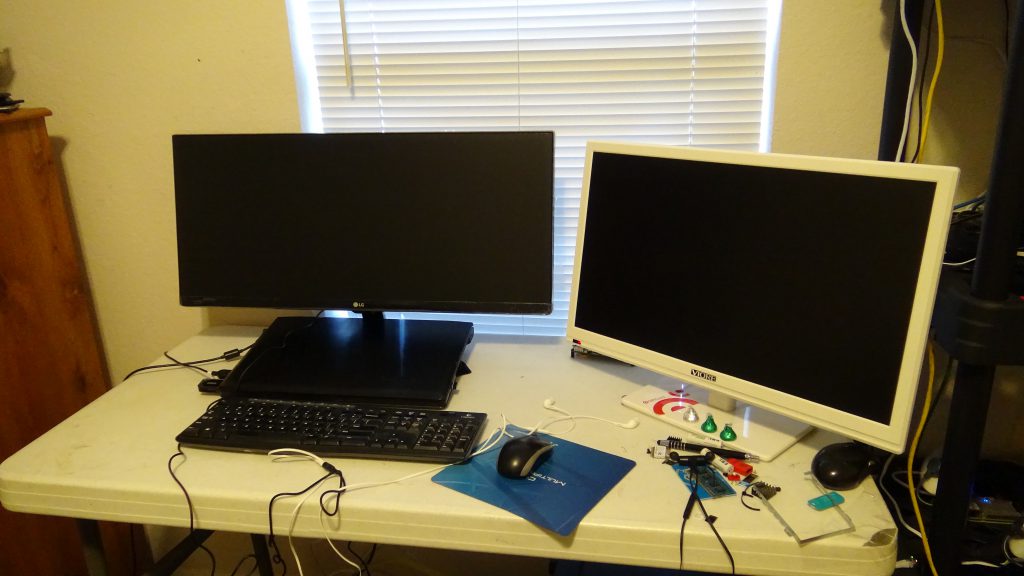
The final setup:
You can see the LG monitor is at the left, while the standard 1080p monitor is at the right. I really like this environment this way and I really look forward into improving my productivity:
The monitor didn’t came with a DisplayPort cable, so I had to order it. We will see this cable in a later post.
You can get this monitor on Amazon here.
Hope you enjoyed this unboxing and the pictures!
