Updating the LiteOn DU-8A5LH Firmware
Hi everyone,
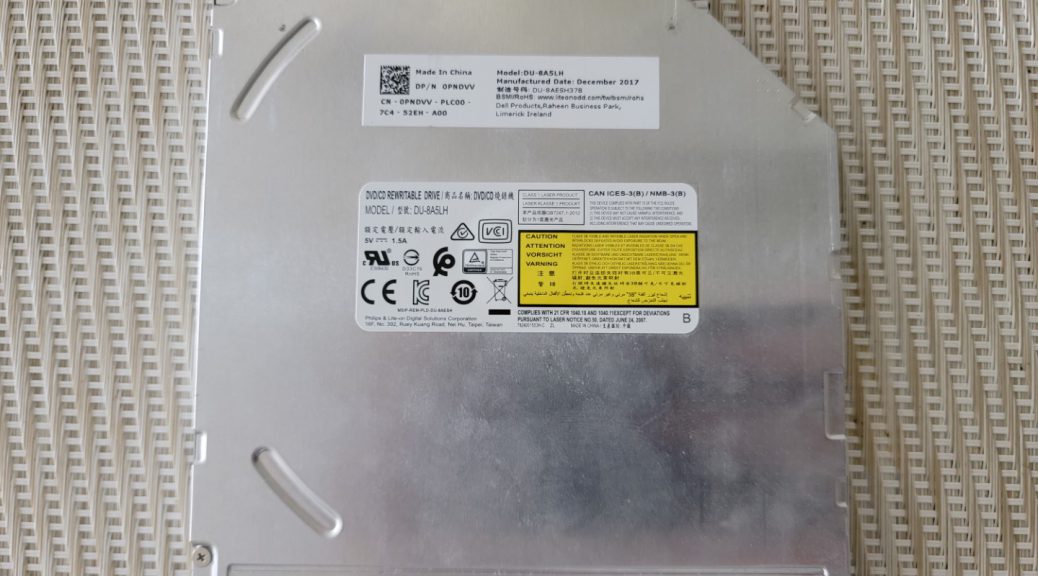
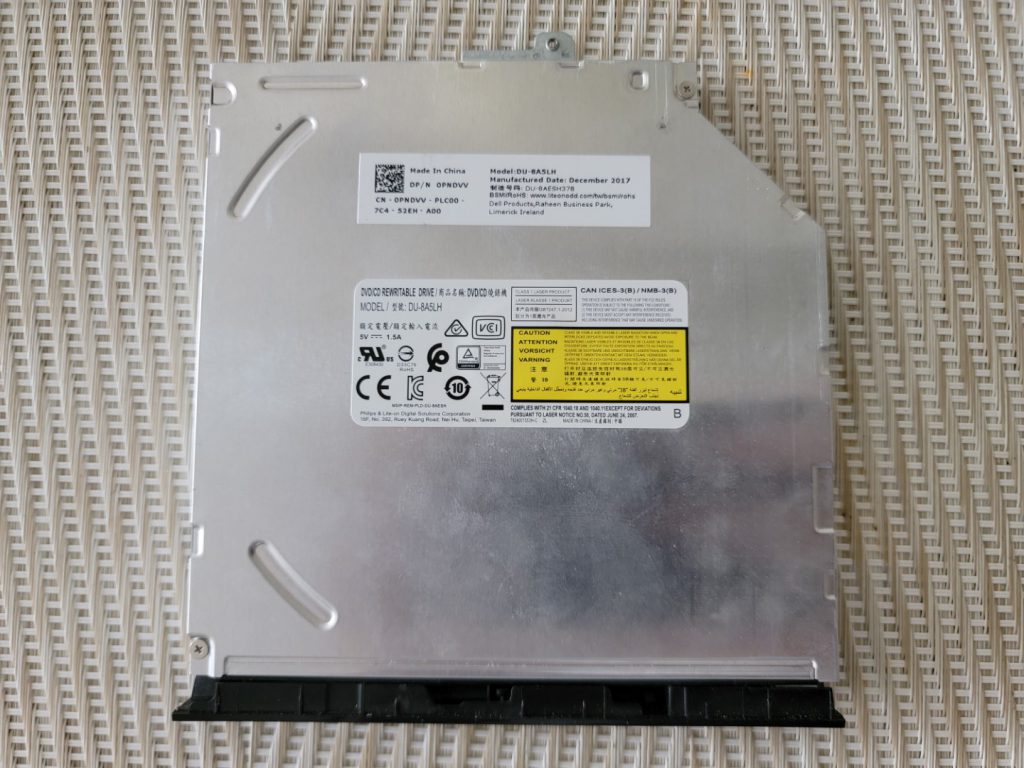
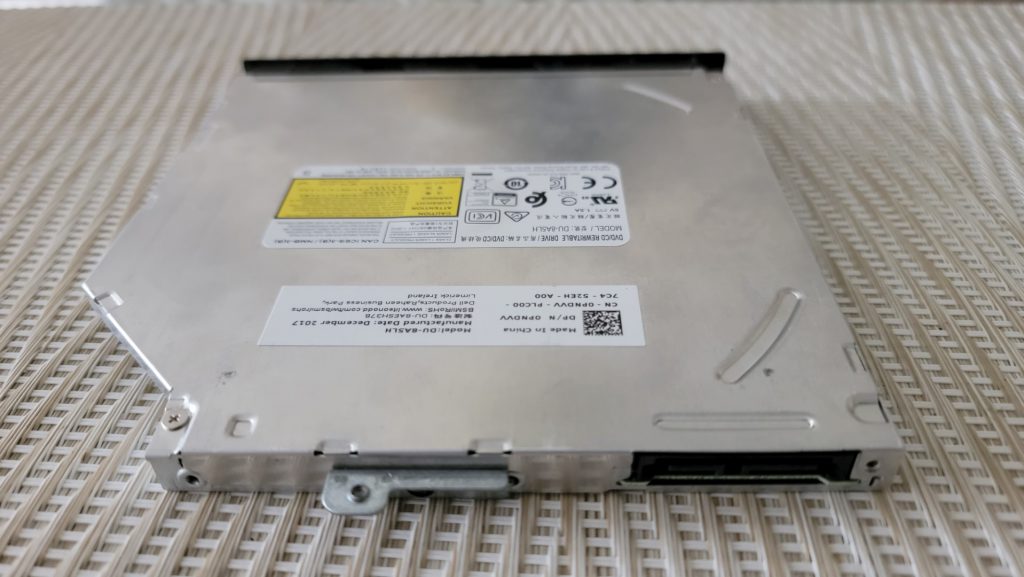
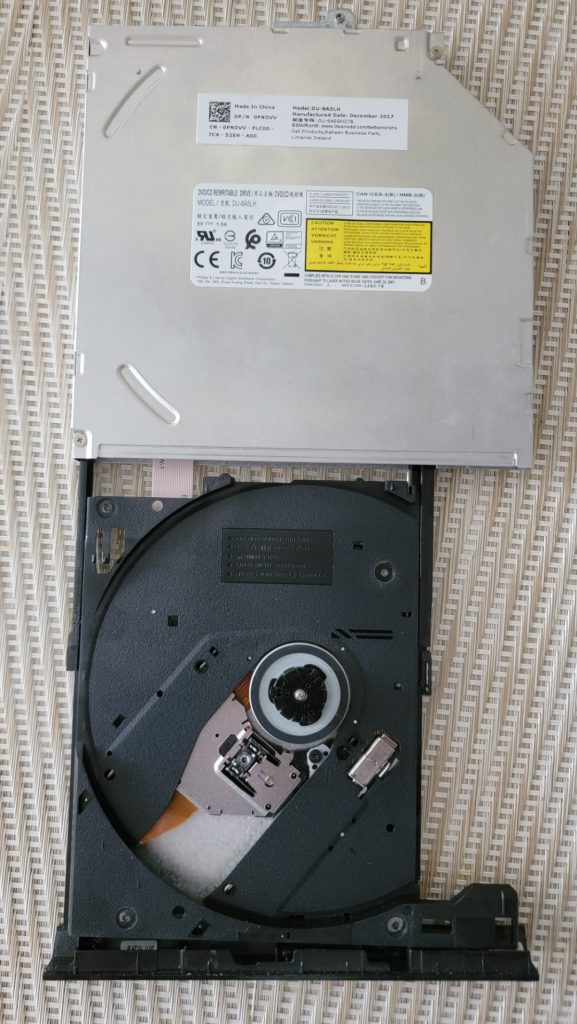
Today, I’ll show you how to update the LiteOn DU-8A5LH firmware. This is important as firmware updates should improve the drive operation, including better reading and burning stability.
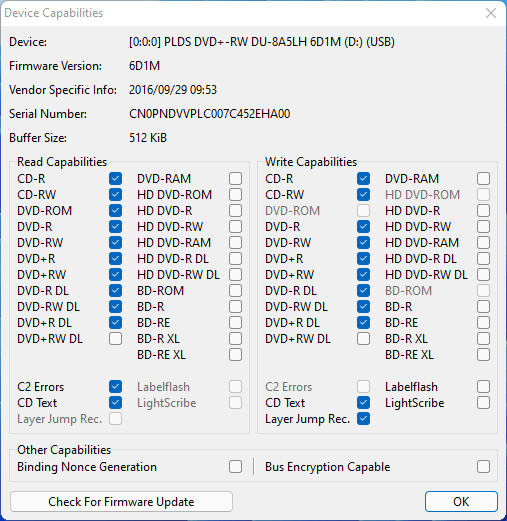
Recently, I tried to burn a SmartBuy DVD+R DL disc but it failed at the beginning of the 2nd layer. The drive had an older firmware, so I updated it and we’ll see if this improves double layer burning at another post. For now, let’s see the steps to update the drive’s firmware. The drive came with the 6D1M firmware:
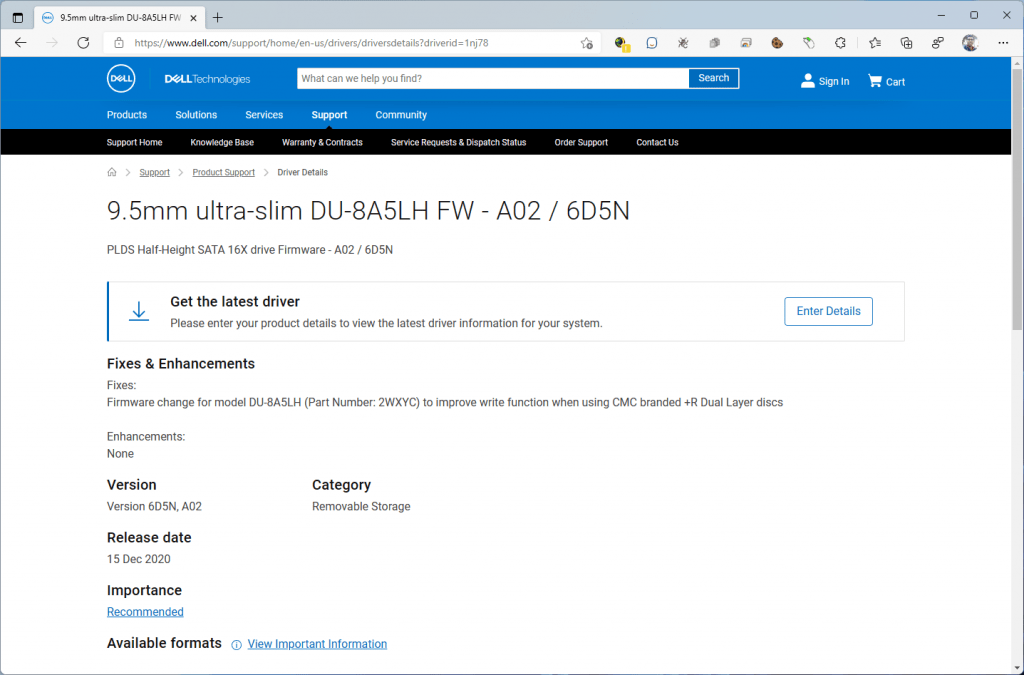
The latest firmware available has the version 6D5N. This drive is part of a Dell laptop, and so, the firmware is in the Dell page, although not in the laptop’s support page. Somehow, a Google search shows the firmware as applying to some server systems.
We’ll navigate to this Dell’s driver details page to download it:
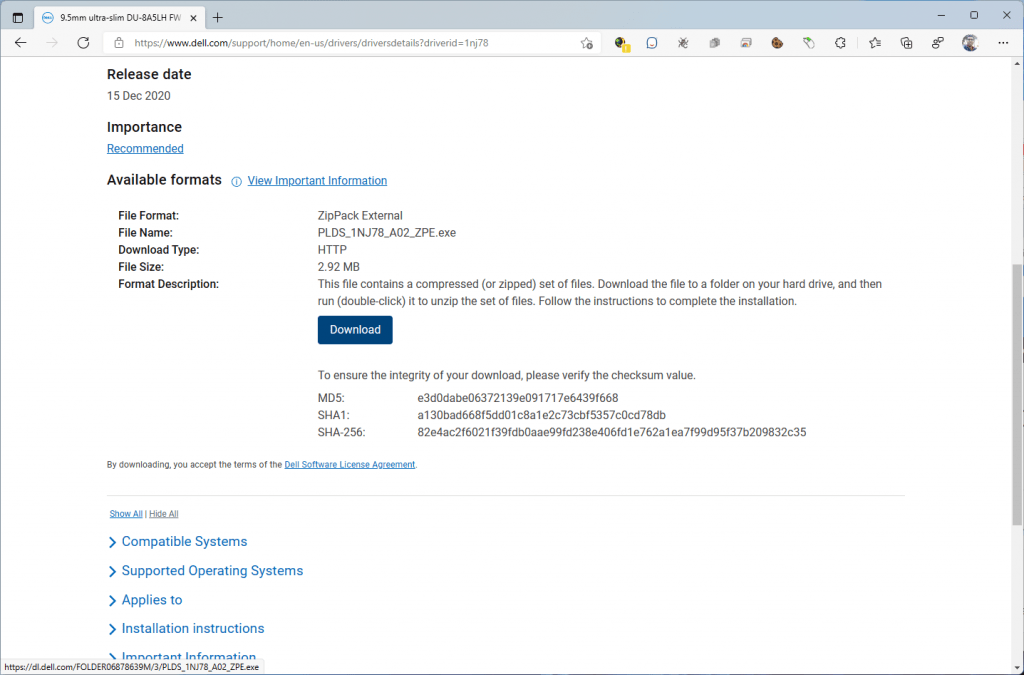
We will scroll down to the Download button and press it:
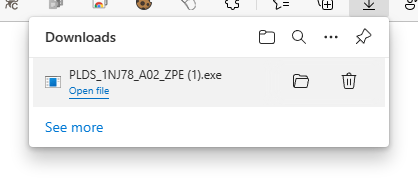
The firmware will download. We will click on it once it finishes downloading:
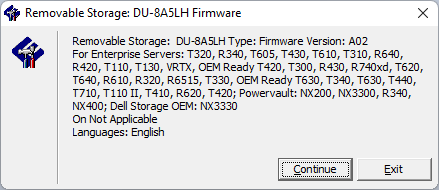
We will be presented with this window. It doesn’t matter the machine we are using as long as we have the LiteOn DU-8A5LH drive, so we’ll click on Continue:
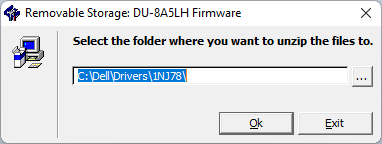
We’ll leave the default folder as it is and click Ok to extract the firmware update tool:
Shortly, a confirmation message telling us the files were extracted will appear. We will click on Ok:
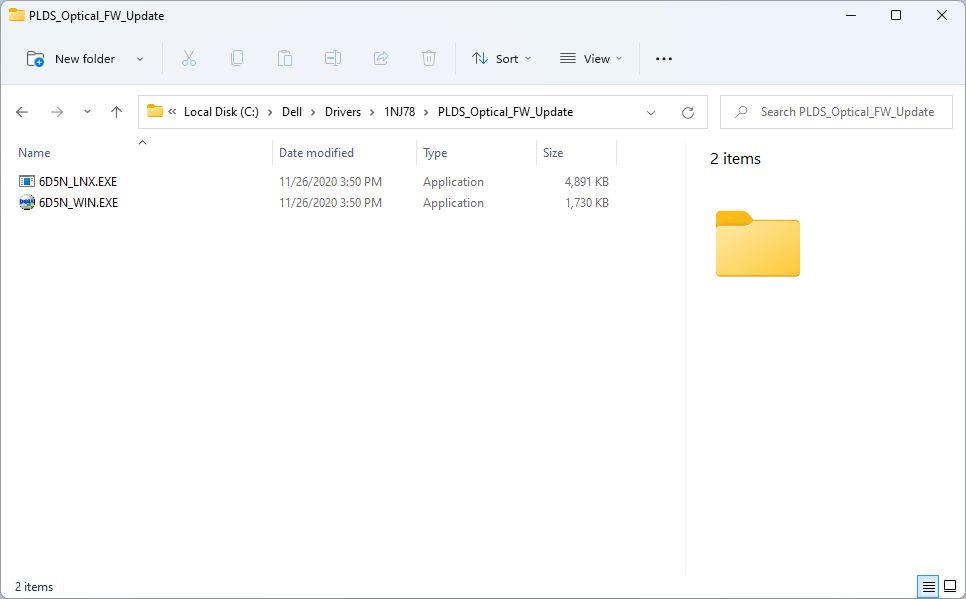
Then, a new Explorer window should open at that path where we will see the extracted firmware folder:
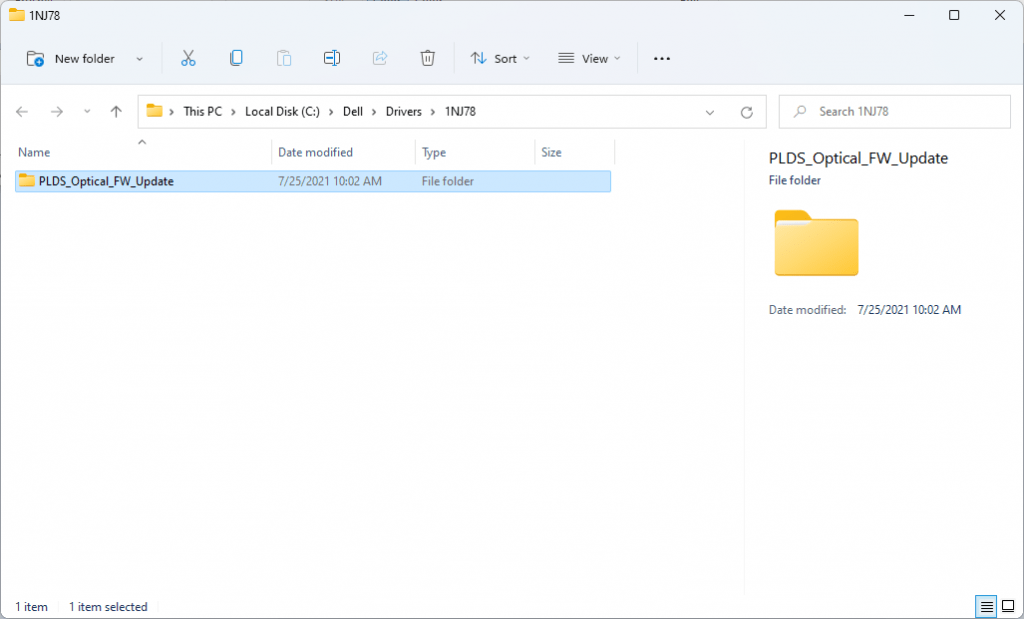
Then, inside we will see the firmware update executable. We will launch the 6D5N_WIN.EXE file:
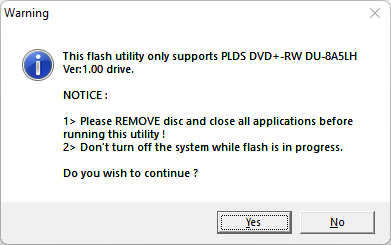
We need to have the drive connected at this point. If it is, we should get the following message. Be sure to follow the instructions and click on Yes:
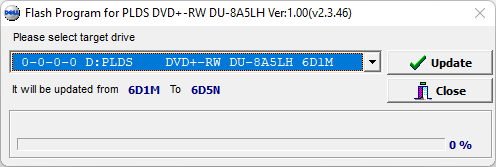
The drive should be listed in the flashing tool. If it is not, select the drive from the list. Be sure that the drive selected is the PLDS DU-8A5LH. Failure to select the correct drive may render the chosen drive unusable. Then click on Update:
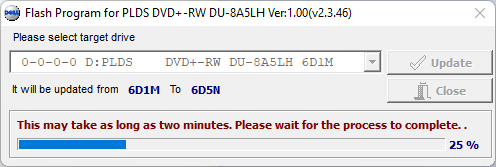
The flashing tool will update the drive firmware:
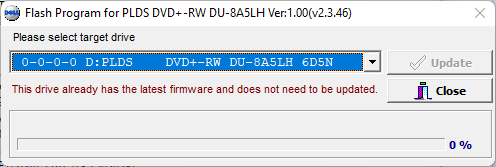
The firmware update is really quick. It should tell us the firmware was updated. We can confirm this by launching the tool again and it will tell us it has the latest firmware:
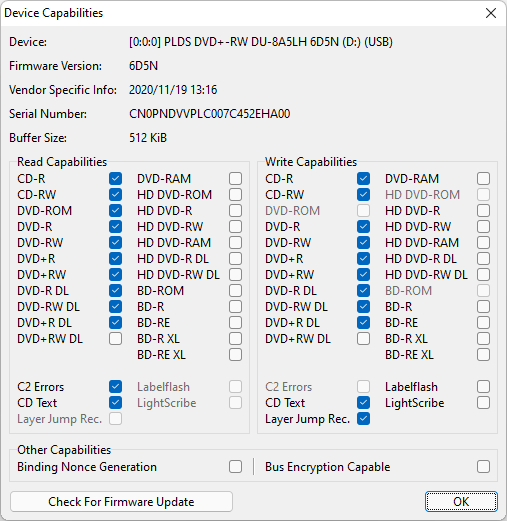
We can also confirm this with ImgBurn in the drive’s capabilities window:
At this point, we have successfully updated our drive’s firmware and theoretically, it should now perform better.