Downloading and Installing CrystalDiskMark
Hi everyone,
Now that we installed the Samsung 870 EVO SSD to our HP 2000-2c20NR laptop, it’s time to power it up and benchmark the drive to see if realistically we can reach the drive’s mentioned read/write speeds.
Before we can do the benchmark, we must download and install a benchmark tool. In this case, we will use the popular benchmark tool CrystalDiskMark. This is a free utility widely used to benchmark hard disk drives and solid state disks.
This tool is for Windows operating systems. This laptop had Windows installed by default and is the reason we are using this utility.
Downloading CrystalDiskMark
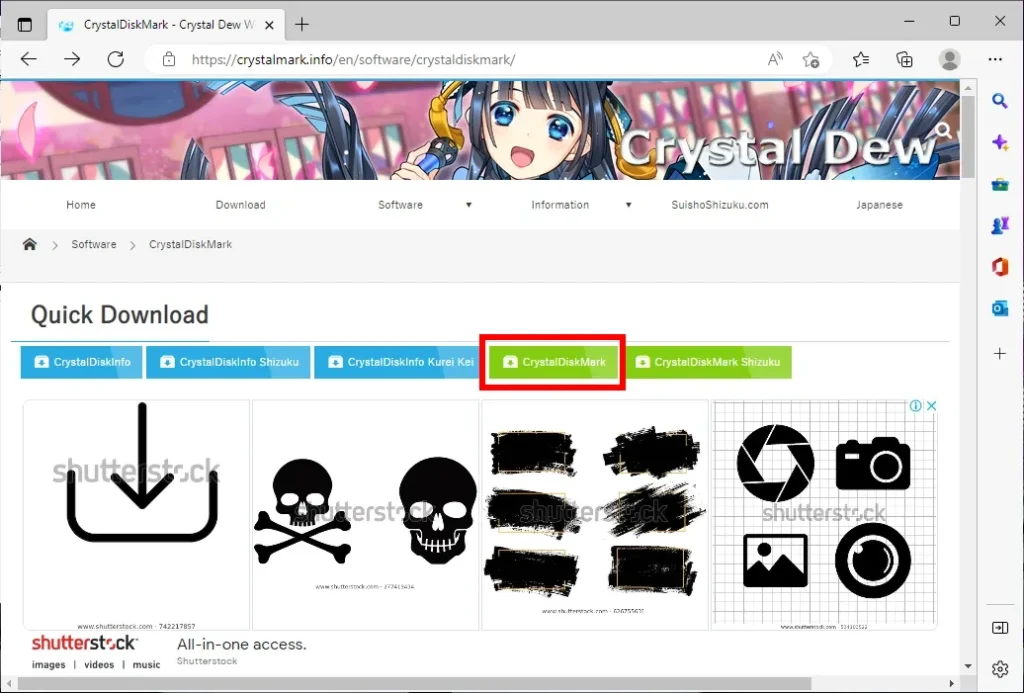
Before we can install CrystalDiskMark, we must download it. For this, we will go to the CrystalDiskMark website here: https://crystalmark.info/en/software/crystaldiskmark/
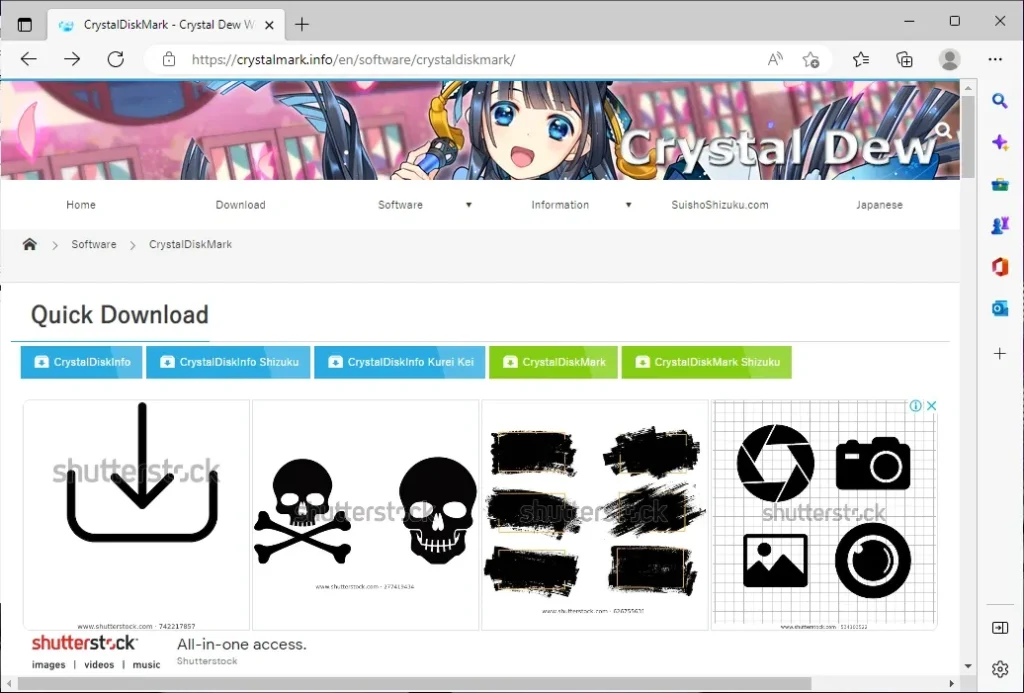
In the website, on the Quick Download section, click on CrystalDiskMark:
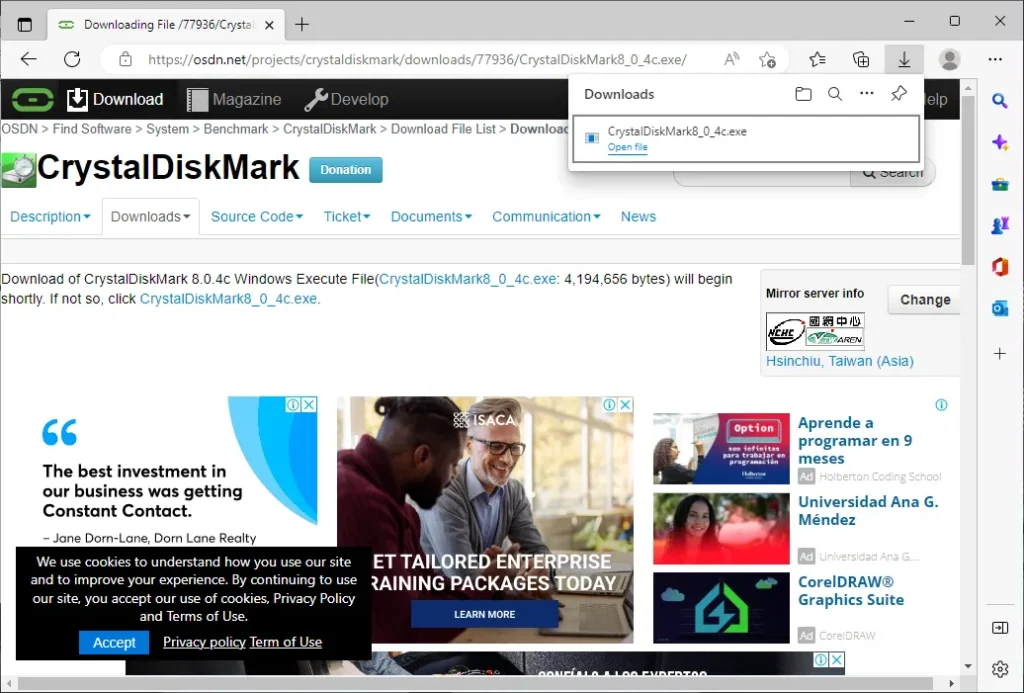
The download should start automatically. Once it finishes, click on it to start the installation:
Installing CrystalDiskMark
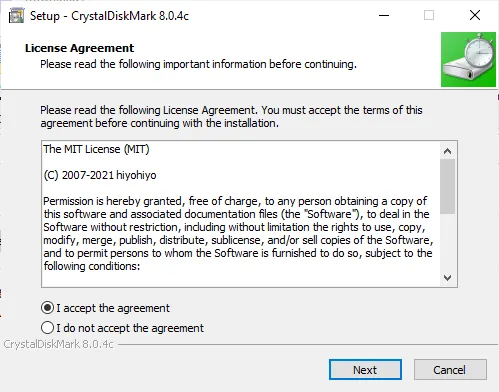
Once the download for CrystalDiskMark finishes, it’s time to install it. To start, click on the downloaded file to launch the setup wizard. We will be presented with the following screen, where we will accept the license and simply click on Next:
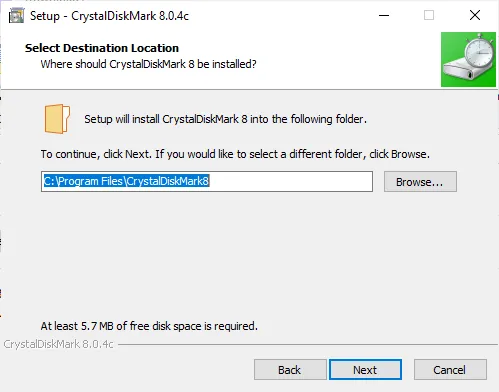
The next screen is for selecting an install location. We can leave it as it is and click Next:
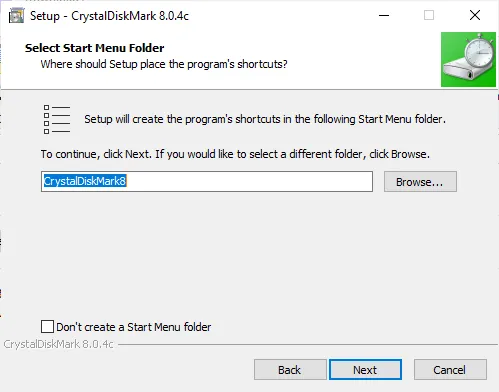
Now, we can customize the name entry for the Start Menu. I suggest you leave it as is, and click Next:
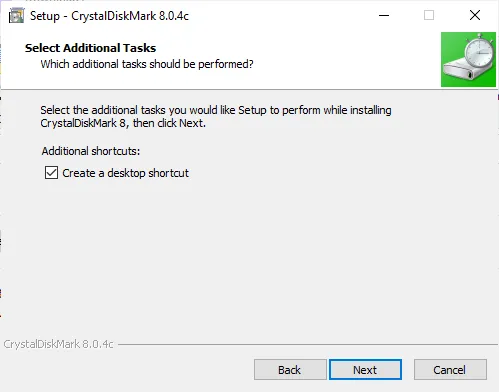
Now, you are asked if you want to create a desktop shortcut. This is optional and up to you. Once you decided whether to create a shortcut or not, click Next:
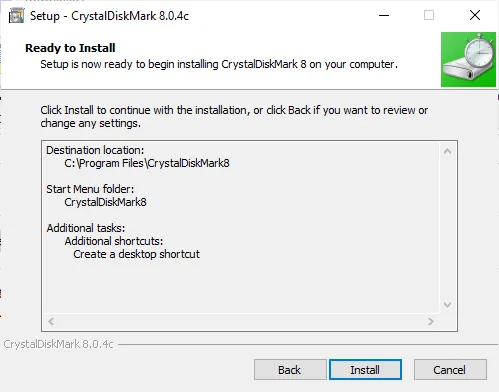
You will be presented a summary of your setup settings. If everything looks right, click on Install to begin the installation:
The installation process should be quick:
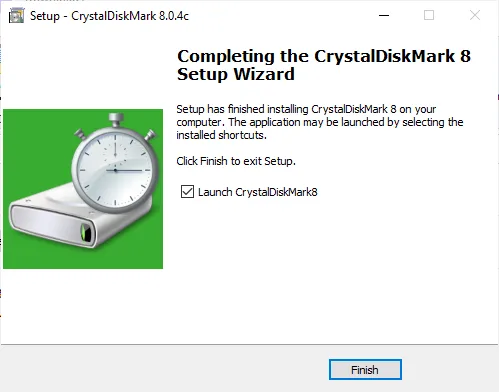
If it is installed successfully, you will be shown a Finished message. You can choose if you want to launch the software or not. To exit the installation wizard, click on Finish:
Now that we have installed CrystalDiskMark, we can finally benchmark our newly-cloned Samsung 870 EVO SSD. We will be benchmarking it in the next post.
