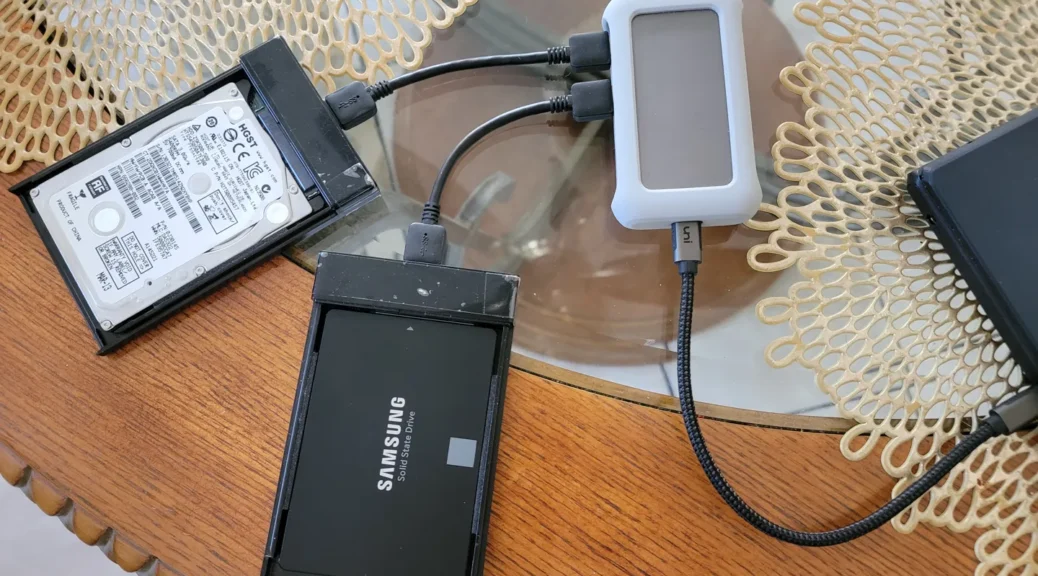
Cloning a 500GB Hard Disk Drive to the Samsung 870 EVO SSD using Linux
Hi everyone,
In this post, we will be cloning a 500GB Hard Disk Drive to a 500GB Samsung 870 EVO SSD. For this, we will be using the Linux dd utility, and will confirm some important details using KDE Partition Manager.
Before we begin, we must use a SATA to USB enclosure or adapter. I will be using an UGREEN USB 3.0 to SATA enclosure. Let’s begin the preparation:
Preparing the Hard Disk Drive and SSD for cloning
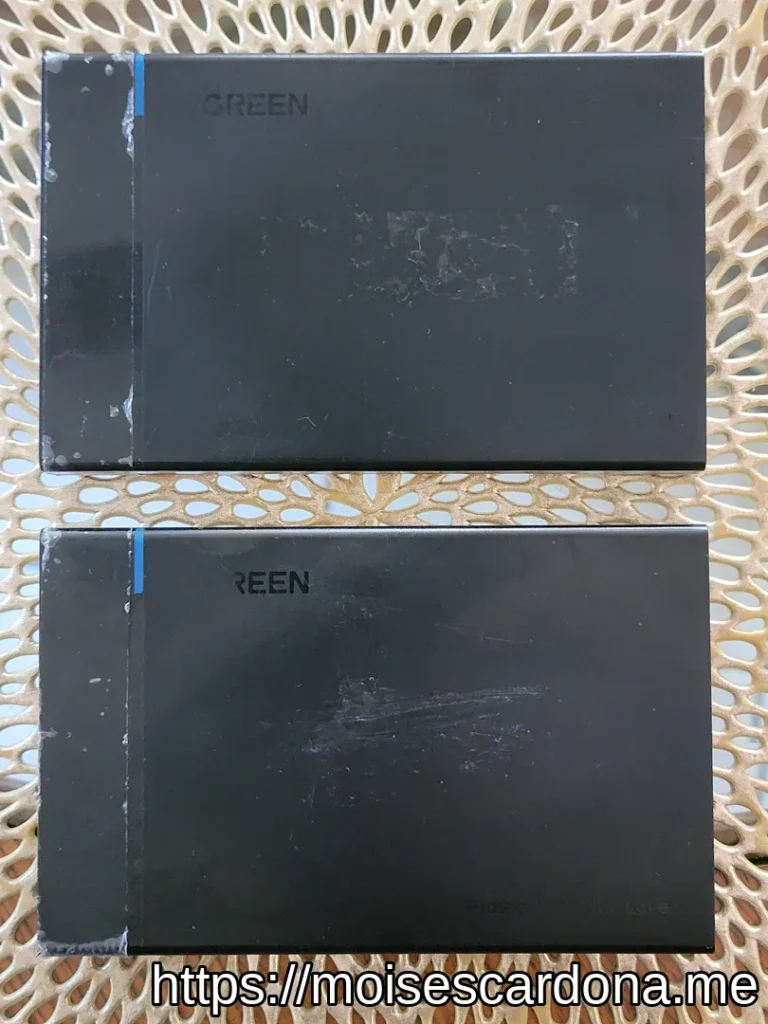
These are the 2 UGREEN SATA to USB 3.0 Enclosures we will be using:
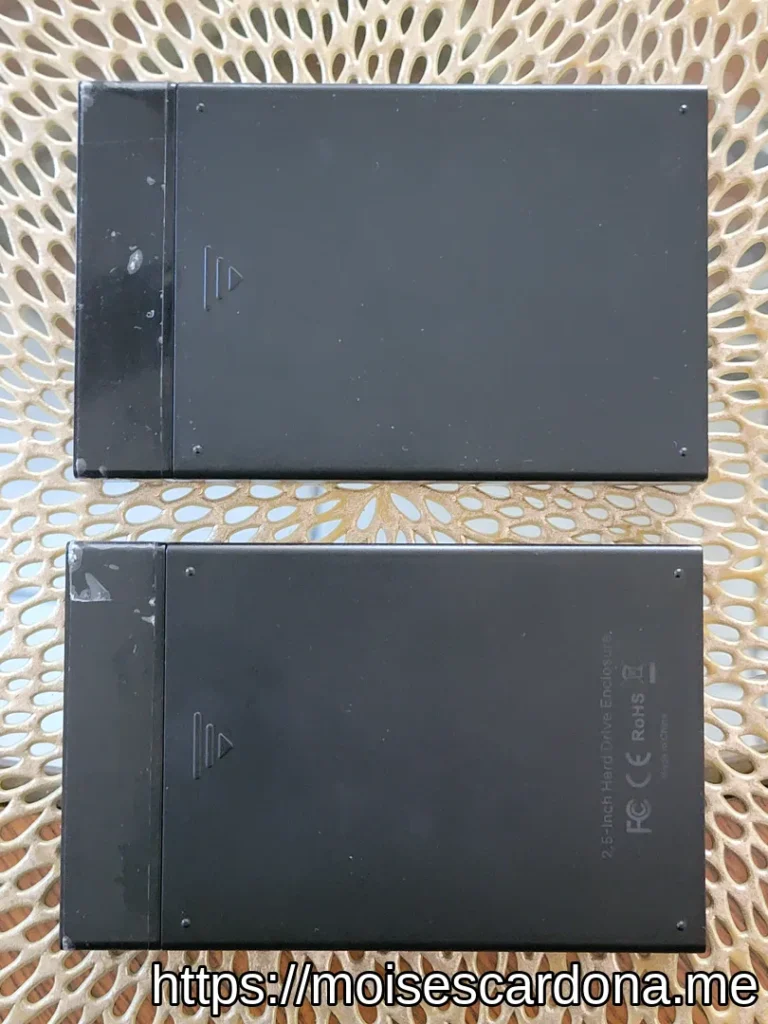
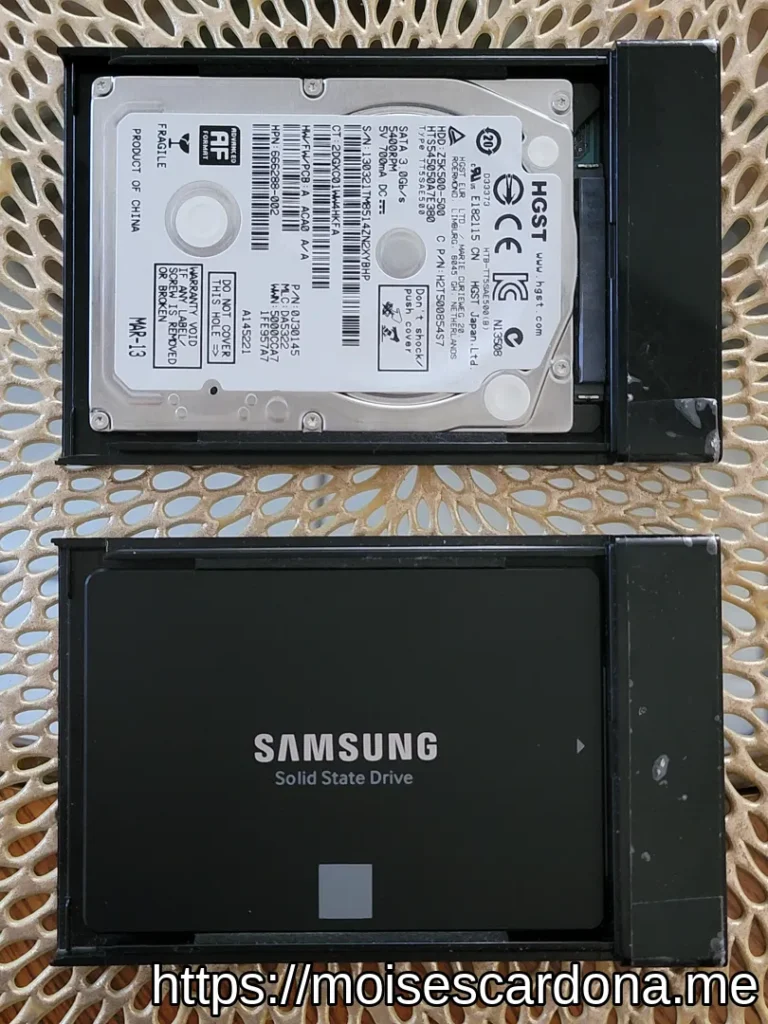
Installing the Hard Disk Drive and SSD into it is very easy, as we must just slide the cover out of the enclosure and install both the HDD and SSD into it:
Finally, we will connect both drives to our laptop. In my case, I’m using a USB-C hub with both drives attached:
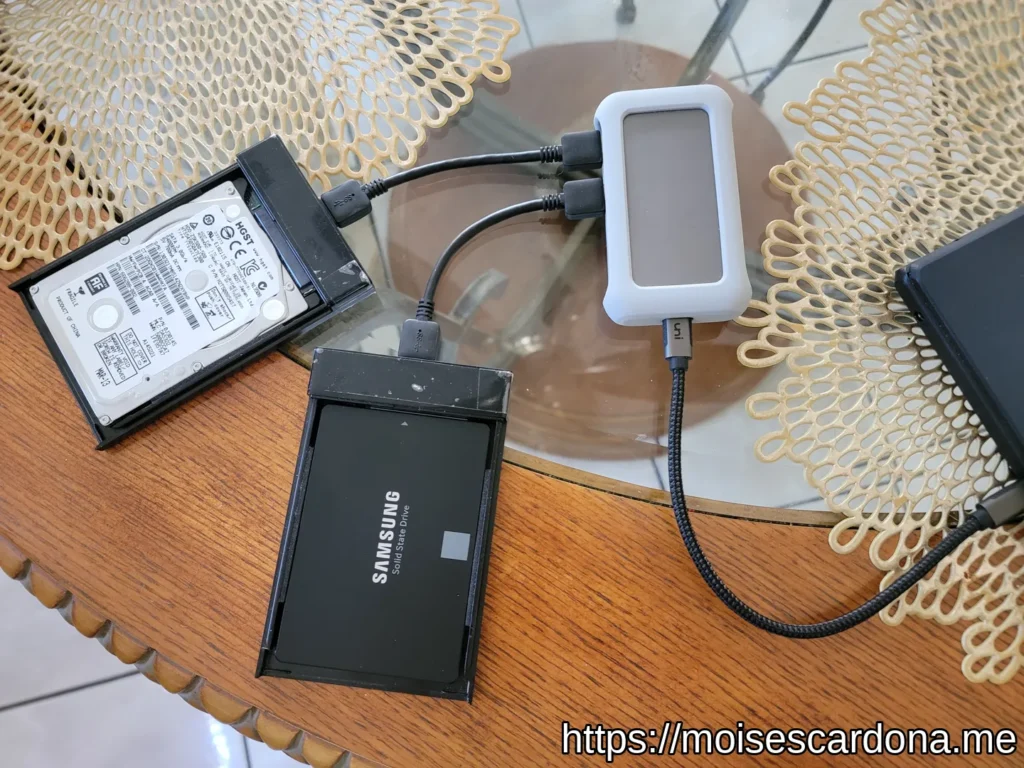
This concludes the main preparation step.
Verifying that the destination drive has the same logical sectors or more
We will now use KDE Partition Manager to verify that the source (HDD) and destination (SSD) drive logical sectors are the same, or it exceeds in the destination drive. The reason for this is that we want to make a perfect clone, and if the destination drive has fewer logical sectors than the source drive, we must shrink the main partition of the source drive so that all of its contents fit in the destination drive.
While we are using KDE Partition Manager, if a partition is mounted, right click on it and select “Unmount”:
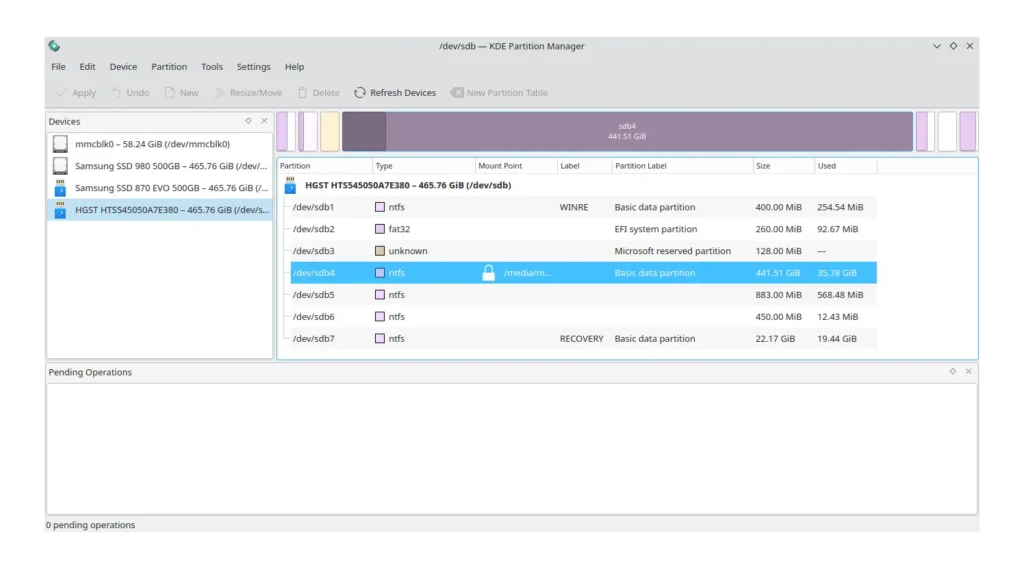
To verify each drive logical sectors, right click on the drives on the left panel and click “Properties”:
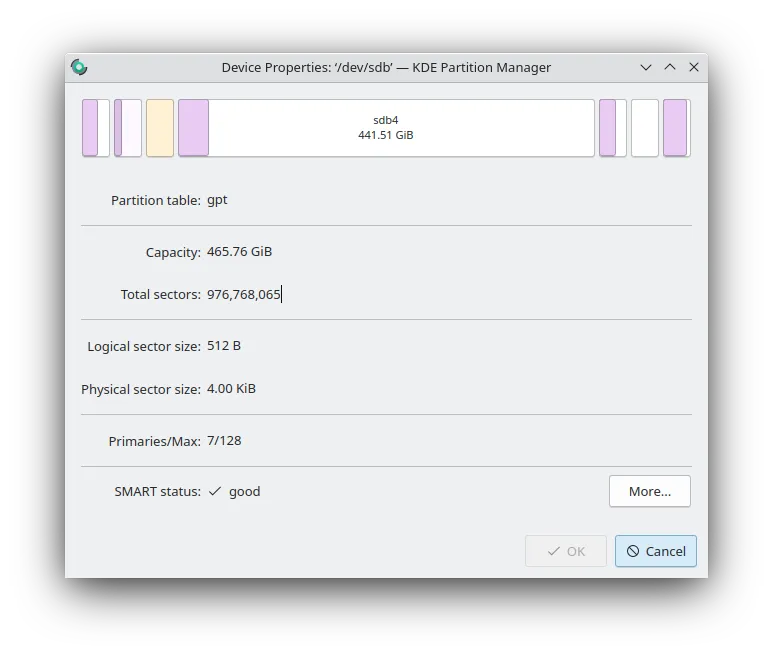
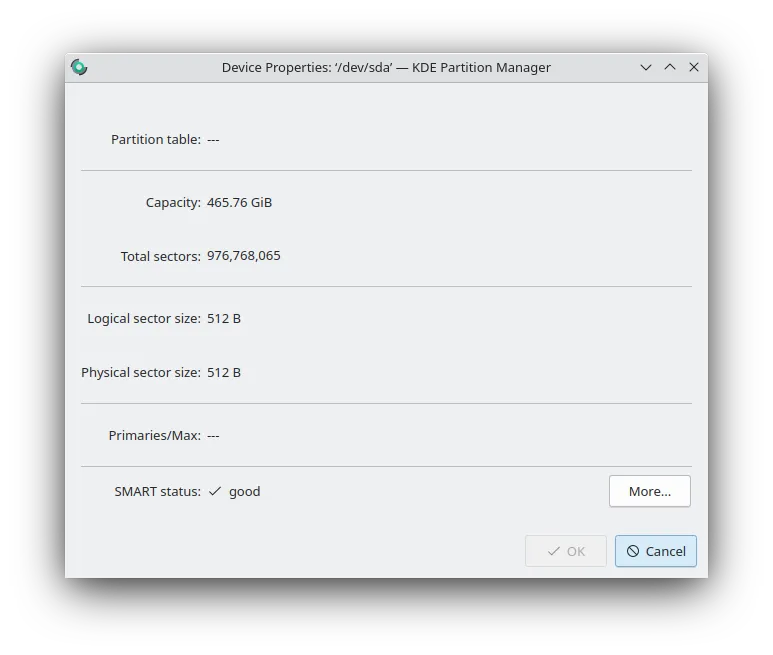
In the above images, the source drive is /dev/sdb and the destination drive is /dev/sda. We an see that the Total Sectors count is the same on both units. This means we are ready to start the cloning process.
Cloning the Hard Disk Drive to the Solid State Disc
This is the most time consuming step, so after we initiate the process, go get a coffee or do some fun or productive task while you wait.
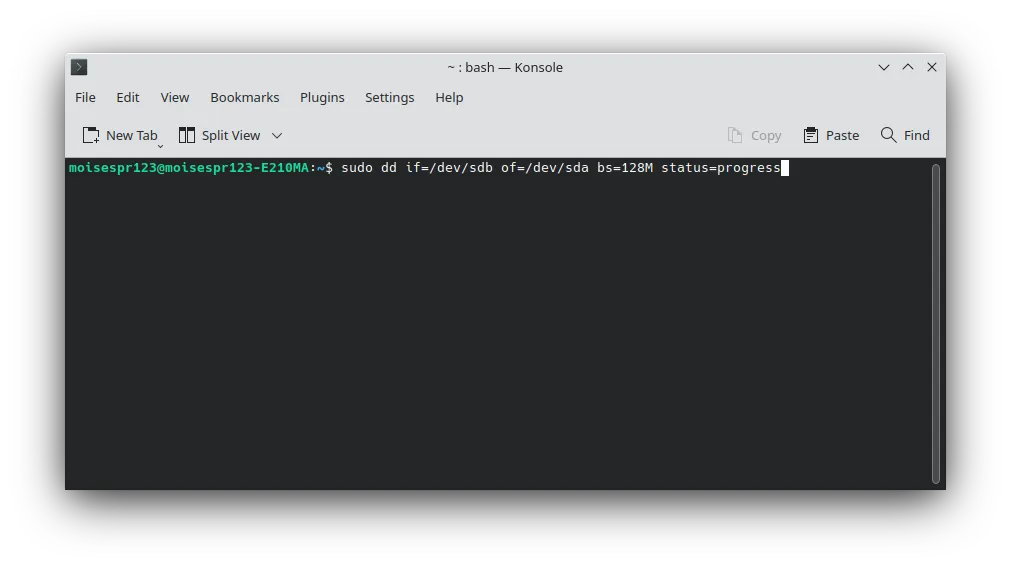
To start the cloning process, open a terminal and type the following command:
sudo dd if=<source drive> of=<destination drive> bs=<amount to read and write at a time, in bytes> status=progress
Let’s go into details for each of these parameters:
ifis the source drive. In our machine, the Hard Disk Drive is/dev/sdbofis the destination drive. Out SSD is/dev/sdain out machine.bstellsddhow many bytes to read and write at a time. I suggest you use some higher number than the default 512 bytes. I normally use a high number in MB like 128MB, as these hard disk drives usually have a read speed of some 60MB to 100MB, depending on your model.status=progresstellsddto show the current progress.
VERY IMPORTANT: Please be sure to input the source and destination drive paths correctly. Please use gparted or KDE Partition Manager to get the drive paths and confirm that they are the drives you want to use. Also, please verify that the partitions will fit into the destination drive before proceesing.
Once you confirm all of the details and drive paths are correct, press Enter. Do note that if you have any data in our destination drive, it will be destroyed. In this case, because our Samsung 870 EVO SSD is brand-new, it doesn’t have any information.
Also note that this process will take a while, as it will do a perfect 1:1 copy of the source drive:
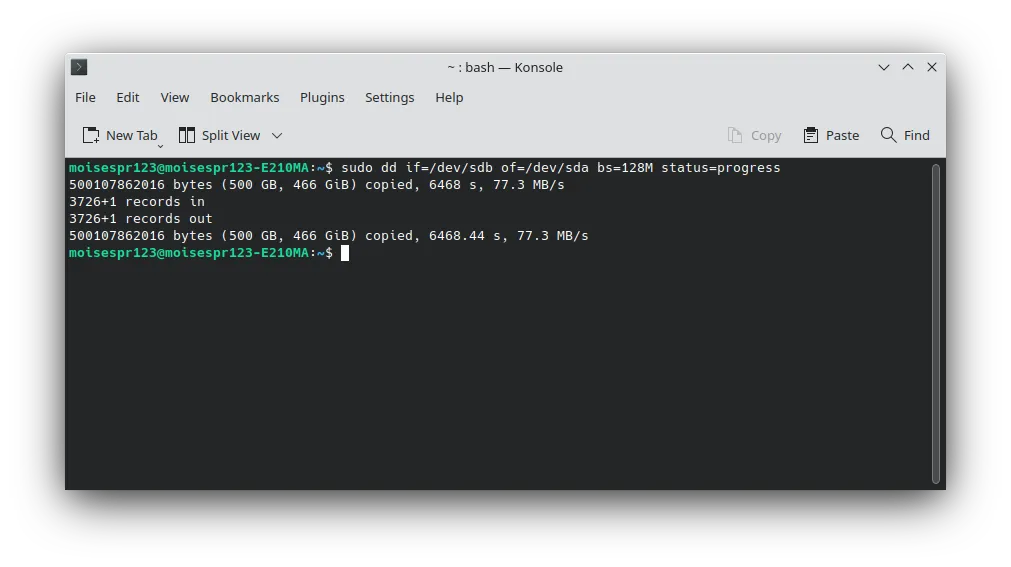
Once the cloning process finishes, you should see an output like the following:
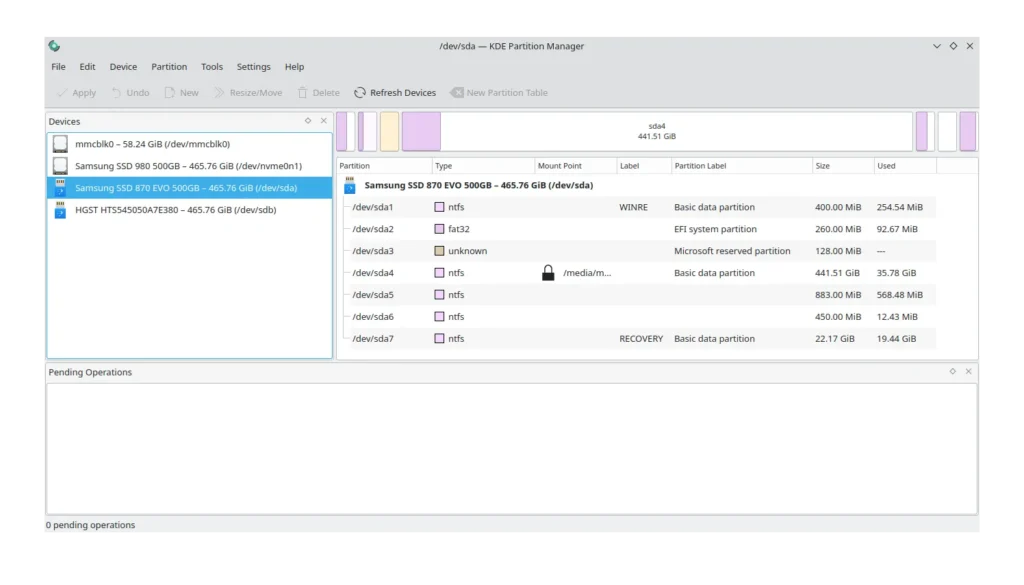
At this point, you can confirm in KDE Partition Manager that the Samsung 870 EVO SSD has the same partitions as the Hard Disk Drive we chose as the source drive:
Congratulations! You have successfully cloned the Hard Disk Drive to the Samsung 870 EVO SSD.