Photos of the Hidizs DH1000 DAC/AMP Circuit Board (Teardown)
Hi everyone,
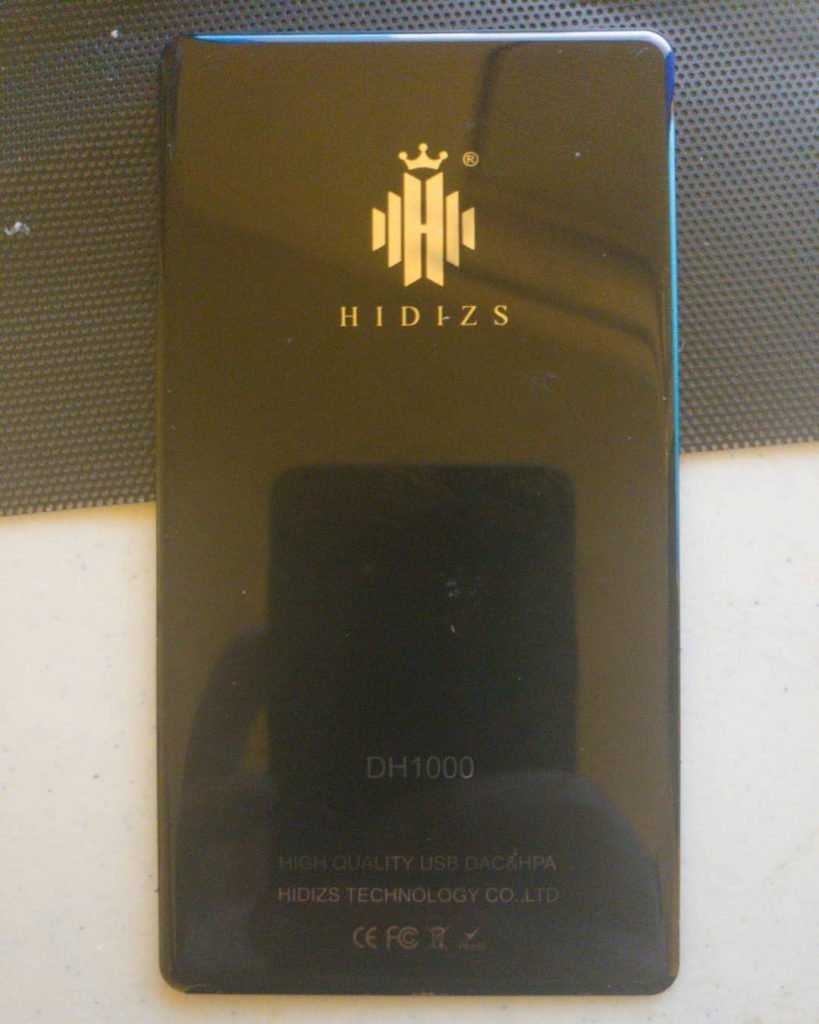
Today, I’d like to show you some pictures of the Hidizs DH1000 Circuit Board.
We need to take out the top and bottom glass first. You can remove the top glass if you want to see the main chips, and you can remove the bottom glass to take a look at the battery. Please note that the glasses are completely glued, not just the borders, so you’ll need something that you can use to carefully remove the glue behind:
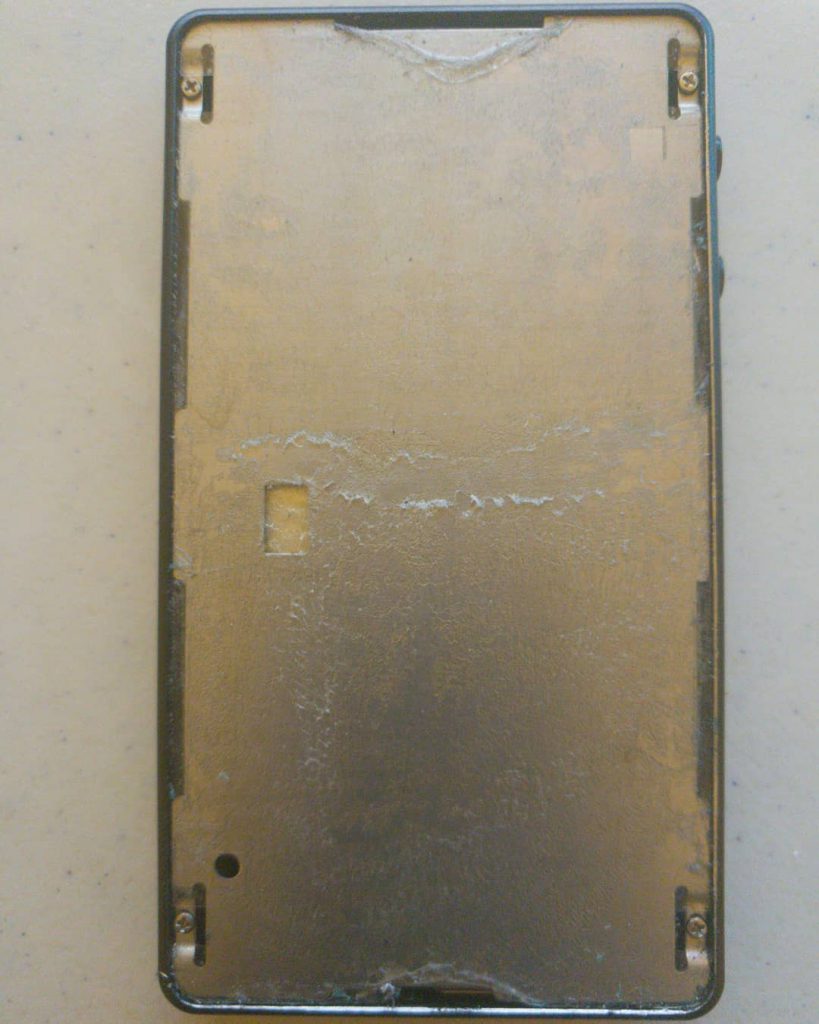
Once the glass is removed, there’s a metal shield protecting the circuit board. Removing it is as easy as taking off the 4 screws it has. Note that the surface is full of glue:
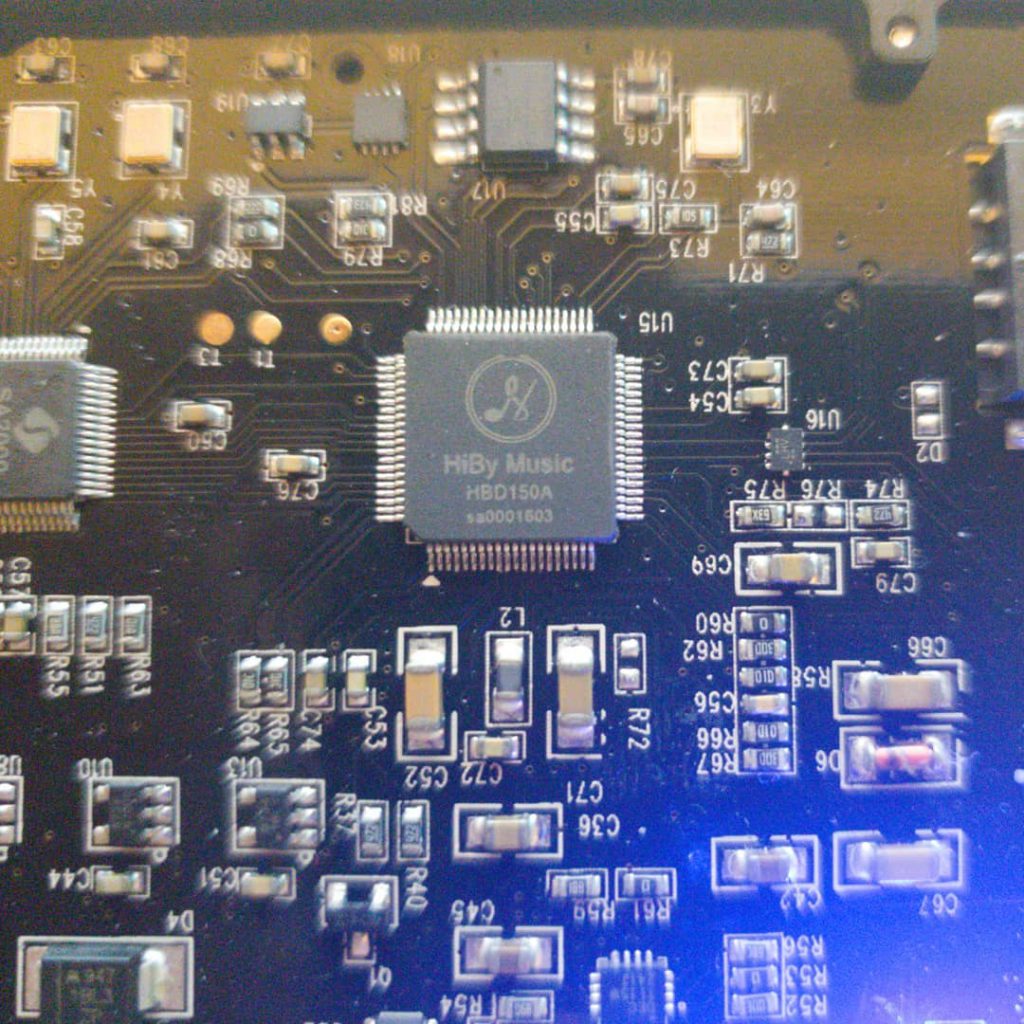
Once removed, the beauty of the circuit board awaits:
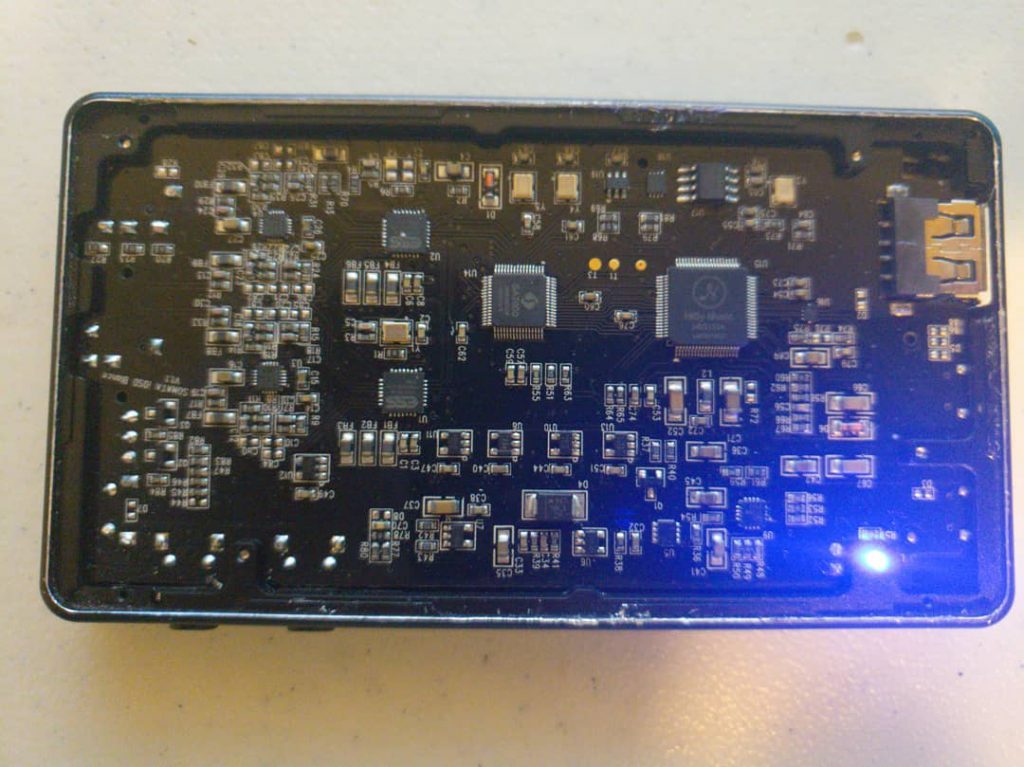
The main chip is a Hiby Music HBD150A:
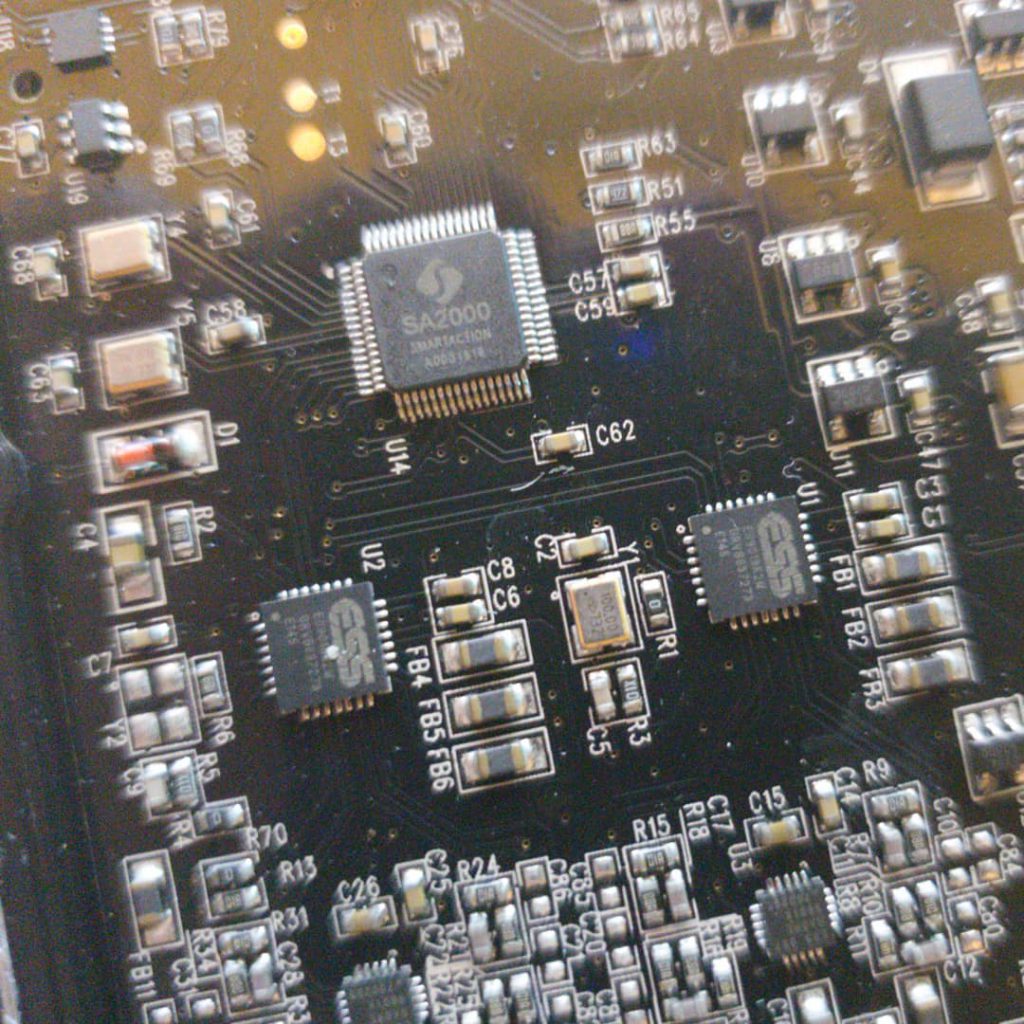
The second chip is a SmartAction SA2000 chip. From there, it goes to the dual ESS ES9018K2M DACs (Digital Analog Converters):
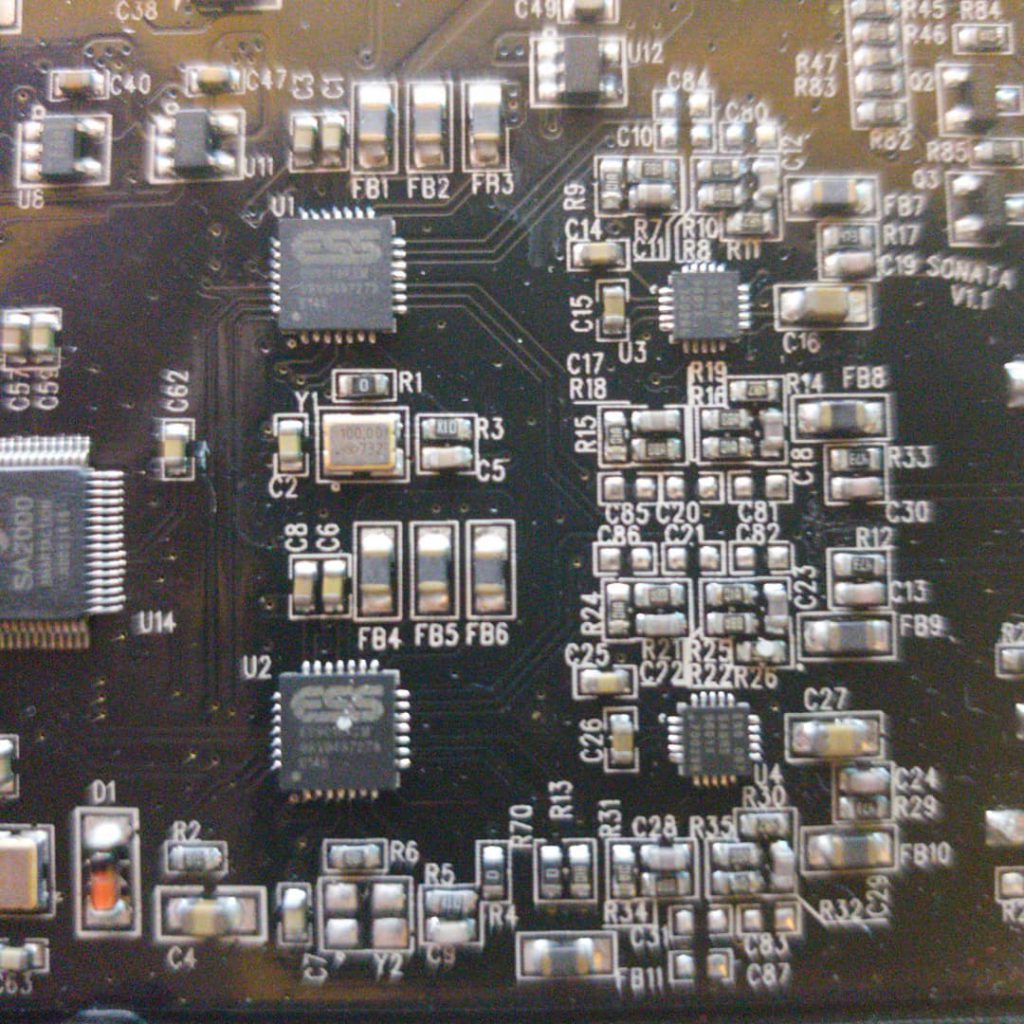
Here’s a closer look to the dual ES9018K2M decoder chips as well as the dual amp chips:
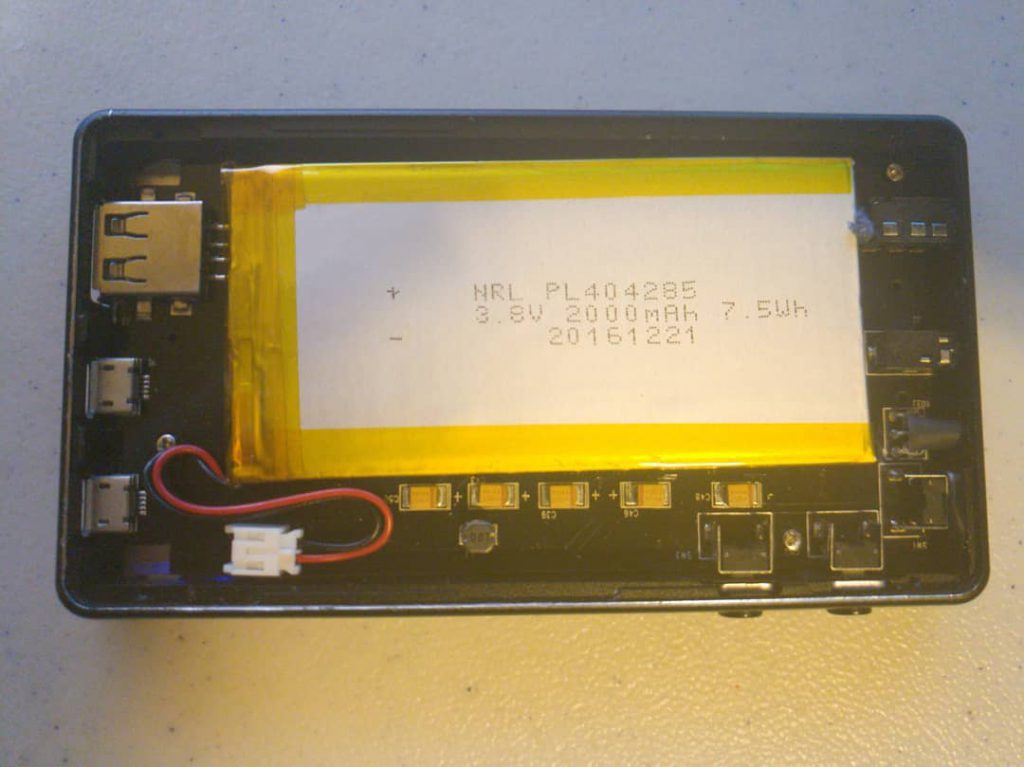
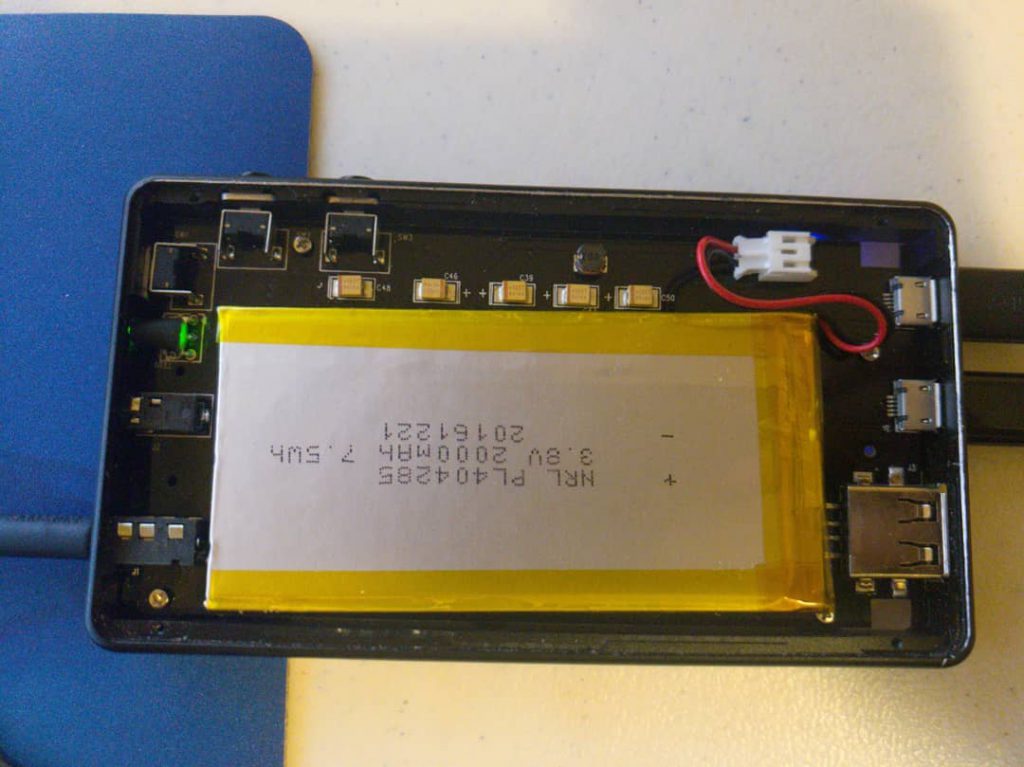
On the other side, there’s the battery. It can be detached but it seems to be glued, so it needs to be carefully removed:
Here I have the unit connected to my PC using both USB’s and a headphone connected:

And here’s the battery side:
It’s difficult to know if the unit is charging or not, because my unit has a fault in which the LED is always turned on, and the charging is extremely slow. Also, for now, the only way to power it is to disconnect the battery, press and keep pressed the power button, then quickly connect the Power USB cable without having the data cable connected. This will make the unit turn on. Once it’s on, the battery can be connected and once it is connected, the data cable can be connected. Otherwise, the unit will turn off almost immediately, maybe because it doesn’t have enough power to be kept on, which is why the battery needs to be connected.
I wonder if Hidizs will release an updated version (maybe a Hidizs DH2000?) which fixes this battery defect which some users have been facing. It’s just a matter of time to see what amplifier they do next, as this one sounds very good and I enjoy the sound. It’s unfortunate that it has such a battery problem. Anyway, I’ll keep using this product, again, because I enjoy the sound 🙂
Hope you enjoyed the photos!