Installing Windows 11 build 21996
Hi everyone,
In my previous post, I wrote about how to create a Windows 11 installation disc that would allow me to install this new Windows version on a PC without a Trusted Platform Module. I did this because my attempt from yesterday to install Windows 11 was not successful because of this requirement. Now, I’ll go through each step I did in order to install it on the same machine that failed yesterday, by using this new installation media.
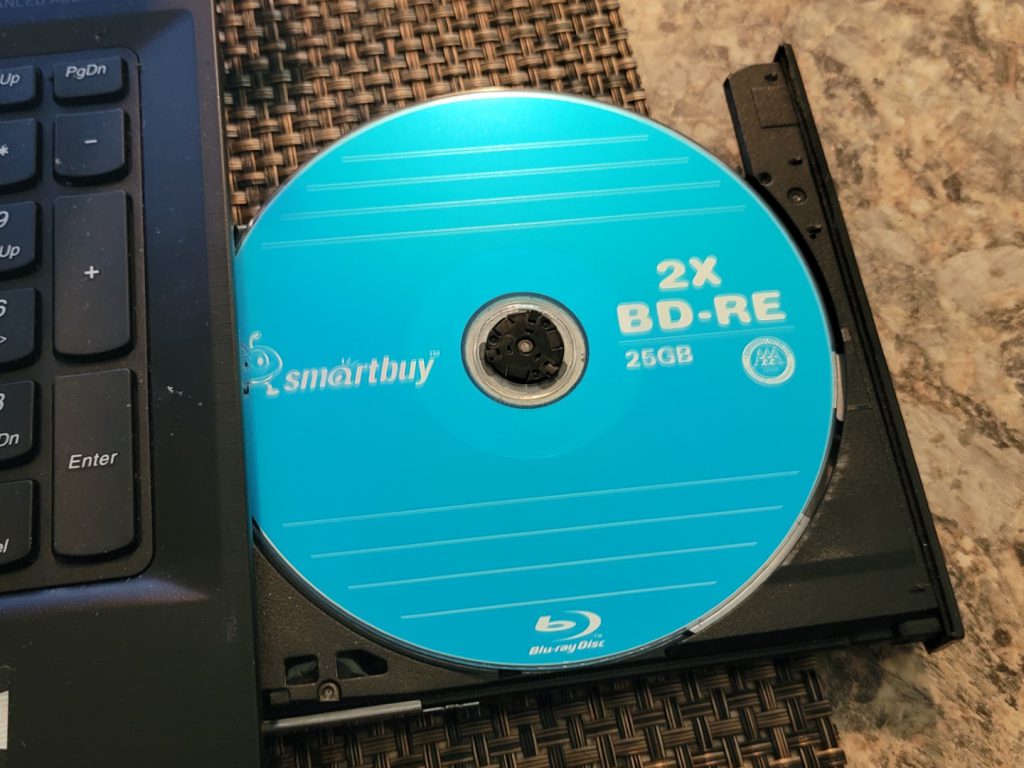
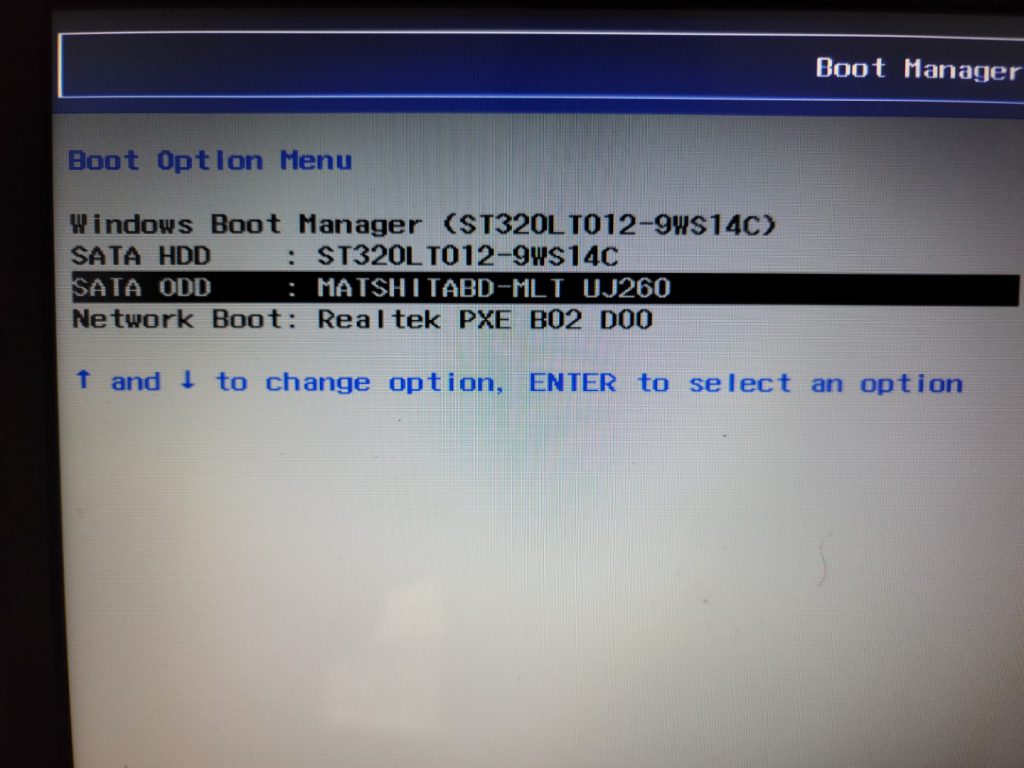
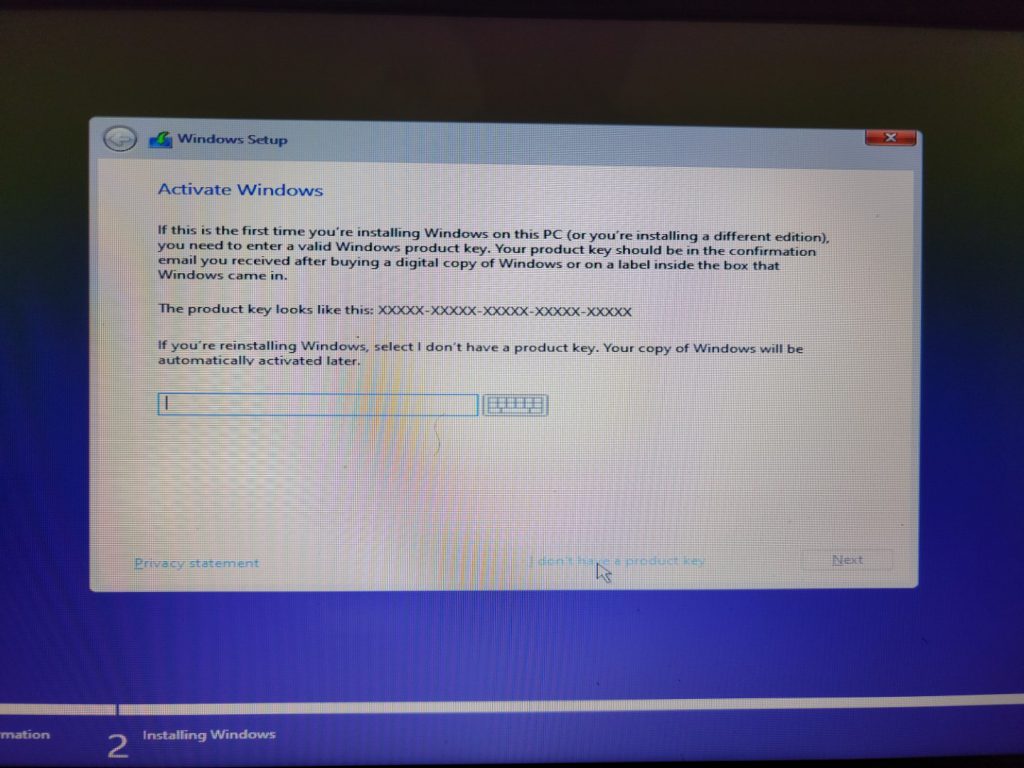
The installation is really no different than that of installing a previous version of Windows. We would just boot the disc and go through each installation step.
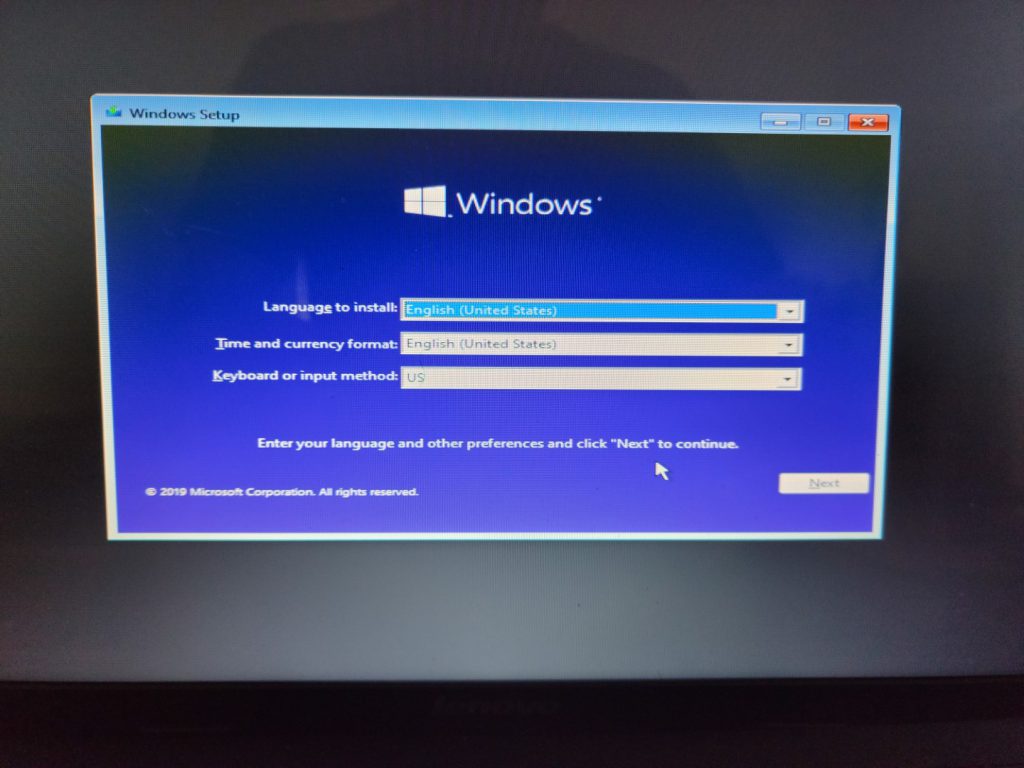
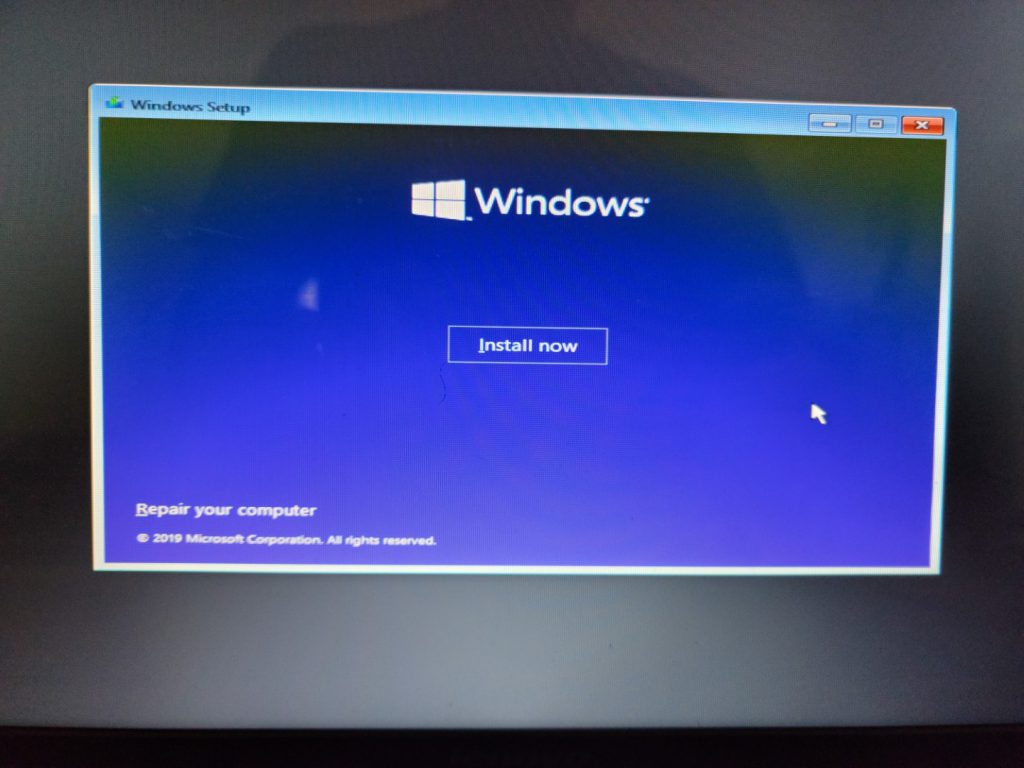
Because we used a Windows 10 installation disc with the install.wim file from Windows 11, the first setup screens have the Windows 10 logo. However, we are installing Windows 11 as those are the versions that shows up in the version selection screen:
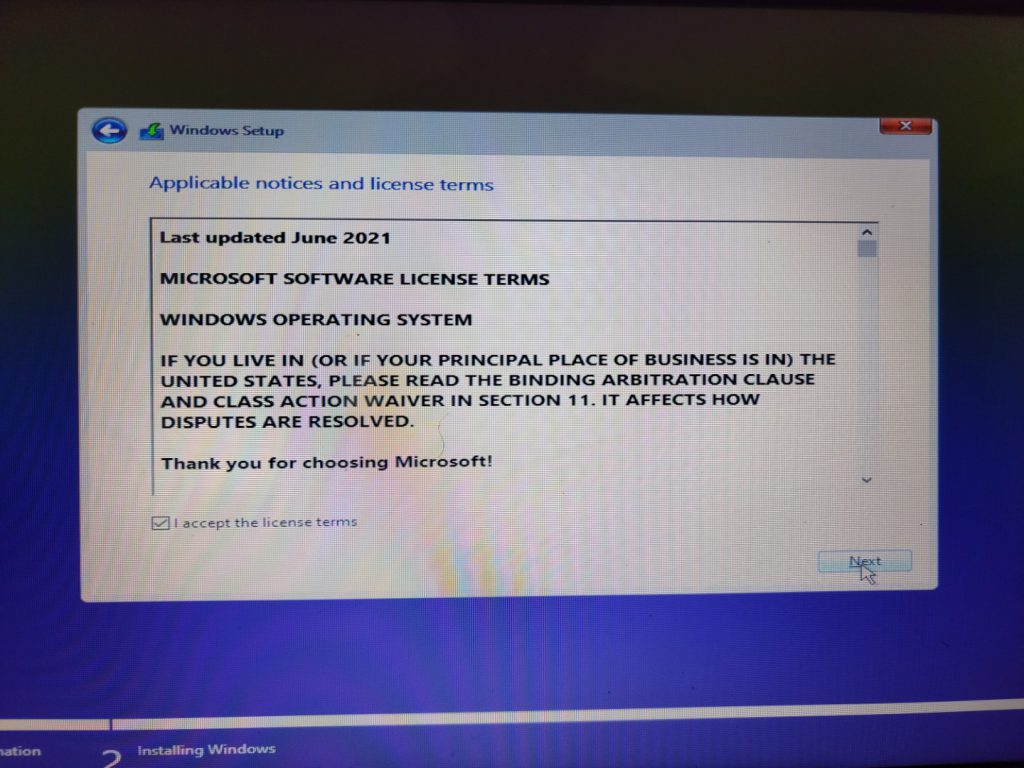
The End User License Agreement was also updated, showing a date of June 2021:
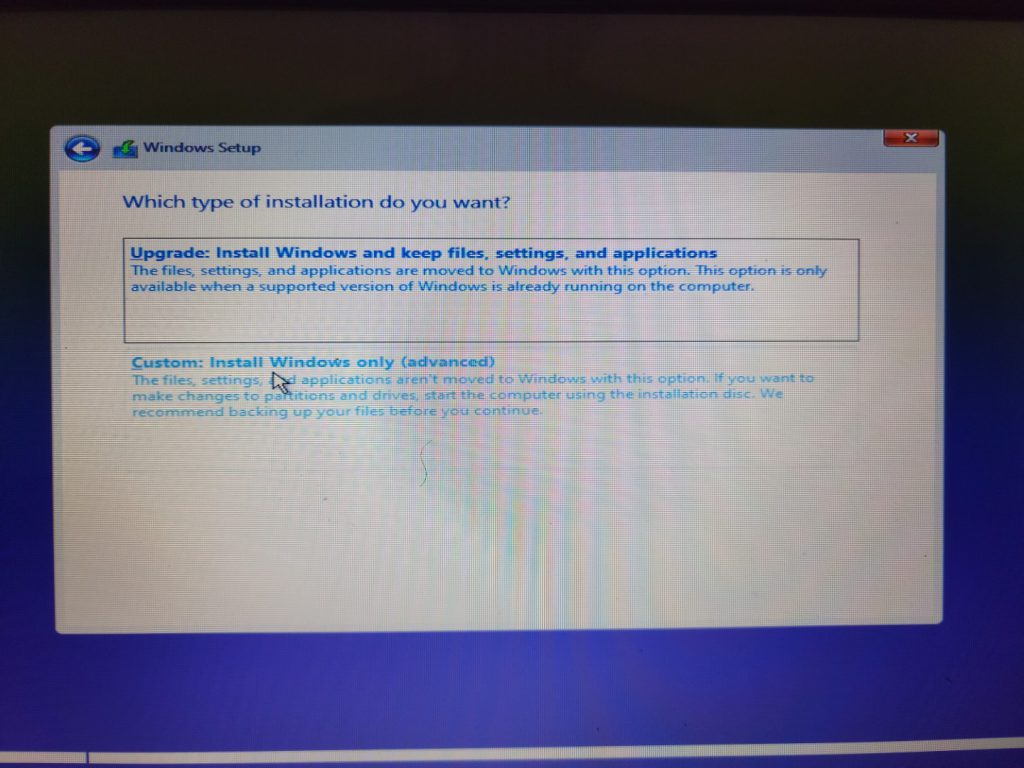
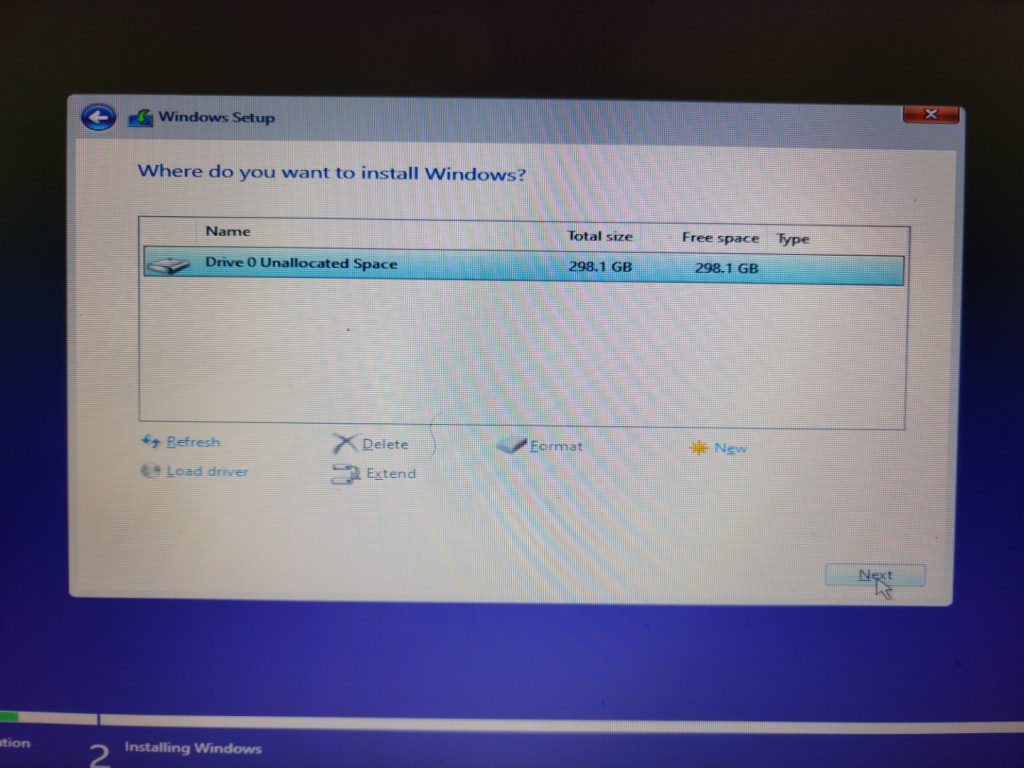
We will do a Clean Install, which requires repartitioning our hard drive to install a fresh copy of Windows:
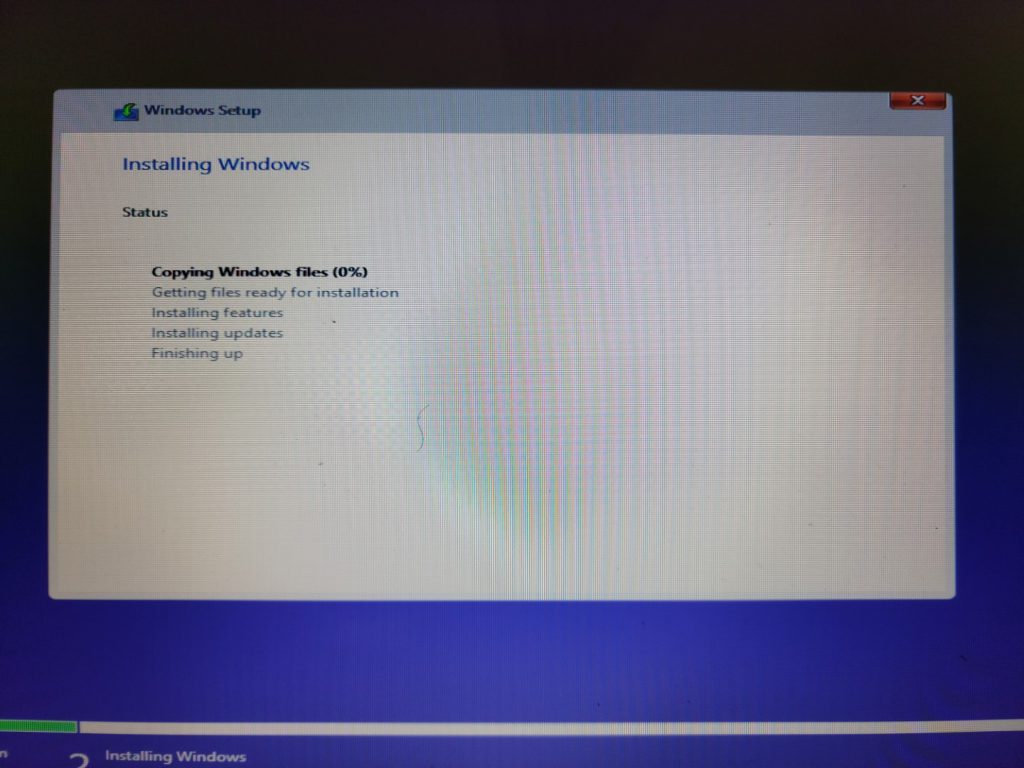
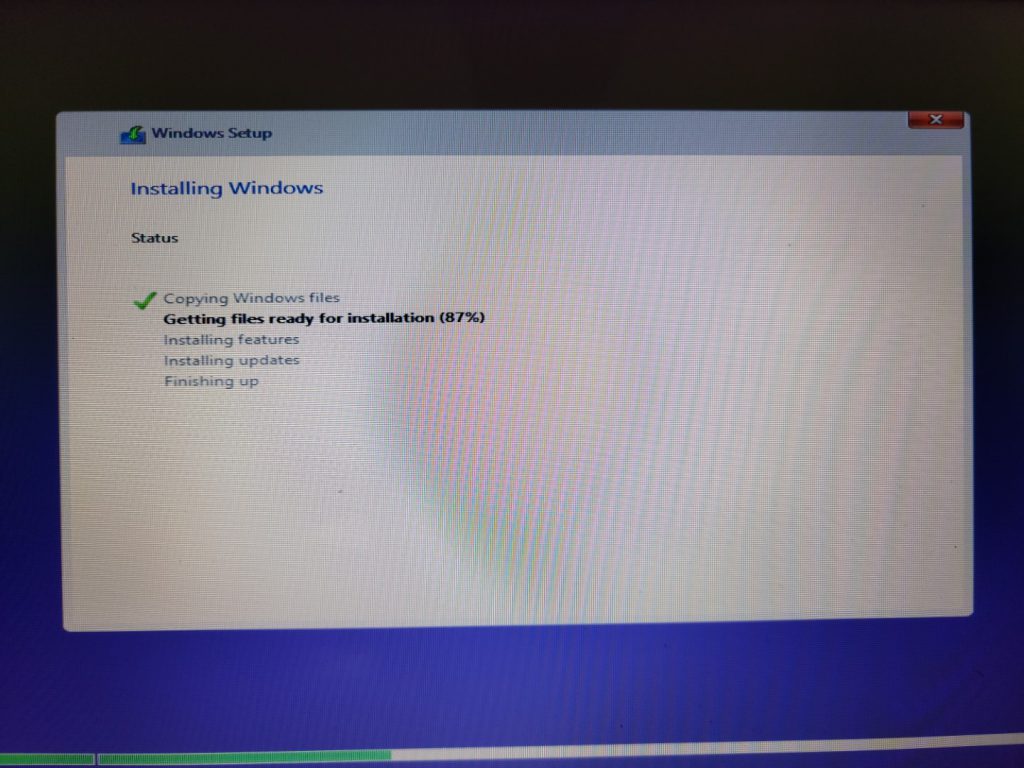
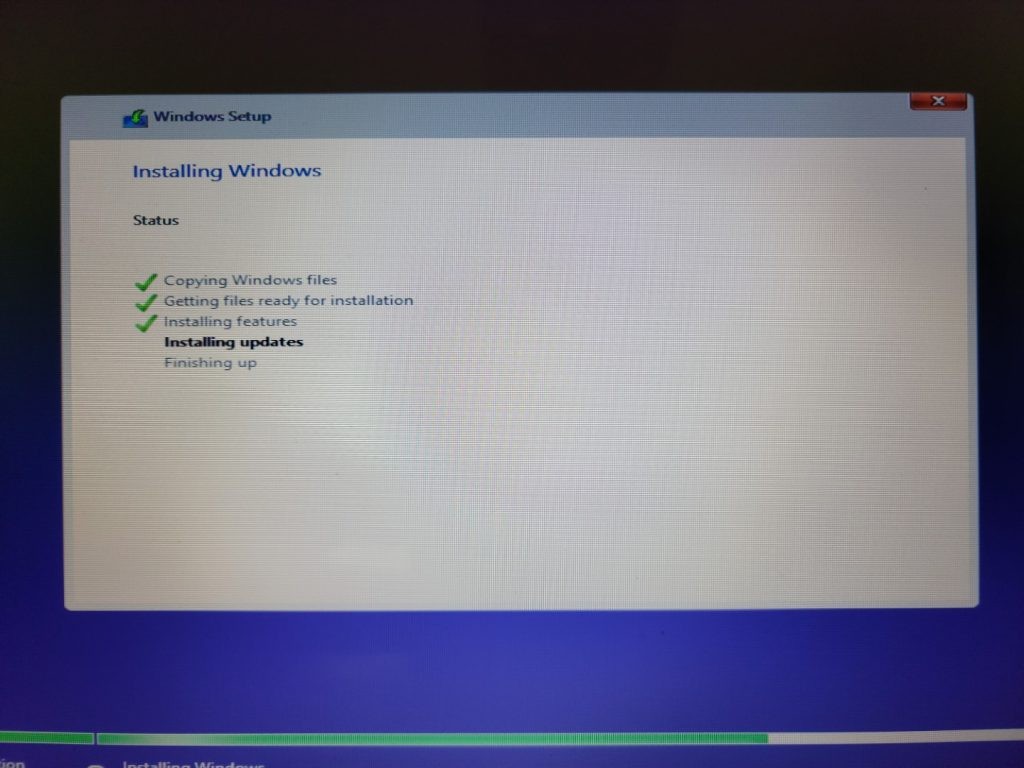
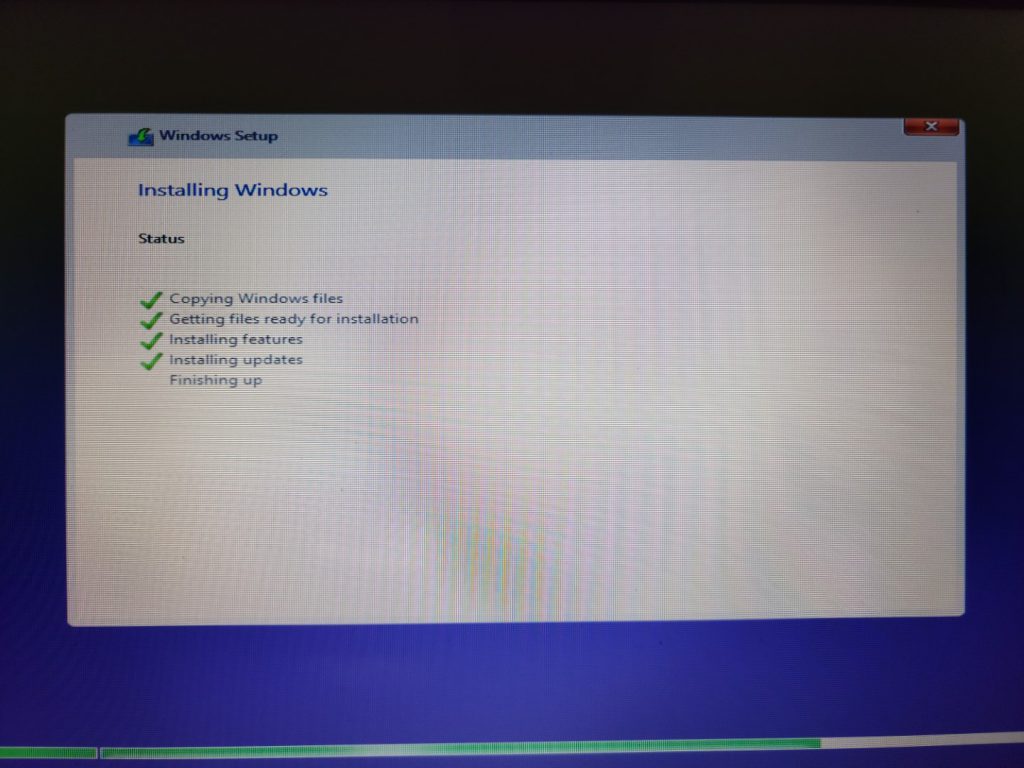
The installation process runs as usual:
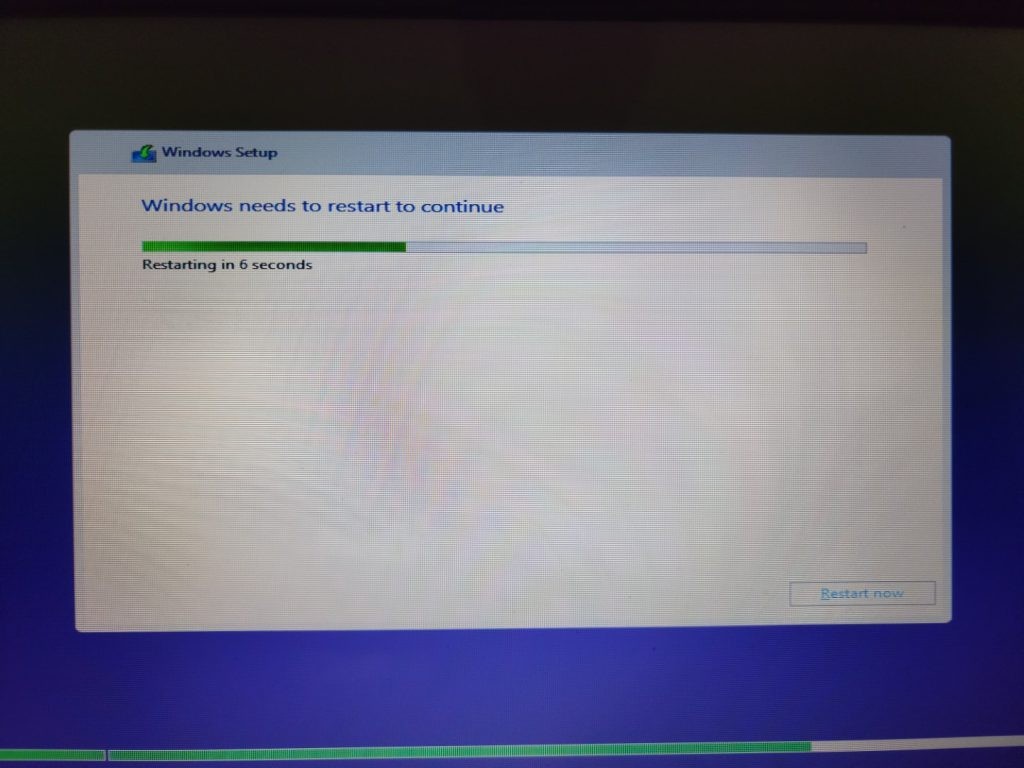
Once this setup is complete, our PC restarts and the second part of the installation begins.
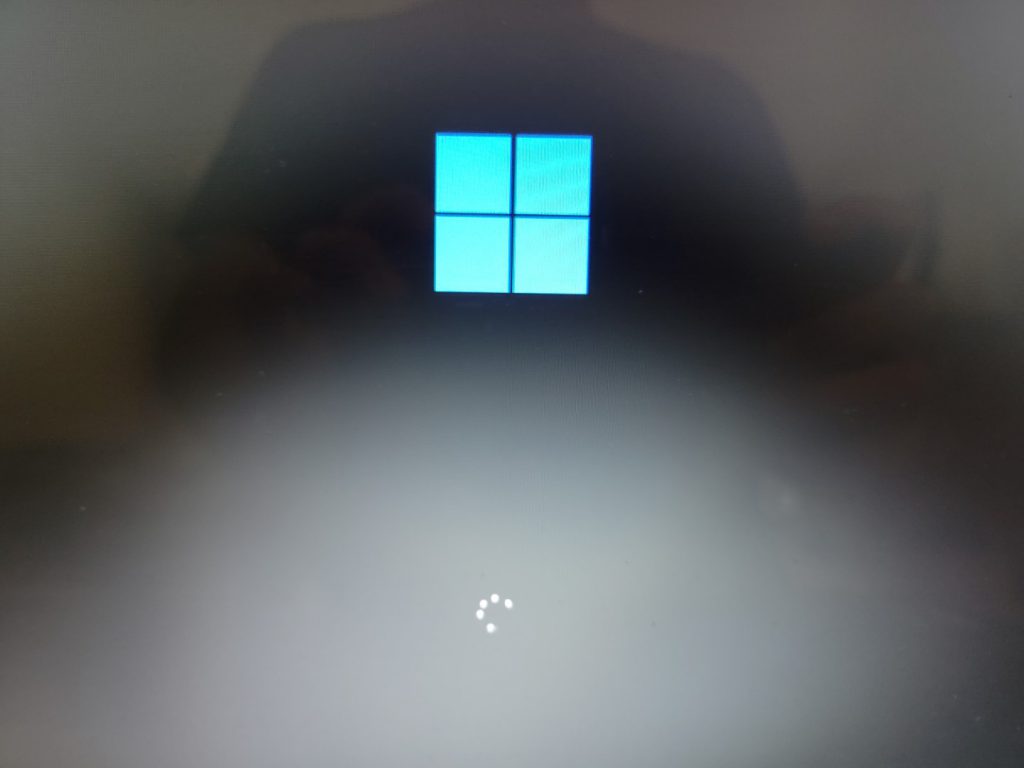
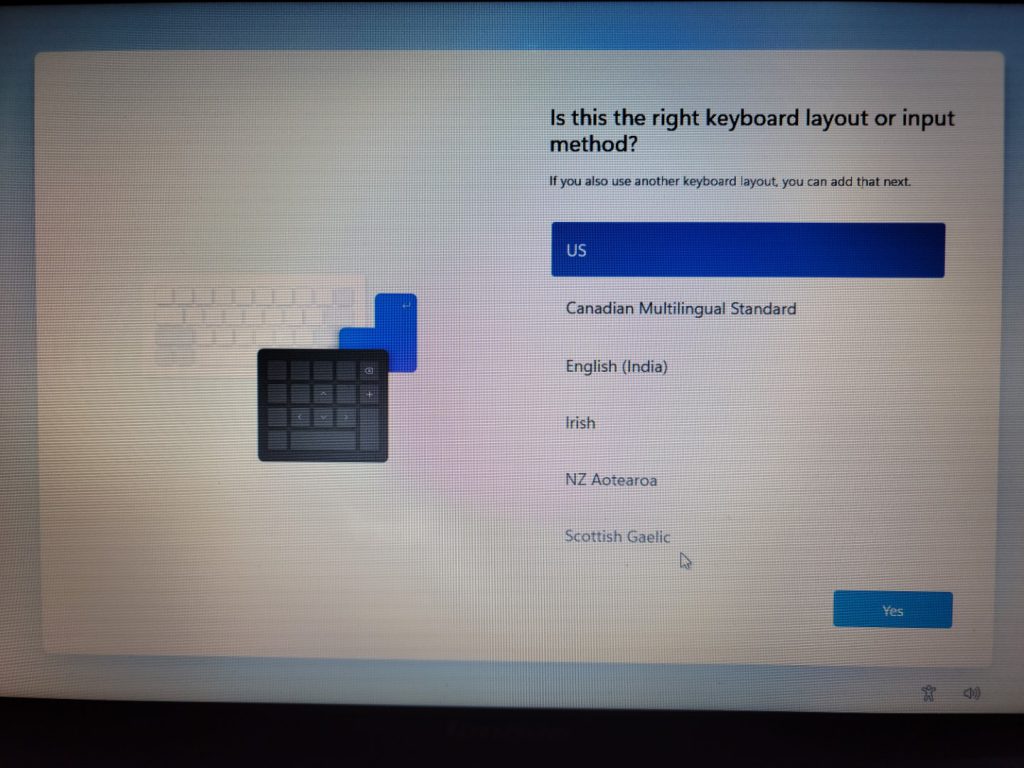
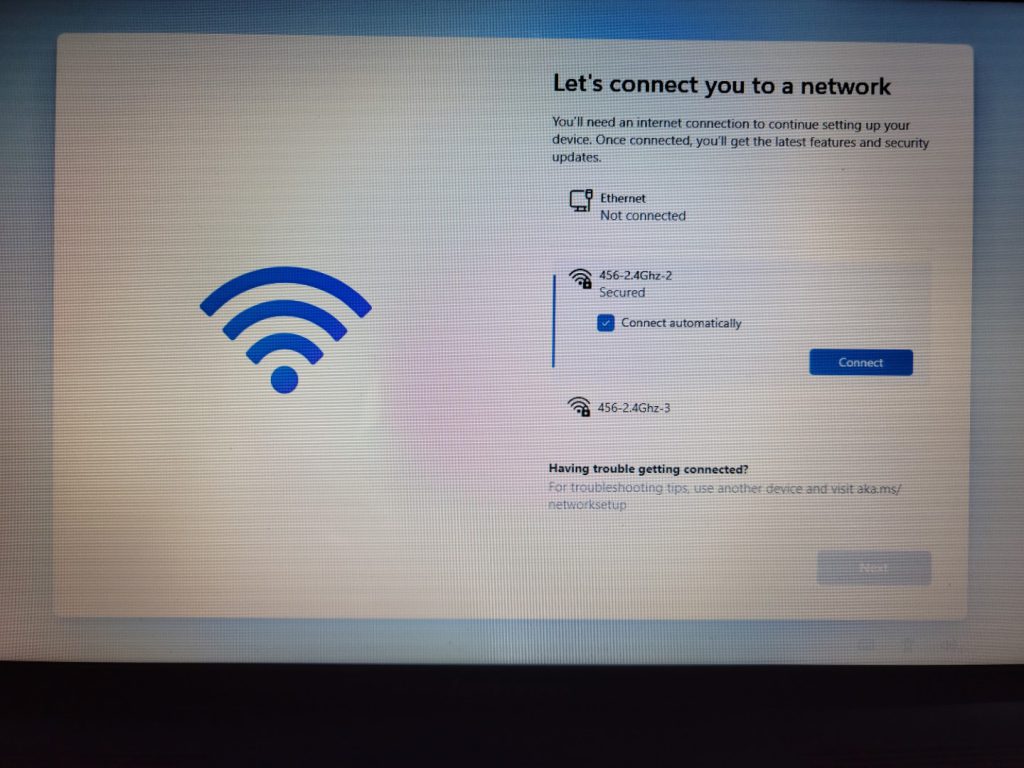
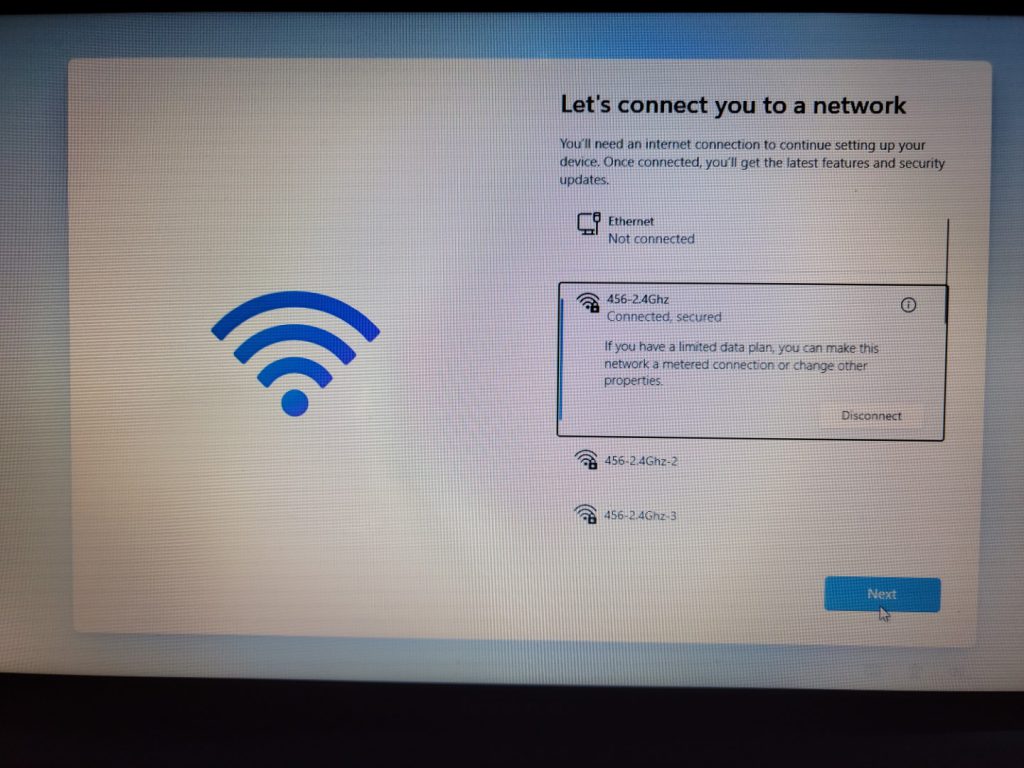
We can see the new Windows logo is now in place. It seems to have been installed correctly. Now is where the new Setup Experience starts, with brand-new screens. The steps itself are the same as the ones in Windows 10. If you’ve been following the Windows 10 Insider Previews, the last few screens were present on those:
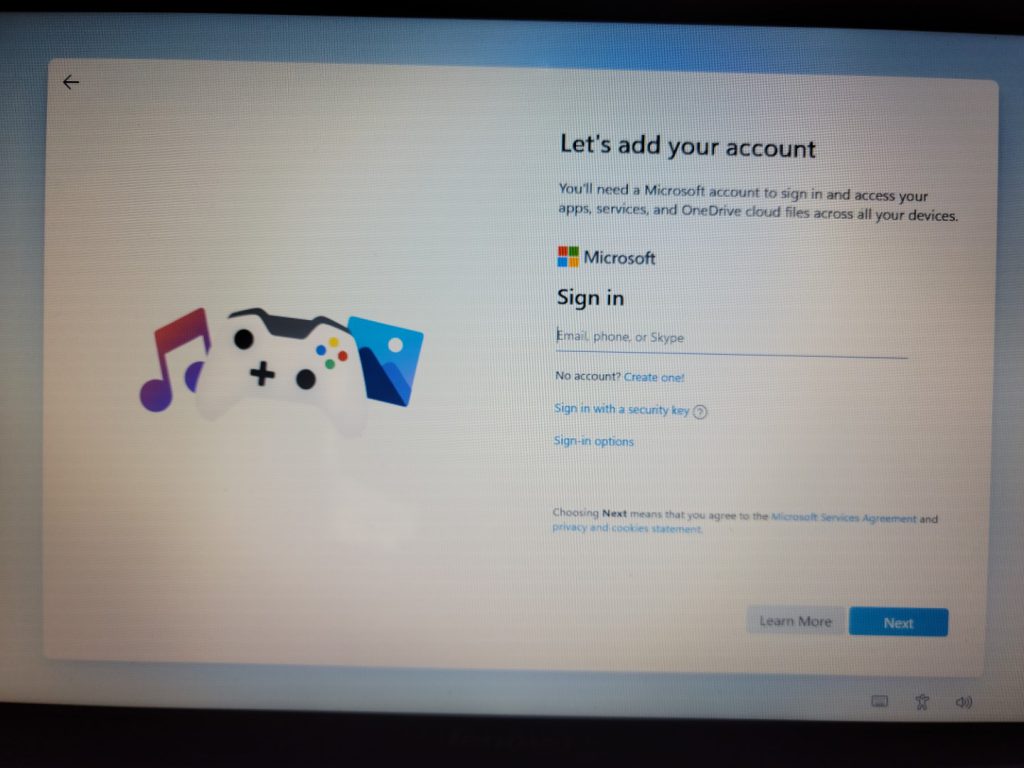
If we connect to the internet, there will not be an option to bypass the login screen. I did not test it to see if Windows 11 would allow me to add a local account if I hadn’t connected to the Wi-Fi network, but then again, there doesn’t seem to be an option to skip that step. There is, however, a troubleshooting option, so maybe it’s hidden in there.
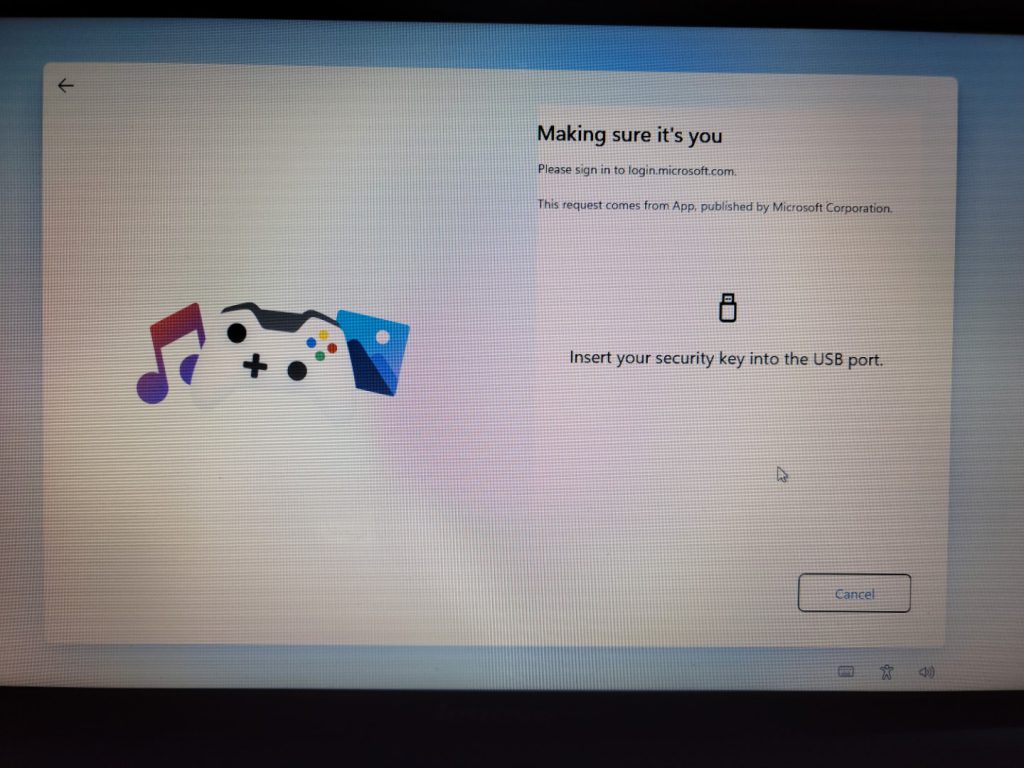
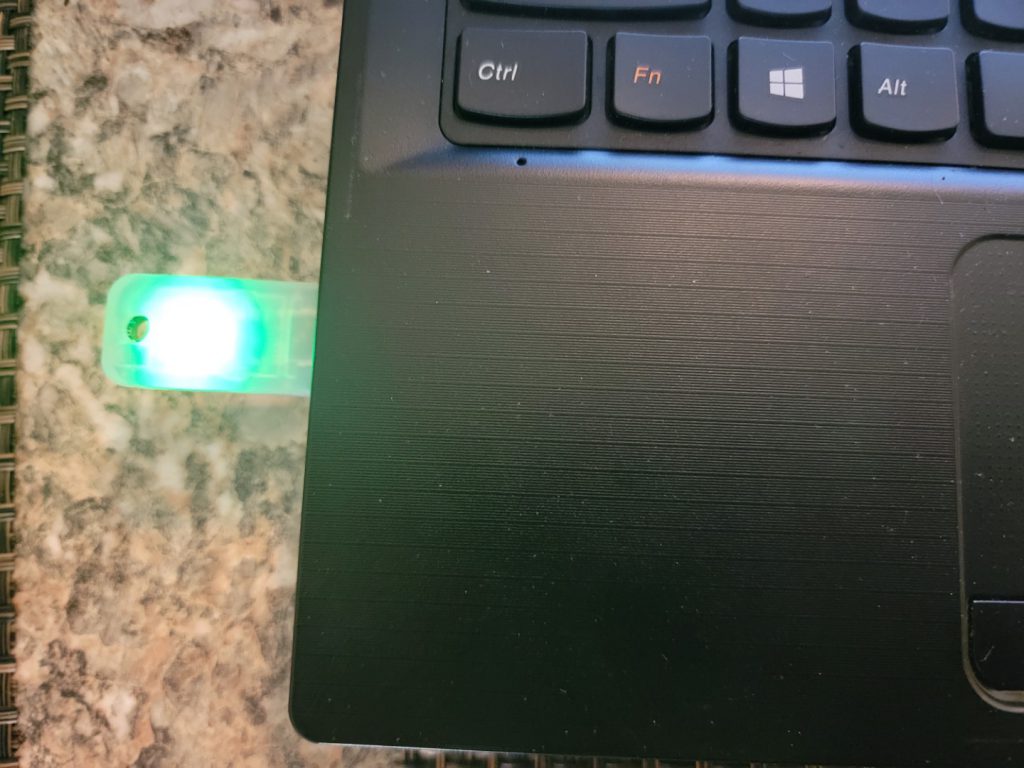
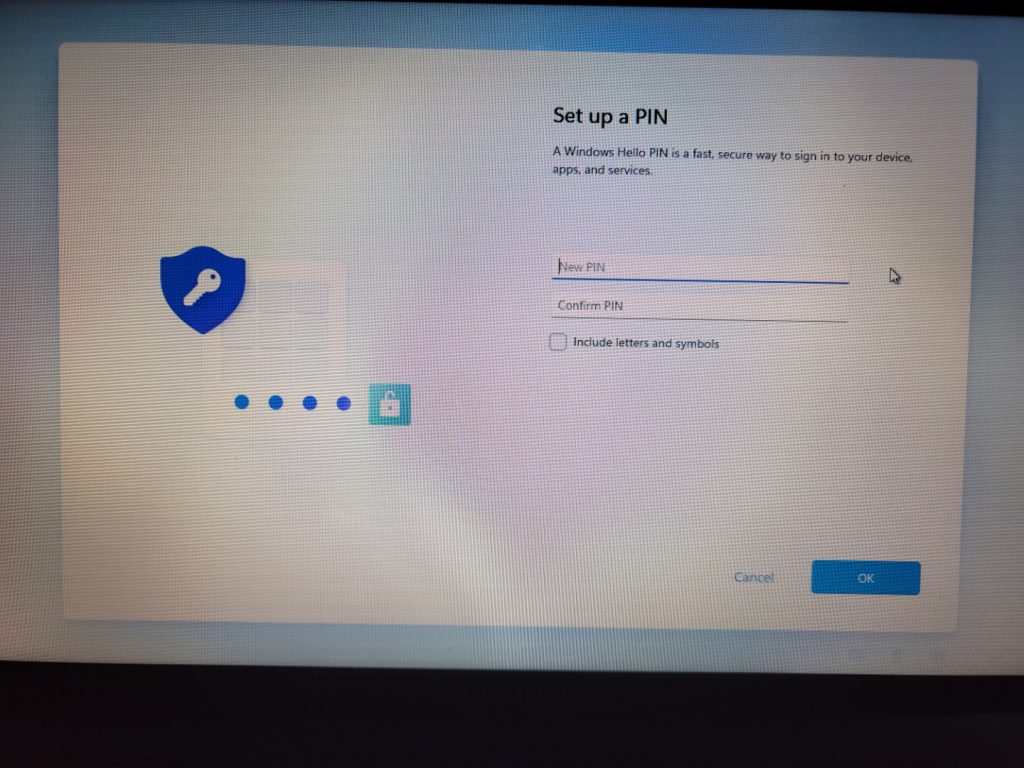
I have a FIDO key to log in and Windows 11 happily accepted it and restored my account:
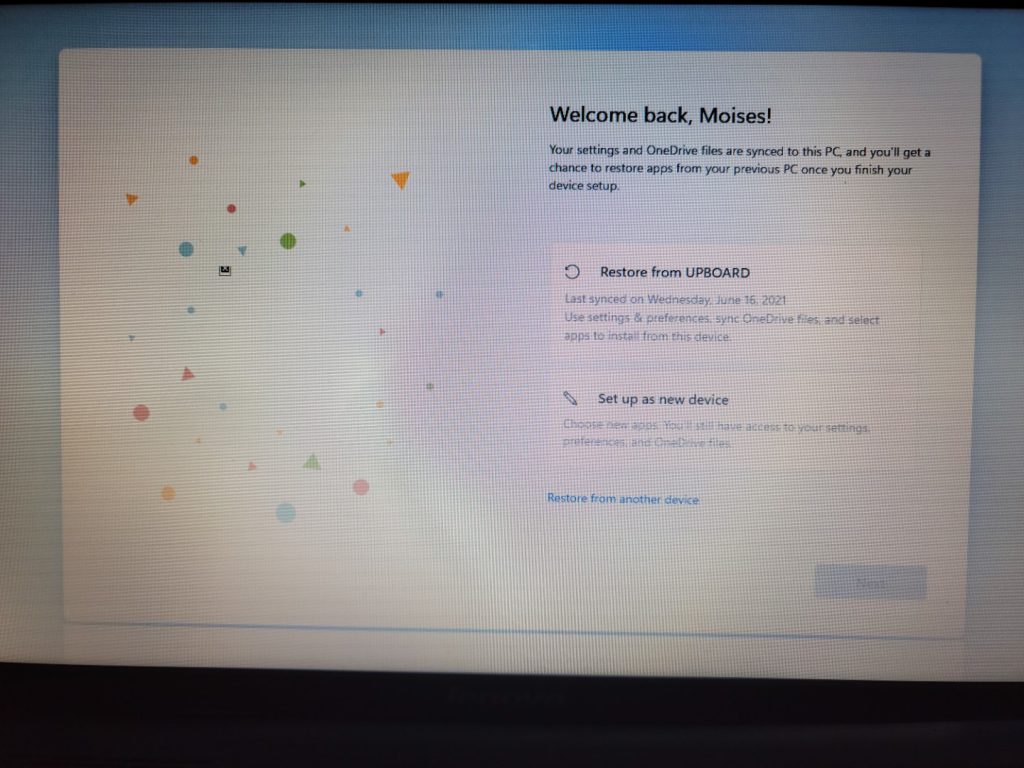
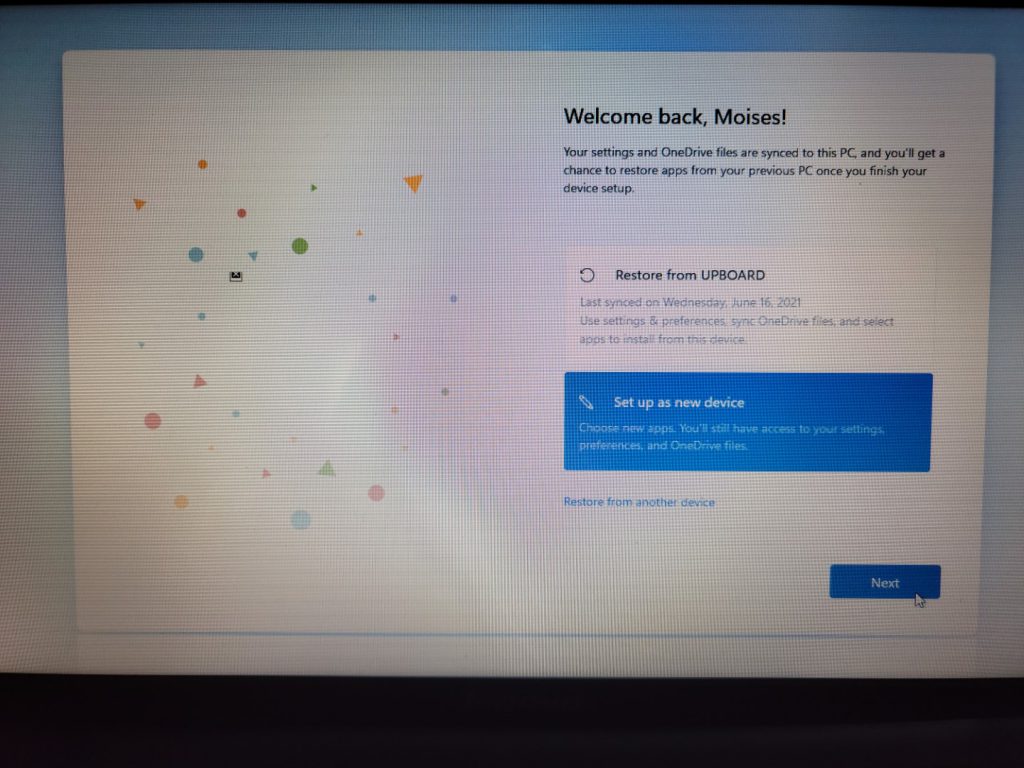
It also seems that Windows 10 backups are compatible with Windows 11, as it gives me the option to restore the settings from it.
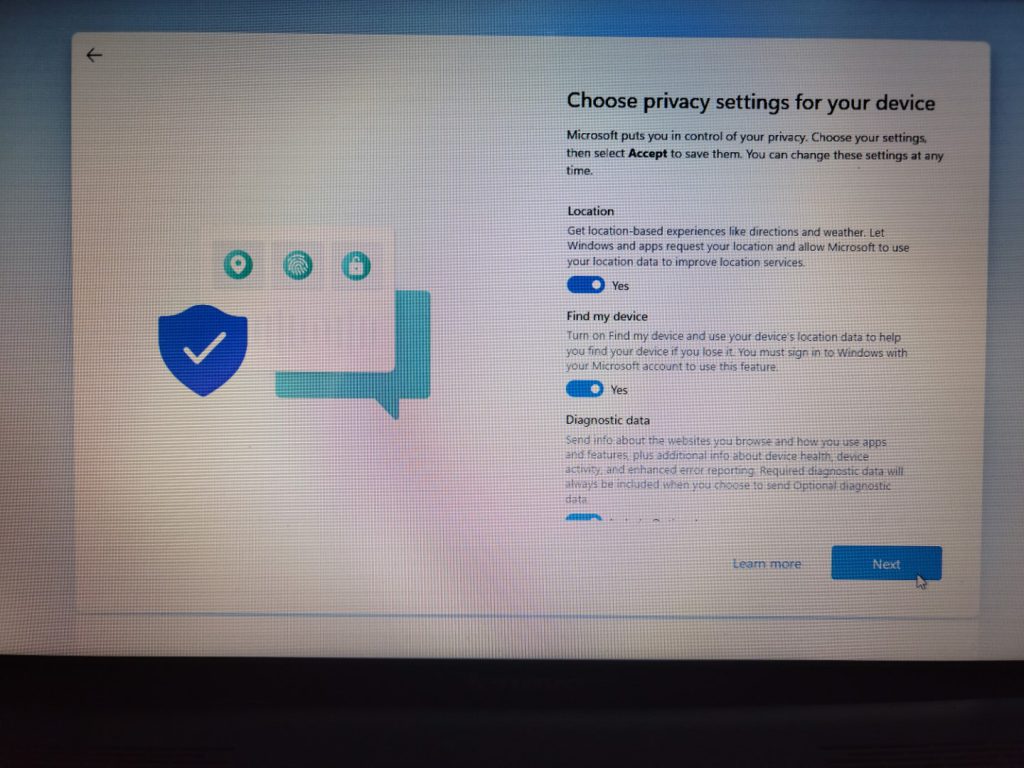
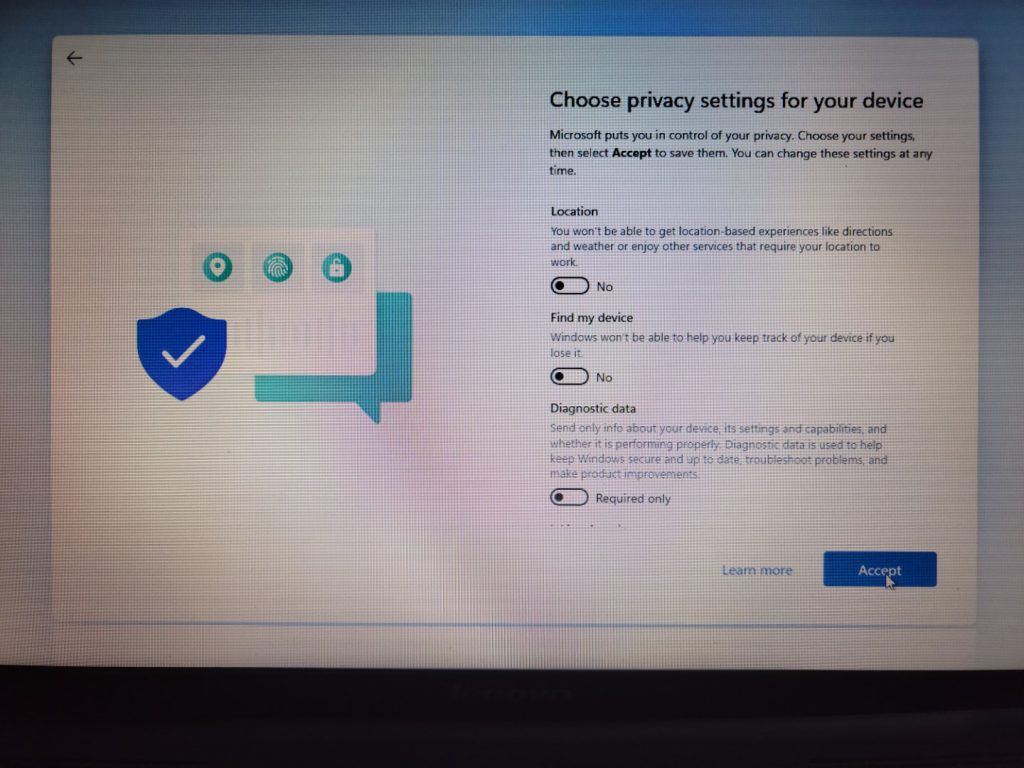
The next screen is about the usual privacy settings Windows asks us if we want to allow, like Location and sending detailed reports to Microsoft:
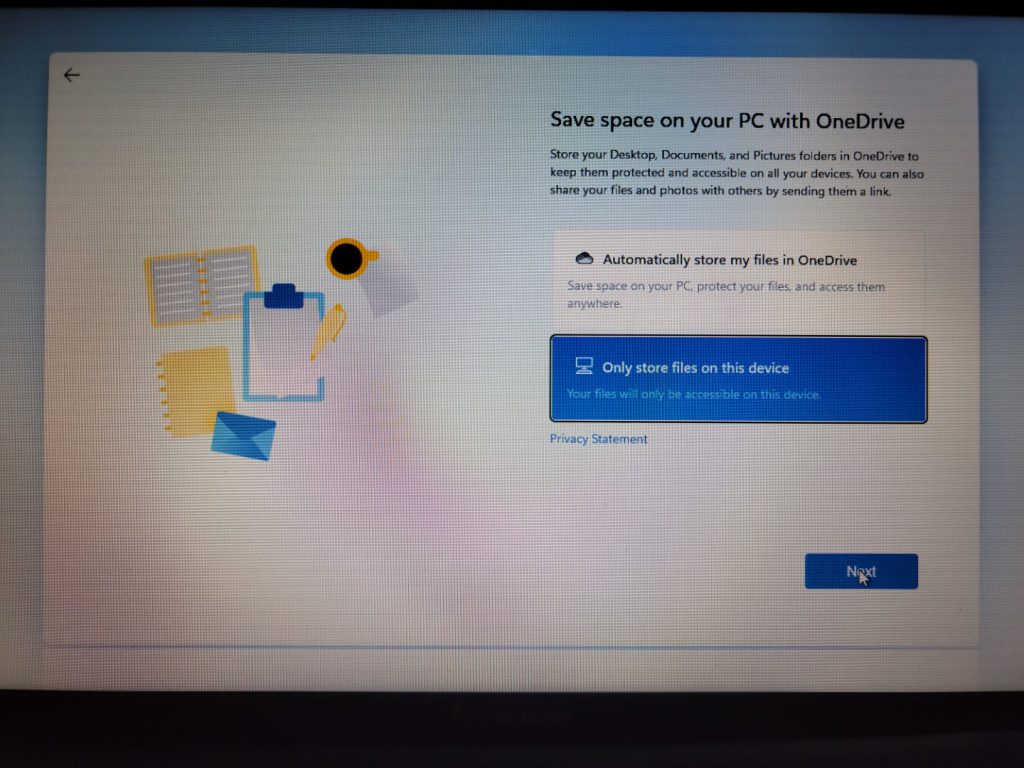
The next screen was not present on earlier versions of Windows 10, but was added later:
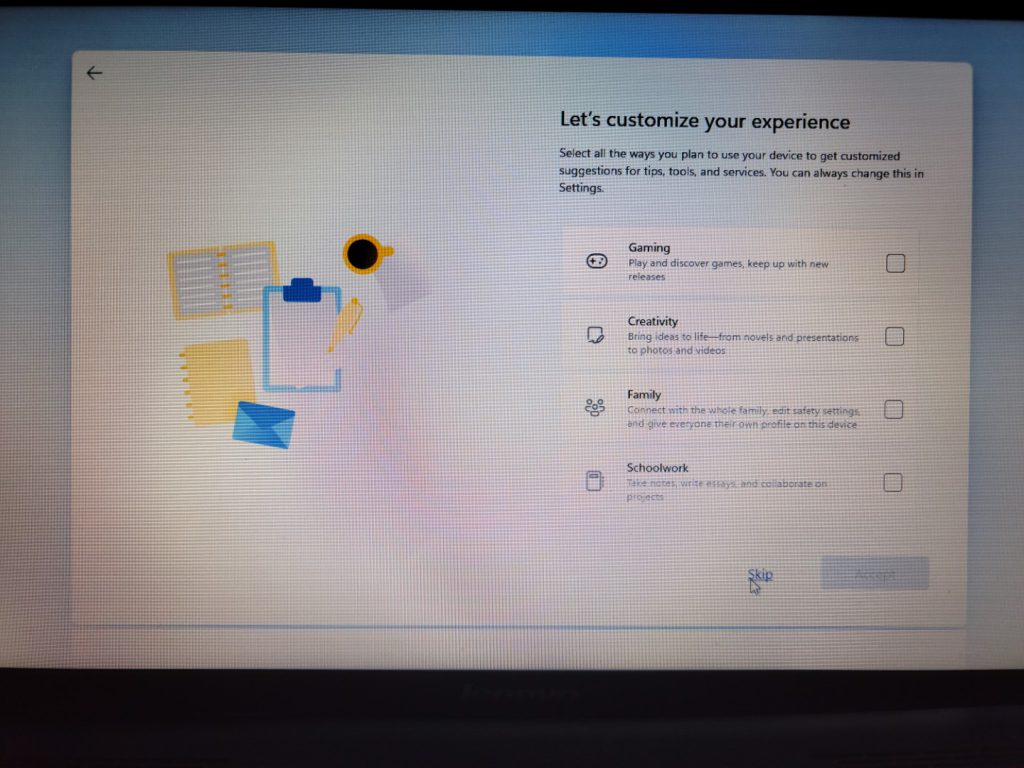
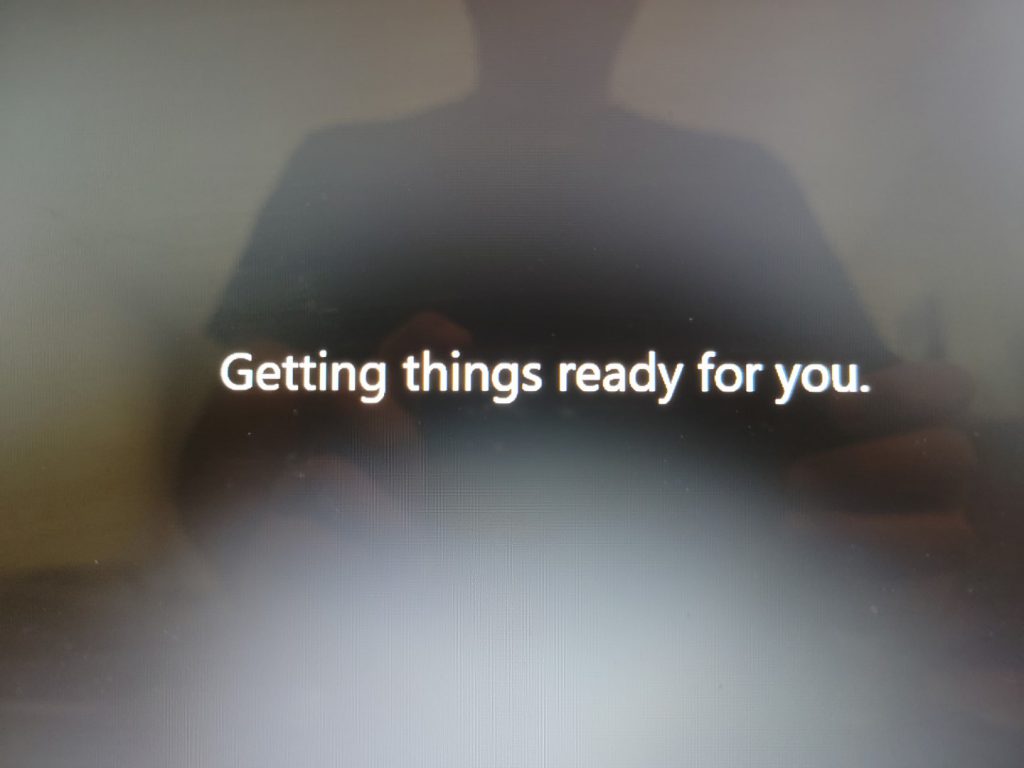
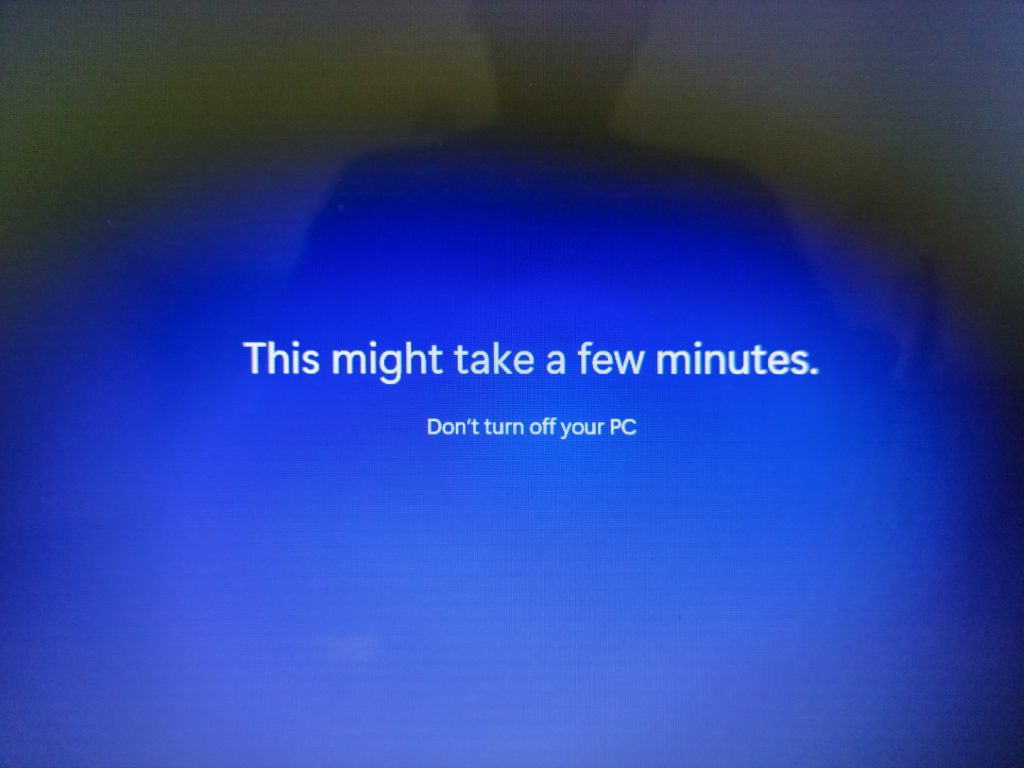
And now, we finish off the installation process:
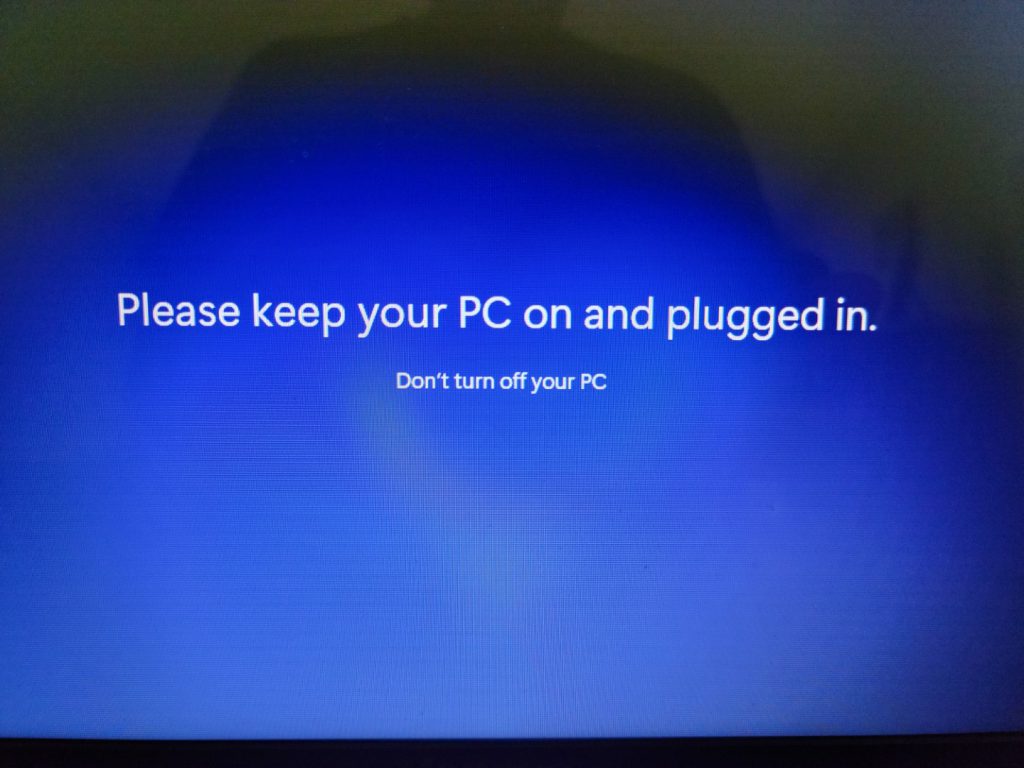
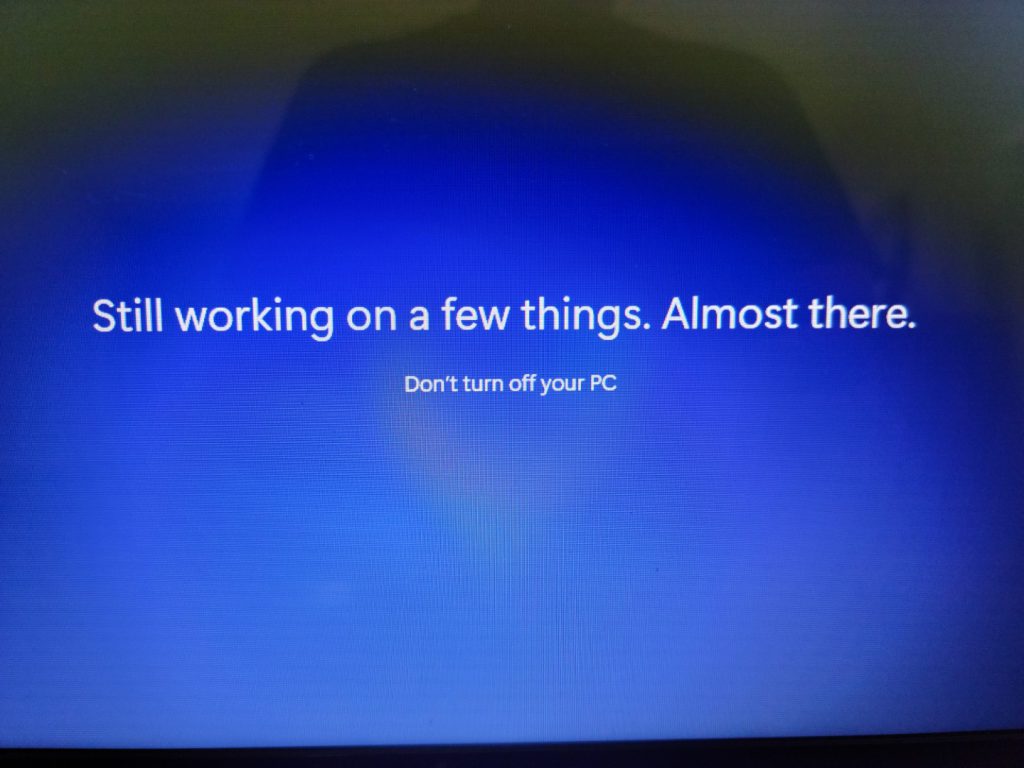
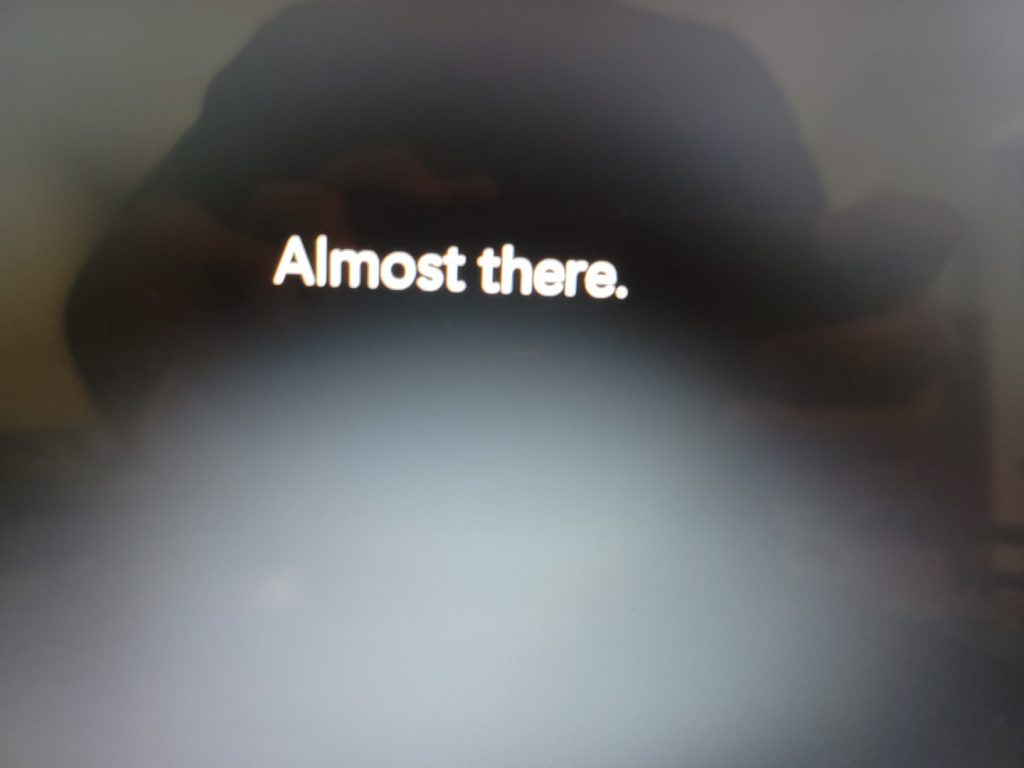
The “Getting Ready” screens also got a redesign. Now, instead of gradient color changes, there seem to be light spotlights of dark blue:
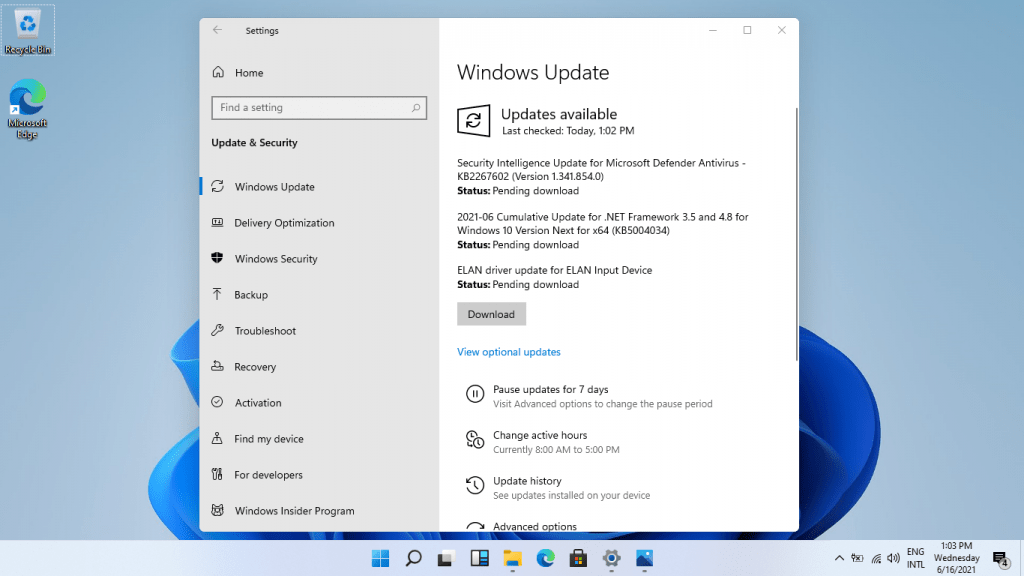
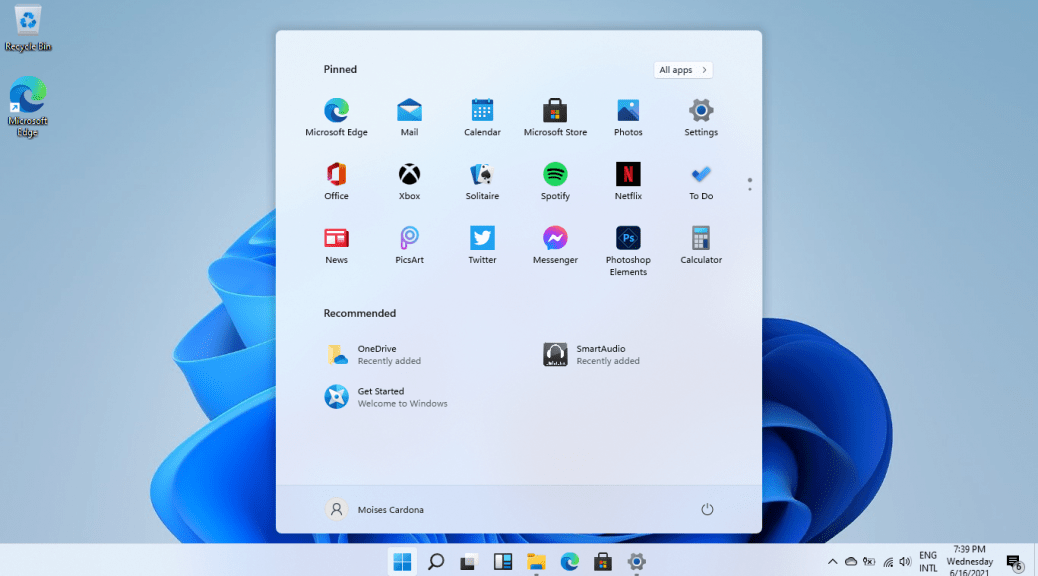
Finally, we are shown the Windows 11 desktop:
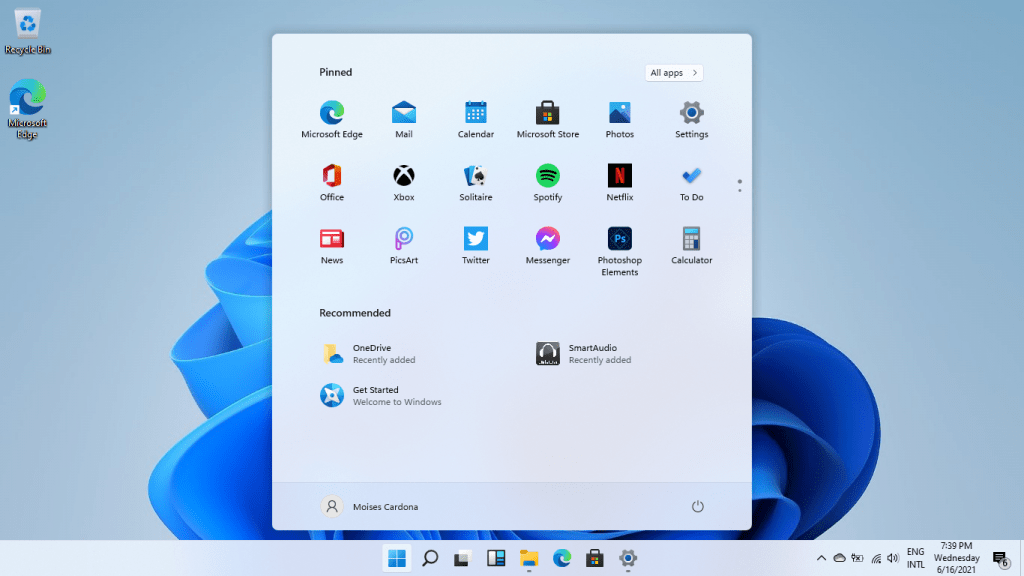
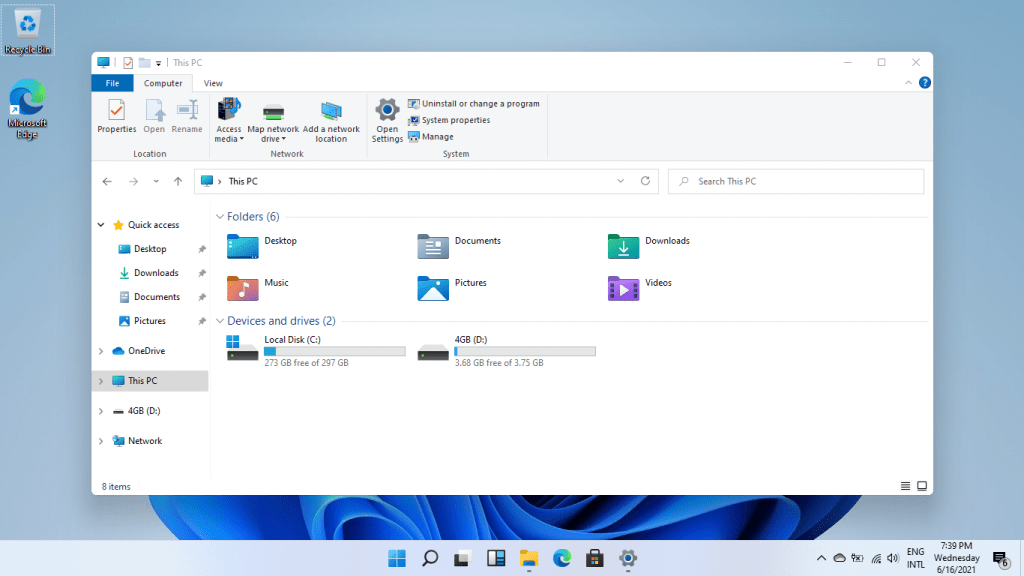
The Windows explorer looks the same as in Windows 10, with the new icons that have been present in the latest Windows 10 Insider Preview versions:
Windows does identify itself as Windows 11:
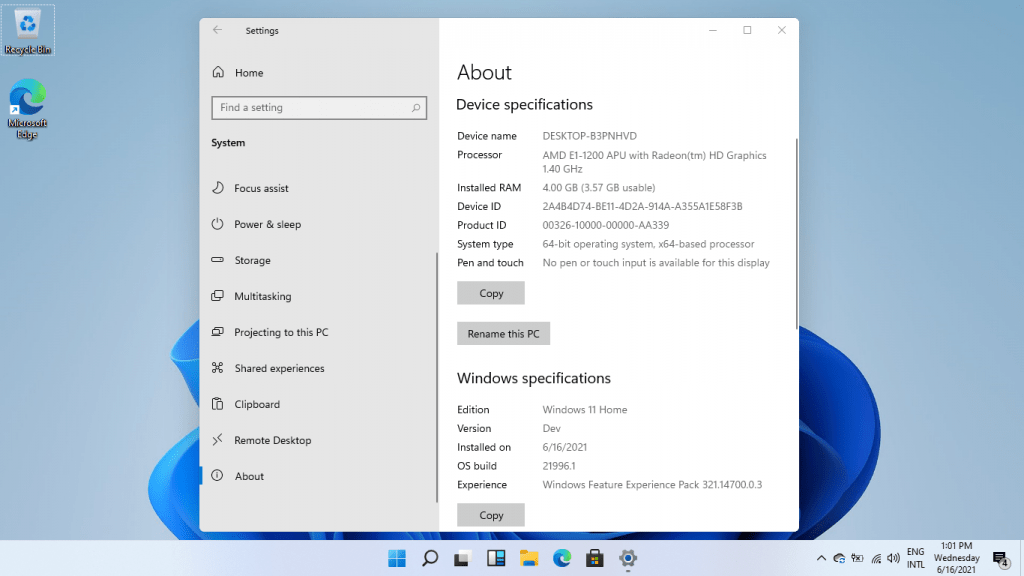
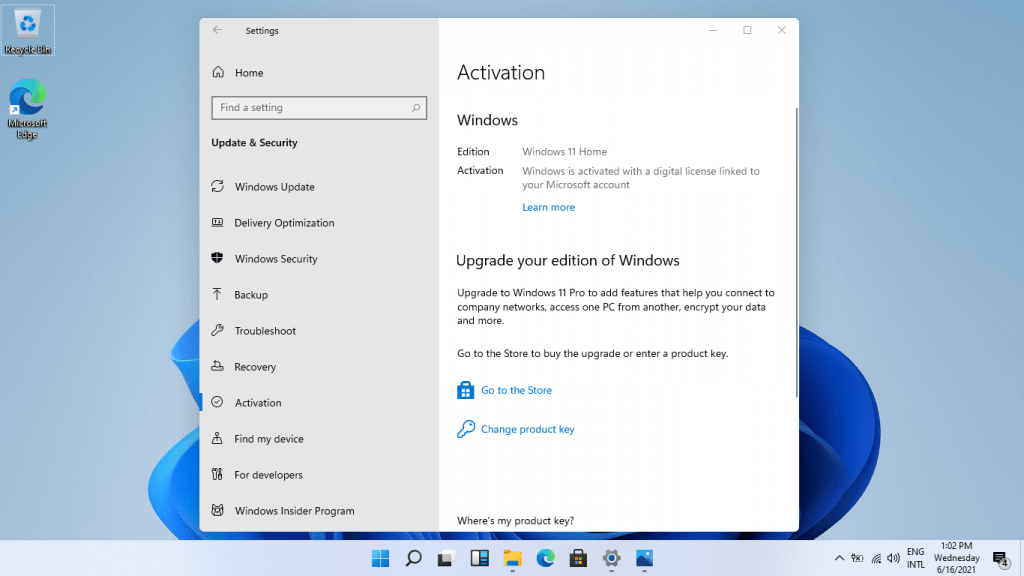
It also activated. It seems that it uses the same Windows 10 key:
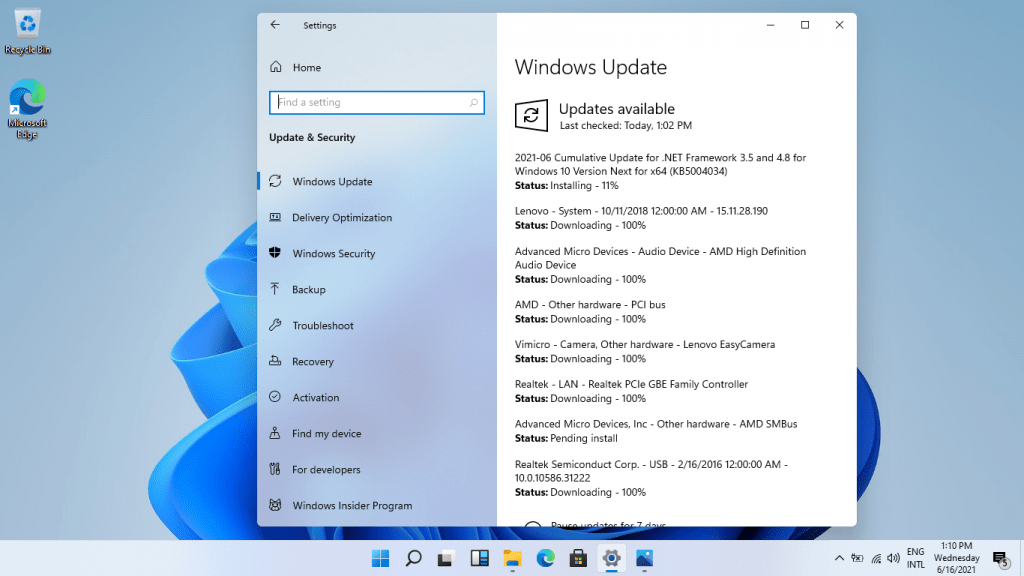
Finally, I’ve made sure to install each driver which it did succesfully:
That’s it for this post! I’m really excited about what the future Windows 11 builds will look and what they will improve. We will know more about the future of Windows in Microsoft’s June 24 event at 11 AM Eastern Time.
