Let’s put my laptop fan to work at maximum speed!
Hi everyone,
In this post, today I’ll share you this method that will surely end with your laptop overheating issues.
As you may know, CPU fans comes normally with 3 or 4 pins. 3-pin fans are Voltage-controlled, where the variance in voltage changes the CPU fan speed. The 3rd cable sends rotational speed information to the computer and depending on the heat and the BIOS, it will either increase or decrease the fan to a specified RPM. This is very dependent on the machine.
4-pin fans are PWM-controlled. This means the voltage is constant. The 3rd cable again is the cable that sends rotational RPM information to the PC, while the 4th cable is the one where the PC sends the signal to the fan to change their speed.
The laptop we will be seeing today is the Lenovo Y510p. It is a 2013 model (and we are in 2018 now. Time flies!). This laptop fan is a 4-pin fan but the connector is propietary, meaning that the cables aren’t in order.
The problem with the laptop is that the BIOS doesn’t allows setting up the fan speed and neither does it provide a “Turbo” mode, something that some gaming laptops have to allow the fan to spin at the maximum speed and prevent overheating.
The laptop does has a tool that provides a function called “Dust Removal”. With this function, the fan indeed runs at maximum speed, but for some seconds. It then reduces the speed and then goes to maximum speed again and this process continues, but once the “cleaning” process finishes, the fan speed is reduced. Therefore, even if the CPU is hot, the fan isn’t spinning to its maximum speed.
The solution to this is to cut the PWM signal cable. This allows the fan to rotate to its maximum speed as it will not be receiving a PWM signal from the motherboard. That’s why you can also use a 4-pin fan into a 3-pin connector and it will run at its maximum speed, because without a signal coming from the PC to the fan, the fan will spin at the fastest speed given that the voltage is constant.
Here’s the process to be able to use the fan at its maximum speed:
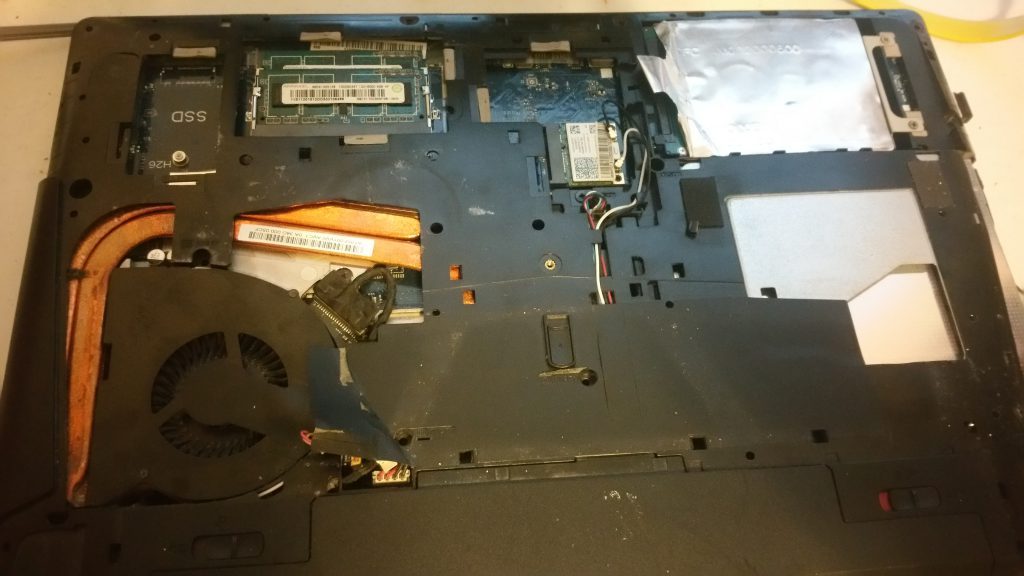
The first step is to flip the laptop and remove the back cover. Note that previously I’ve modded the case to allow more airflow into the laptop:
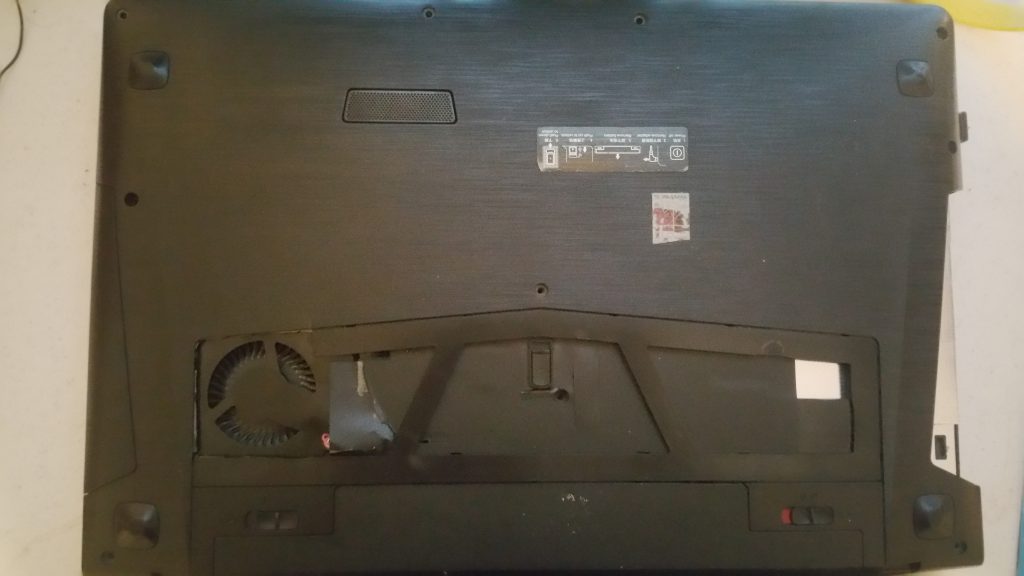
Here’s the cover removed:
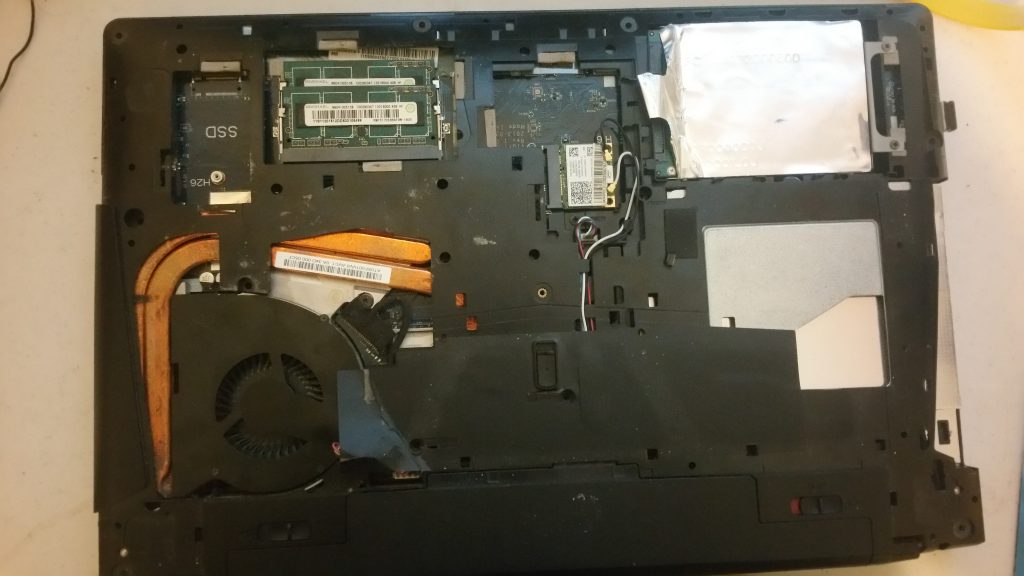
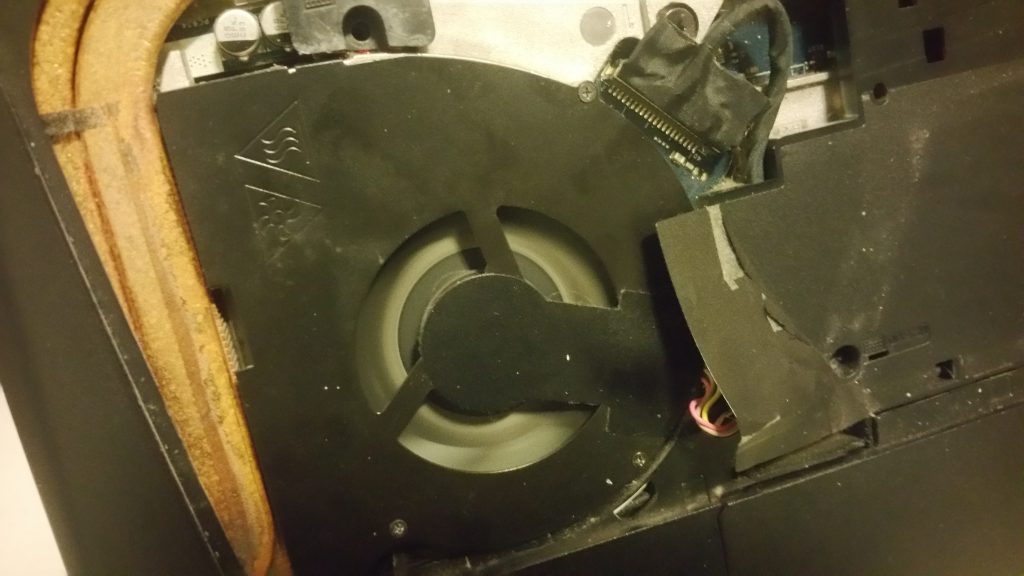
Now, focus at the fan:
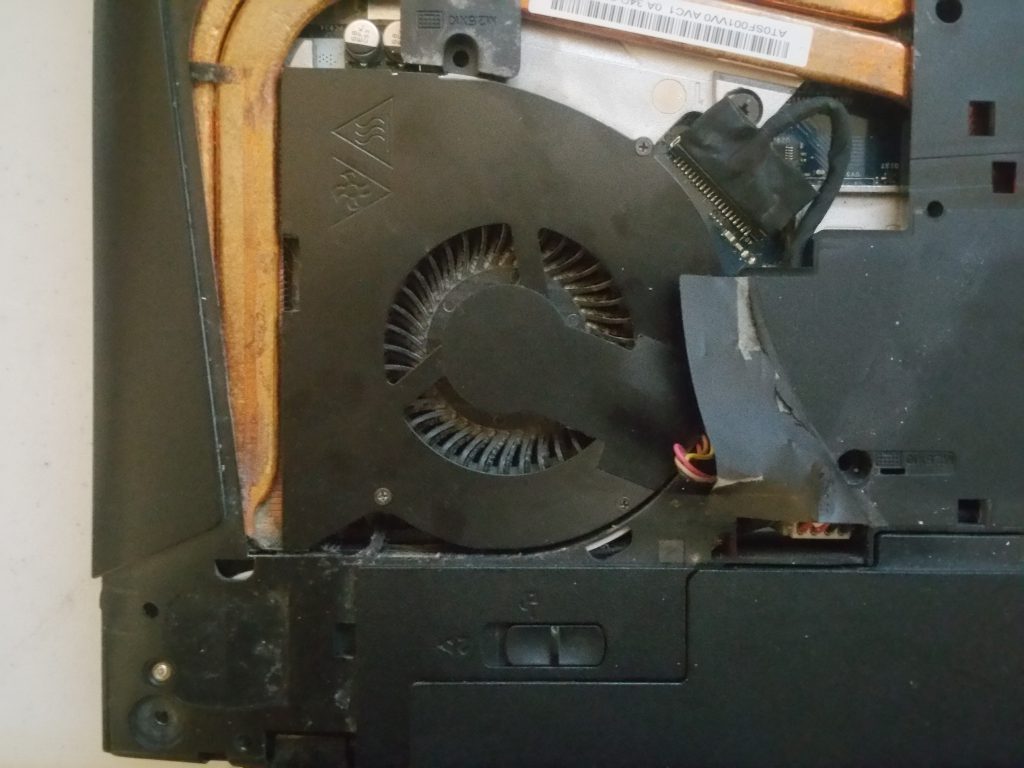
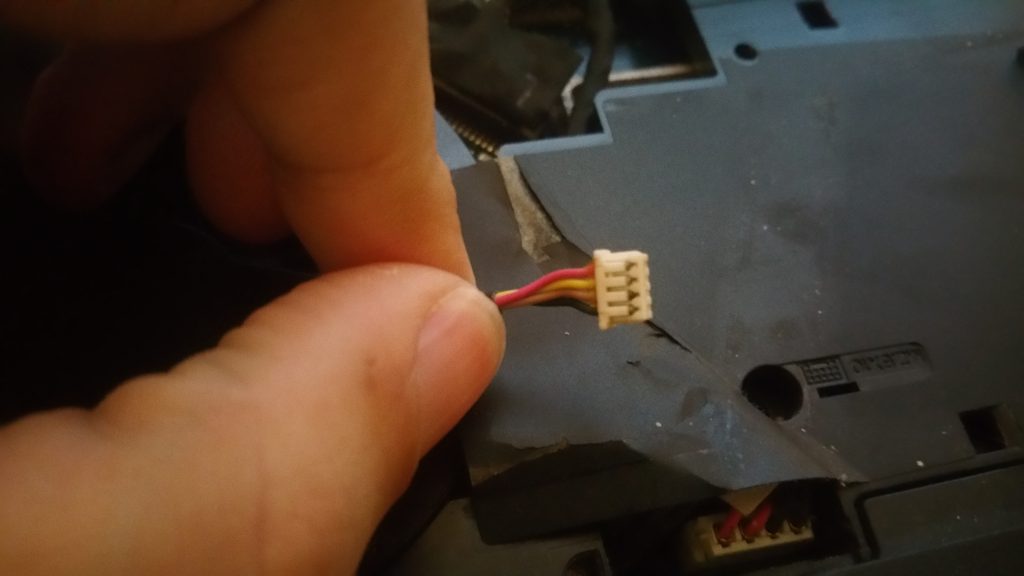
We need to disconnect the fan cable from the motherboard. Taking it out is very easy. We just need to carefully pull the cable:
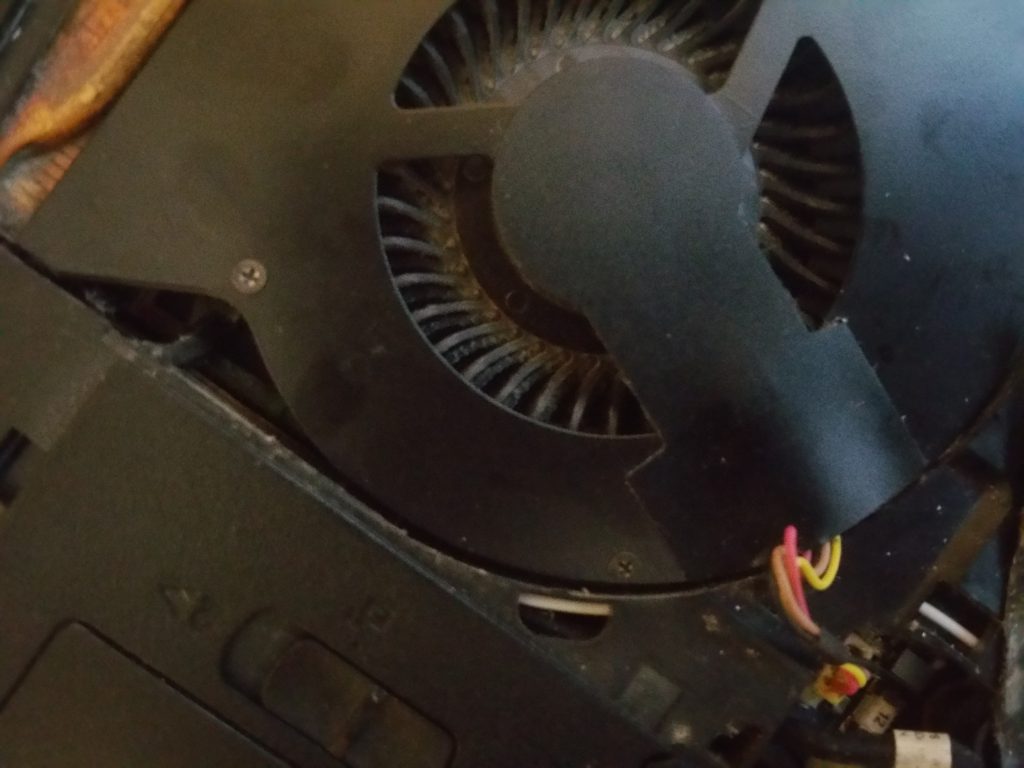
Here is the disconnected cable:
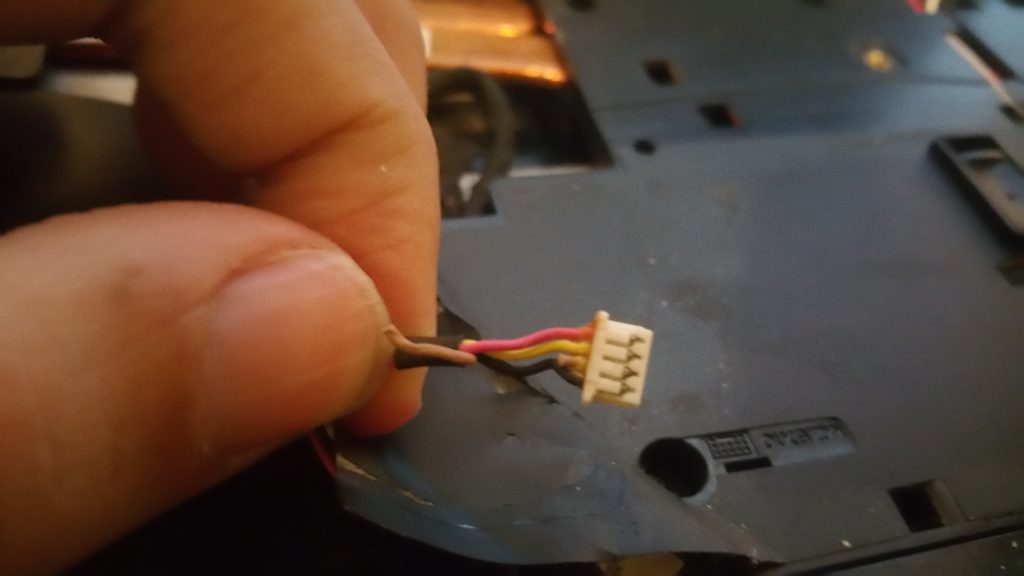
We need to cut the brown cable:
Now, we will connect it again to the motherboard:
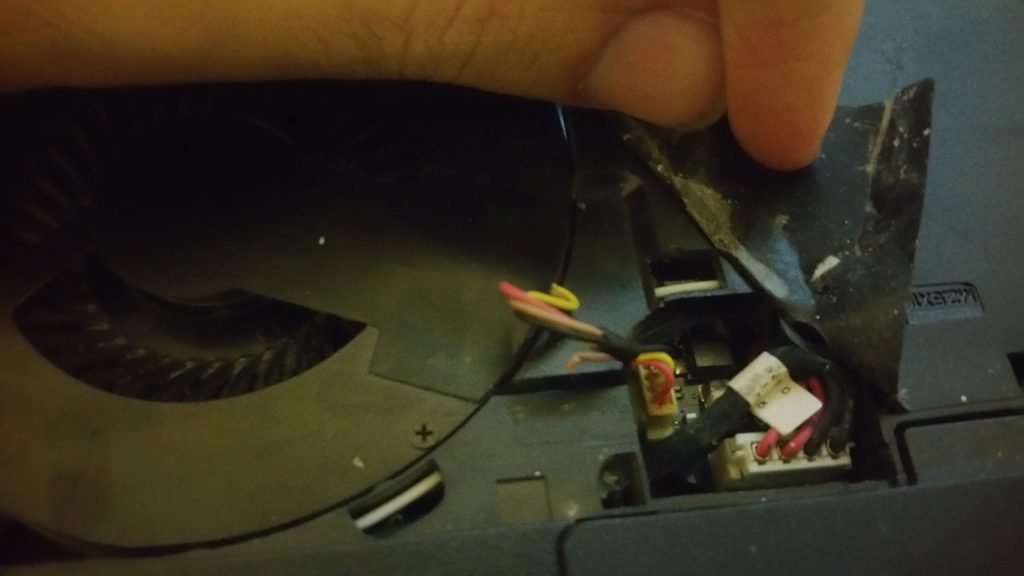
Done:
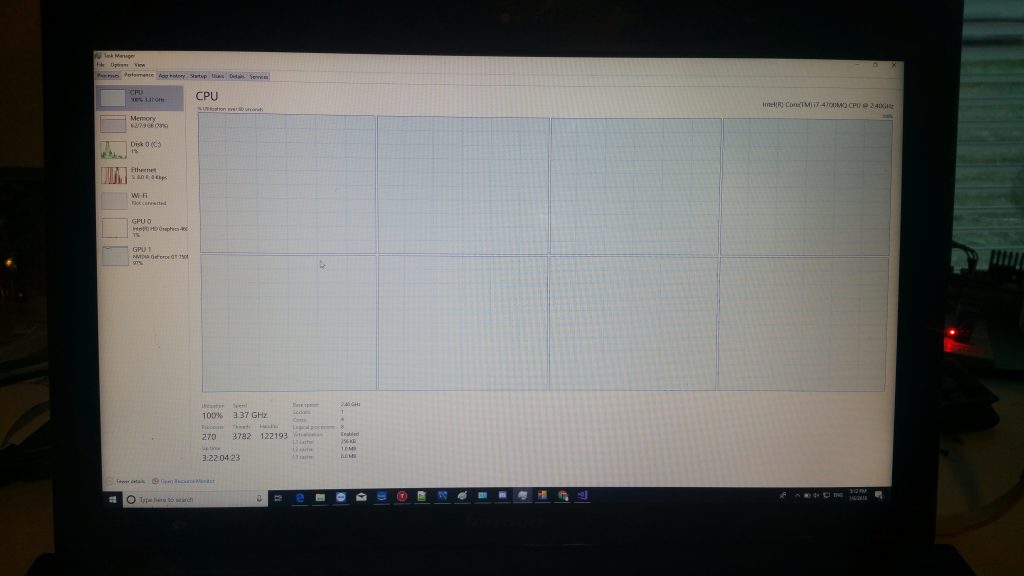
And… It works!!!:
CPU at 100% percent:
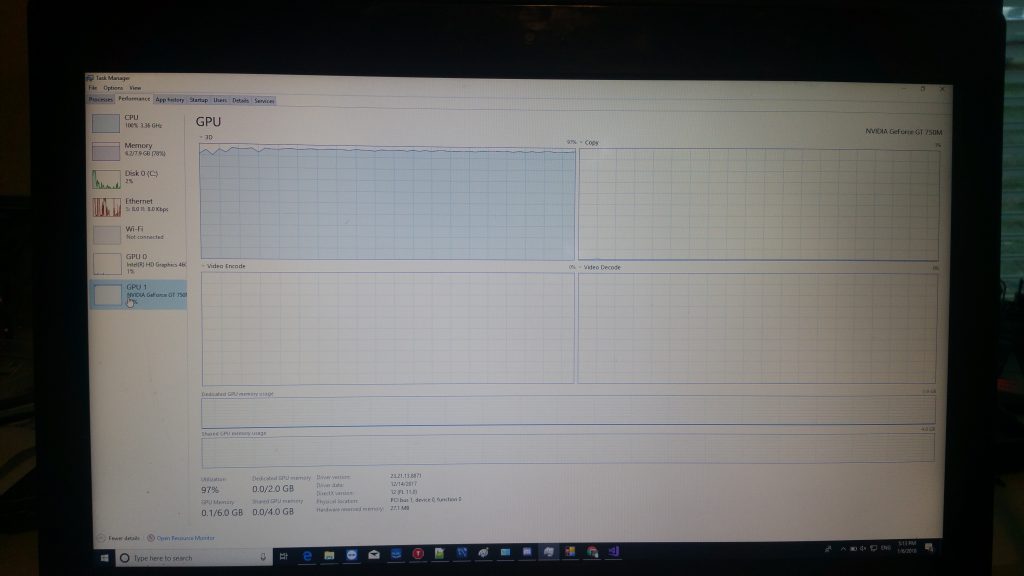
GPU at 100% percent:
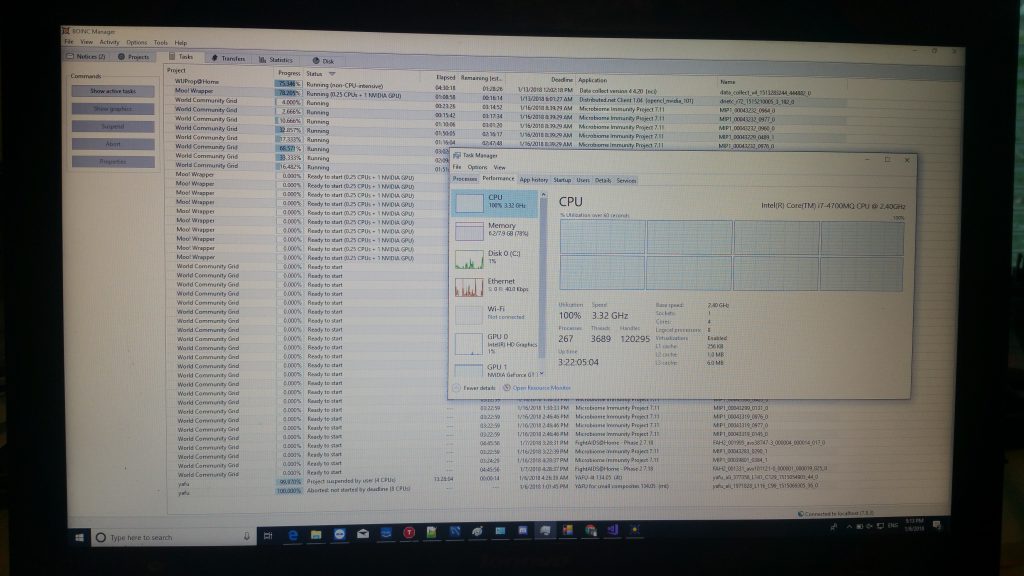
And, here’s BOINC running:
Well, actually, the CPU starts at almost 3.40Ghz, but will gradually reduce to at least 2.60Ghz (At least that’s what it does for me) when the Nvidia GPU is running 100%. Still, I haven’t seen the CPU running at less than 2.40Ghz this way.
Also, be sure to use ThrottleStop or it will stay at 2.40Ghz. ThrottleStop will allow the laptop to use the Turbo Boost frecuencies.
That’s all. I hope you enjoyed this post!
