My new computer, with AMD Ryzen 7 1700
Hi everyone,
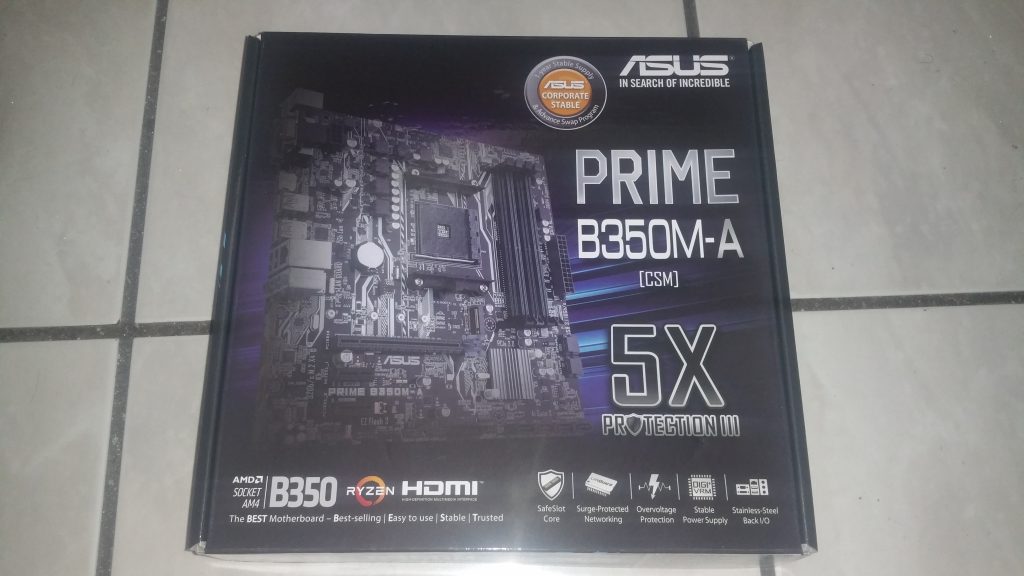
Today has been a special day for me as I finally received my ASUS PRIME B350M motherboard. The CPU I got is the AMD Ryzen 7 1700.
Let’s take a look at the motherboard:
The motherboard came in this box:
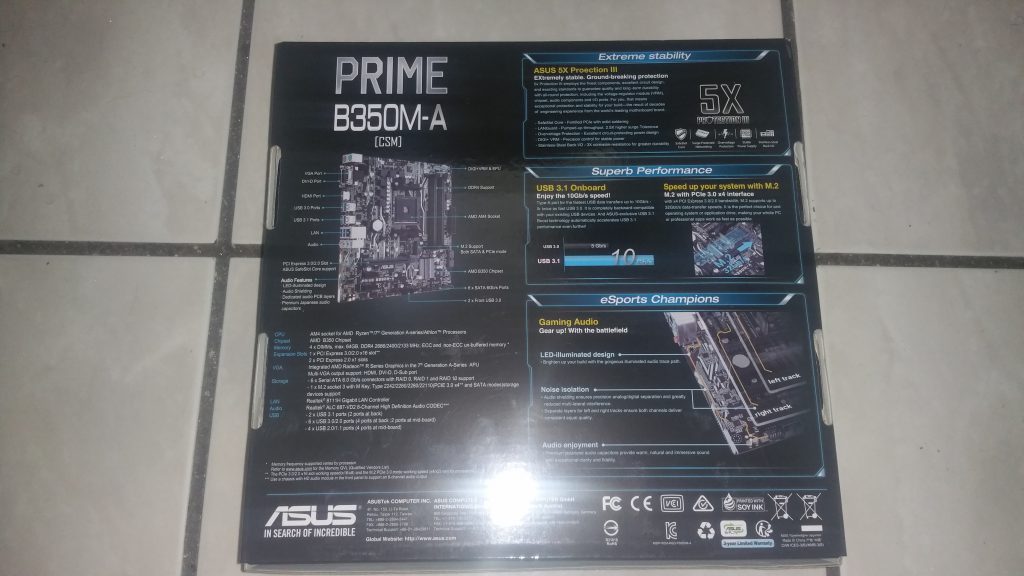
Let’s see some more images:
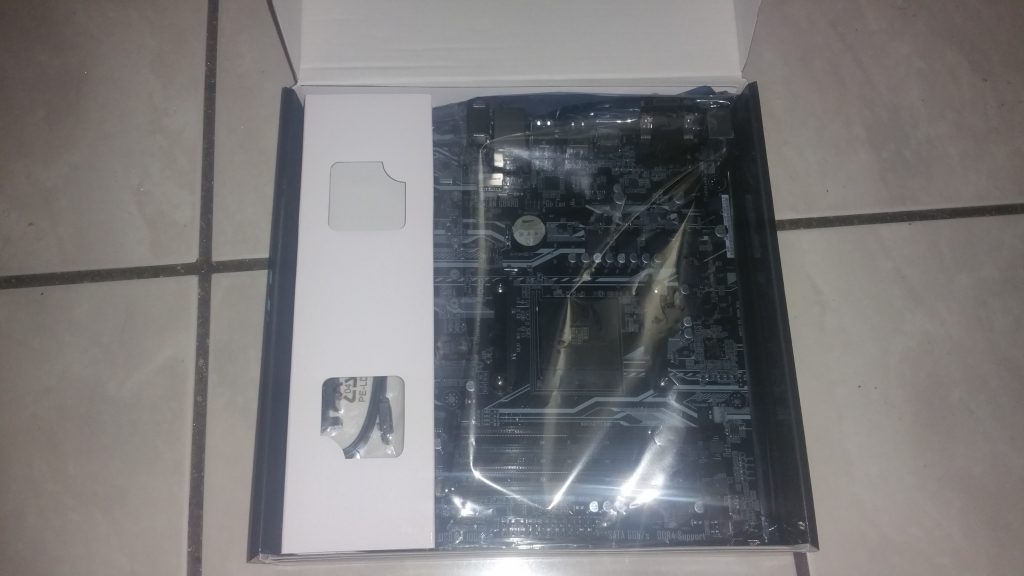
When I opened the box, there was the motherboard:
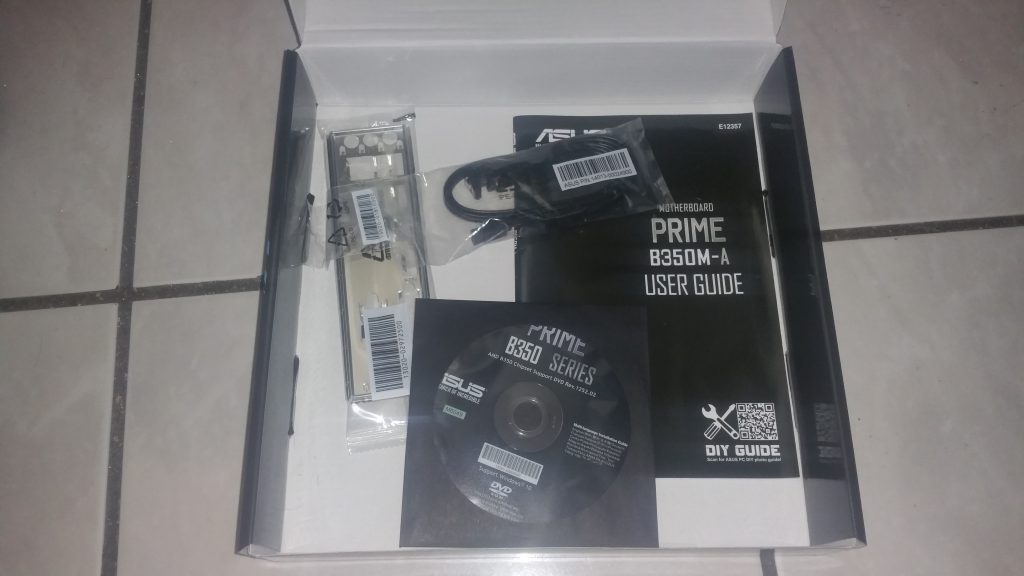
When I took the motherboard out, we can see it came with 2 SATA cable, the M.2 screw, the backplate, the instruction manual and a driver CD (but I downloaded the drivers from the ASUS website):
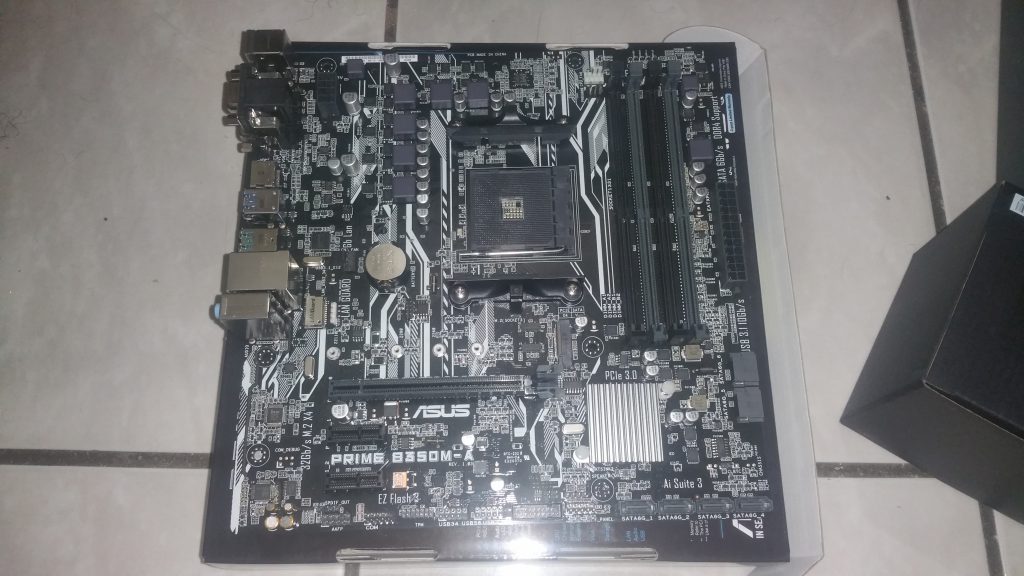
Finally, here we can see the motherboard out of the Anti Static Bag:
The CPU
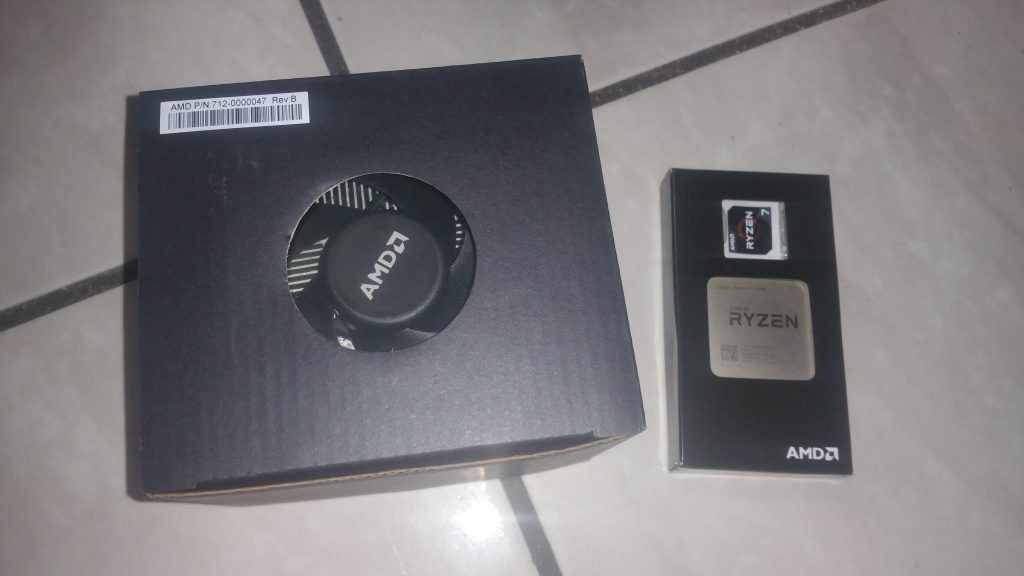
Opening the AMD Ryzen 7 1700 box, we find this:
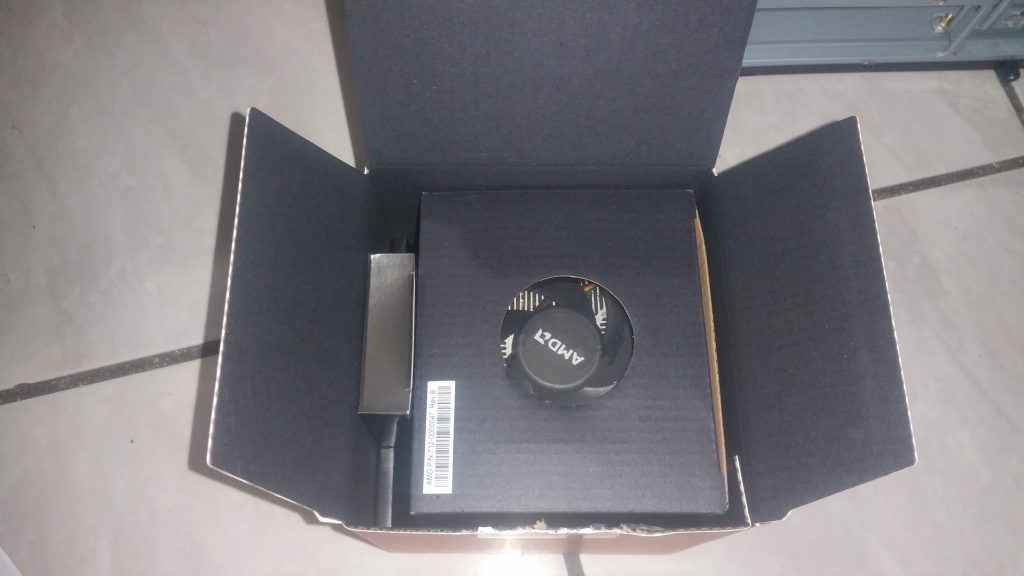
Opening the AMD Wraith Spire cooler box:
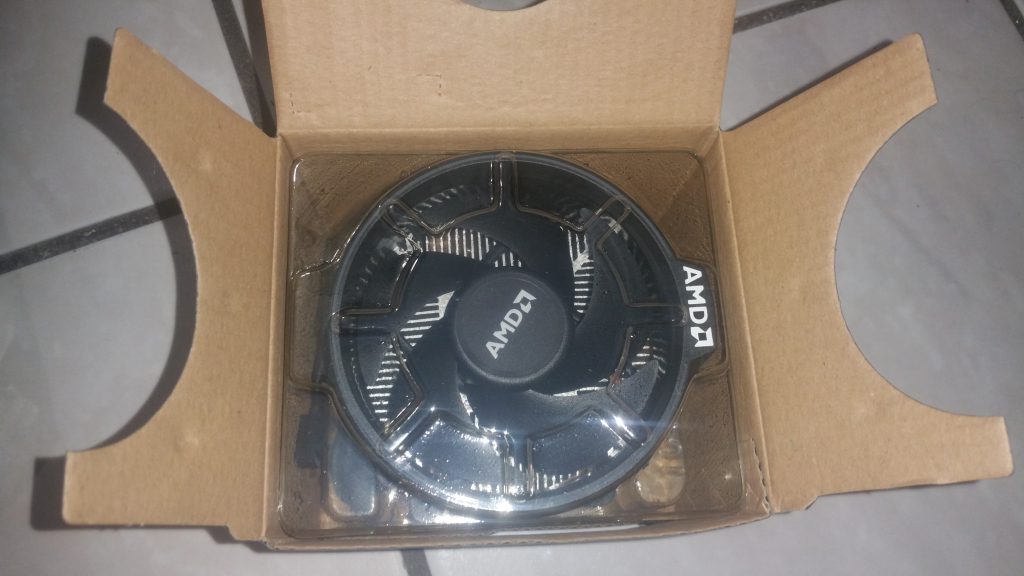
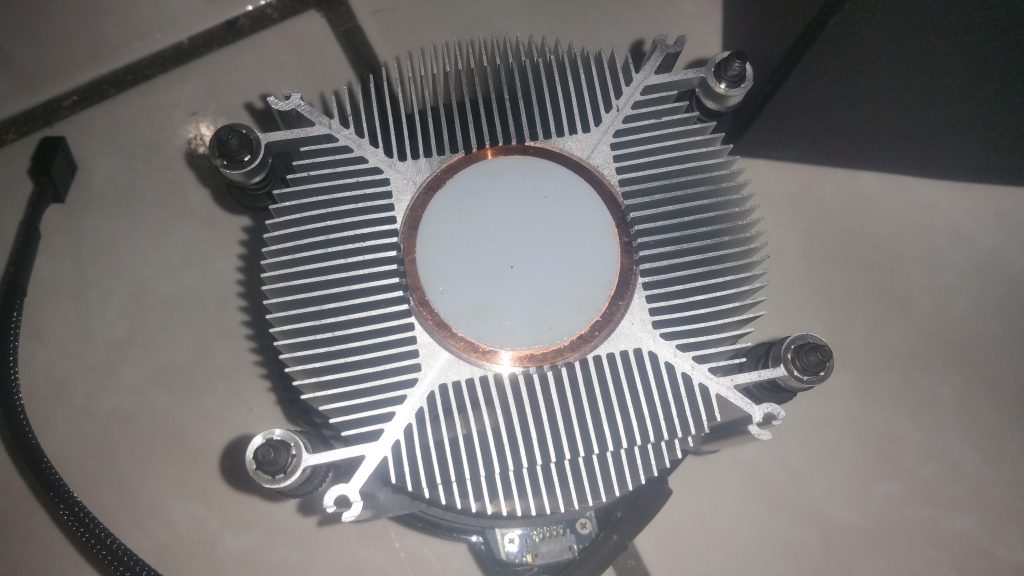
We can see that the cooler came with preapplied thermal paste:
I forgot to take pictures of the motherboard with the CPU and fan installed, but you’ll see the full build below XD.
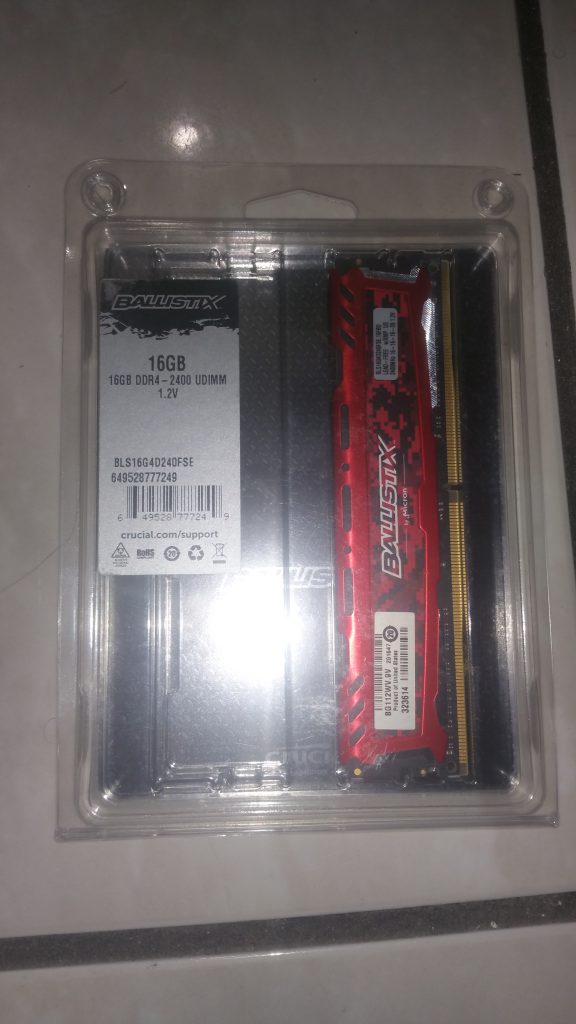
The RAM
The RAM I’m using is a 16GB Crucial Ballistix DDR4 2400Mhz:
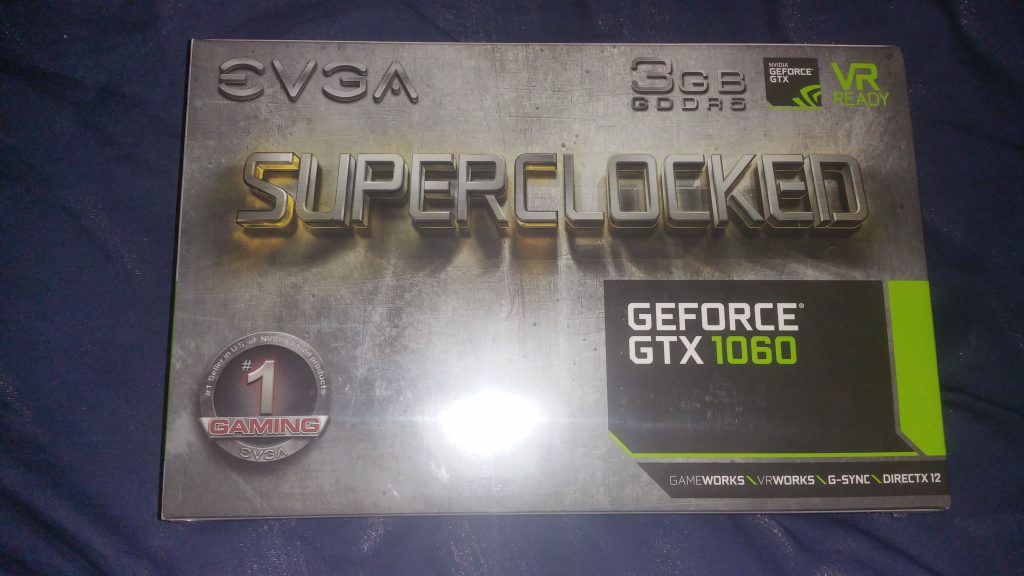
The GPU:
I’m using and Nvidia Geforce GTX 1060 3GB. This one:
The fans:
The fans are an Arctic F8, Arctic F12 and the stock cooler
The Power Supply:
The PSU is an EVGA 600W.
The Optical Units:
The optical units are both Lite-On. A Lite-On iHAS524 with SmartErase and LabelTag, and an iHBS112 which is a Blu-Ray drive.
The Hard Disk:
I’m currently using a Western Digital 1TB hard disk drive. I will later upgrade to a Solid State disk.
This is how the front of the PC looks:
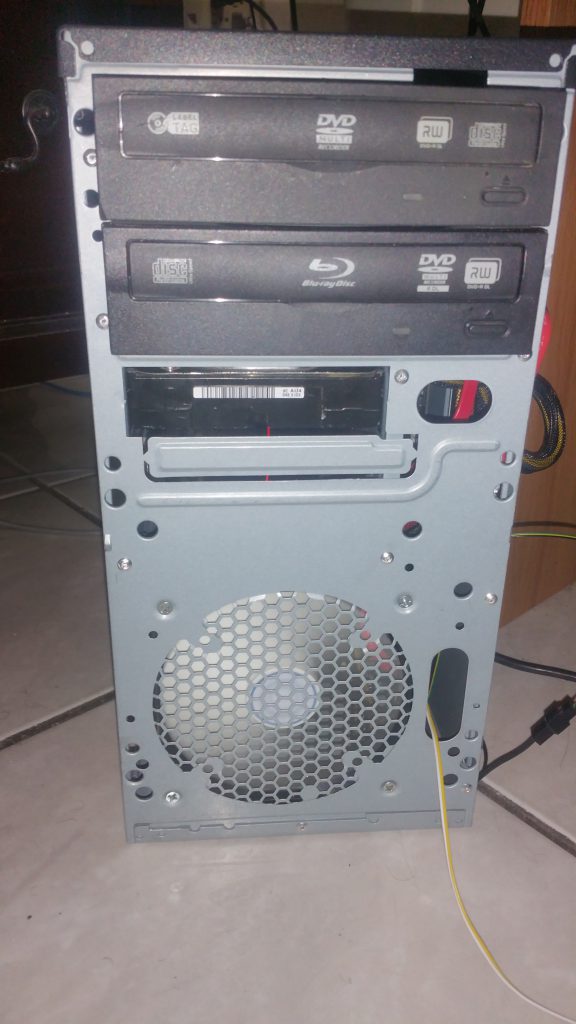
The cable you see there is the power cable. I had to take out the front panel because the fan could not get enough air. Without the front panel, there is more airflow.
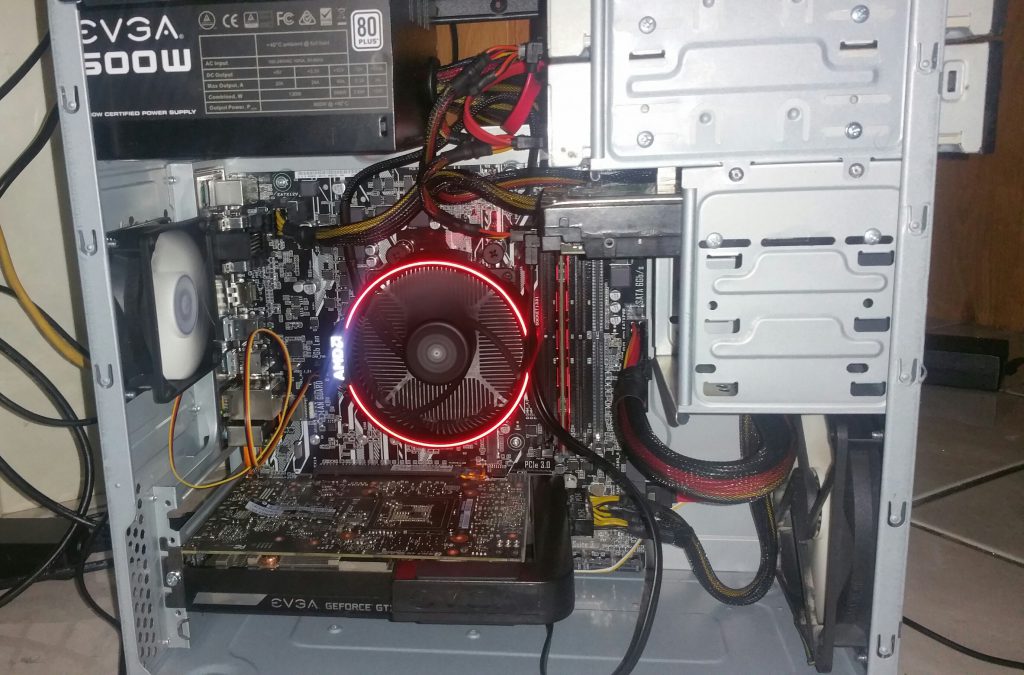
The built PC:
This is the final result:
Configuration:
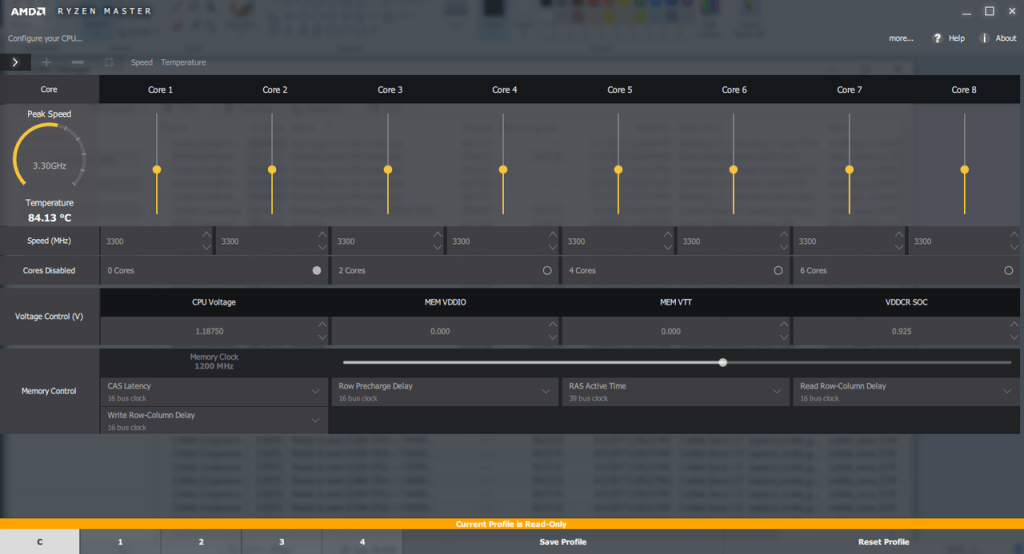
I chose the ASUS High Performance profile in the BIOS. This boosted the CPU from the stock 3.00Ghz to 3.30Ghz.
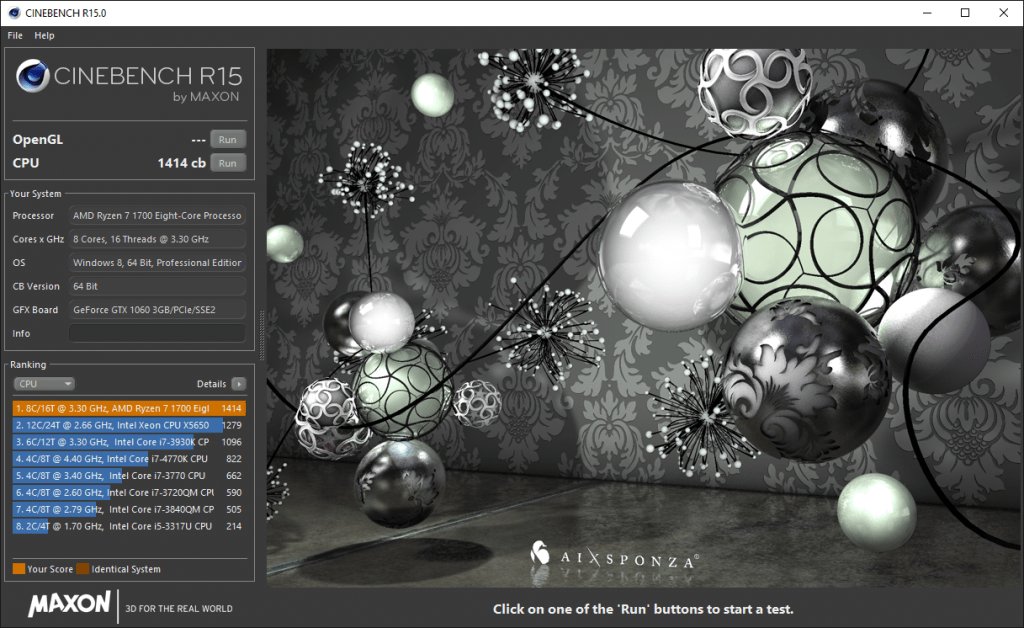
Benchmark:
Here is a multi-threaded benchmark:
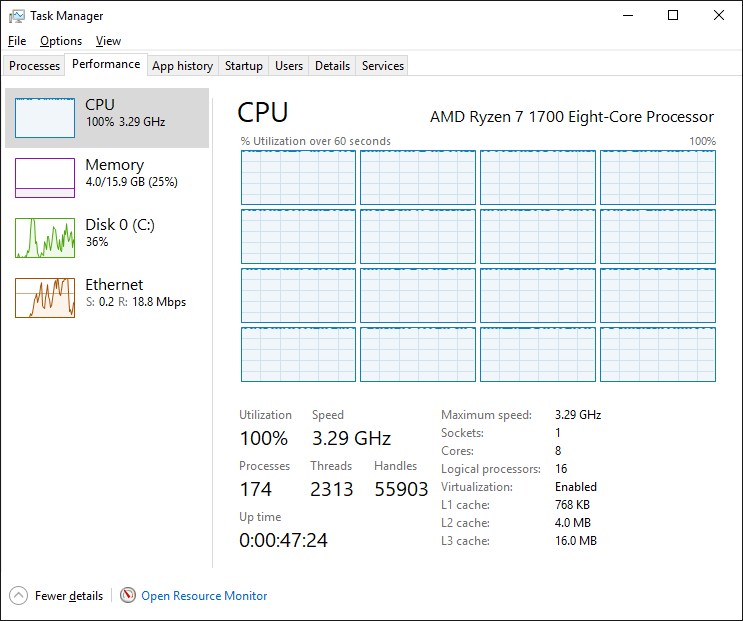
Running BOINC:
BOINC is a software used to participate in Distributed Computing projects and it a perfect software to put the CPU into stress, as it will utilize 100% of the CPU if set to use 100% of the system resources.
Here you can see BOINC using the 16 CPU threads:

Here you can see the Task Manager showing 100% of CPU usage:
And finally, here is the temperature:
I’ll do some rendering tests later by using CyberLink PowerDirector and Nero Video, which are the softwares I use to produce videos.
I hope you enjoyed reading and watching the images in this article! Let me know if you own a Ryzen CPU, what motherboard you have and if it works great for you 🙂
