Unboxing the HP OfficeJet 4650 Printer
Hi everyone,
In this post, I’d like to show you a series of photos unboxing the HP OfficeJet 4650 printer.
This is a very nice printer. It’s cheap, and offers office-quality printing. I purchased it at Best Buy.
Let’s begin!
The box:
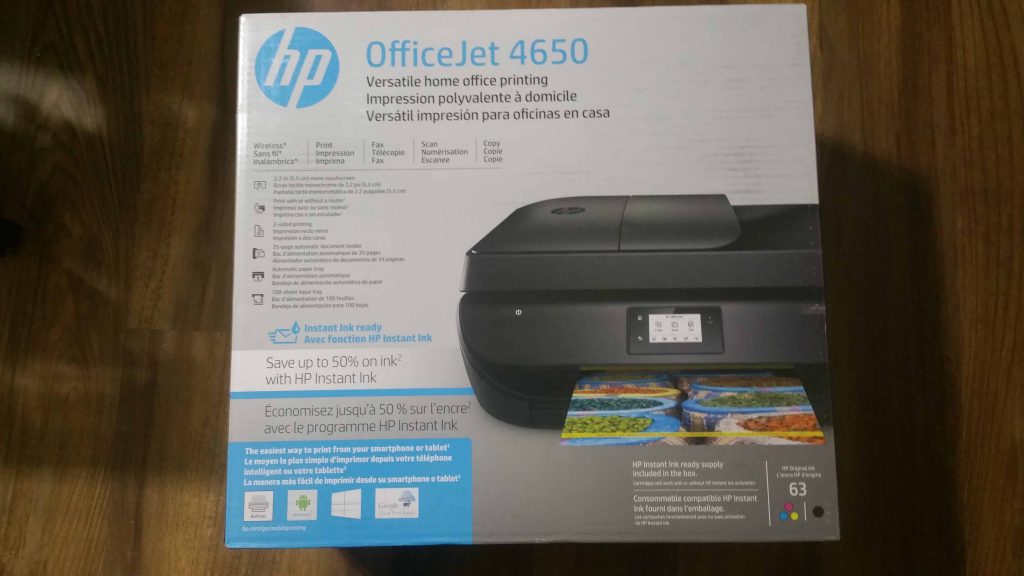
Here’s the front of the box:
The Side:

The other side:
The front side:
The back side:
Opening the Box:
Opening the box, we find these:
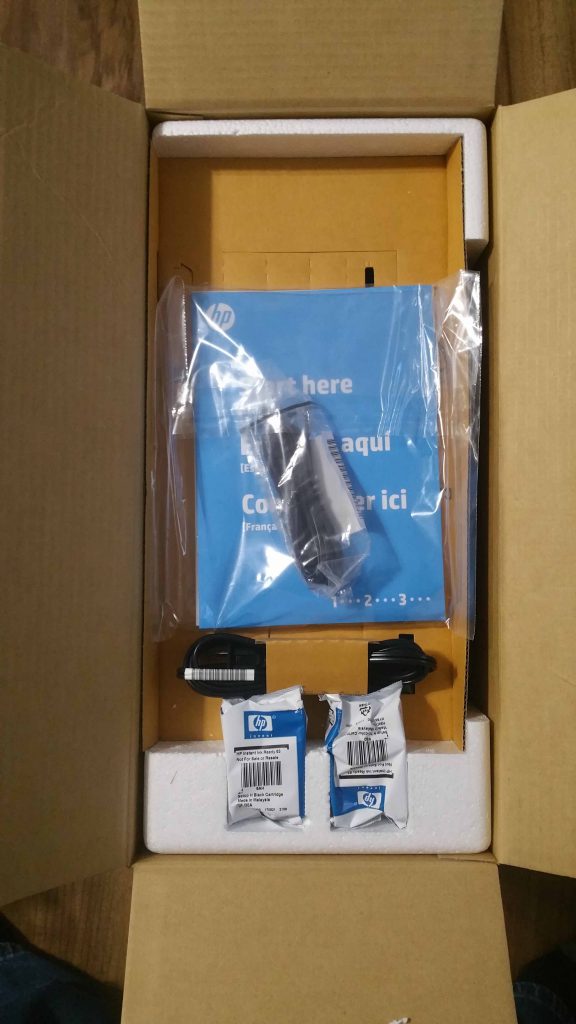
There are the manuals, ink and power cable.
After taking all of that off, we can see the printer:
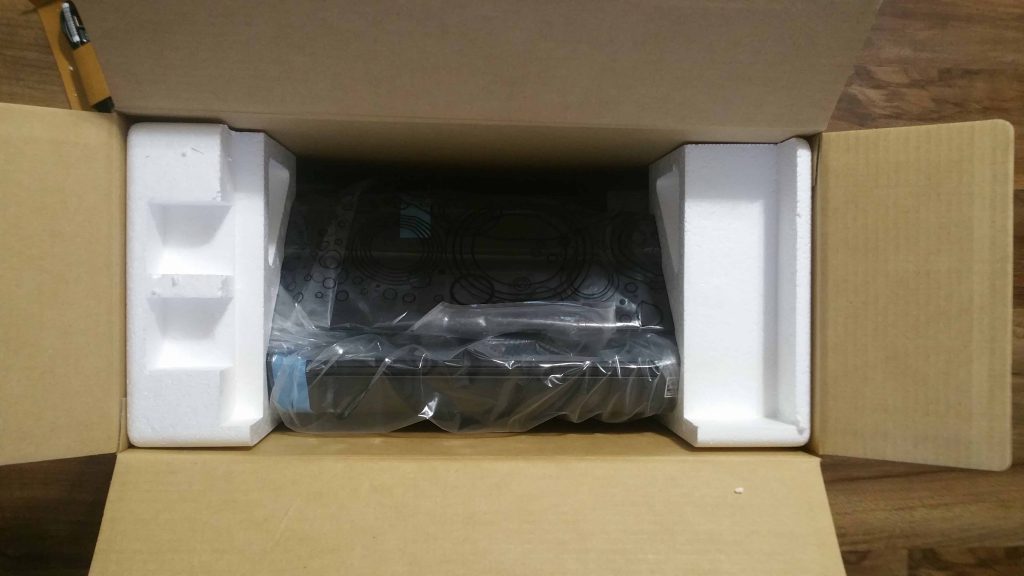
Taking off the printer from the box:
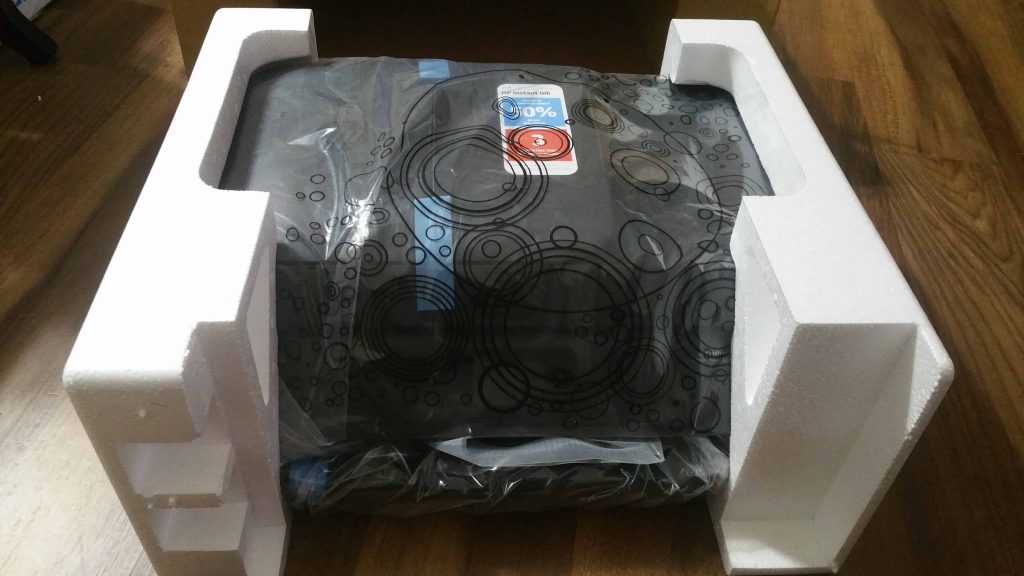
Removed from the protective foams:
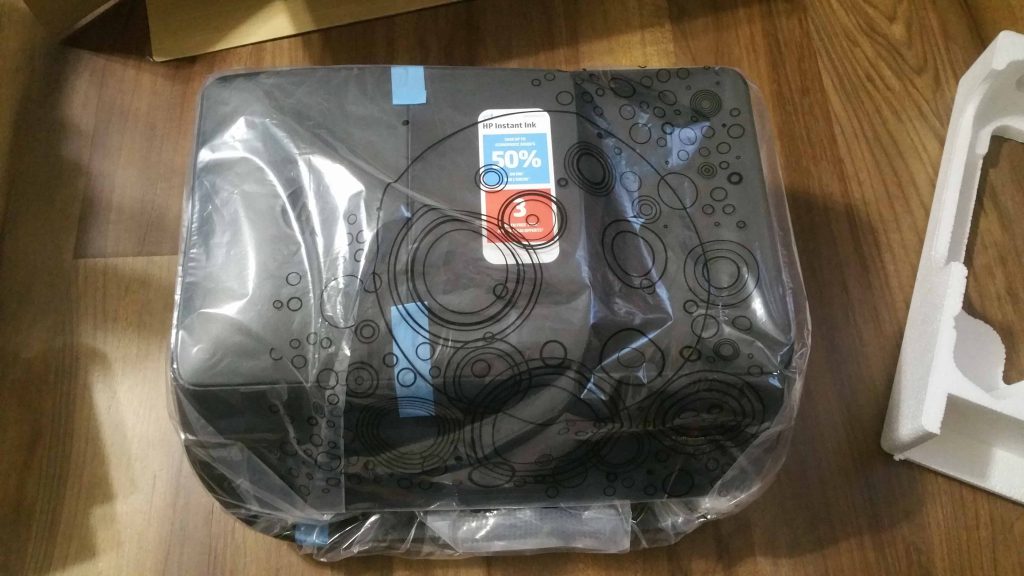
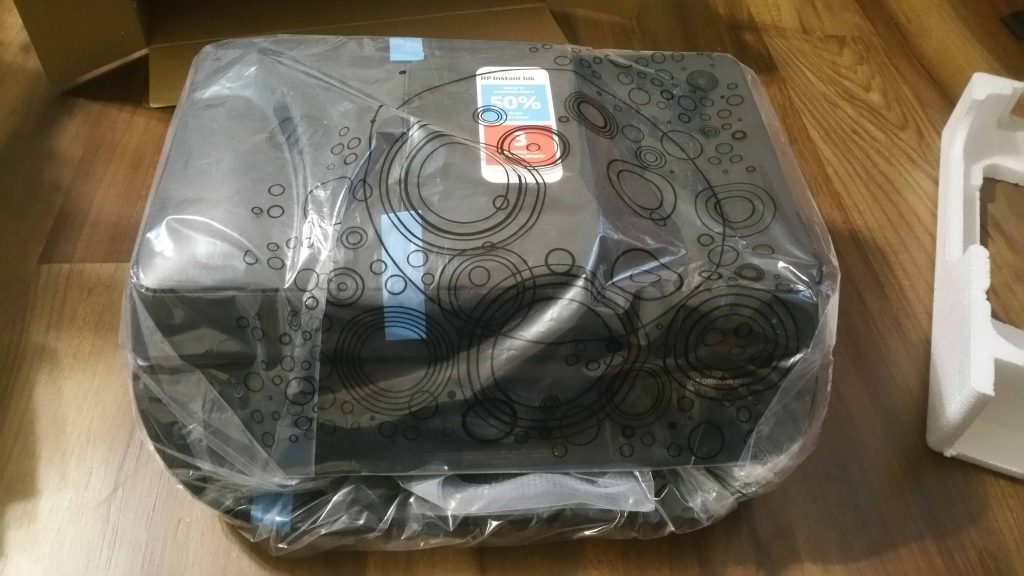
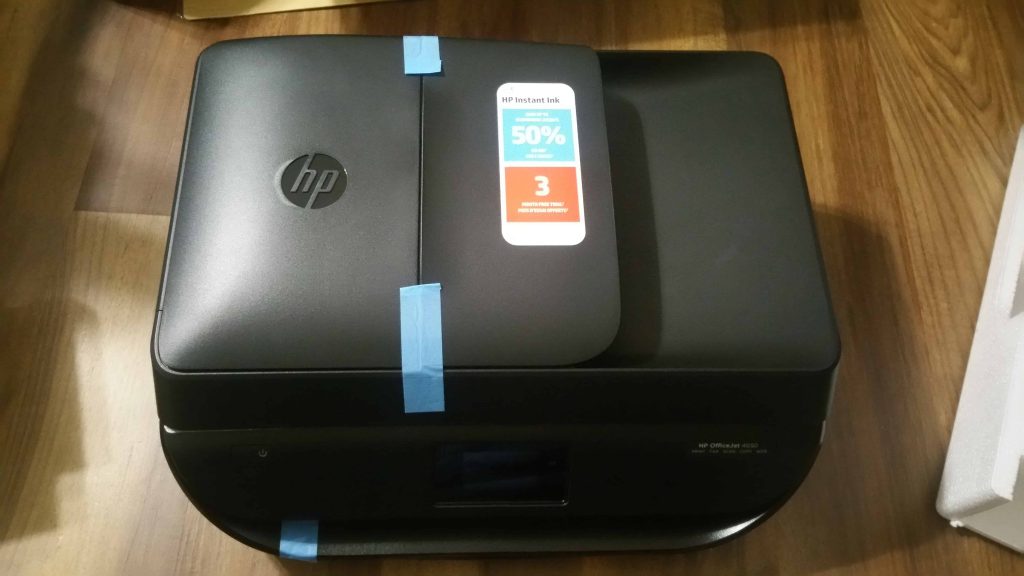
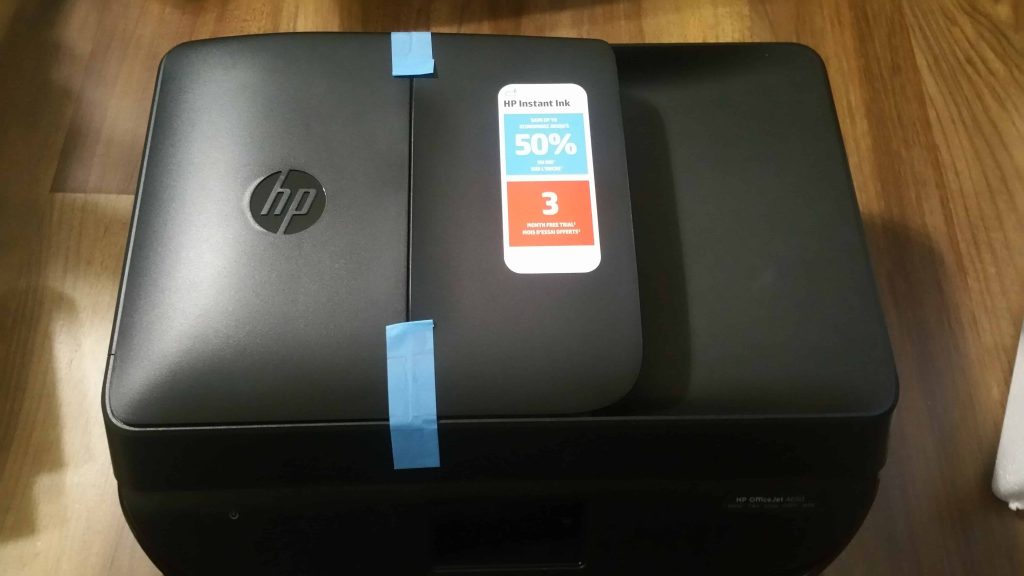
After taking off the wrapping, here’s the top view:
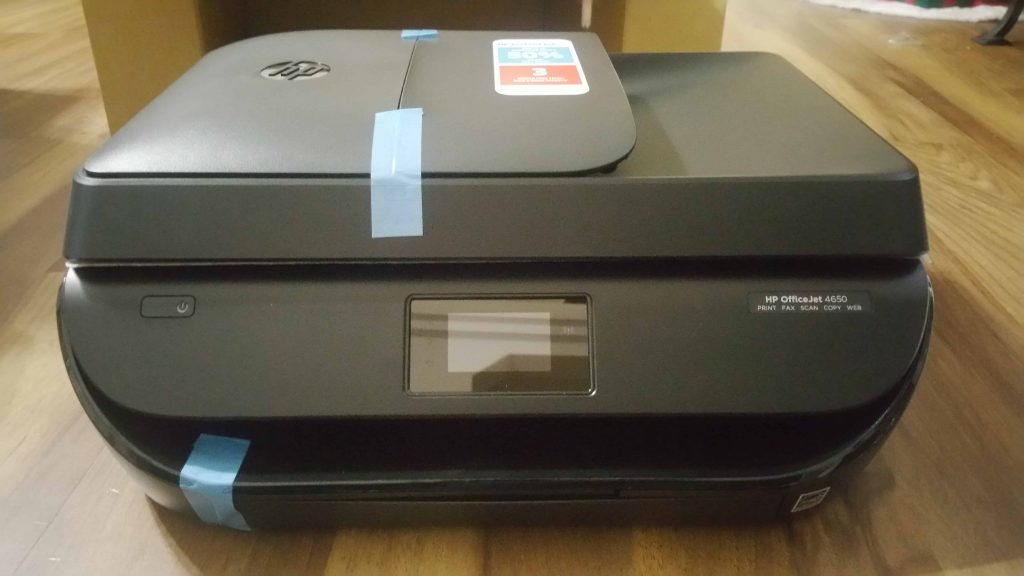
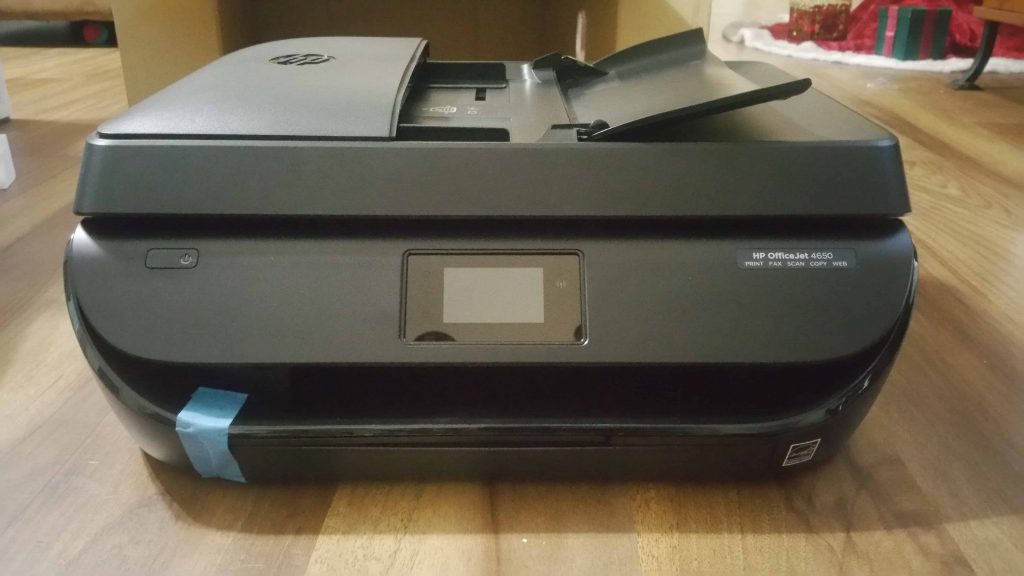
And here’s the front view:
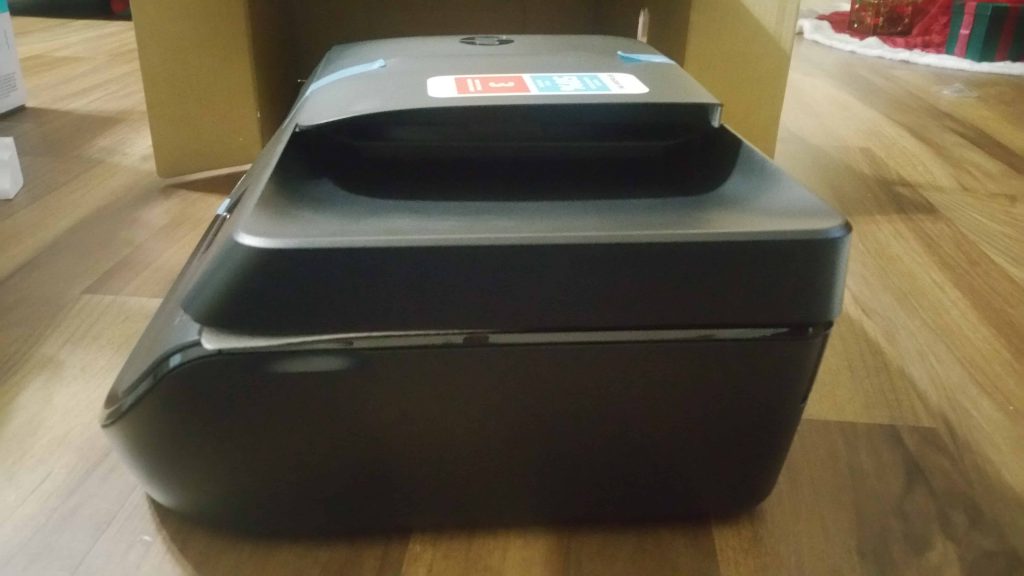
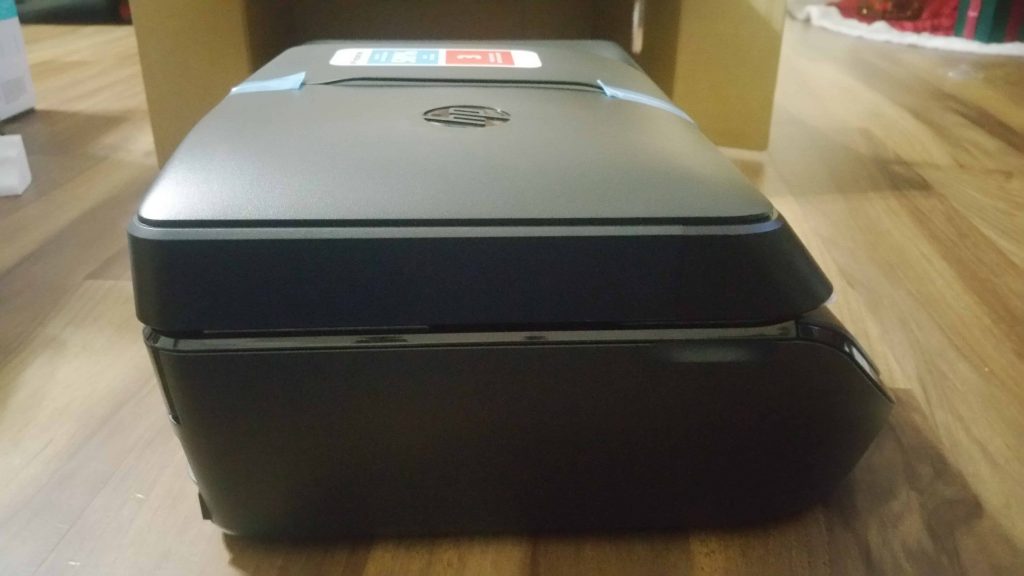
Side view:
Back view:

The other side:
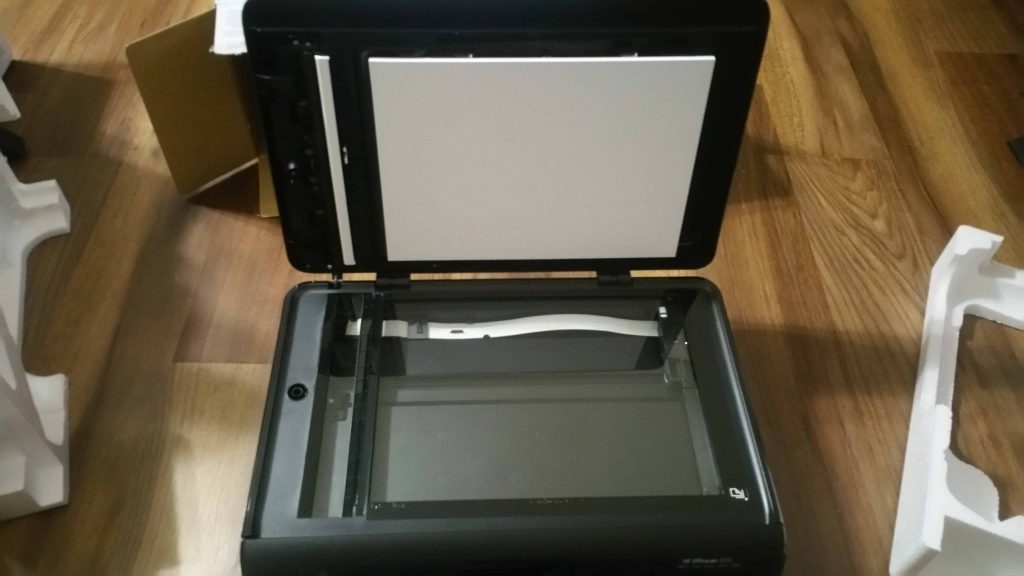
Opening the flatbed scanner:

Opening the automatic scanner feeder:

Front view with the scanner feeder opened:
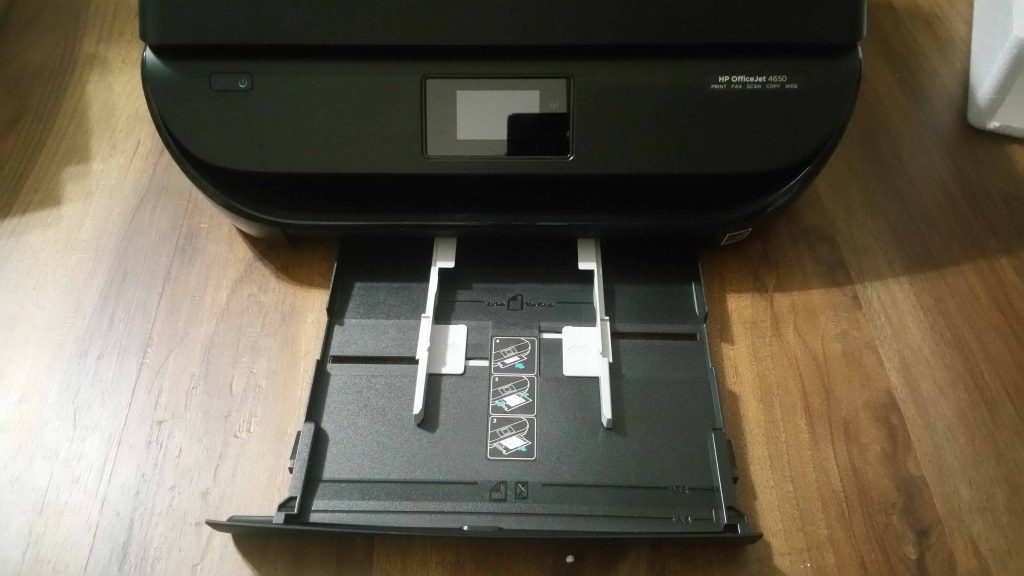
Opening the paper tray:
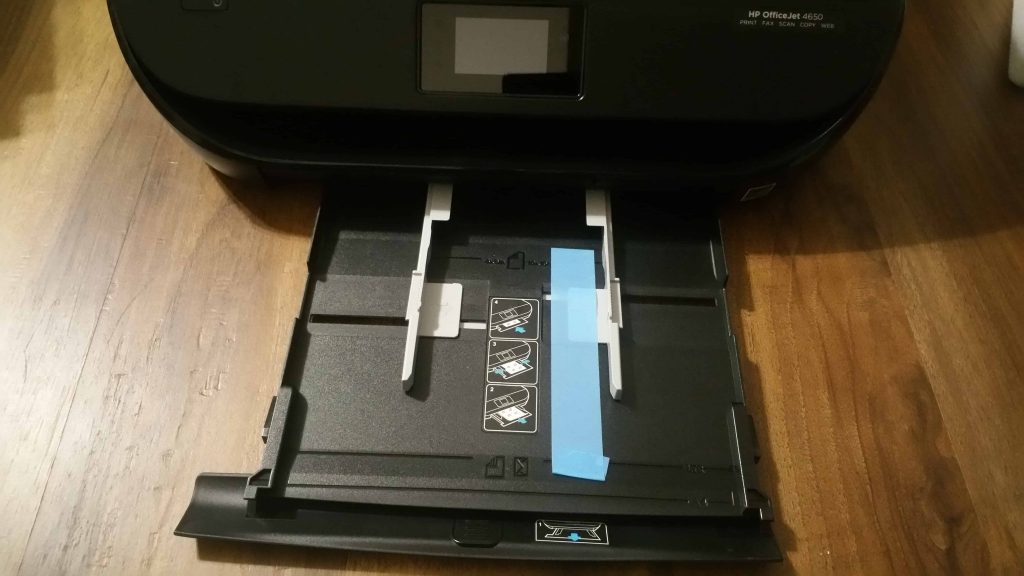
Tape removed:
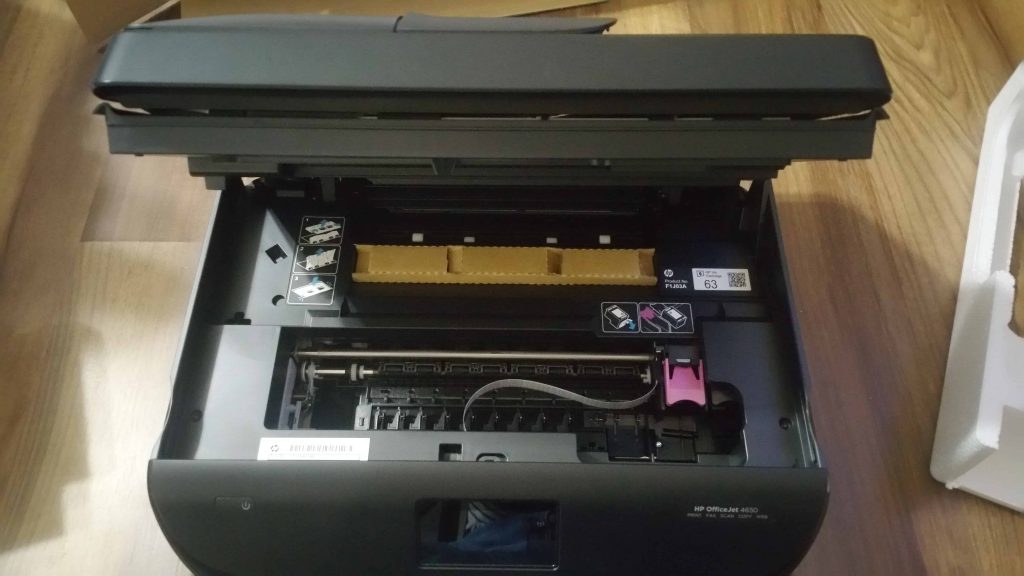
Opening the printer access panel:

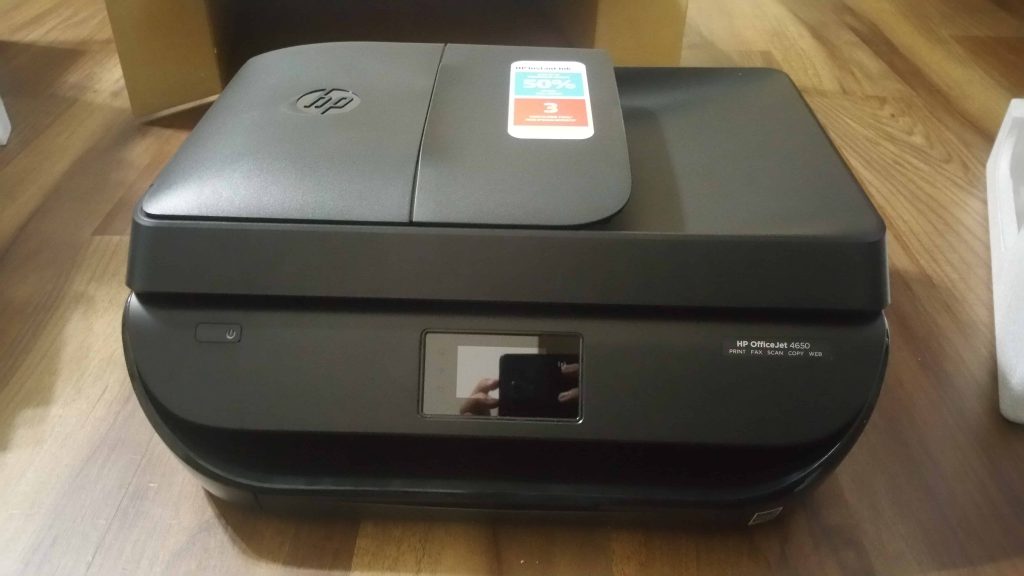
And finally, here’s the printer with all of the tapes removed:
That’s all for this post!