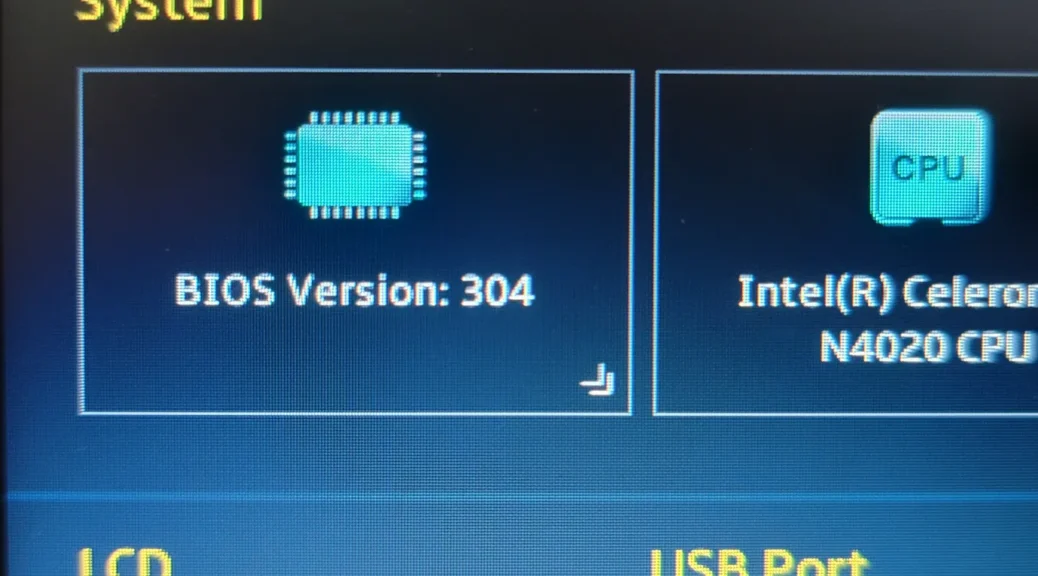
Updating the BIOS of the ASUS E210MA laptop
Hi everyone,
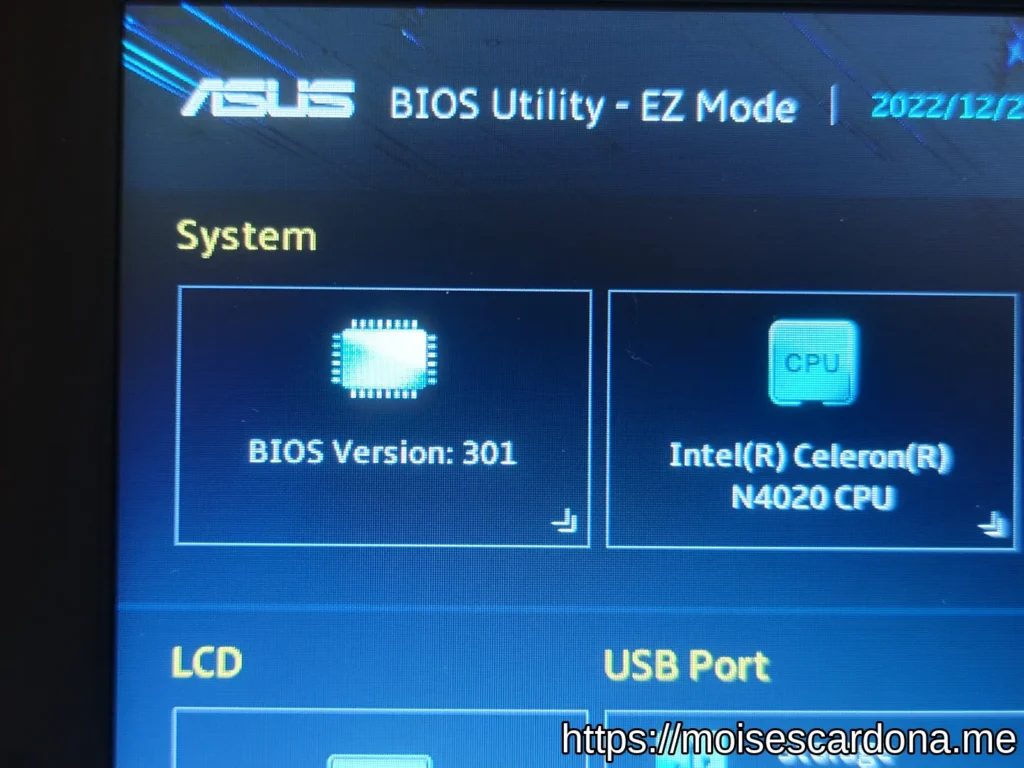
In this post, we will see how to update the BIOS of the ASUS E210MA laptop I got for Christmas. It came with the BIOS 301 version, but we can update it to BIOS 304. Here, we will see the steps to update it.

Downloading the BIOS
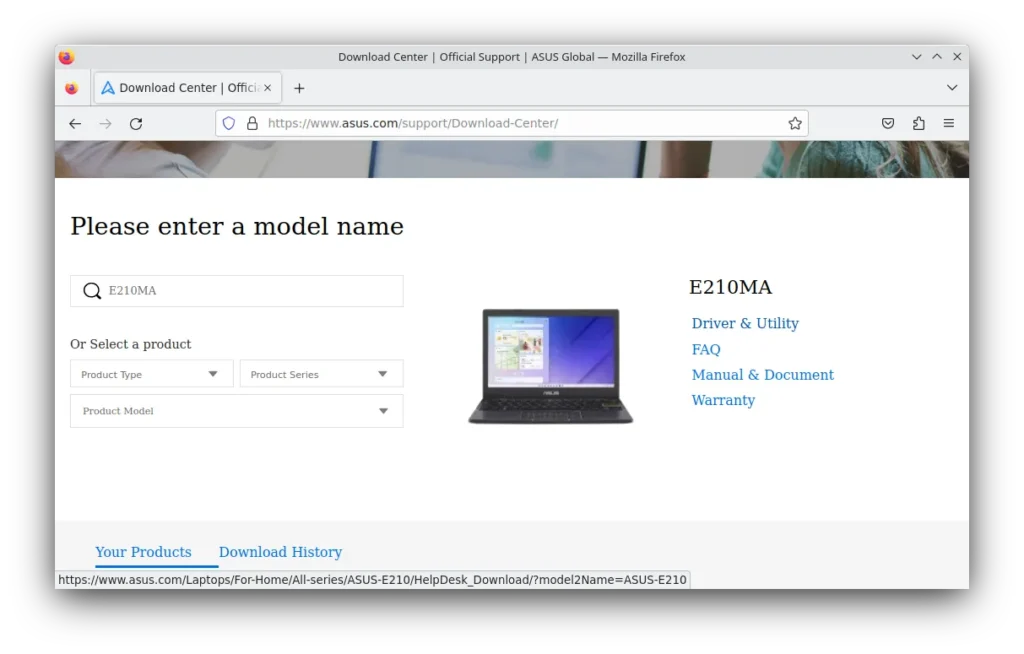
The first thing we will do is go to ASUS Download Center support page and type our model number. This particular machine is model E210MA. We will click on “Driver & Utility”:
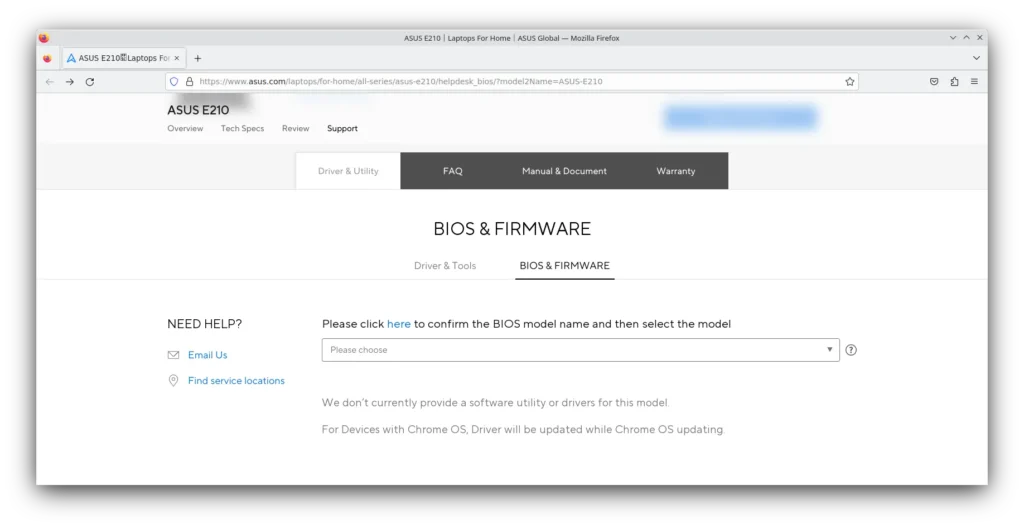
Next, click on BIOS & FIRMWARE. This next step is tricky, as there seem to be an E210MA option but also an E210MAB model. Mine surprisingly was the latter. It could be that it is a new revision while the E210MA is for an older version. It is best to click on the link where it says “Please click here to confirm the BIOS model name” to know for sure which model you have.
I selected E210MAB from the drop-down because that’s the model of my machine:
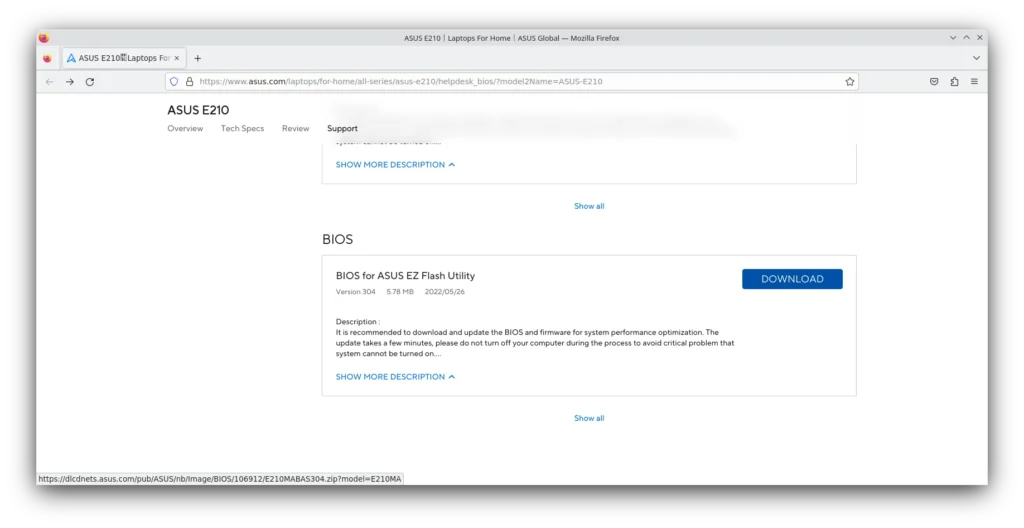
Because I’m using Linux, I can’t use the Windows updater version. I also think the best way to update a BIOS is through the BIOS update utility. To do this, scroll down and download the latest BIOS available for this machine. Currently, at the time of this post, it is version 304:
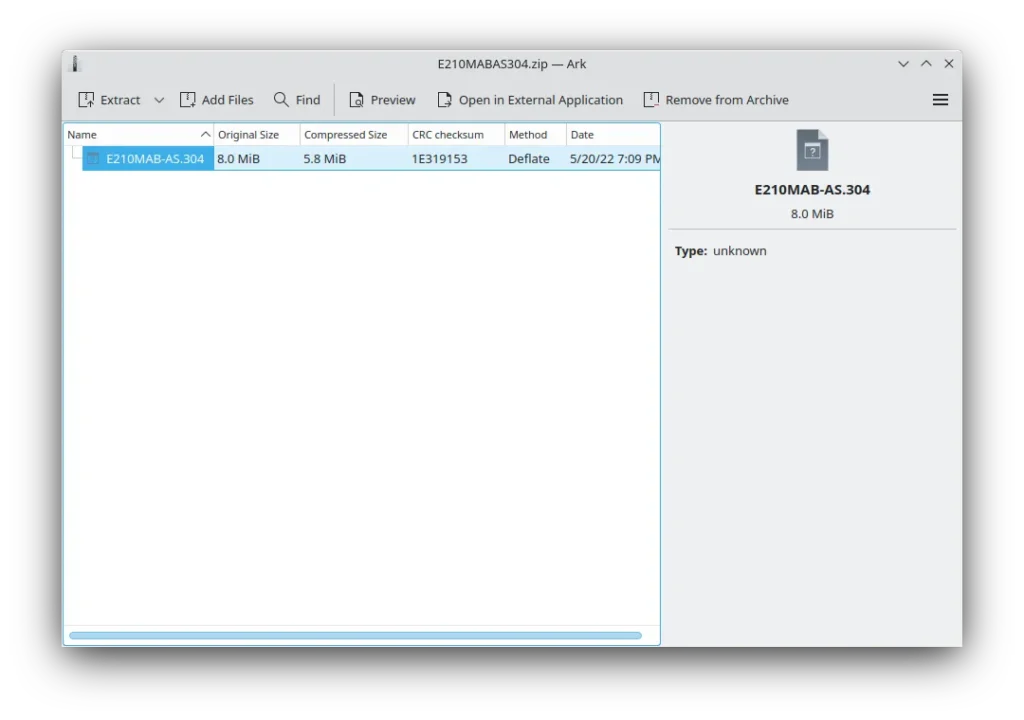
Once the BIOS is downloaded, open the file and extract it to a USB flash drive:
Updating the BIOS
To update the laptop’s BIOS, we need enter the BIOS. We will restart the machine and press the F2 or ESC key as soon as the ASUS logo is displayed to go to the BIOS. If you pressed ESC, you will be shown a list of boot devices, where you have to select the option to go to the UEFI BIOS:
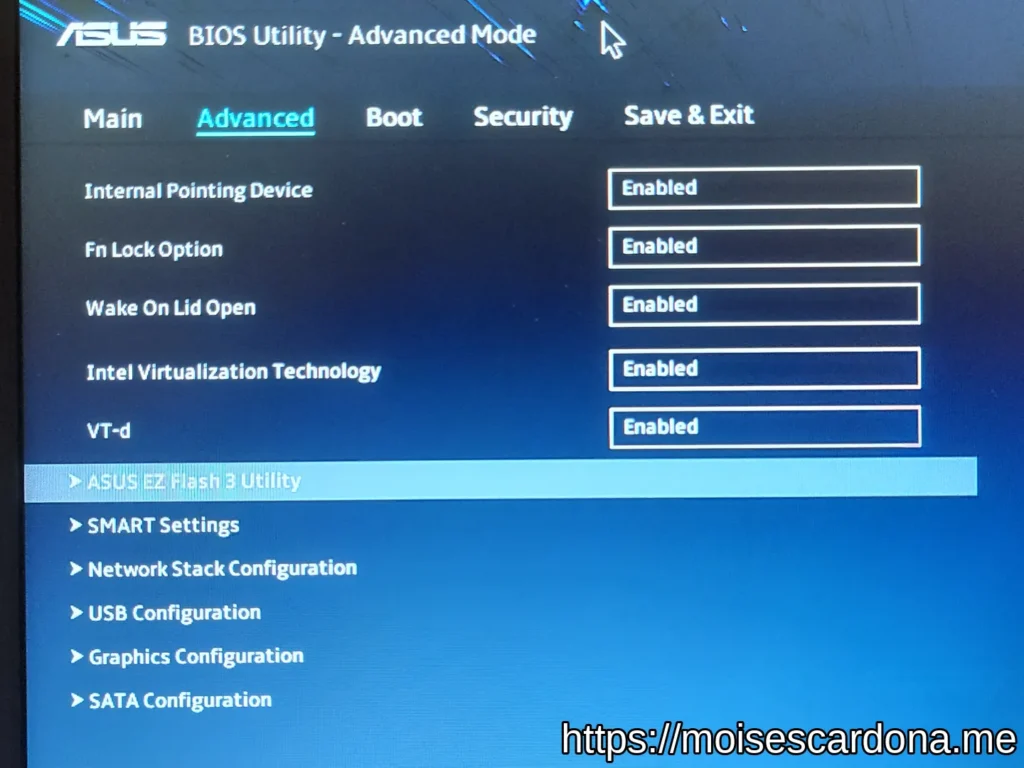
Enter the BIOS advanced mode and go to the “Advanced” tab. Then, select ASUS EZ Flash 3 Utility:
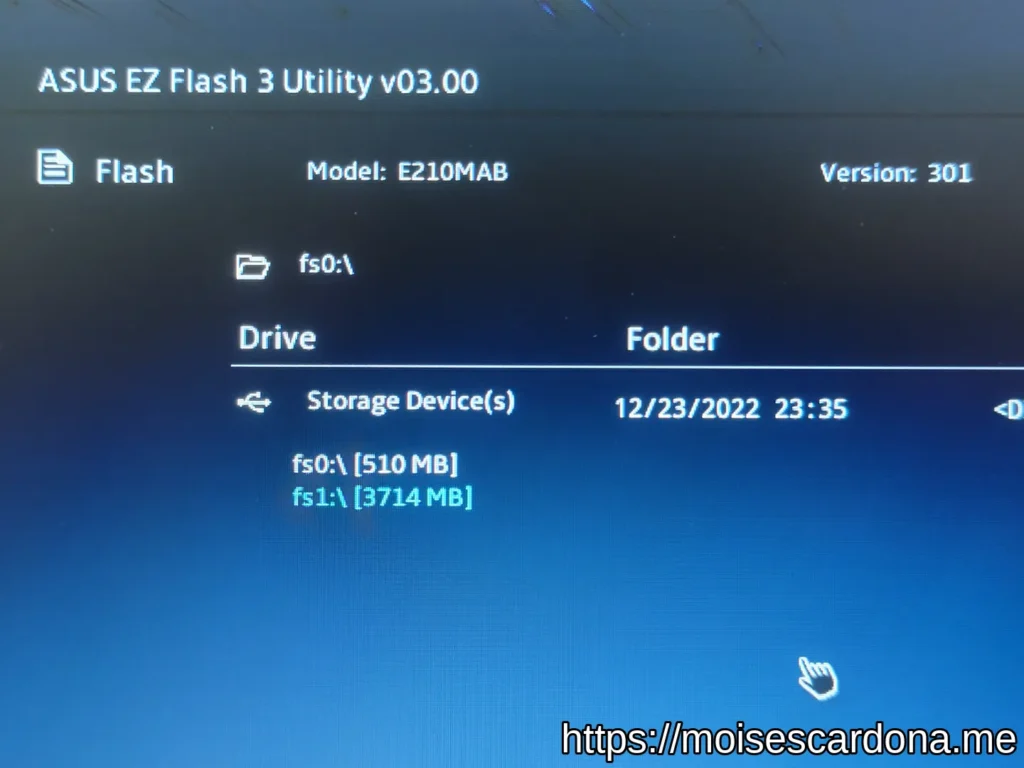
Here, you will be asked to select a drive. Select the flash drive:
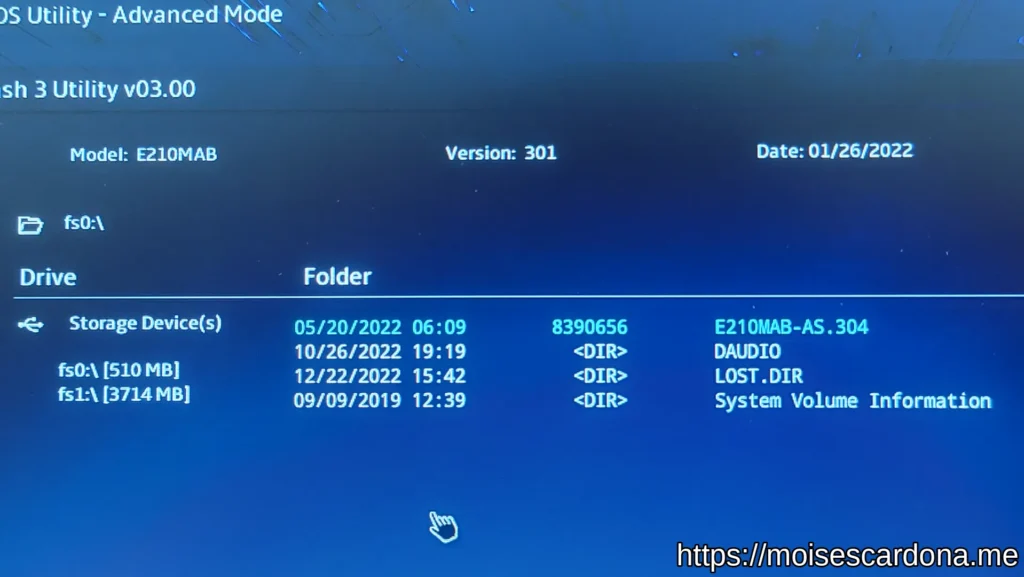
Next, select the BIOS update file. The file name for the v304 BIOS file is E210MAB-AS.304:
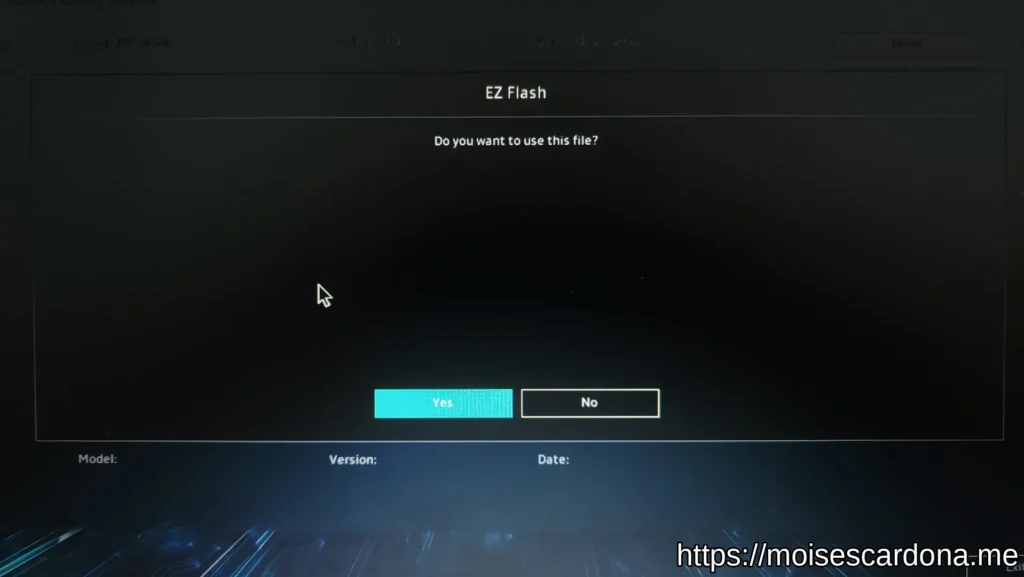
Confirm we want to use this file by pressing “Yes”:
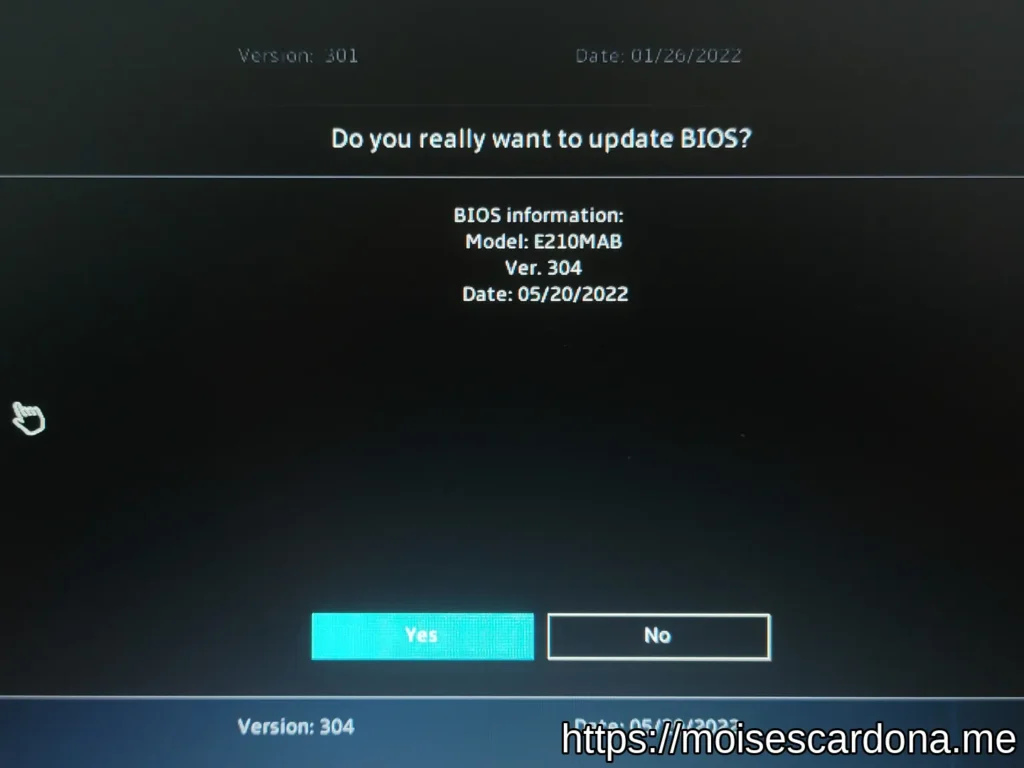
Now, confirm that you really want to update the BIOS by pressing “Yes” again:
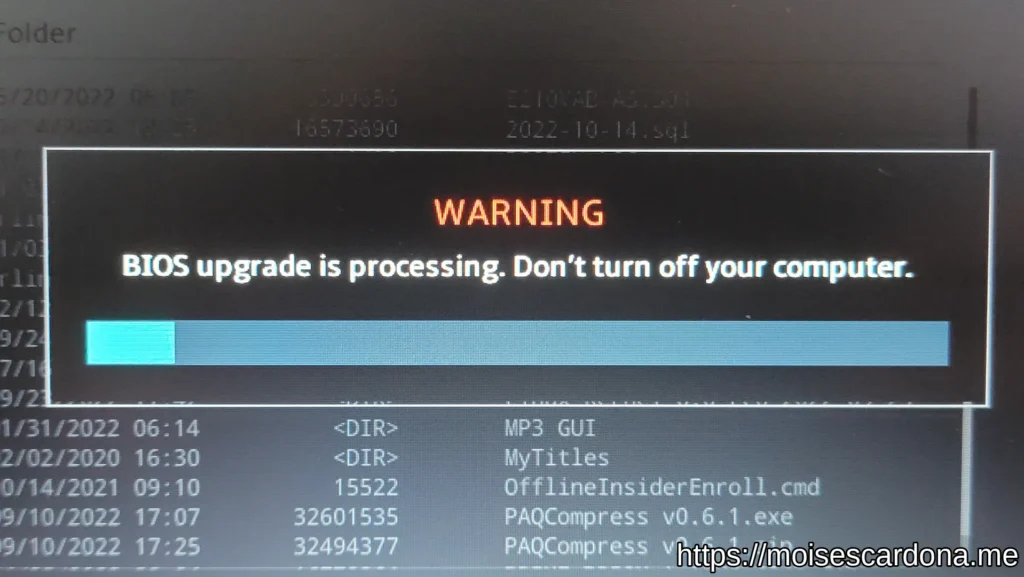
The update process will start. This may take a while:
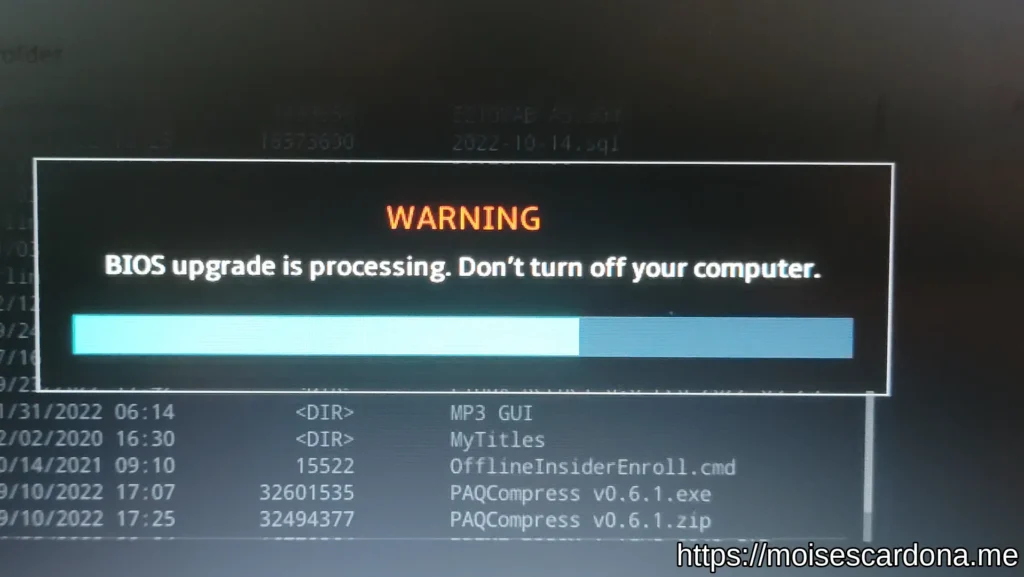
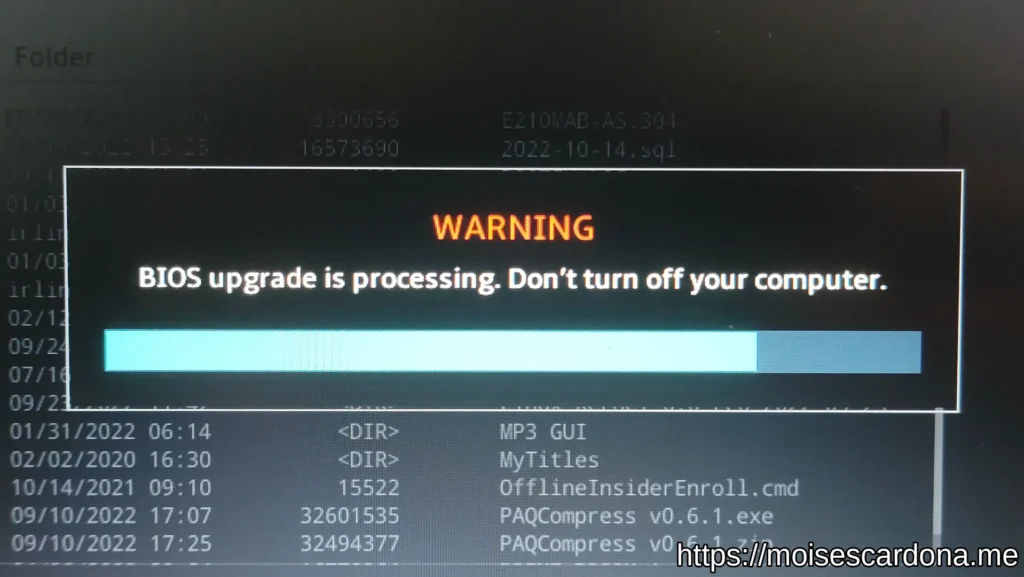
Once the BIOS update finishes, you can confirm that it updated by going to the BIOS once more:
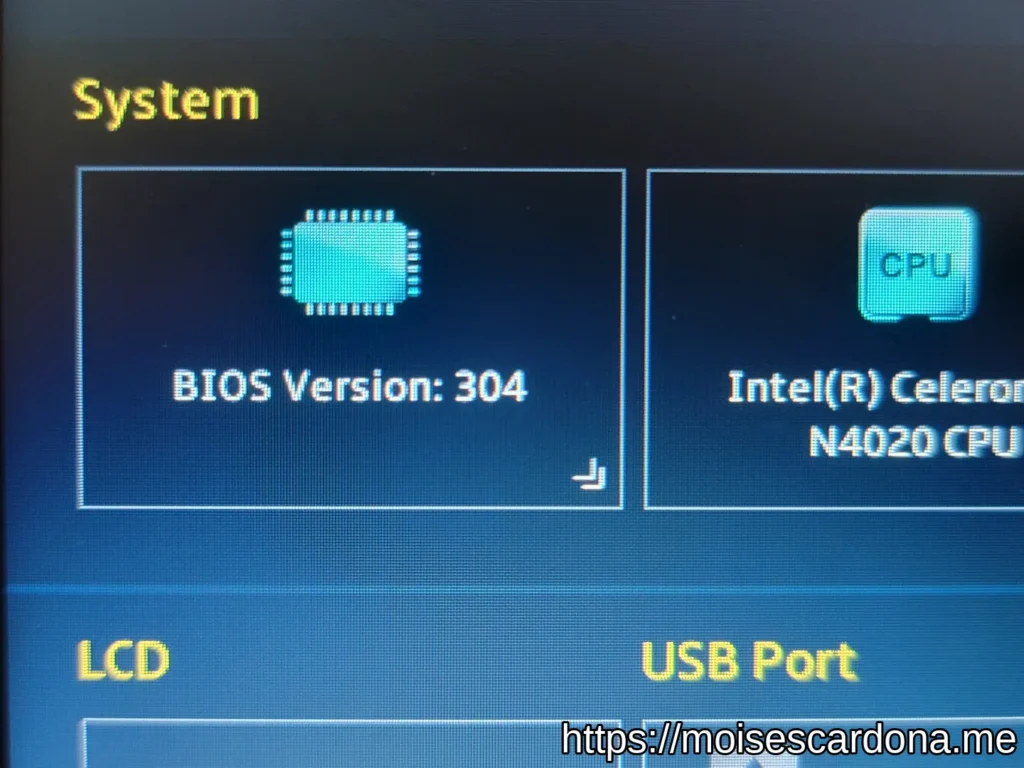
Congratulations. You have updated your ASUS E210MA BIOS.