Installing and using pulseaudio-dlna with the Hiby R3 family of Audio devices
Hi everyone,
In this post, we’ll see how to install the pulseaudio-dlna package and use it.
DLNA is a protocol that may allow special devices and software to connect to a media server, playback a file, act as a media controller, or be one or more of these. Some routers have a DLNA feature built-in allowing the use of the USB port to host a USB drive in order to allow these software to find and playback your multimedia files. Other devices are “media renderers” in that they need a special software to connect to them and tell them to play a file. These software may also remotely control these devices.
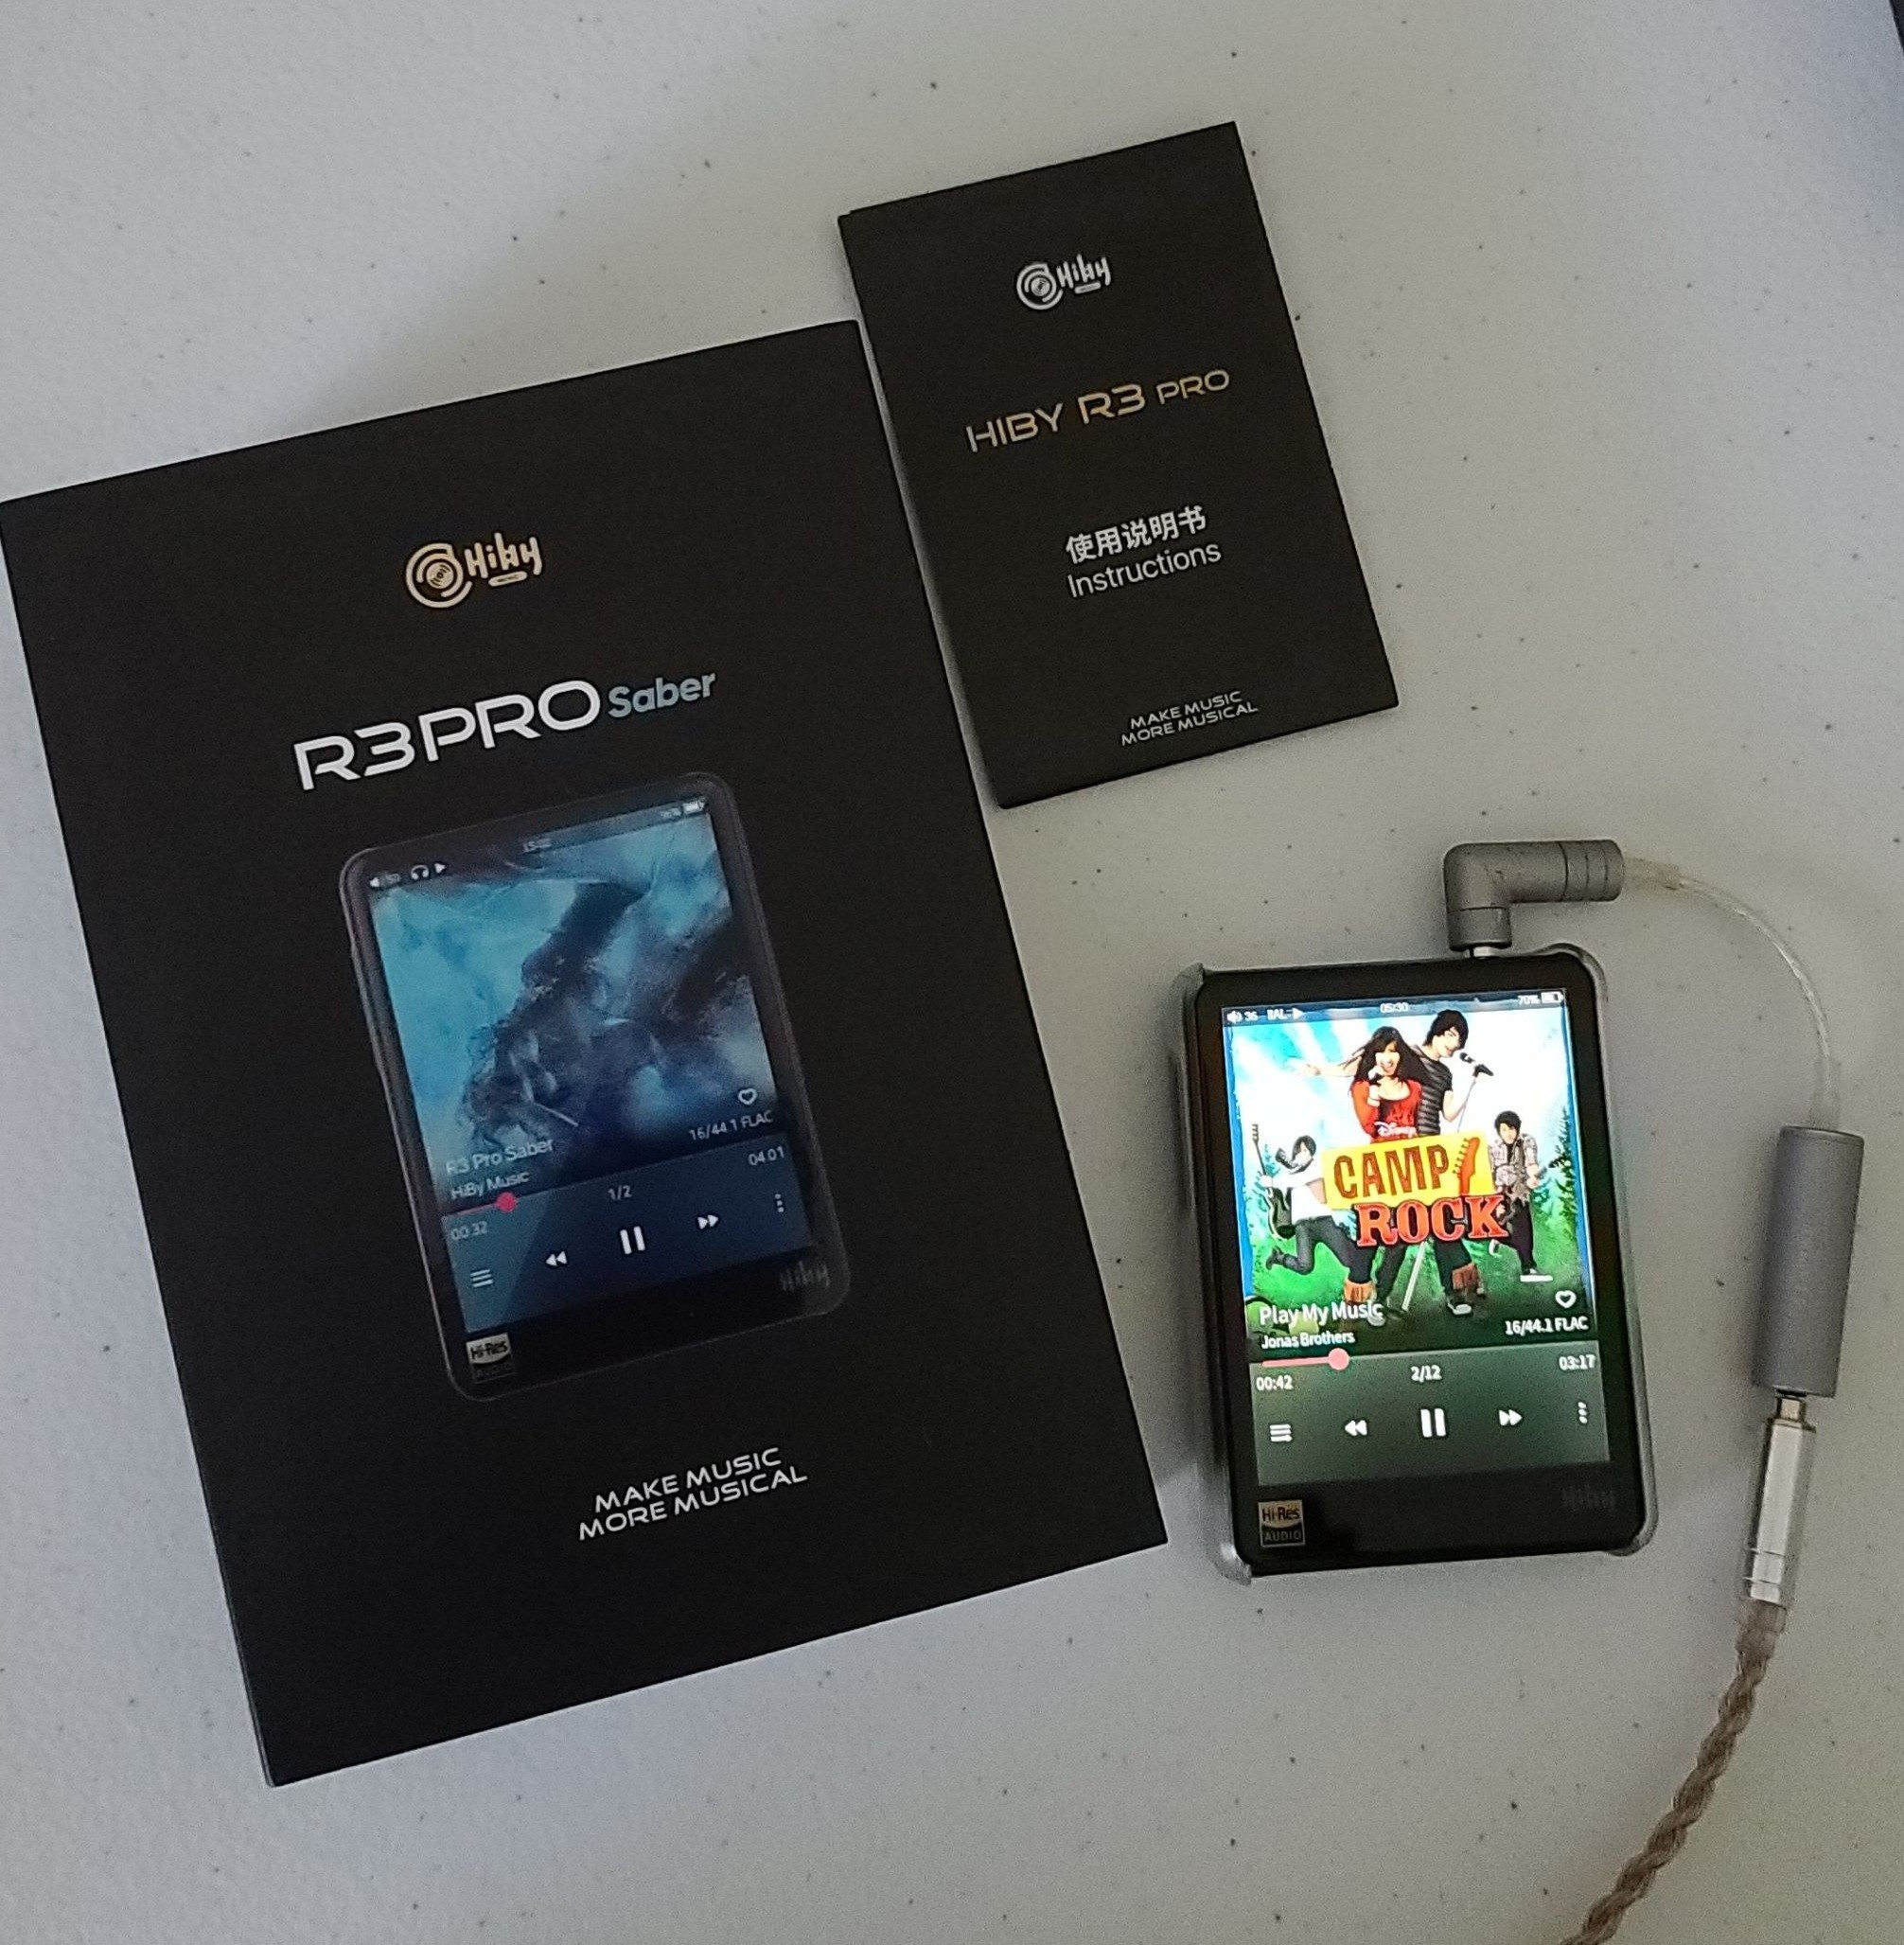
In a modern Audio world, there are many mini Hi-Fi players full of modern codec support, and may come with Wi-Fi support to allow connecting and streaming audio files from supported streaming services. One example are the Hiby R3 family of players. These use a custom OS called HibyOS and allow playing back of local files, or connect to Wi-Fi to stream audio from either Tidal or Quobuz. It also has a built-in DLNA renderer, but in order to use it, you need a DLNA controller software.
Some time ago, I built an app that used a few open source libraries in order to act as both a server and controller, but this only works on Windows, currently, and crashes on Linux due to some incompatibility with Wine. I may update this in the future, or even port it to work natively in Linux, but on the time being, we can make use of a Linux package called pulseaudio-dlna.
Pulseaudio-DLNA is a tool that scans our local network for DLNA-enabled renderers and adds them as a Sound device. This makes it possible for Linux to route and send our system audio straight to our DLNA-enabled device. This has the following advantages:
- Lossless audio streaming when using a lossless codec like FLAC.
- No resampling if the content is already at 44.1Khz.
- MQA Passthrough / decoding at the DLNA device for 44.1Khz files.
- Hiby R3 can decode MQA even when using DLNA! You’ll notice the LED will be green which indicates MQA/Hi-res playback.
DLNA is superior than Bluetooth because DLNA uses your home network. When using with a lossless codec and your files are at the 44.1Khz sample rate, you get bit-perfect audio. With Bluetooth, the audio uses a lossy codec like SBC, AAC, aptX or LDAC. Some Bluetooth codecs provide high-quality audio, and it is said that LDAC provides lossless quality when streaming 16-bit/44.1Khz audio content. Still, for the best music experience, DLNA is the answer as long as we use a lossless audio codec.
Installing pulseaudio-dlna
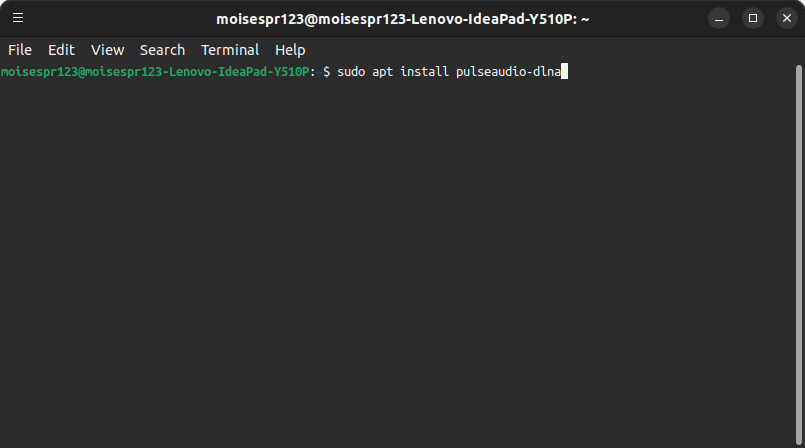
In order to make use of our device’s DLNA rendering feature, we must install the pulseaudio-dlna package. For this, we simply type sudo apt install pulseaudio-dlna on a terminal window:
We accept the installation of additional packages pressing the Y key followed by enter:

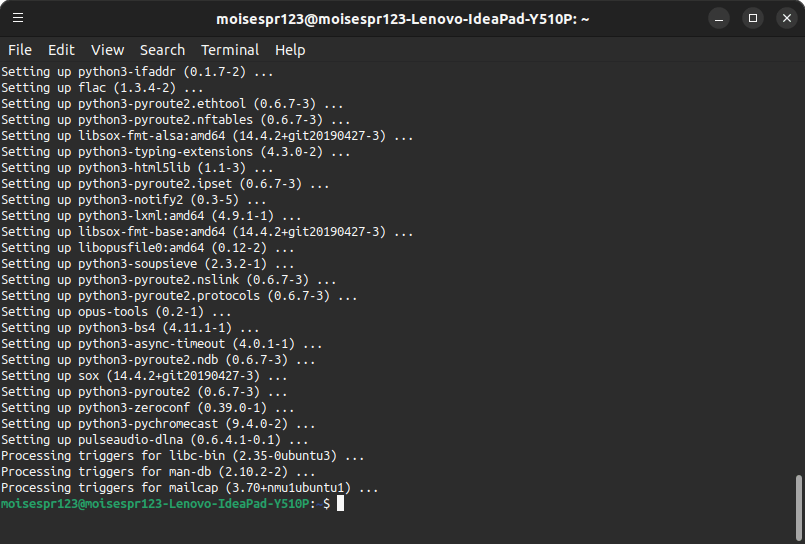
Pulseaudio-DLNA should now be installing:
Installing PulseAudio (If it’s not installed)
Ubuntu 22.10 will switch entirely to use the PipeWire server. PulseAudio is not necessary and you may have deleted it or not have it installed.
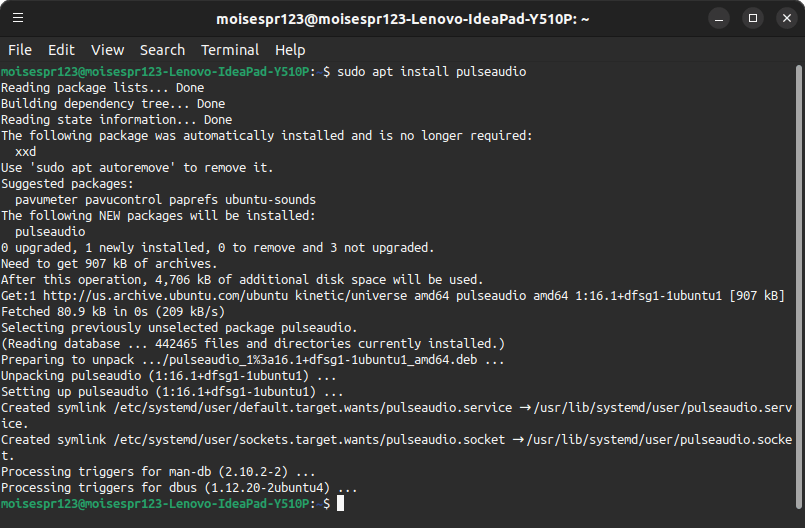
For pulseaudio-dlna to work, we must install the pulseaudio package with sudo apt install pulseaudio:
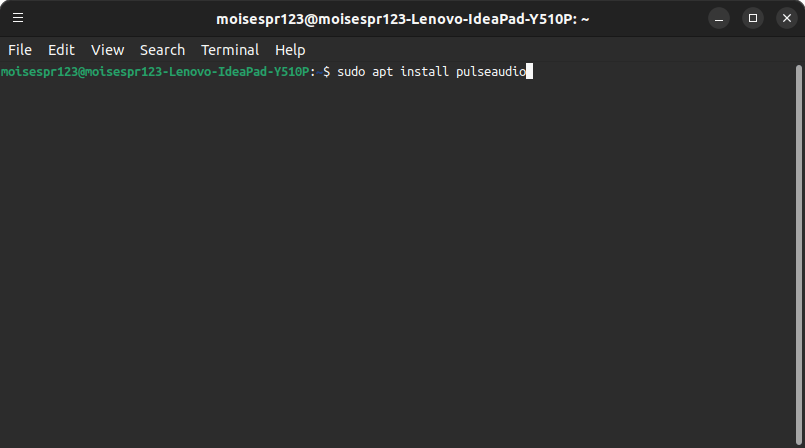
Pulseaudio should install normally:
Starting the PulseAudio service
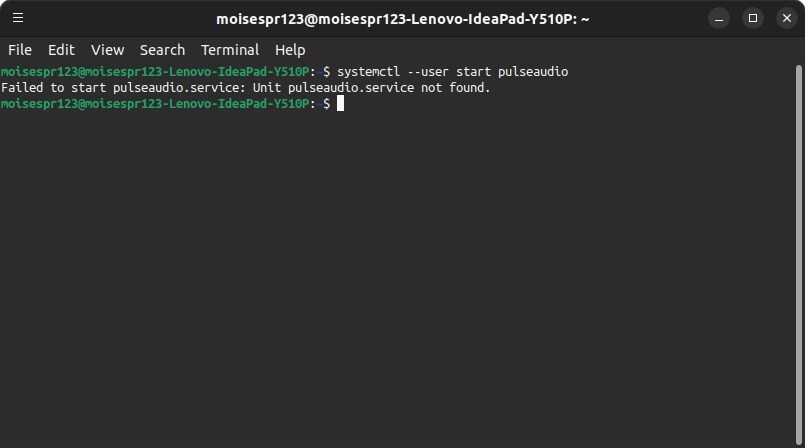
Because Ubuntu 22.10 uses the PipeWire audio server by default, the PulseAudio service is not started automatically. Therefore, we must start it manually with systemctl --user start pulseaudio:

(Related post: Starting up the PulseAudio Service manually in Ubuntu 22.10)
Starting up pulseaudio-dlna
Now comes the fun part. We are now ready to use pulseaudio-dlna.
In order to allow a successful communication with the Hiby R3, I used the following line:
pulseaudio-dlna --fake-http-content-length --codec flac
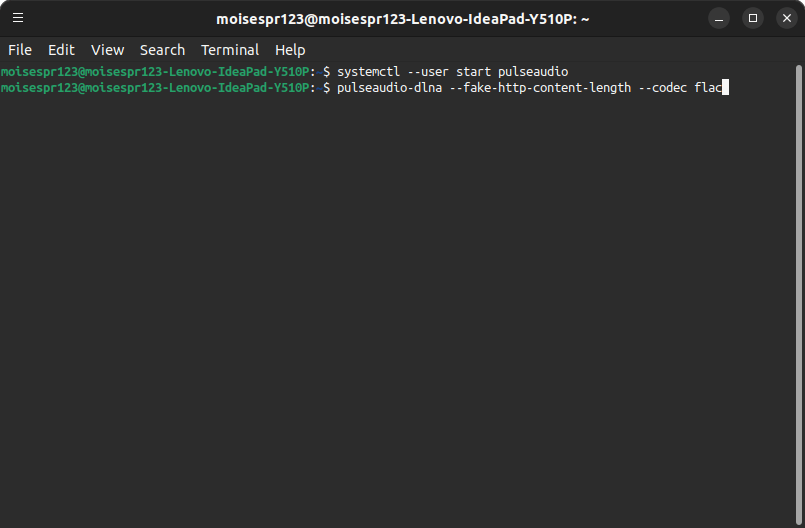
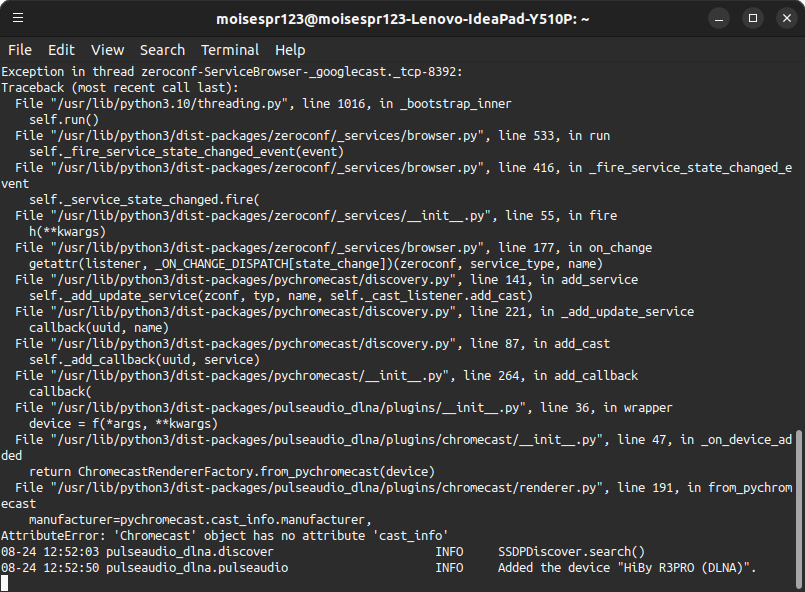
pulseaudio-dlna will now run and find the device.
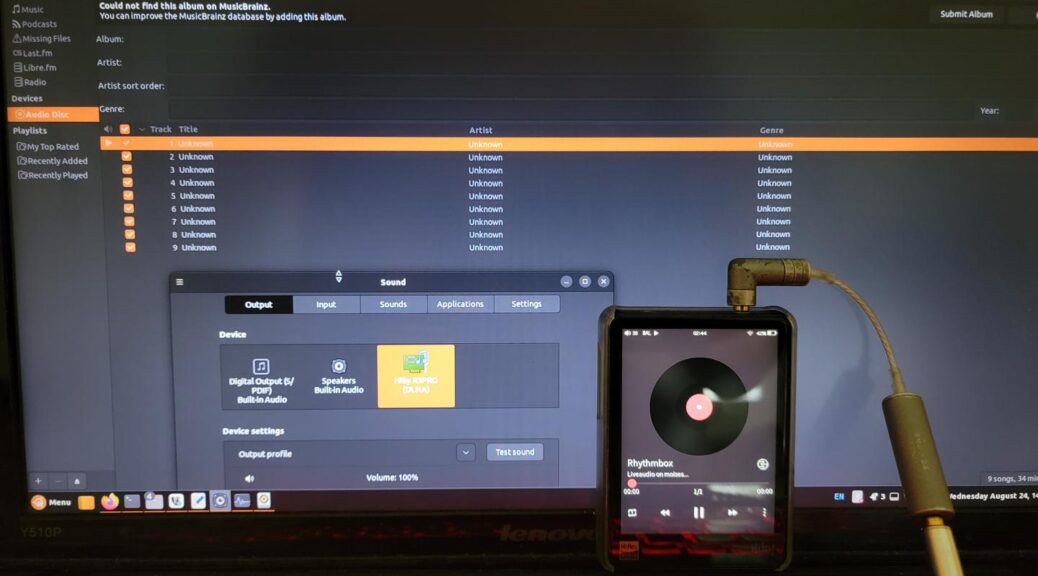
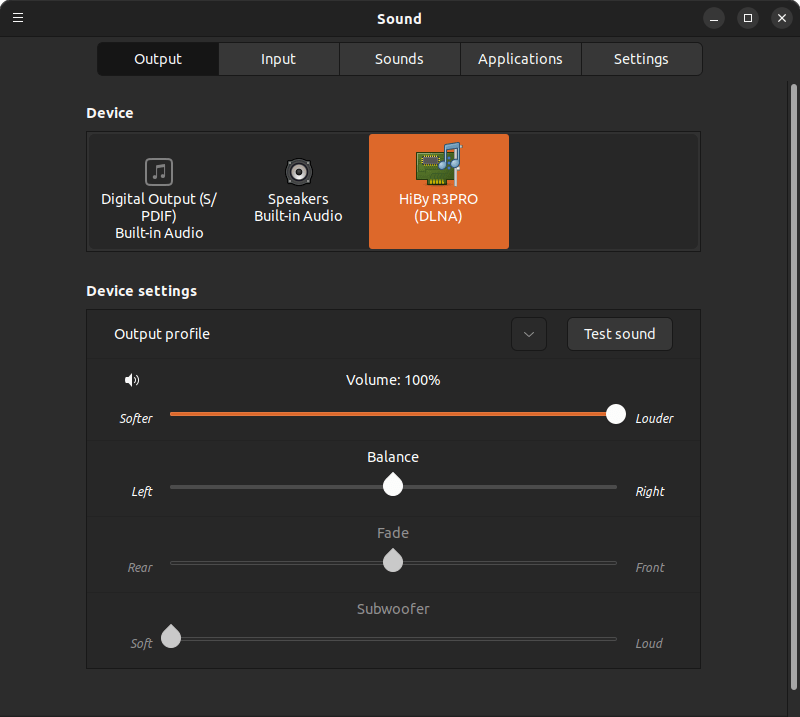
We can now go to our system’s sound setting and select it as our audio output device:
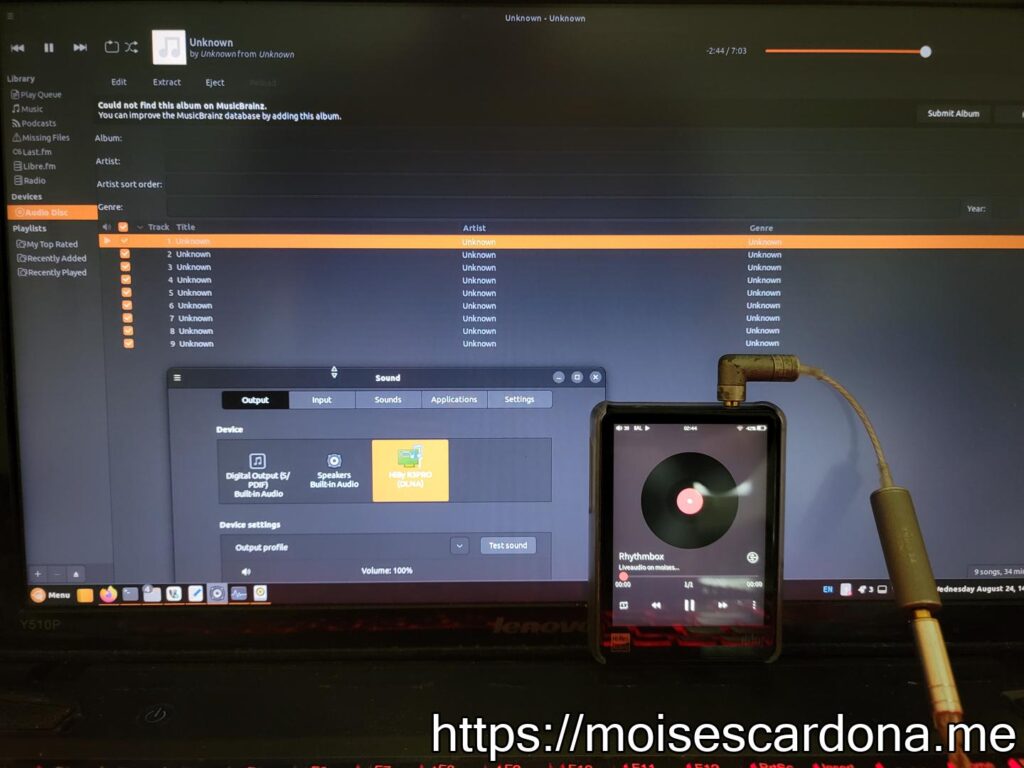
Finally, open your favorite media player software and enjoy sound in your DLNA-enabled device.
Notes
For some reason, other codecs failed to work correctly with the Hiby R3, but using FLAC with --codec flac and with the --fake-http-content-length argument allowed playing back audio without audio drops or further issues.
I’d say if you experience issues with your device, try changing the codec with the --codec switch. WAV didn’t worked but FLAC did, even when the Hiby R3 can decode WAV in this mode.
Additionally, it seems the Hiby R3 Pro firmware after the v1.5 update broke the DLNA functionality. If your Hiby R3 Pro has a newer firmware installed, you need to downgrade it to the v1.5 firmware in order to successfully use the DLNA renderer capability.
You can download the Hiby R3 Pro and Pro Saber v1.5 firmware by clicking here.