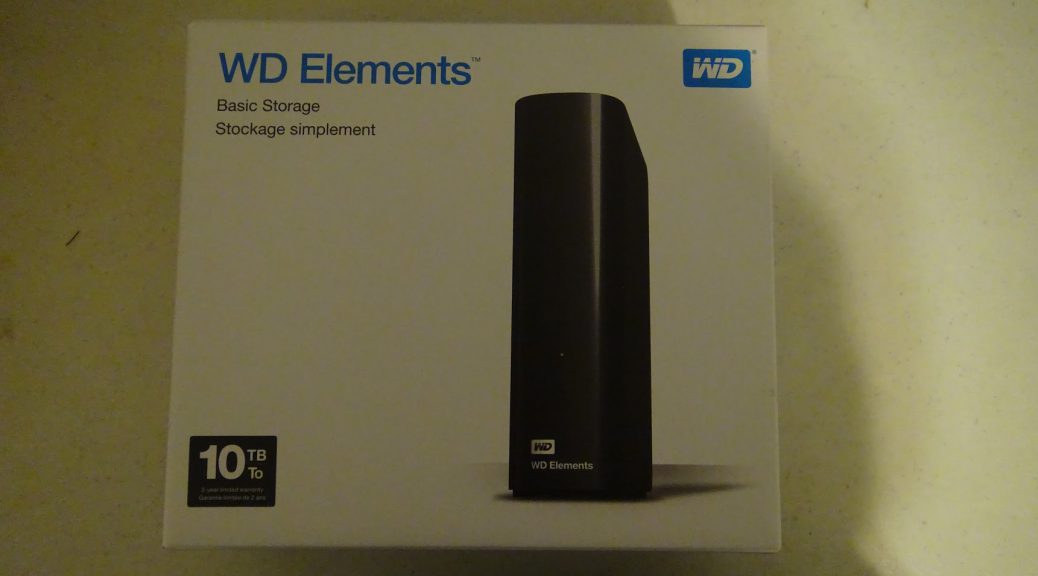
We need to use a sharp object and slide it toward the edges to take off the clips from the case. Then, we’ll slide it to the right carefully:
Sliding the WD Elements 10TB HDD to the right
We’ll keep sliding it right until it gets out:
The WD Elements 10TB HDD
The drive inside my WD Elements is a WD100EMAZ:
WD Elements 10TB 4
Now, we need to take out the Hard Disk Drive from the case. This is easy, because it is attached to the case using some rubbers. We just need to carefully push the hard drive to get it out:
WD Elements 10TB 5
Now, we need to take out the SATA to USB controller screw:
WD Elements 10TB 7
WD Elements 10TB 8
And here we finally have the shucked drive:
WD Elements 10TB 9
This drive didn’t required any hack to install it in my desktop machine, unlike my 8TB drive which needed to be plugged with a MOLEX to SATA adapter so that it doesn’t receive the 3.3V. I plugged this 10TB drive directly using a SATA power cable from my EVGA 600W PSU:
WD Elements 10TB 10
Windows recognized the drive immediately:
Shucked WD 10TB EMAZ Drive in Windows Task Manager
10TB of space! (Actually, 9.1TB)
Shucked WD 10TB EMAZ Drive Properties
I ran CrystalDiskMark and this is the result:
Shucked WD 10TB EMAZ CrystalDiskMark benchmark
It’s fast, and it’s working awesome in my machine.
With this I conclude this quick and simple post.
The Western Digital 10TB WD Elements External Hard Drive
Last week, I got a new Western Digital 10TB Essentials External Drive, which was on sale at $160 on Amazon:
The WD Elements 10TB in the Amazon Box
The reason for getting this drive is that in today’s world, digital content is growing by a lot, and files are taking more space than ever. Video resolutions are growing and so are the quality of music, which takes a lot of space. Recent development on newer audio and video codecs may keep the audio file size small, but then, there’s those who store raw or compressed lossless media files, like FLACs or lossless H264/H265 videos.
I myself sometimes record my gameplay when I play Nintendo Switch games, and then I further encode this lossless recording to another HEVC using my NVidia GTX 1060 video card. This saves me between 2 to 5GB of file size. I’m also doing tests encoding my gameplay videos to the newer AV1 codec, that significantly reduces the video size while having a great quality at lower bitrates.
My 8TB drive will soon get full with so many content, encodings, data compression tests, server backups, and so on, hence my reason to add another drive (In reality, half of the disk is full). I found the $160 price very reasonable, considering my 8TB drive was also priced at $160 at Best Buy a few months ago.
When I purchased this drive on Amazon, it was actually not in stock, so I had to wait a few weeks, but it made it home. Here’s the drive box:
WD Elements External Hard Drive Box
Here are the sides:
The top of the box
Side 1
Side 2
And the back:
The WD Elements 10TB Back of the box
Opening the box, we find the drive well protected:
Opening the WD Elements 10TB box
In the side, we can see the Power Supply and USB 3.0 cable, along with the user manual:
WD Elements 10TB cables
Here’s the drive out of the box in its protected plastic pads:
WD Elements 10TB Hard Drive out of the box
Here, we can see the drive with the plastic wrap in place:
WD elements 10TB out of the box with plastic wrap
WD Elements 10TB Side with plastic wrap
WD Elements 10TB other side with the plastic wrap
Here, we can see the drive USB 3.0 and power supply jack, and the power button:
WD Elements 10TB connectors
Here are the photos with the wrap taken off:
WD Elements 10TB 1
WD Elements 10TB 2
WD Elements 10TB 3
Here’s the power supply in its bag:
The WD Elements 10 TB power supply
And outside the bag:
The WD Elements Power Supply outside the bag
The Power Supply has a barrel-type plug:
The barrel plug
Next, we have the USB 3.0 cable:
The USB 3.0 Cable
Finally, we have the user manual:
The WD Elements manual
And that concludes this photo session. Later, I’ll do a post shucking this drive and also share the benchmark to you.
See ya next time!
Shucking a Western Digital 8TB My Book External Hard Disk Drive
In today’s post, I’ll be sharing some pictures of my shucked Western Digital 8TB My Book External Hard Disk Drive.
I got this hard drive as I’ve already had 2 other Seagate Hard Drives fail and needed another drive. I changed brands to Western Digital as I’ve been having a bad luck with Seagate lately.
Here’s the drive’s box:
The drive outside of the box:
The front of it:
Here, I’ve taken the drive out of the main enclosure. It still needs to be removed from the internal enclosure:
Finally, here’s removed:
From what I’ve read, this is an HGST Helium-filled hard drive. Western Digital acquired HGST, so this is something that may be accurate. Also, another thing is that you can’t use a SATA power connector that supplies 3.3V. I’ve read reports of this, and they are actually true. It seems that if the drive senses the 3.3V, it disables the unit. This may be to prevent people from taking out the drive from the enclosure and use as an internal hard drive, as it’s actually cheaper to purchase an external drive, shuck it, and install as an internal disk.
The solution that I did was to use a standard MOLEX to SATA power adapter. These cables have 5V, 12V, and 2 ground cables. They do not pass 3.3V, making the drive usable inside the PC.
This website uses cookies to improve your experience. We'll assume you're ok with this, but you can opt-out if you wish.AcceptRead More
Privacy & Cookies Policy
Privacy Overview
This website uses cookies to improve your experience while you navigate through the website. Out of these, the cookies that are categorized as necessary are stored on your browser as they are essential for the working of basic functionalities of the website. We also use third-party cookies that help us analyze and understand how you use this website. These cookies will be stored in your browser only with your consent. You also have the option to opt-out of these cookies. But opting out of some of these cookies may affect your browsing experience.
Necessary cookies are absolutely essential for the website to function properly. This category only includes cookies that ensures basic functionalities and security features of the website. These cookies do not store any personal information.
Any cookies that may not be particularly necessary for the website to function and is used specifically to collect user personal data via analytics, ads, other embedded contents are termed as non-necessary cookies. It is mandatory to procure user consent prior to running these cookies on your website.