Shucking the Western Digital WD Elements 10TB External Hard Disk Drive
Hi everyone,
Today, I’ll show you the process of shucking the WD Elements 10TB External Hard Drive that I got the last 2 weeks.
We need to use a sharp object and slide it toward the edges to take off the clips from the case. Then, we’ll slide it to the right carefully:
We’ll keep sliding it right until it gets out:
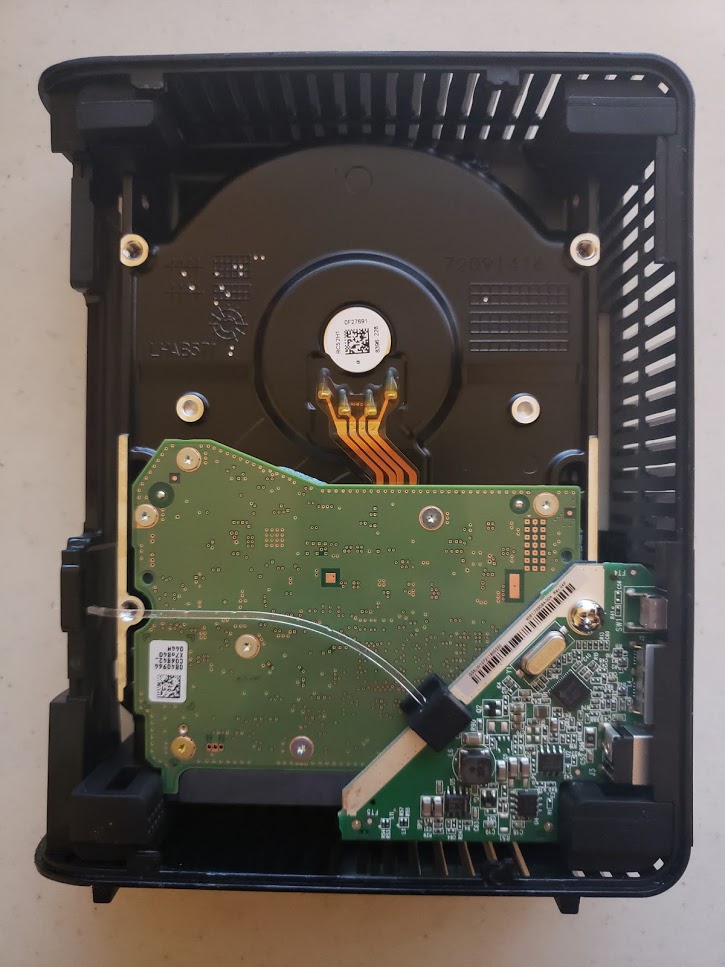
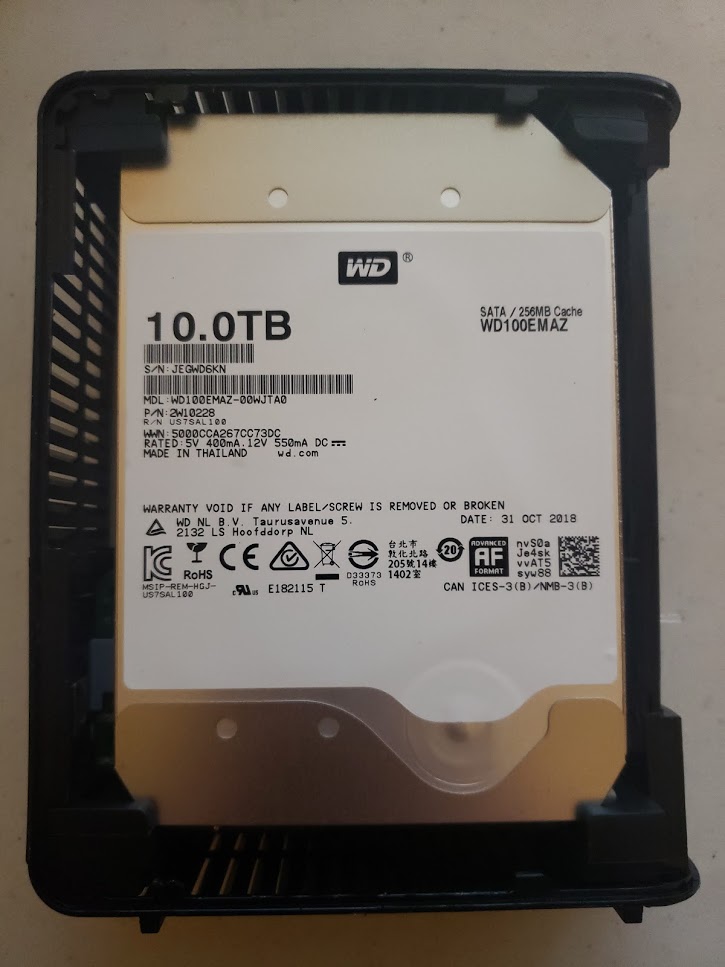
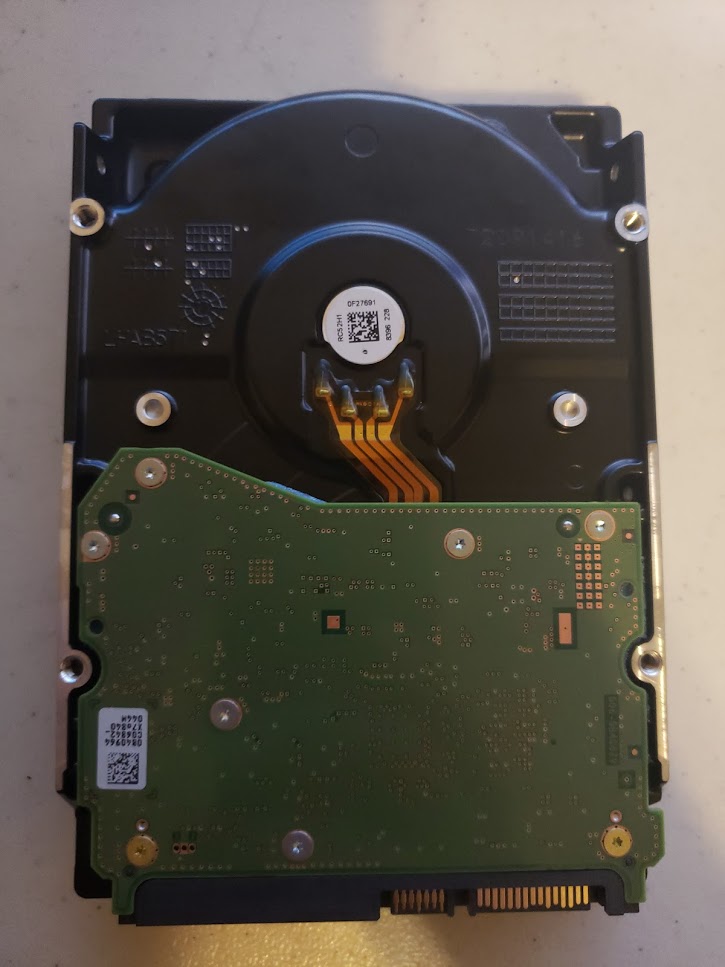
The drive inside my WD Elements is a WD100EMAZ:
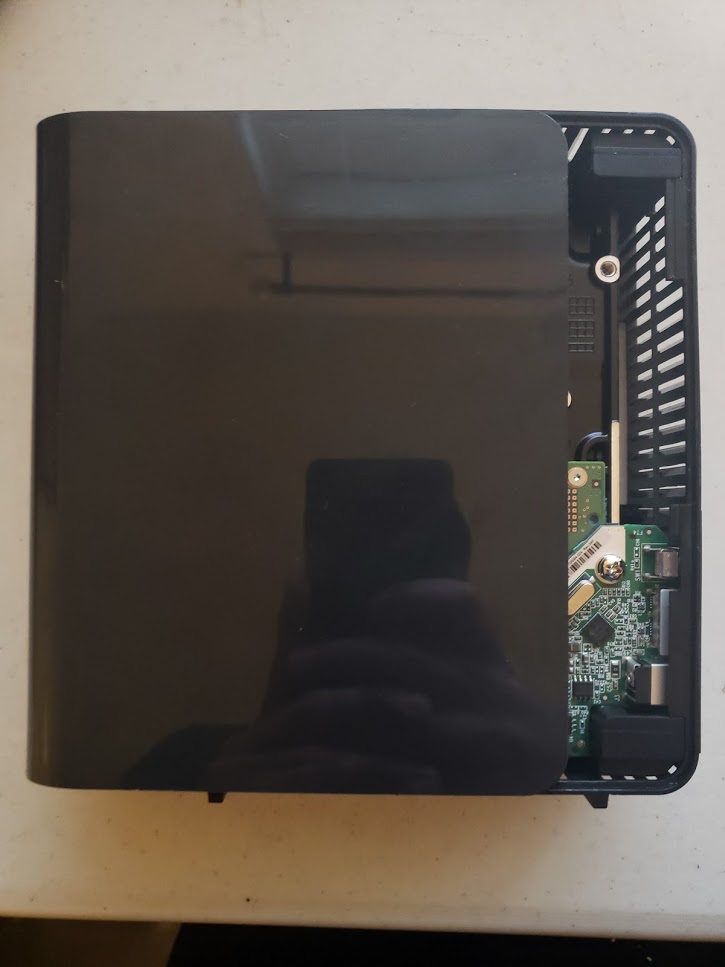
Now, we need to take out the Hard Disk Drive from the case. This is easy, because it is attached to the case using some rubbers. We just need to carefully push the hard drive to get it out:
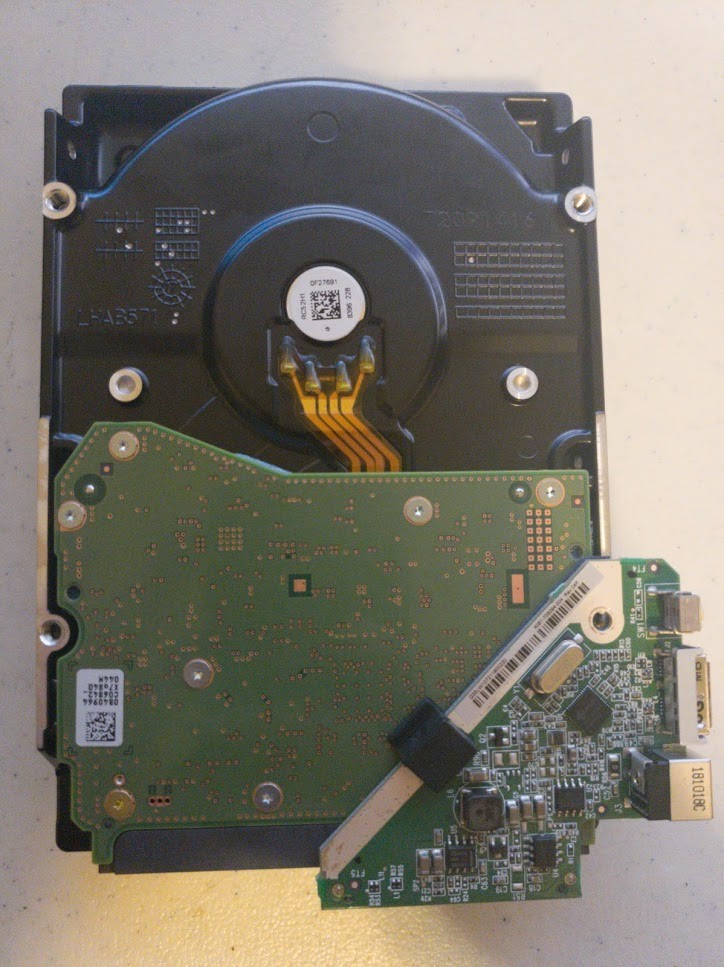
Now, we need to take out the SATA to USB controller screw:
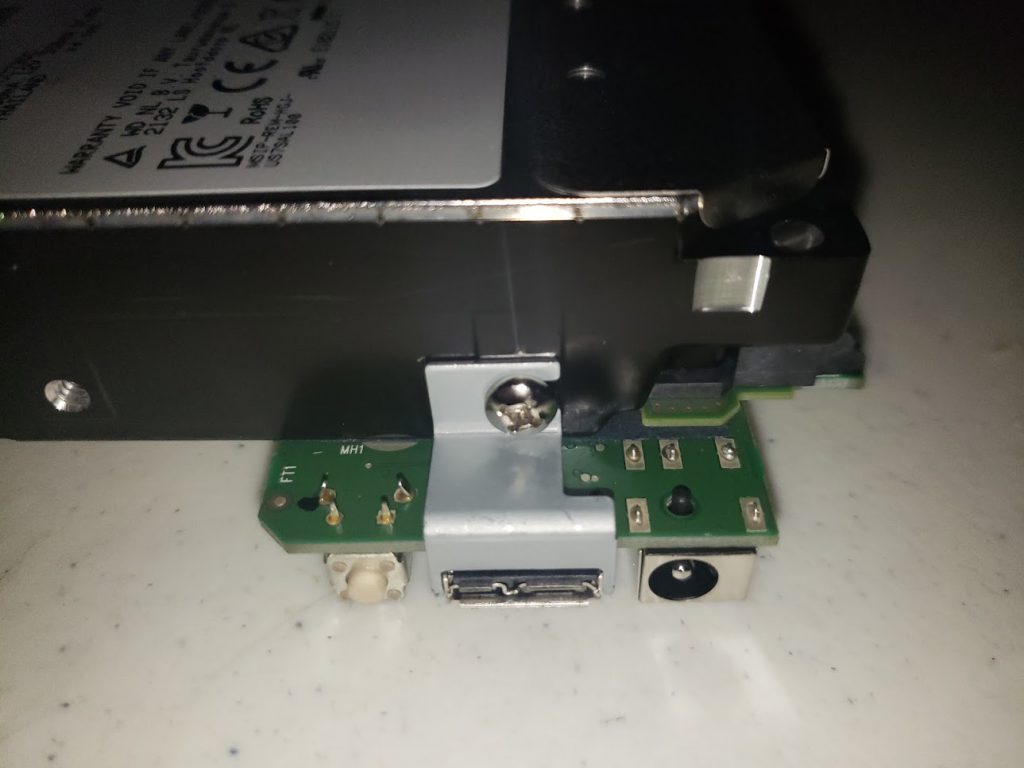
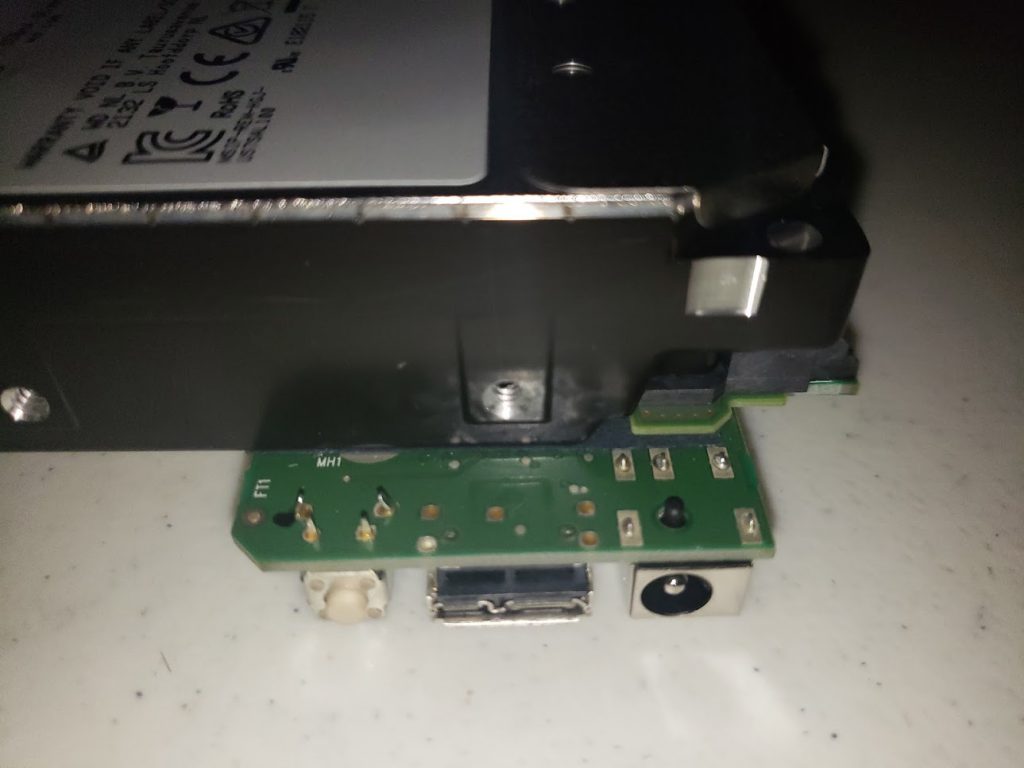
And here we finally have the shucked drive:
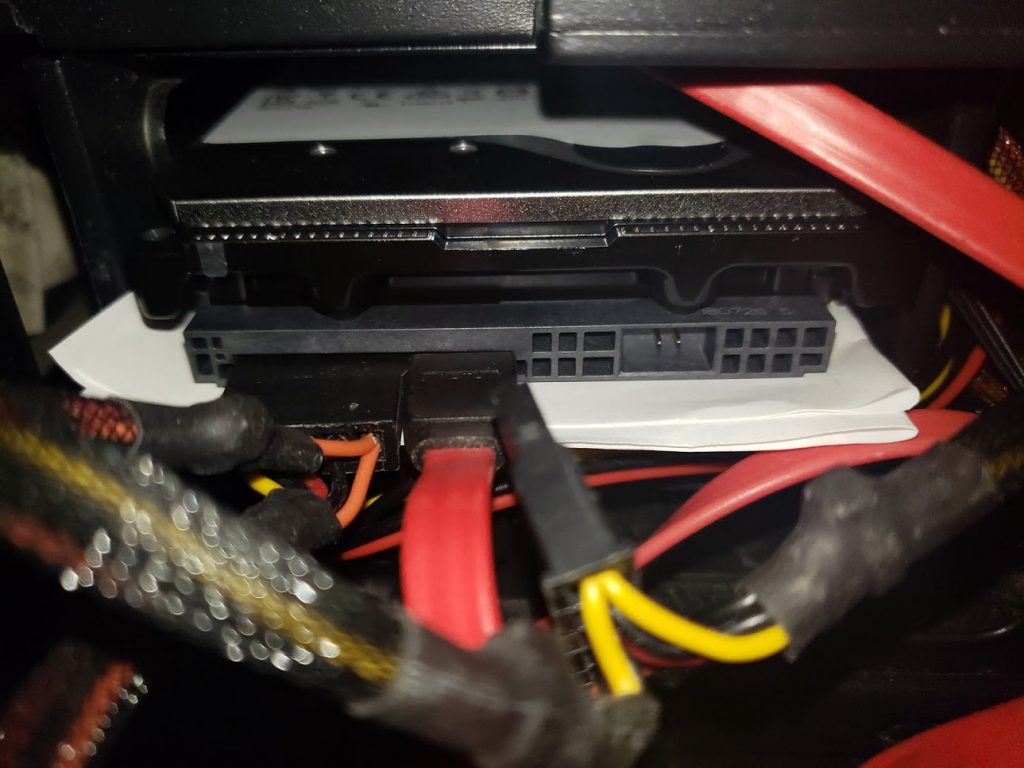
This drive didn’t required any hack to install it in my desktop machine, unlike my 8TB drive which needed to be plugged with a MOLEX to SATA adapter so that it doesn’t receive the 3.3V. I plugged this 10TB drive directly using a SATA power cable from my EVGA 600W PSU:
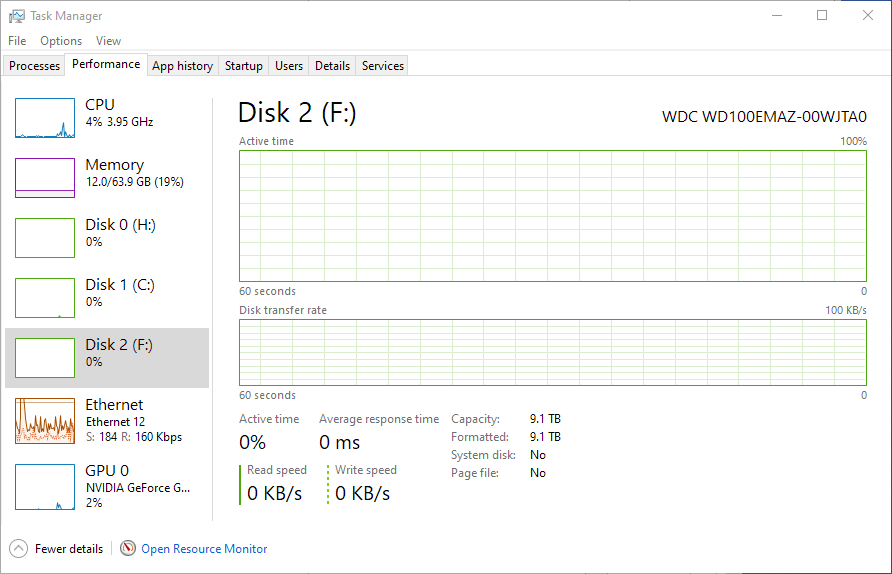
Windows recognized the drive immediately:
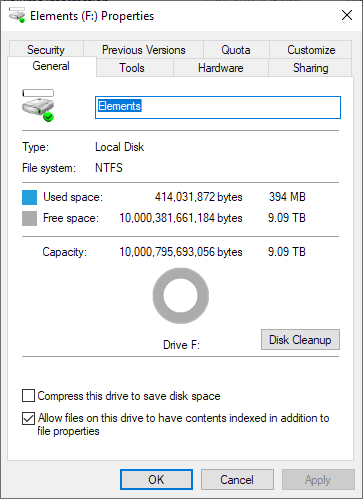
10TB of space! (Actually, 9.1TB)
I ran CrystalDiskMark and this is the result:

It’s fast, and it’s working awesome in my machine.
With this I conclude this quick and simple post.