
The HyperDrive: USB-C 2018 iPad Pro Edition
Hi everyone,
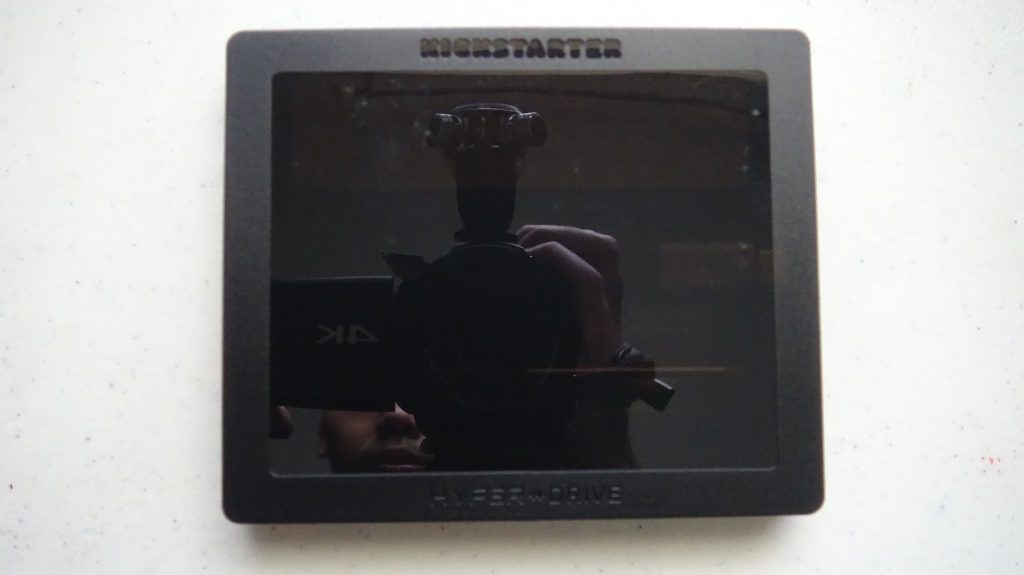
Today, I received my HyperDrive USB-C iPad Pro 2018 edition which ran on Kickstarter from December 10, 2018 to January 15 of this year.
The HyperDrive 2018 iPad Pro Edition is a USB-C Hub designed mainly for the 2018 iPad Pro, but it is also compatible with other USB-C devices. It has a USB-A 3.0 port, SD and MicroSD Card Reader, 3.5mm TRRS connector, compatible with headsets including inline buttons, USB-C Charging passthrough, and an HDMI output.
Because I backed it on Kickstarter, it was nice to have received it in a Kickstarted-branded case.
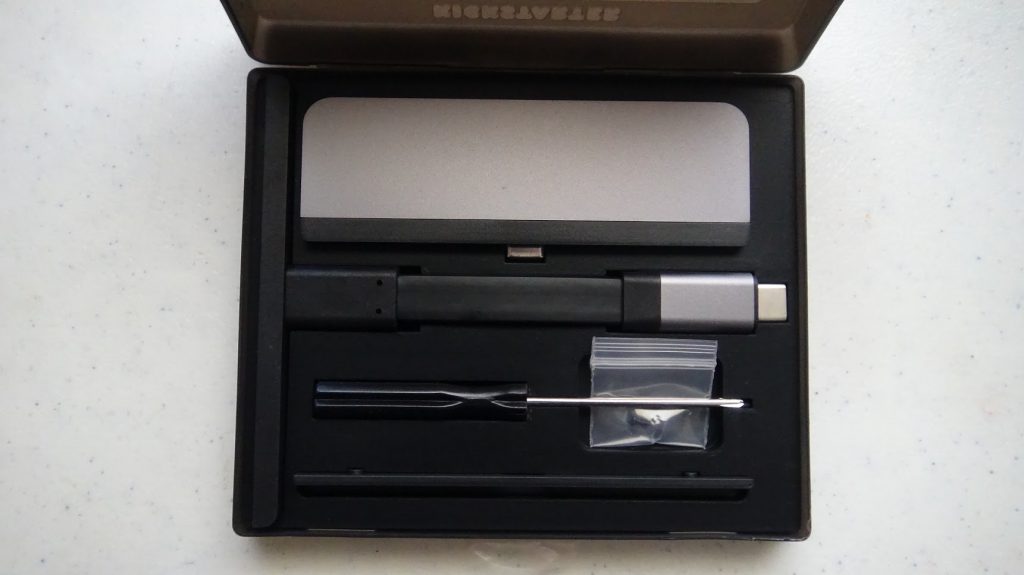
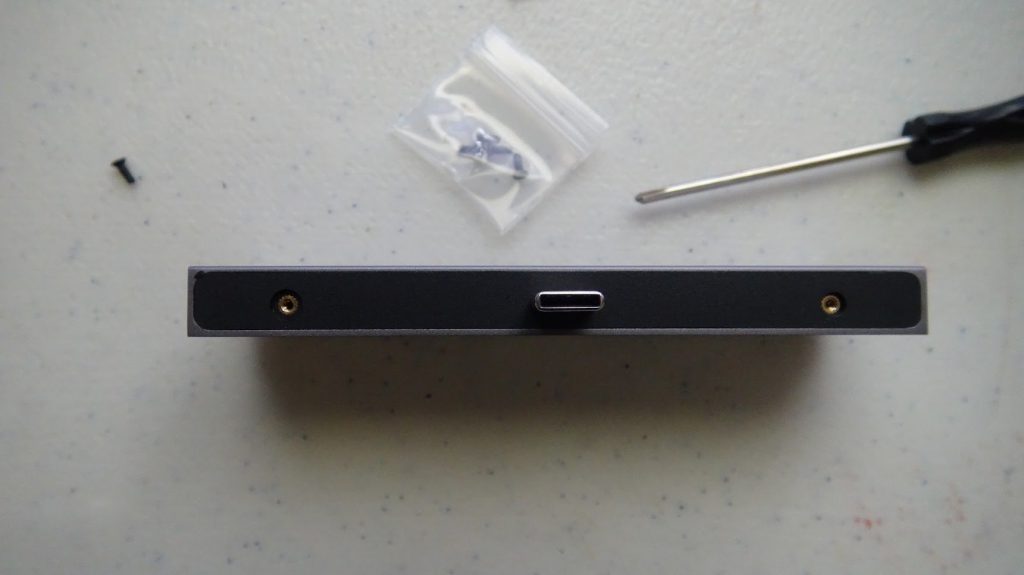
Immediately after opening it, we can see the HyperDrive along with another grip, USB-C extender cable, a screwdriver and some additional screws.
The HyperDrive features a grip that is removable, to make it compatible with other devices. It is attached using screws, so it makes sense to include the screwdriver. Also, since the screws are small, it comes with additional screws in case we lose the originals.
Let’s take a closer look at the HyperDrive:
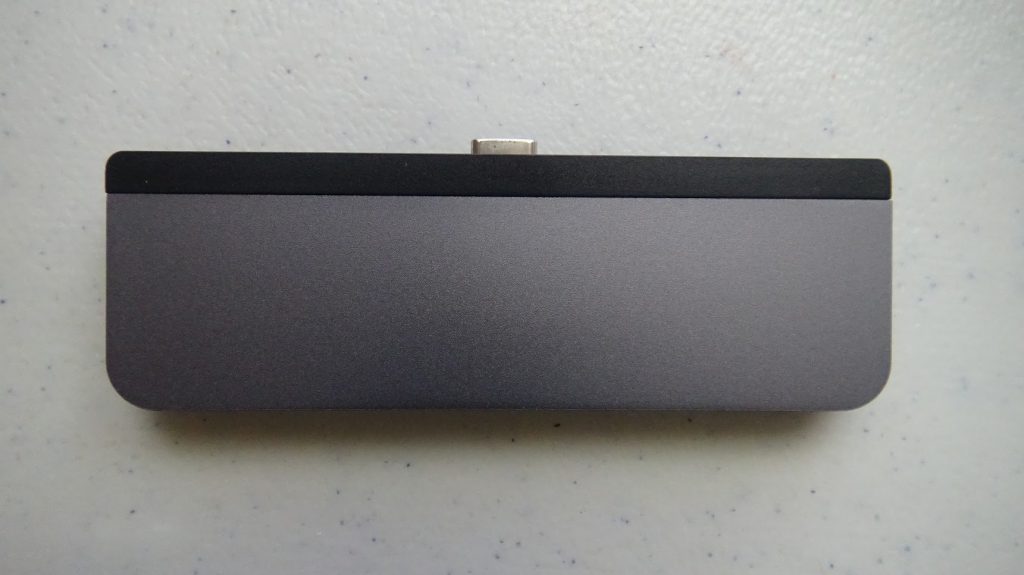
The HyperDrive Front does not have any branding in it. That’s on the back. It looks beautiful in the Space Grey color, which I chose when the project survey was sent so that we could choose our HyperDrive color.
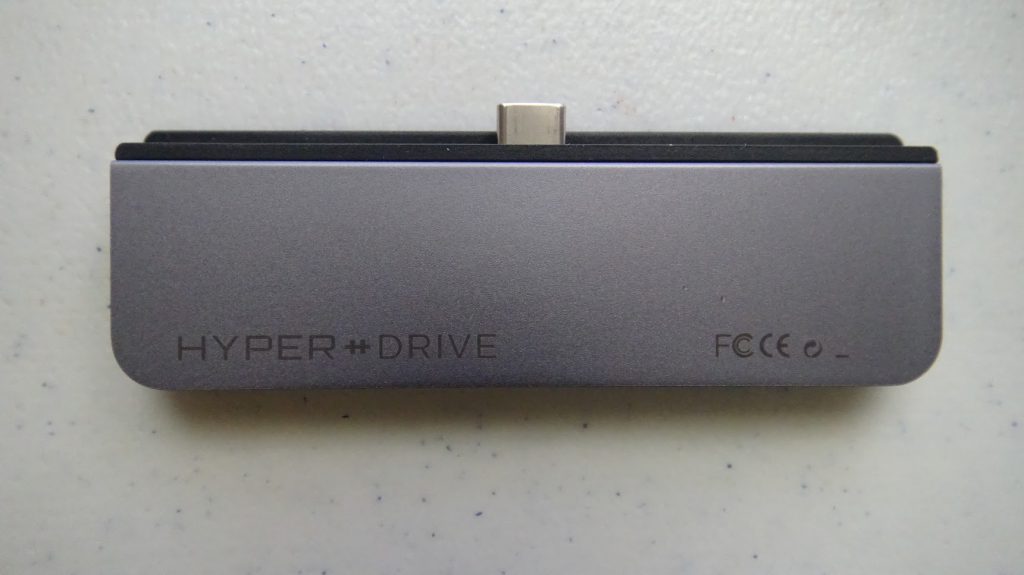
As I stated above, here we can see the HyperDrive branding and other regulation logos. We can see the USB-C port better since the grip didn’t allowed us to see it in the previous image.
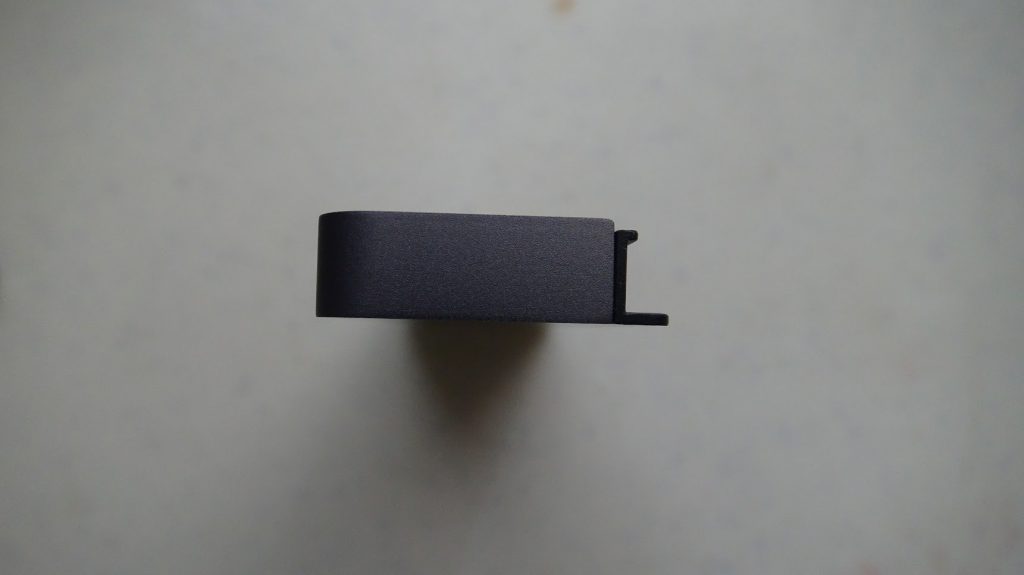
On one of the sides of the HyperDrive, there’s nothing. However, that changes in the other side, where we can see the HDMI connector:
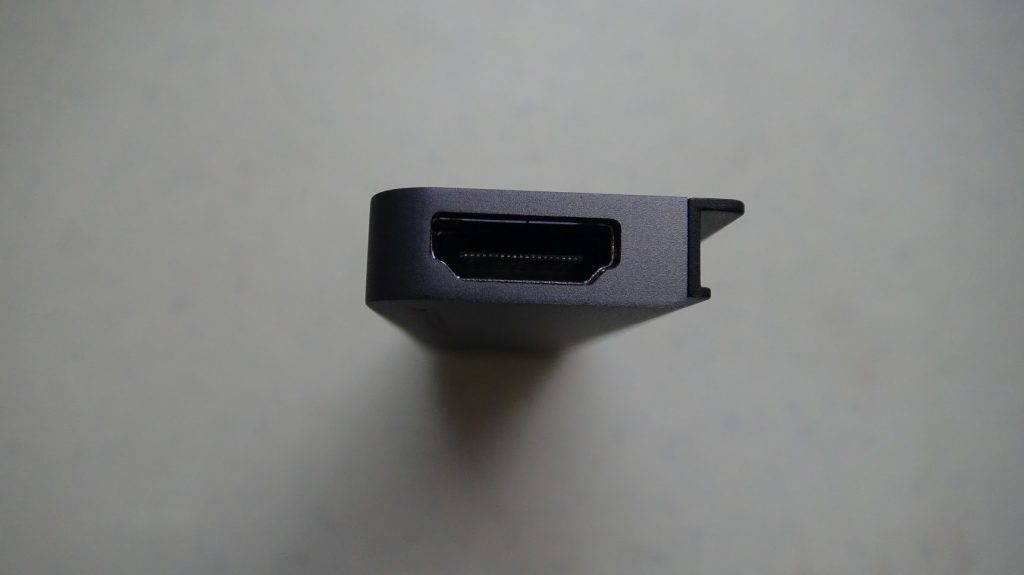
We can plug our HDMI cable into it to duplicate or extend our screen (If we are using the HyperDrive in the PC). Now, let’s take a look at the other connectors

From Left to Right, we can see an LED, followed by the passthrough USB-C charging port, which we would use to charge our devices. We then have the SD Card slot on the top and the MicroSD Card slot on the bottom, followed by the USB-A 3.0 port and a 3.5mm TRRS jack. This is compatible with headsets and is also compatible with in-line controls.
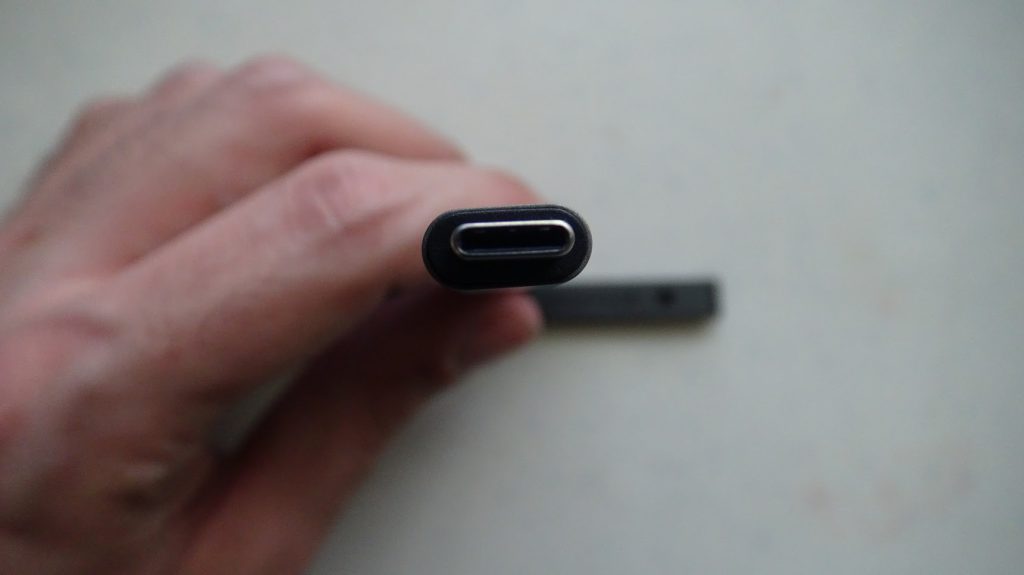
The USB-C port is pretty standard, and is centered in this Hub.
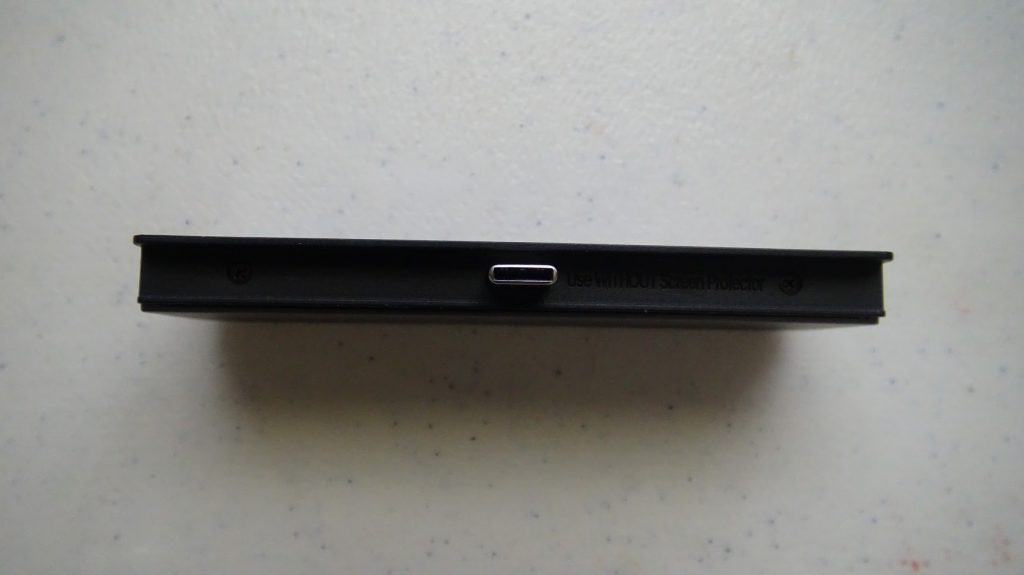
This is the other Grip that came with my HyperDrive:
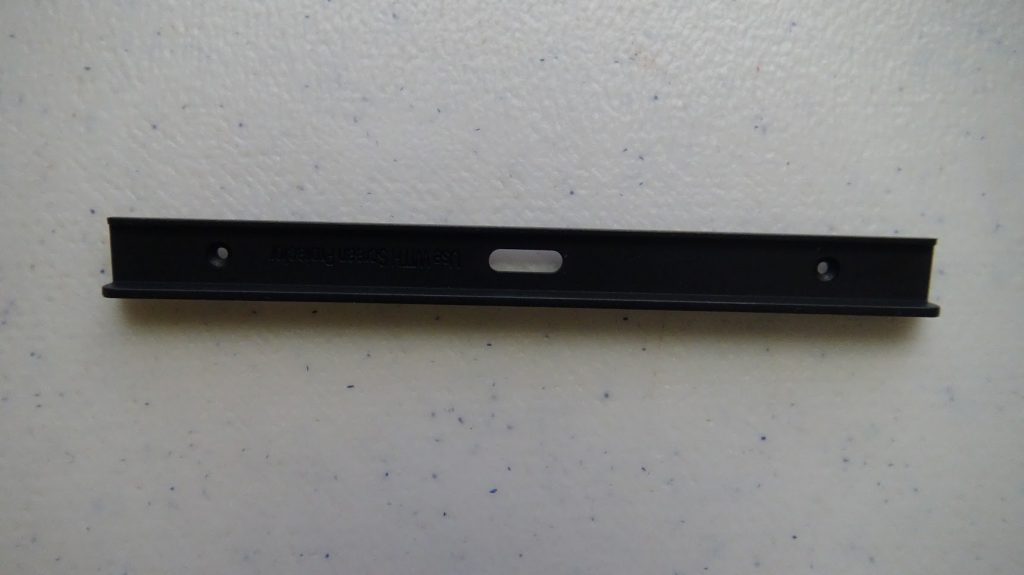
Altough we cannot see it in the above picture, it says that it is for use with covers. The grip that initially came with it was for use WITHOUT screen protectors. I myself don’t have any use for these grips, so I removed it from my HyperDrive.
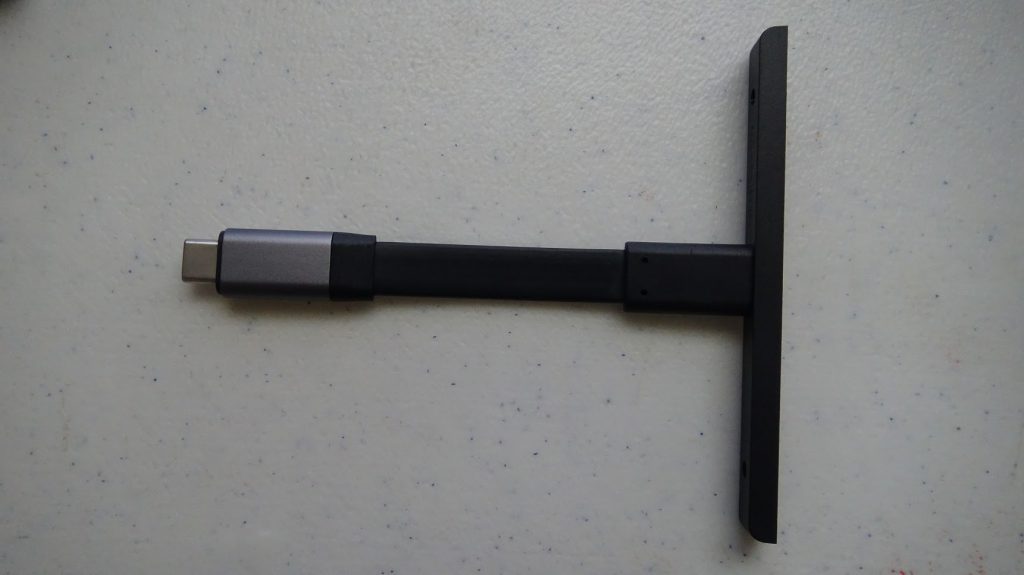
The HyperDrive came with a USB-C extender cable and grip that you can use if you’d like to connect your HyperDrive without it having direct contact with your devices.
This way, we can simply attach the USB-C cable to our devices and the HyperDrive will fit perfectly, because when we use it without any grip or the extender, our HyperDrive will have a little gap in between.
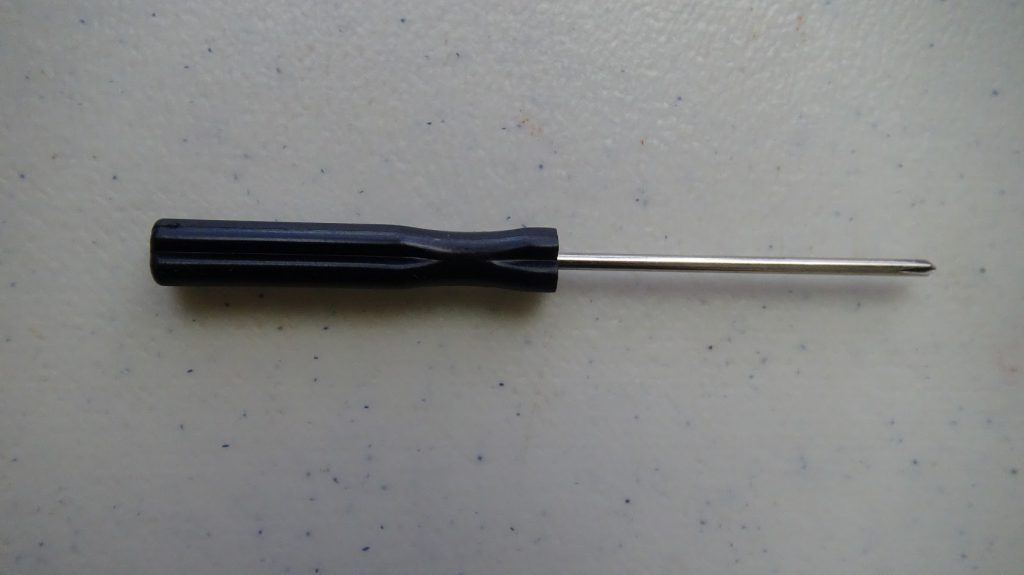
To remove the grip from the HyperDrive, we’ll use the included screwdriver.
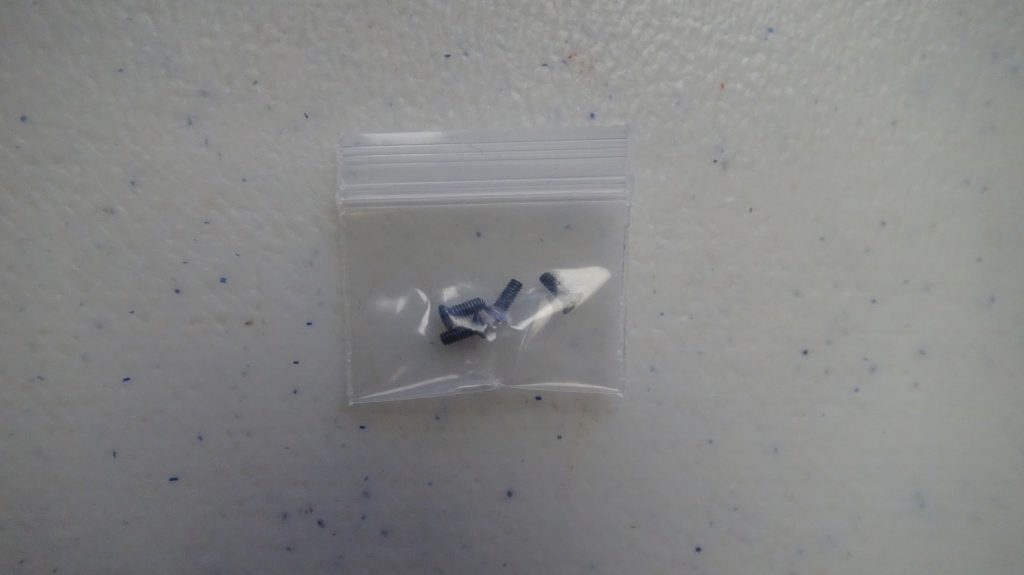
Be sure to keep the screws in a safe place! They are so tiny that they may get lost.
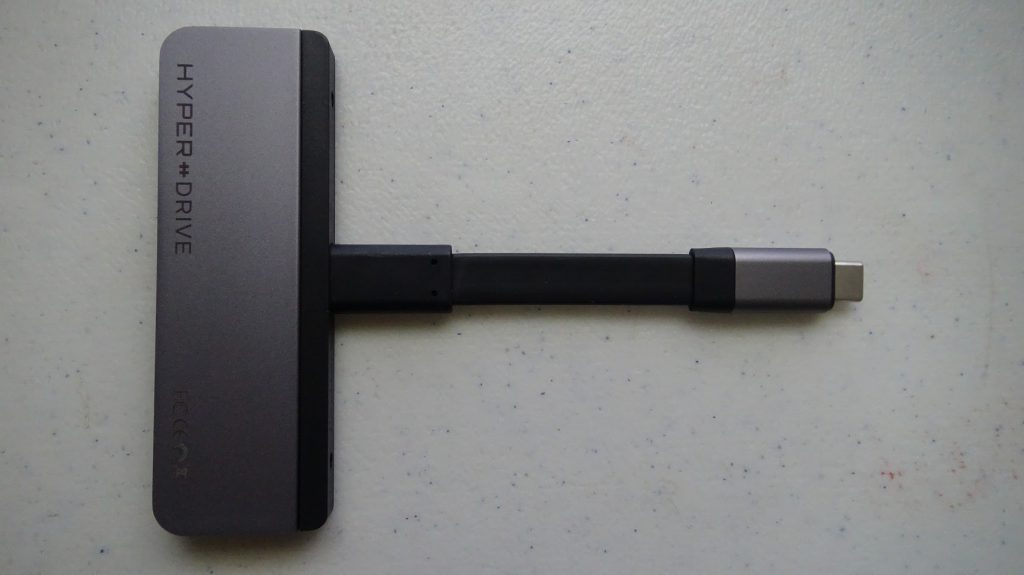
In the above picture, I have attached the USB-C Extension cable to my HyperDrive so that you can see how it look.
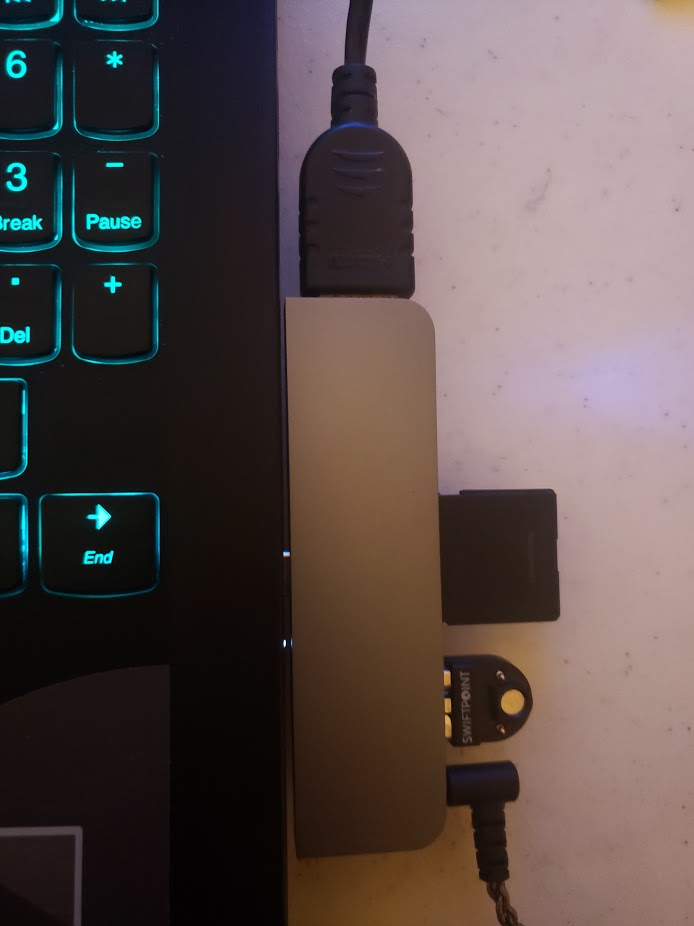
I have removed the grip in the above photo. The reason is so that I can use it directly connected to my laptop. I do not have the iPad and my main reason to get this is to use it in my Windows machines and other devices:
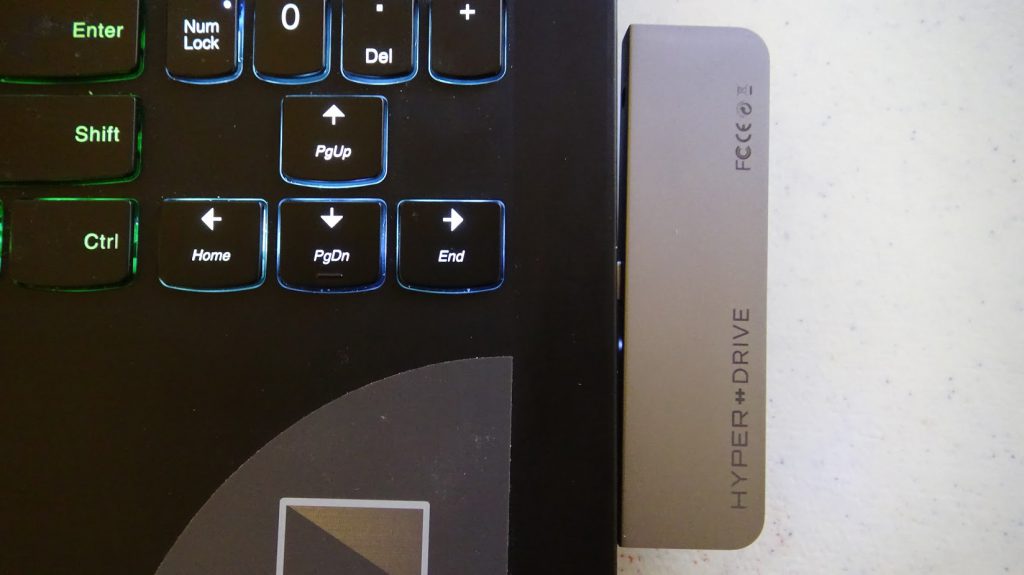
I attached the HyperDrive to my Lenovo Y720 laptop I purchased as my birthday gift. This laptop has a USB-C connector and you can see that the HyperDrive fits into it. You can also see there’s a bit of a gap, as I explained above. We could have solved this by using the extender USB-C cable, but I prefer to just have the HyperDrive in direct contact with it.
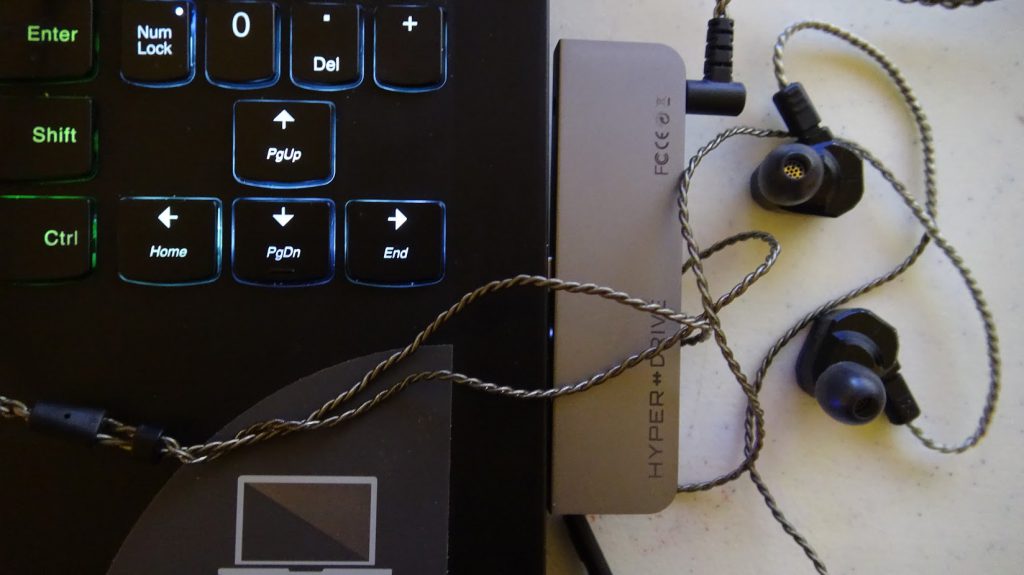
I attached my KZ ZS7 IEM to the HyperDrive. The PC does not detect the USB Audio if there’s no headphone connected to it. Once we connect them, the laptop recognizes the audio adapter as USB PnP Audio Device.
The volume is very loud!! I always turn it down before playing back anything, and having it at just 1 or 2% was just enough.
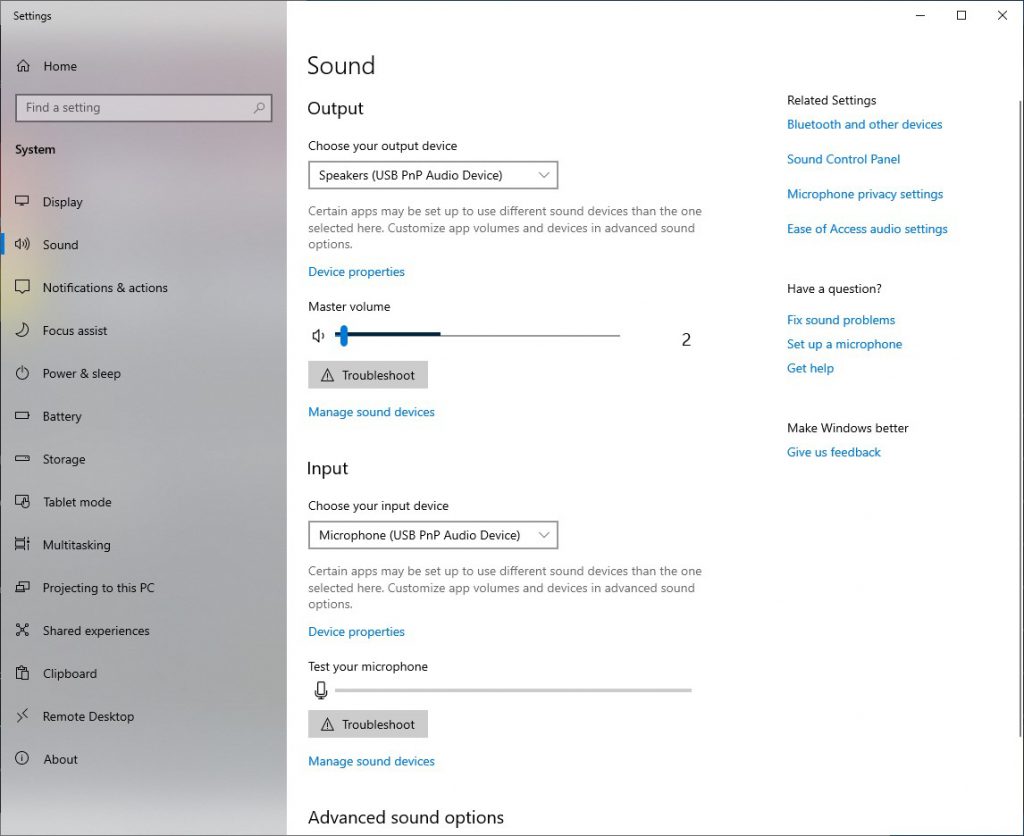
As seen in the above image, I have the audio at just 2%. Let’s take a look at the device settings itself:

We can see the HyperDrive audio listed as USB PnP Audio Device above. We’ll double click it and then go to the Advanced tab to see the device bit deph and sample rate:
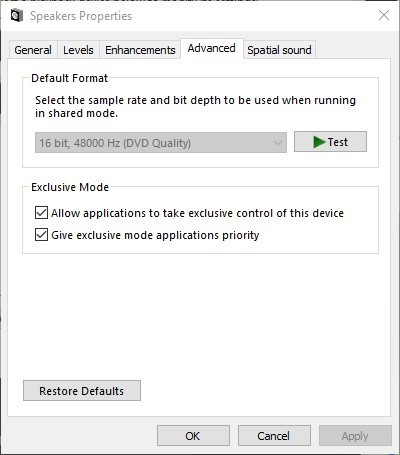
The DAC (Digital-Analog Converter) used in the HyperDrive only has a bit depth of 16-bit and a sample rate of 48 Khz. This is enough for some, but audiophiles would have preferred it to have a depth of 24 or 32 bits and a sample rate way above the 48 Khz. However, we must remember that Audio CD has a depth of 16 bit and a sample rate of 44.1Khz. Since the HyperDrive supports 48Khz, that means that Windows needs to resample the audio to 48Khz. Still, the audio quality is good.
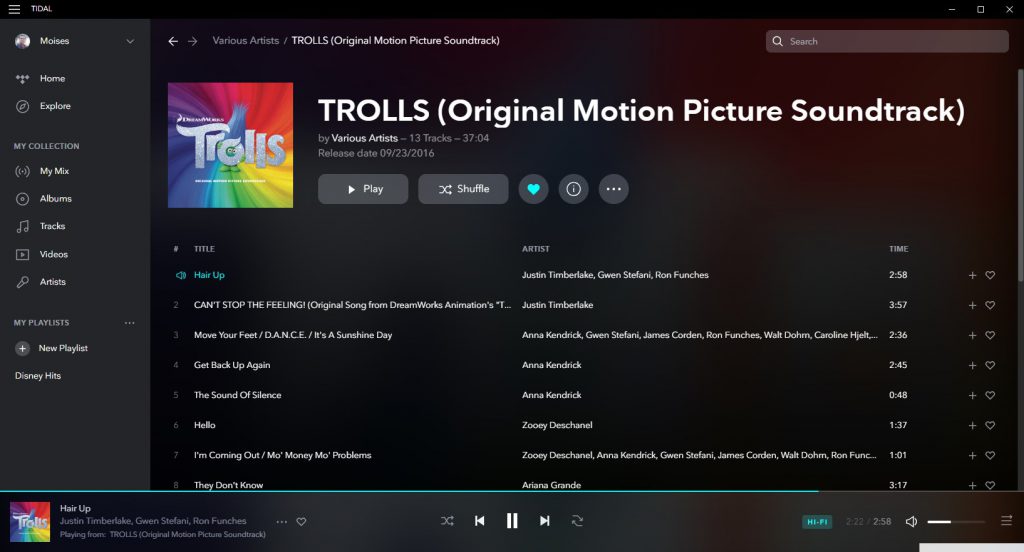
I’m using Tidal to stream CD-Quality tracks and I’m not noticing any quality degradation. In fact, it sounds excellent, altough I do need to turn down the volume further down. Also, there’s a little background noise, but it’s barely noticeable when there’s audio playing.
So, the HyperDrive does a great job handing audio. It even works in my Nintendo Switch!
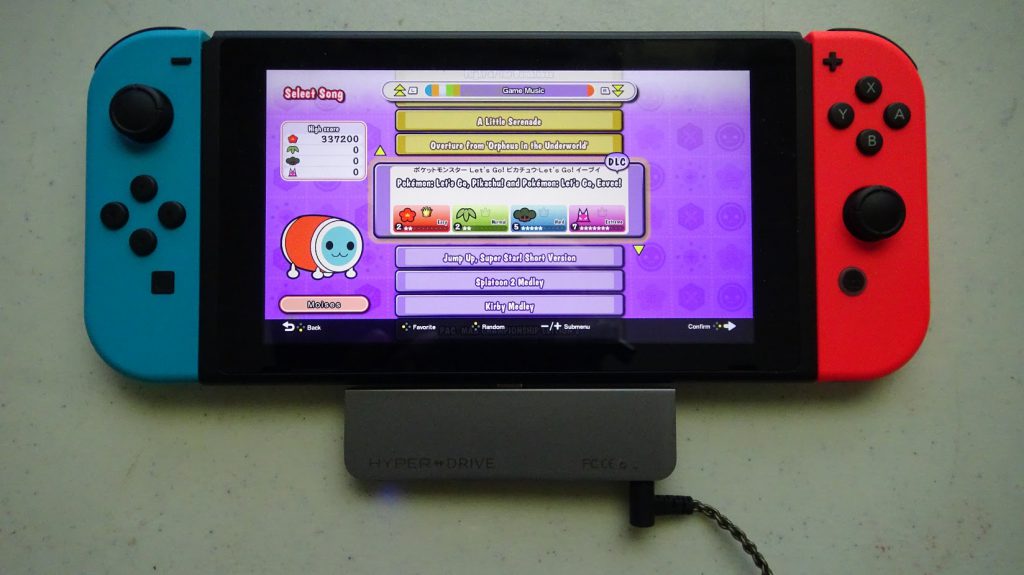
What does the HyperDrive looks like with its ports being used? It looks like this:
It’s been less than a day using this USB-C Hub, and so far it is handling everything great. I have experienced some problems, but it’s most likely problems related to the operating system rather than the HyperDrive. My laptop sometimes would not detect the HyperDrive or would not show any image in my external monitor, but now it’s all working fine. Also, it’s worth noting that the HyperDrive heats a little. You’ll not get burned while touching it, but I would also not have my hand at it. Even with it being warm, I wouldn’t say it overheats. It’s also working fine and haven’t experienced any disconnection issues with it.
The Kickstarter experience with this project was great. It is usual of the start of the year to get some delays due to China celebrating the Chinese New Year holiday, but this was a project where the holiday didn’t affected them so much. We are just starting March, and today I received it. Delivery was quick and they sent the tracking number very fast. It was also working at the moment they sent it to me.
I’ll definitely consider backing another of their projects, supporting them while having another gadget to play with.