Downloading Windows 11 UUP files from UUPdump.net
Hi everyone,
Today, I will show you how to download Windows 11 UUP files from uupdump.net. This seems to be the most reliable way to get the Windows 11 UUP files that are needed to build an ISO, as previously, I’ve had issues with some downloads from uup.rg-adguard.net.
The issue I’ve been having is with the “Upgrade to Windows 11” version that’s shown under the “Windows (Insider version)” category.
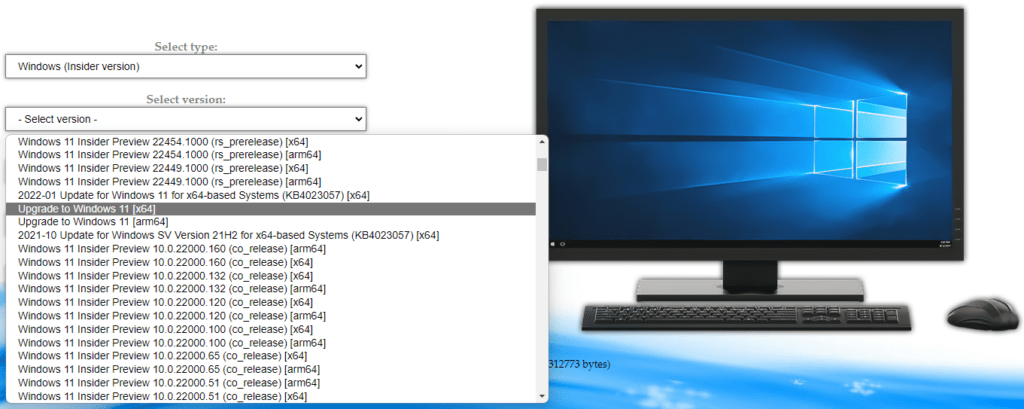
That option always seem to download very small files, and uup-converter-wimlib doesn’t like it:
Therefore, instead of doing my quick fix of placing the update files on a working UUP folder, I’ve decided to give uupdump.net a try and see if it downloaded the correct UUP files. uupdump.net can also provide you with a script to download and build the ISO file directly, but I prefer to manually download the UUP files and do the ISO image later.
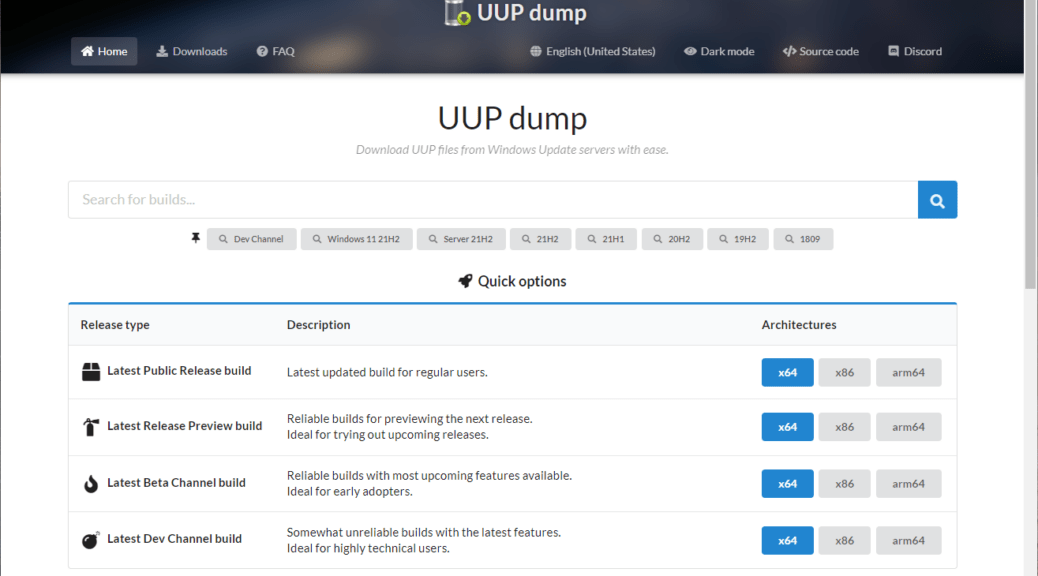
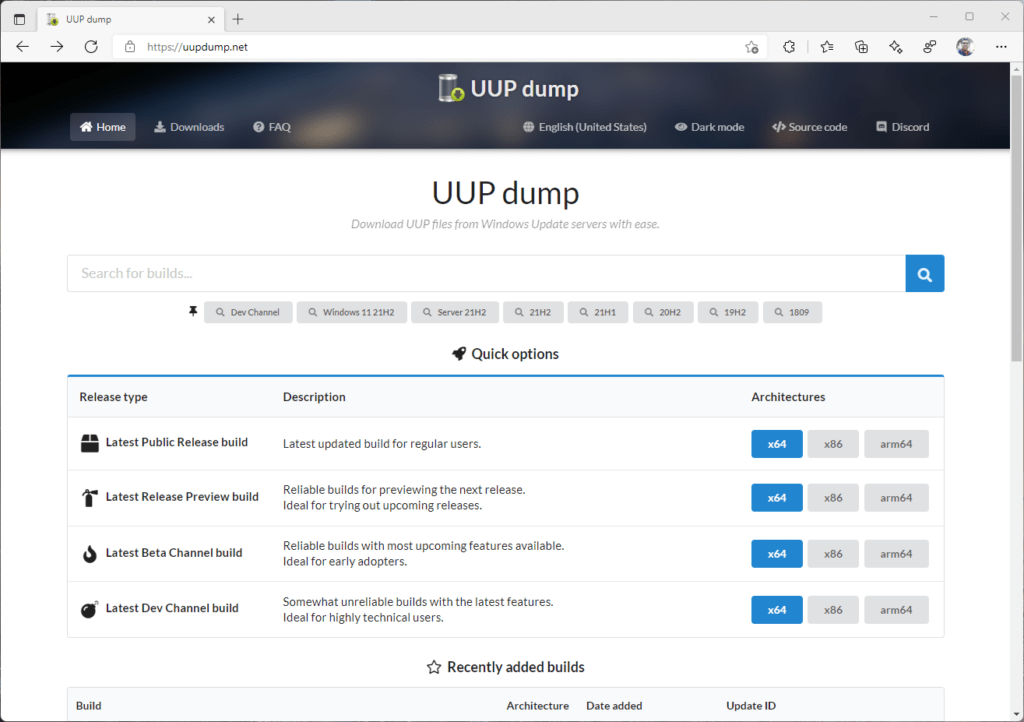
To start, we will go to uupdump.net:
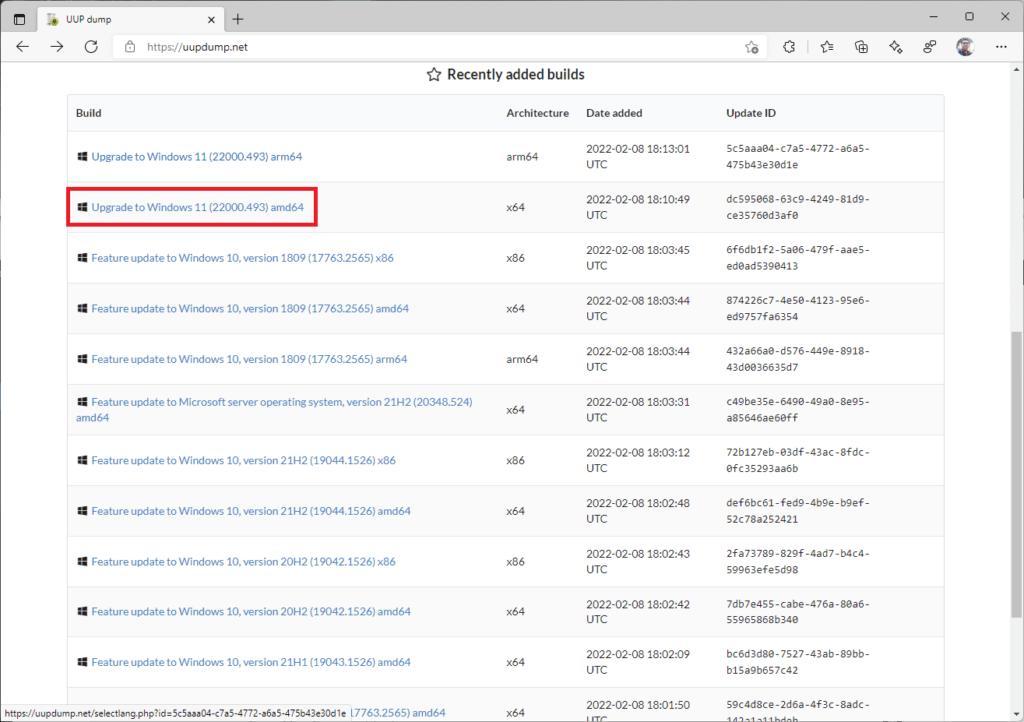
We just need to go to the list that’s just below. Yesterday’s build for Windows 11 is 22000.493, so we will click on it:
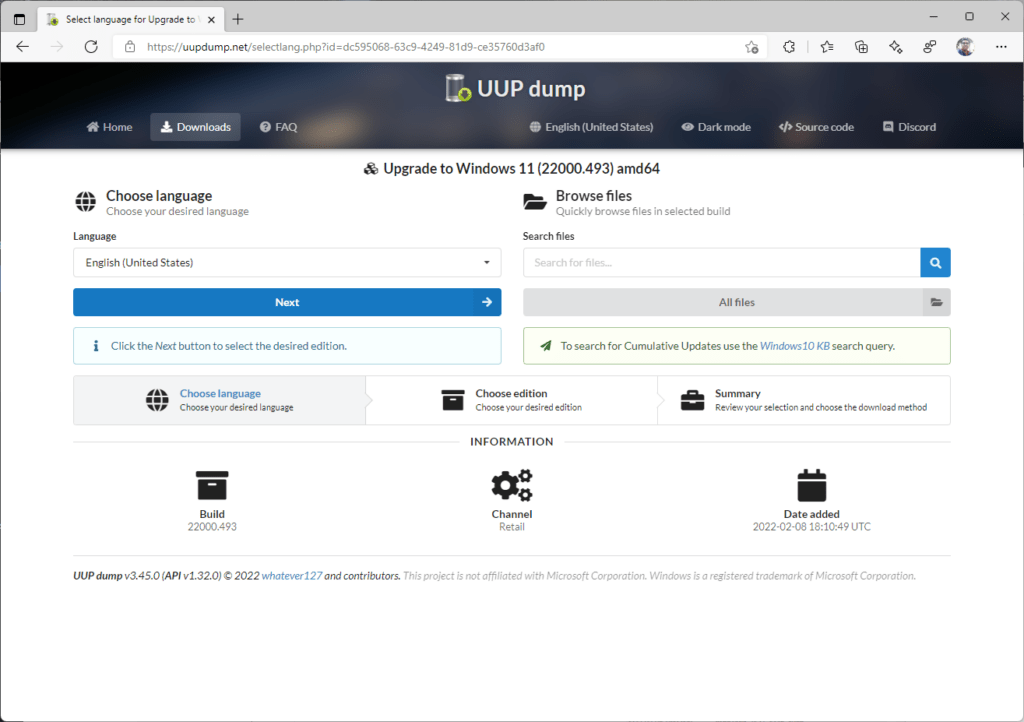
We will now select a language and click on Next:
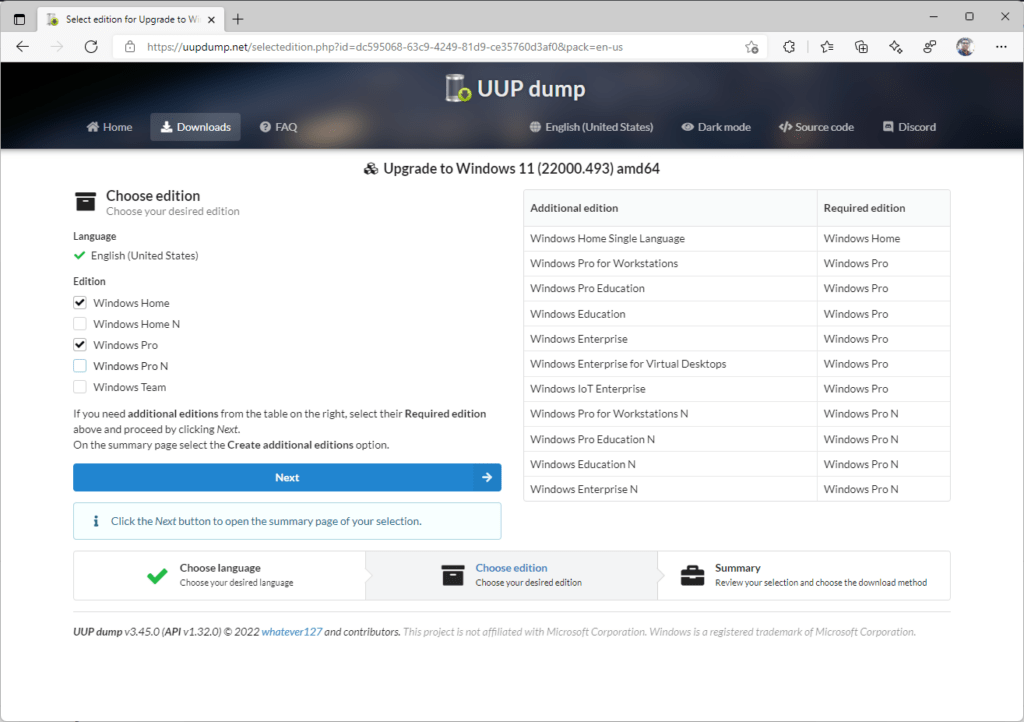
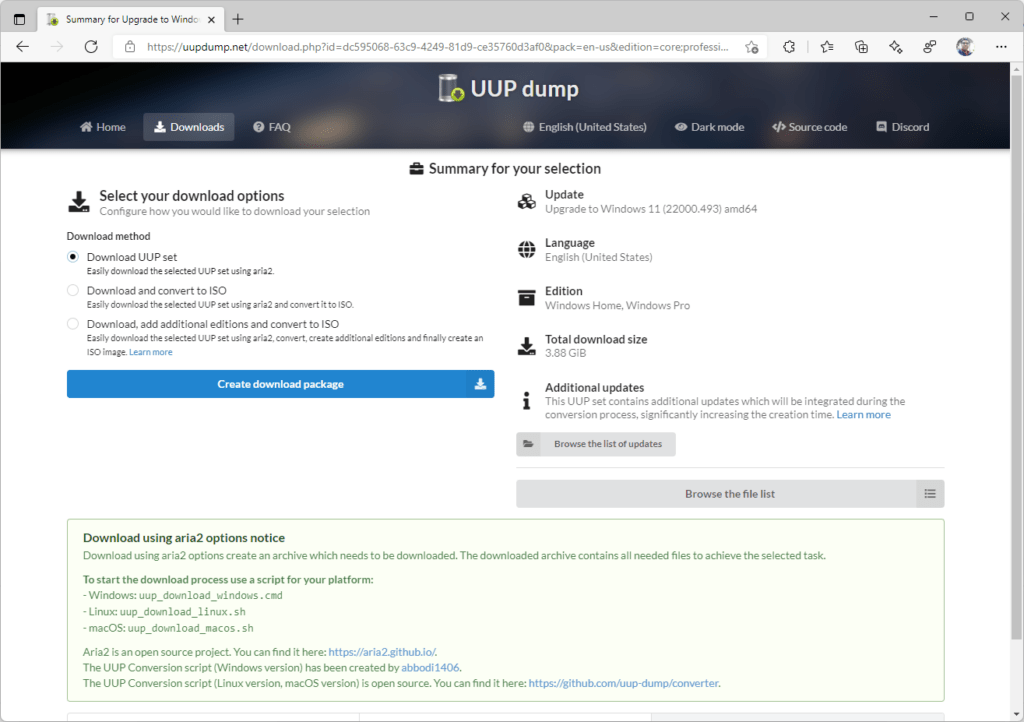
Now, select the Windows 11 editions that you want to download. I usually select just the Home and Pro editions. Then click next:
Because we are just interested in downloading the UUP files, we will select the “Download UUP set” option and click on “Create download package”:
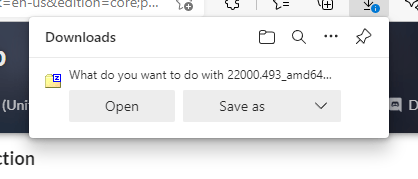
Press open, as we just want to extract the files in it:
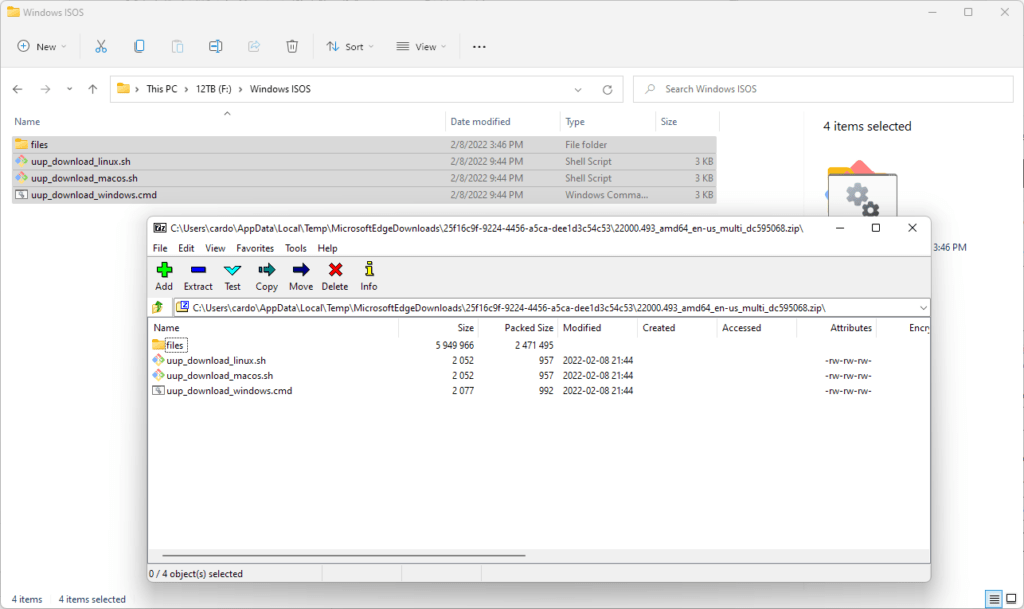
Extract the files to your location of choice:
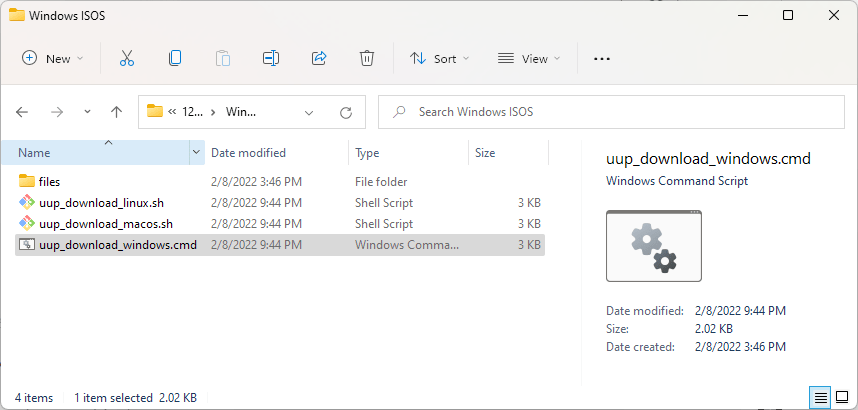
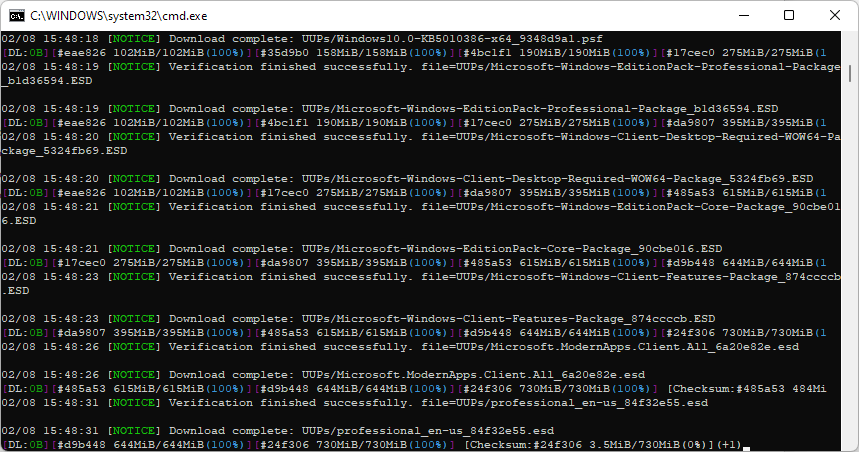
Now, execute the “uup_download_windows.cmd” script:
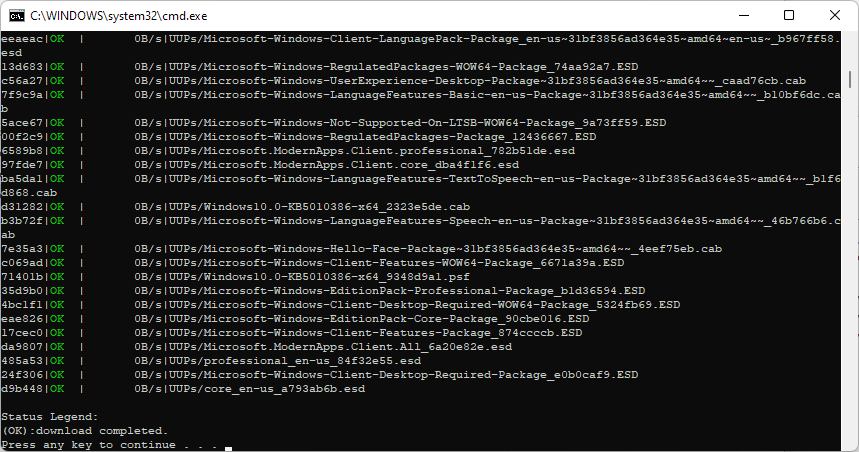
The script will begin downloading the UUP files:
Once it’s finished, press any key:
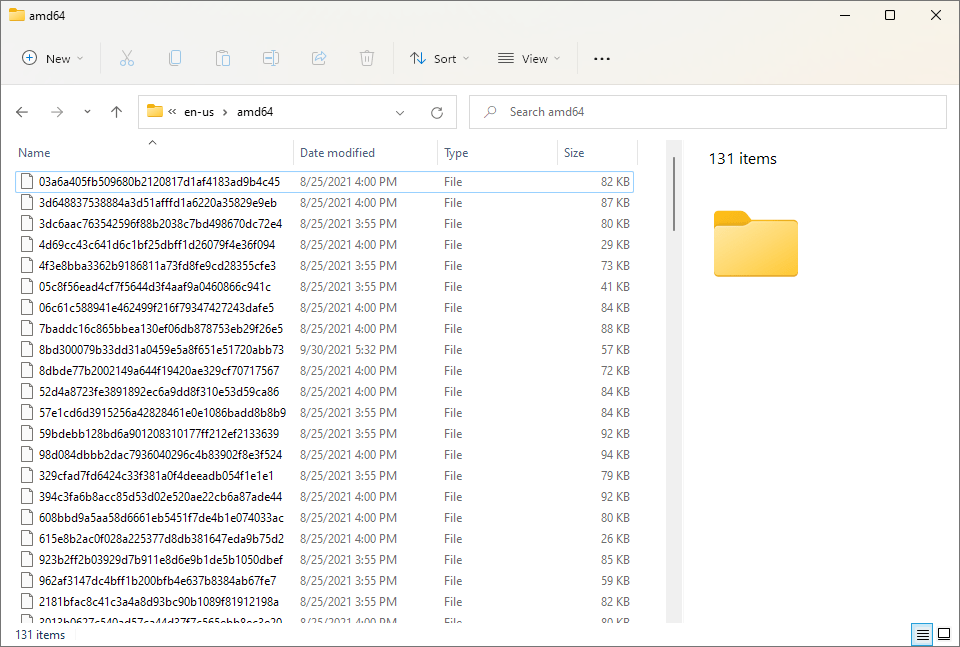
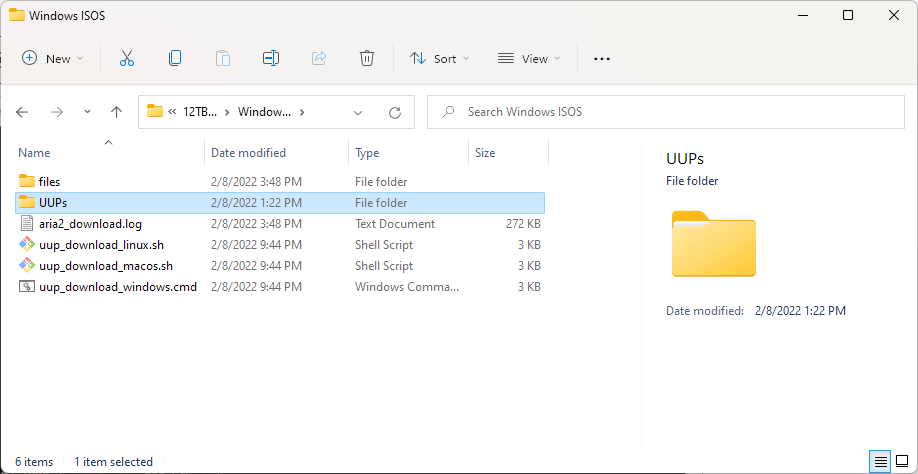
You should now have a “UUPs” folder create:
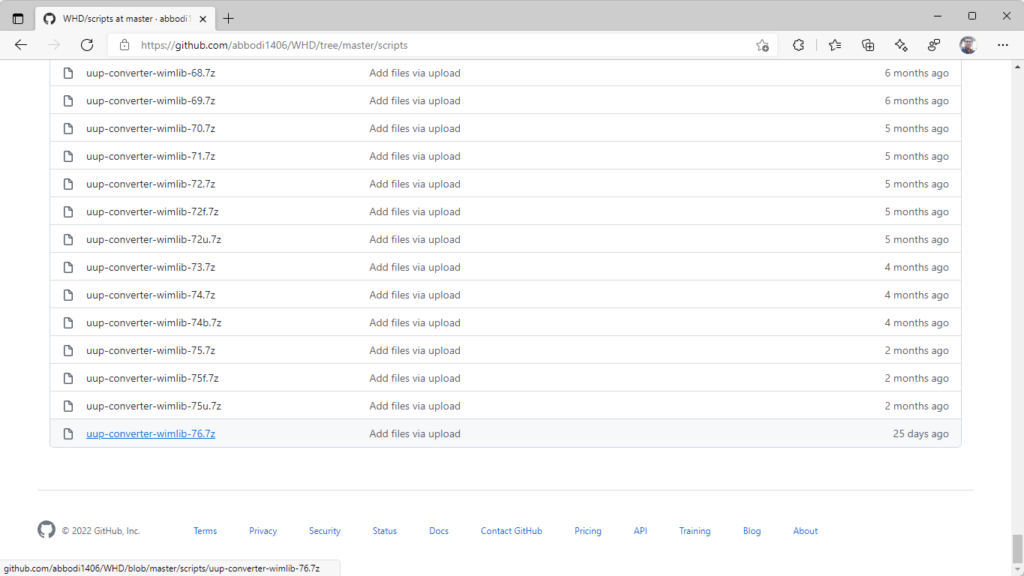
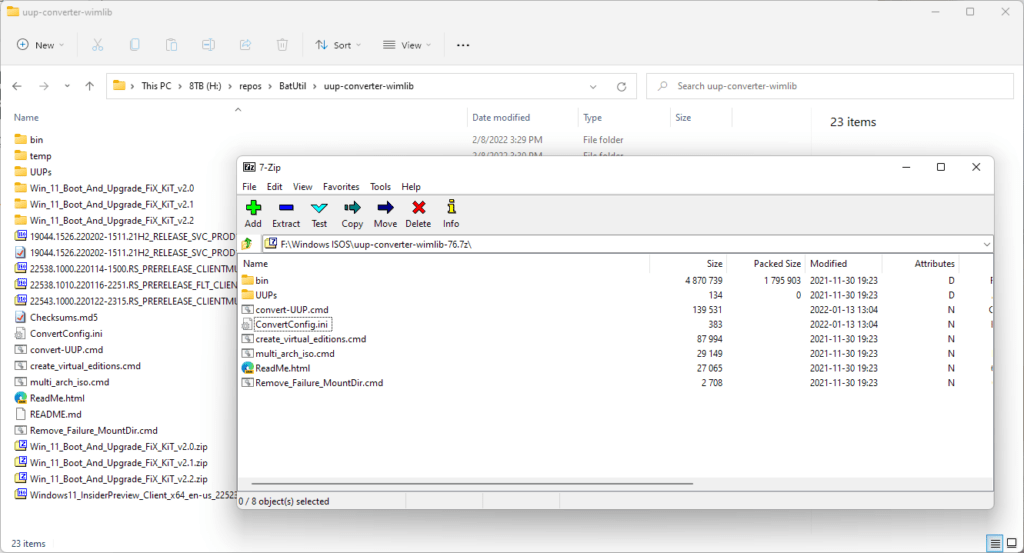
Congratulations! You have now downloaded the UUP files for Windows 11. Next, we will create the ISO image using uup-converter-wimlib. If you need to download it, click here and go to the bottom of the site to download the latest version of it.
Extract the uup-converter-wimlib files to your preferred folder:
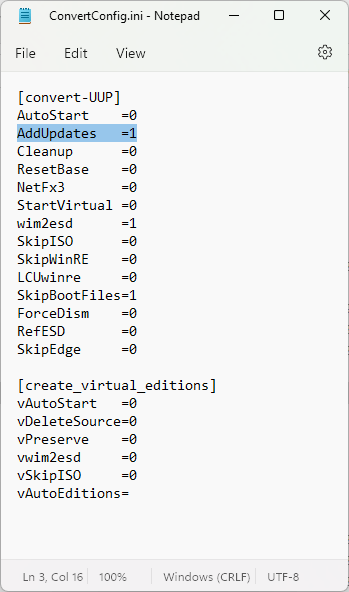
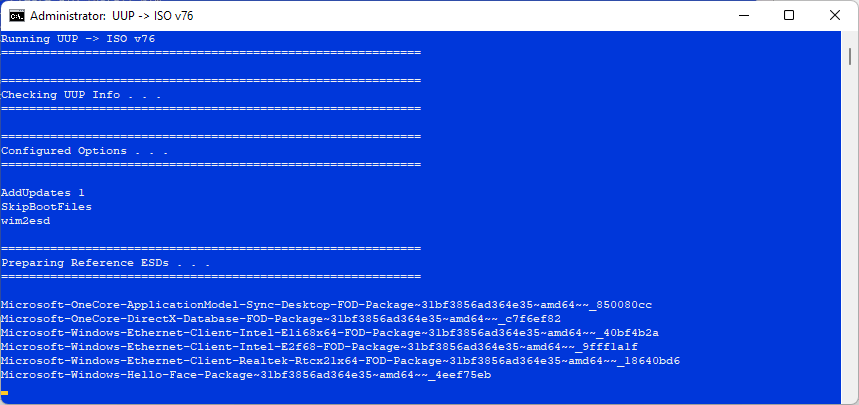
Make sure that in your ConvertConfig.ini file, the AddUpdates setting is set to 1. Otherwise, the updates will not integrate.
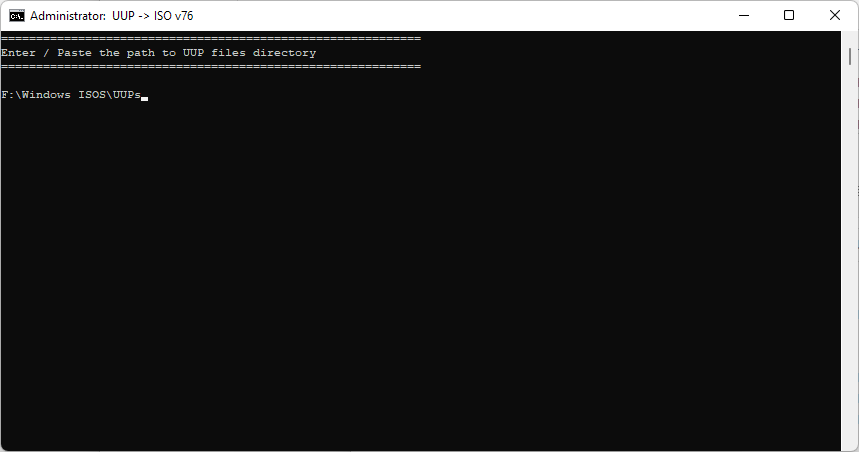
Now, we can launch the Convert-UUP.cmd script. We will paste the UUPs folder path there and press Enter:
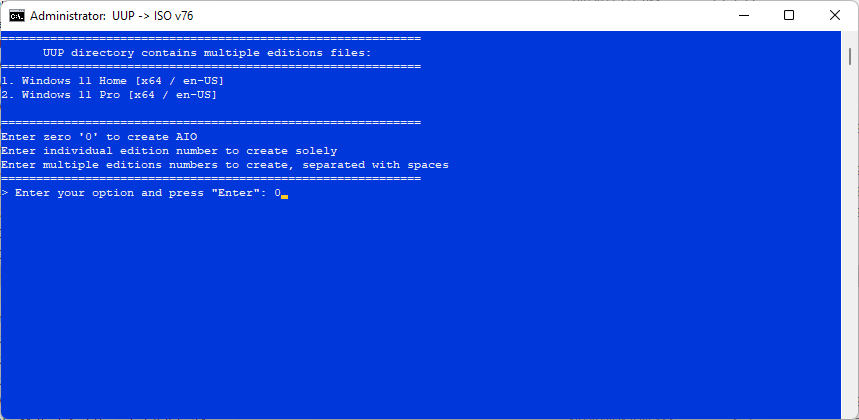
In the next step, we are asked to choose which editions to include in our ISO image. Since we downloaded the Home and Pro versions, you can type 0 which will include all editions listed above. However, if you just want to create an ISO for a specific edition, just write the ISO number of the edition you want. Then, press Enter:
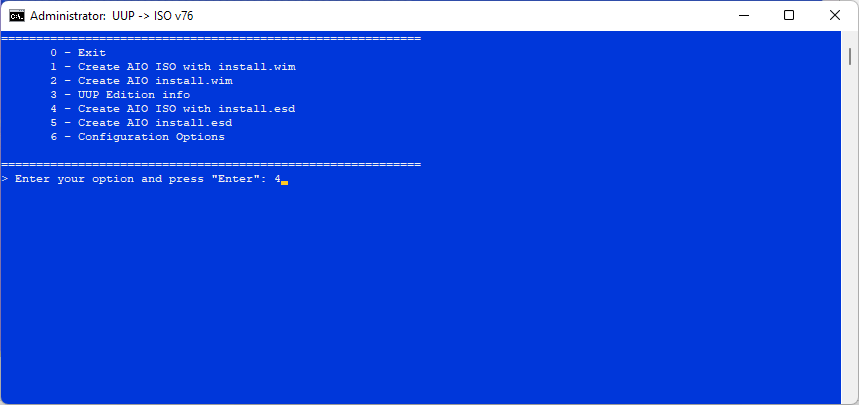
Finally, you can choose to create the Windows 11 ISO containing an install.wim or install.esd file. The difference is that the .esd file is more compressed and is likely that the resulting image will fit on a DVD+/-R whereas the image created with an install.wim file will most likely need to be burned on a double layer disc. For this reason, I choose to create the image using an install.esd file. Type 4 and press Enter:
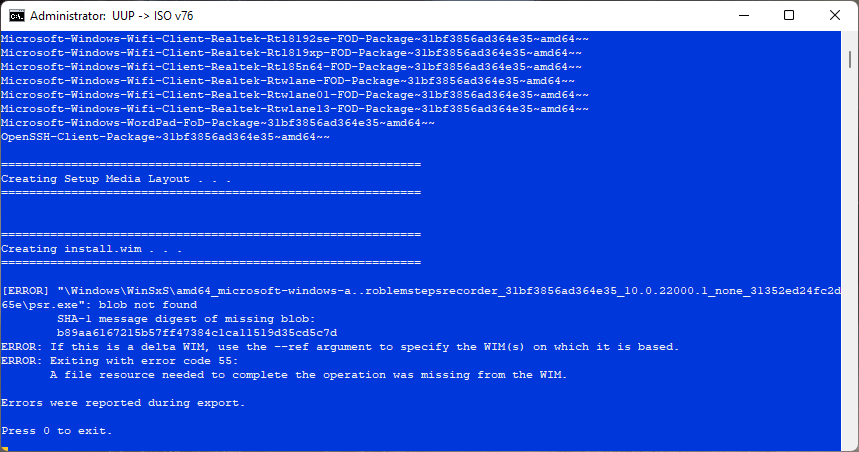
Now, we will let the uup-converter-wimlib script create the ISO image. This will take a while to do.
Once it finishes, press 0 to exit and that’s it.
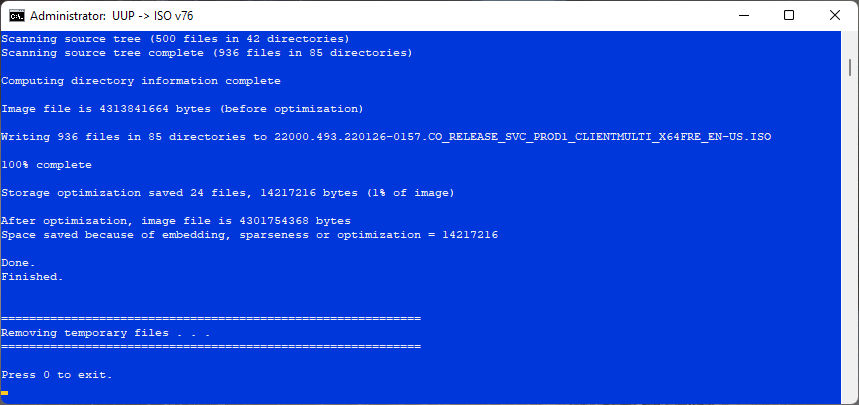
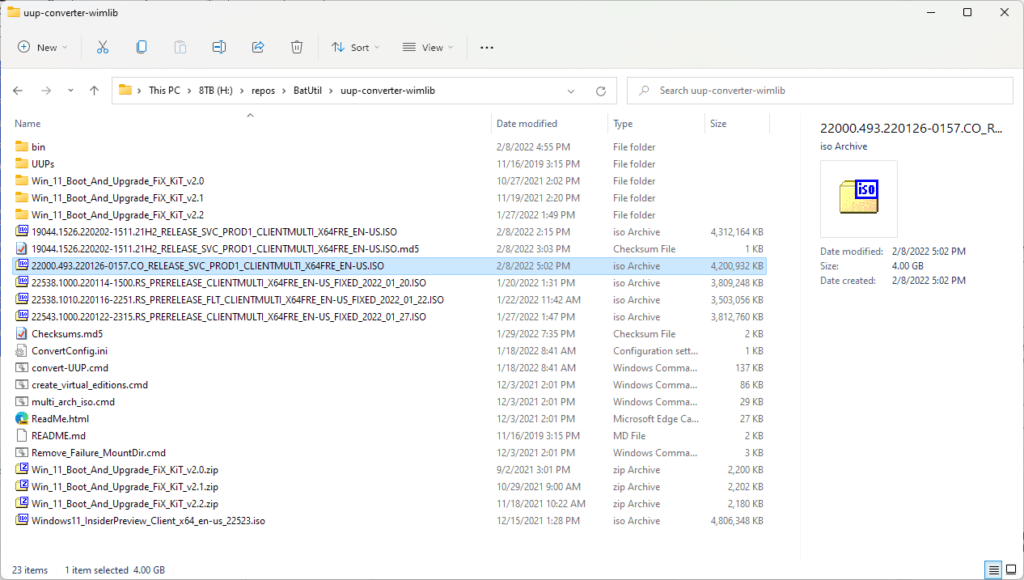
Your newly created ISO file will be in the uup-converter-wimlib folder.
Now, you can burn the ISO file to a DVD disc. If you plan to use it on unsupported machines, be sure to patch it.