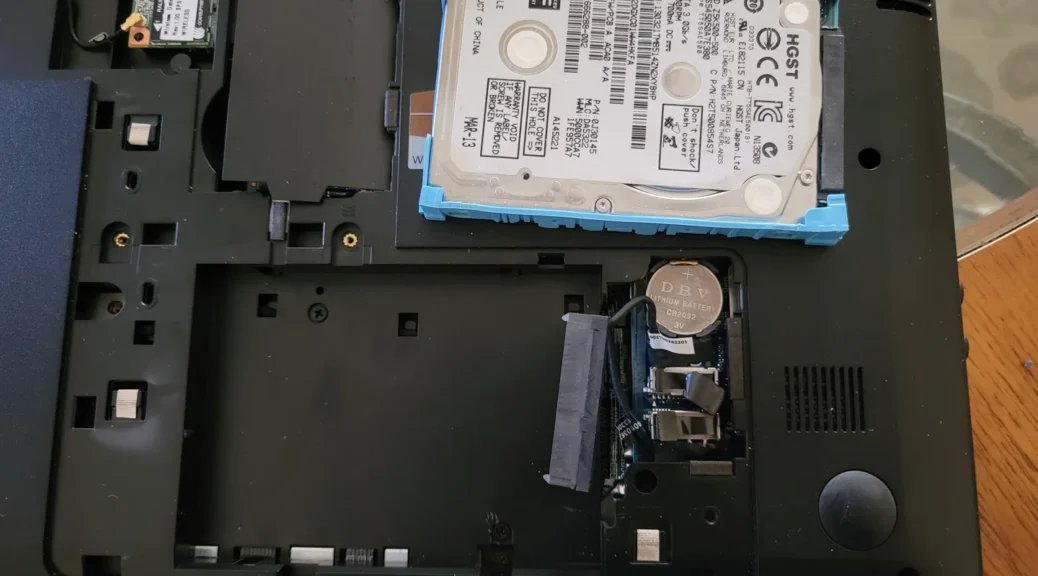
Removing the Hard Disk Drive on the HP 2000-2c20NR laptop
Hi everyone,
Today, I will be showing you how to remove the Hard Disk Drive on the HP 2000-2c20NR laptop. This process is simple, but you will need a screwdriver in order to take off some plastic covers that gives you access to the laptop’s RAM, WiFi Card, Hard Disk Drive, and Optical Disk Drive securing screw.
Reasons of why you may want to remove the hard disk drive would be to upgrade or replace it with another, higher capacity Hard Disk Drive or Solid State Disk. This post will cover just the removal, in preparation to clone it in another machine to a Solid State Disk. This will be covered in another post.
Removing the Hard Disk Drive.
To begin, we will remove the laptop’s battery by sliding the battery slider and removing it:
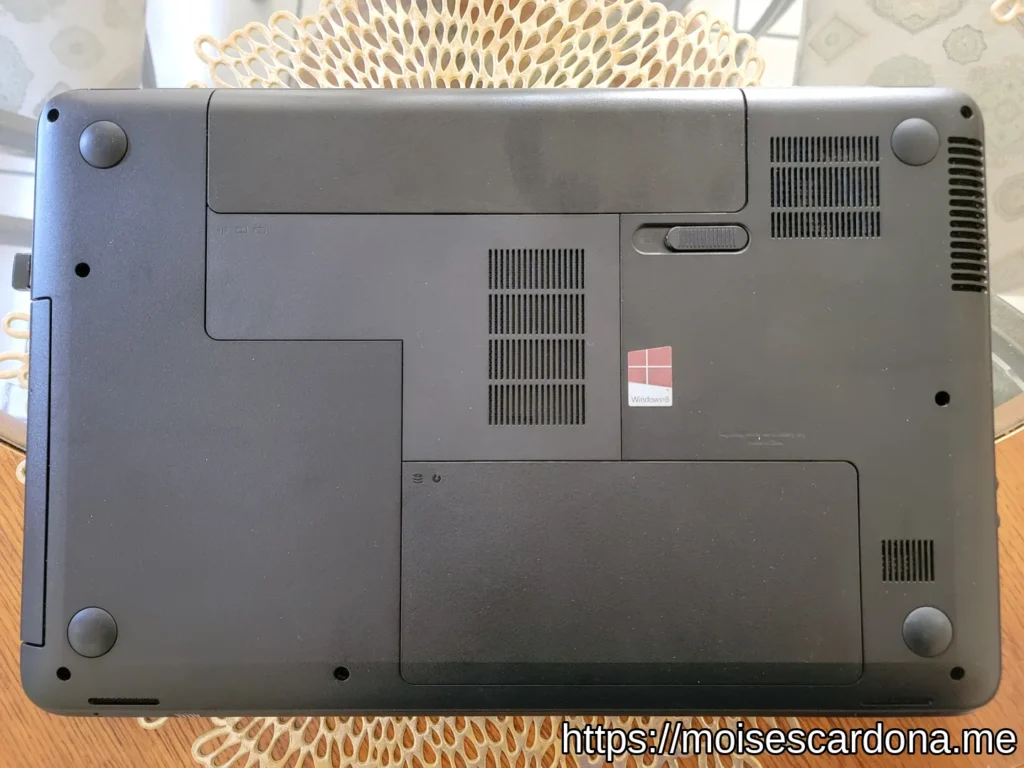
Your laptop should now look like this:
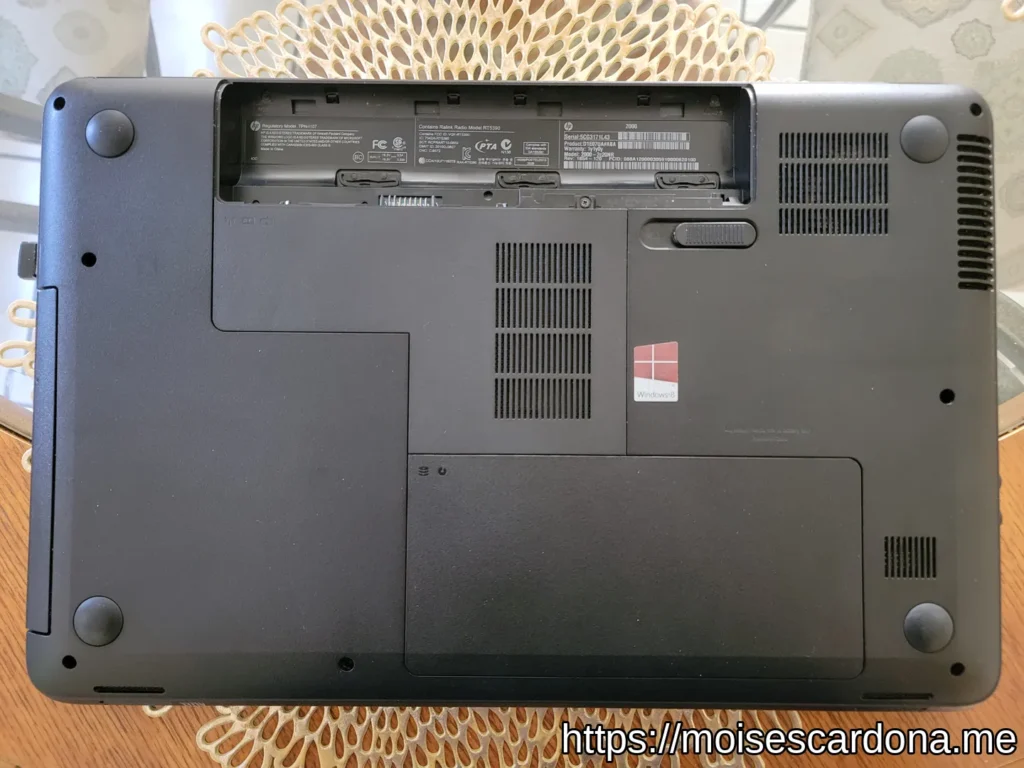
Next, we will remove the first plastic cover that gives you access to the laptop’s RAM and WiFi card. This is necessary because in order to remove the Hard Disk Drive plastic cover, we must remove some screws as well:
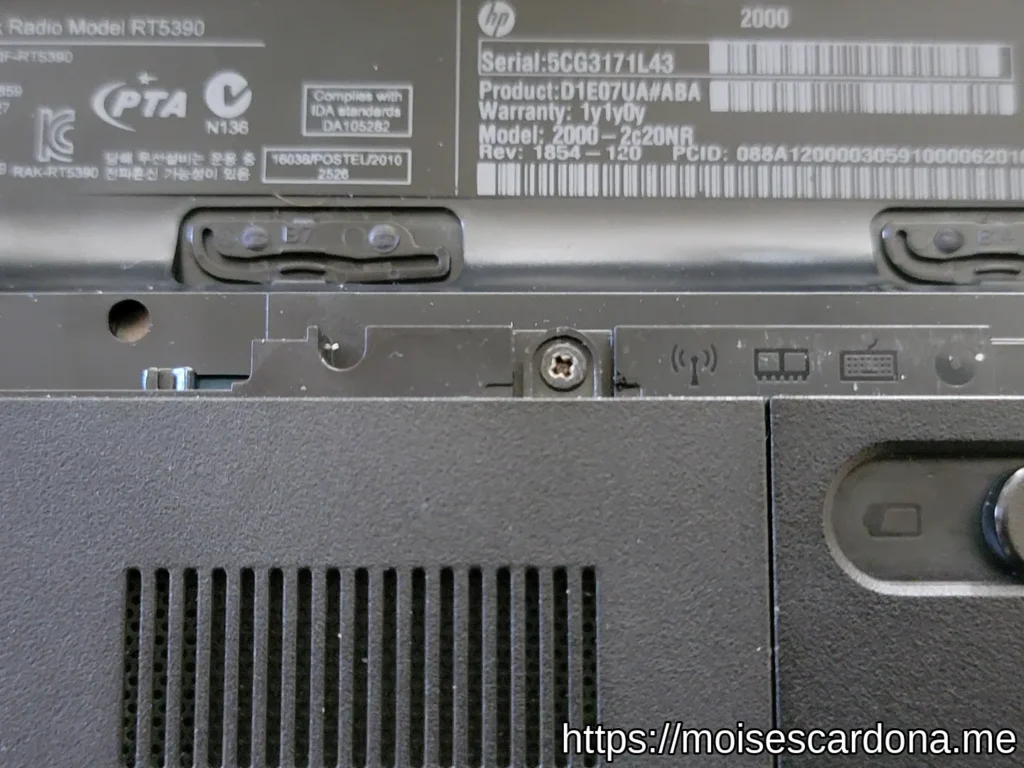
Your laptop should now look like this:
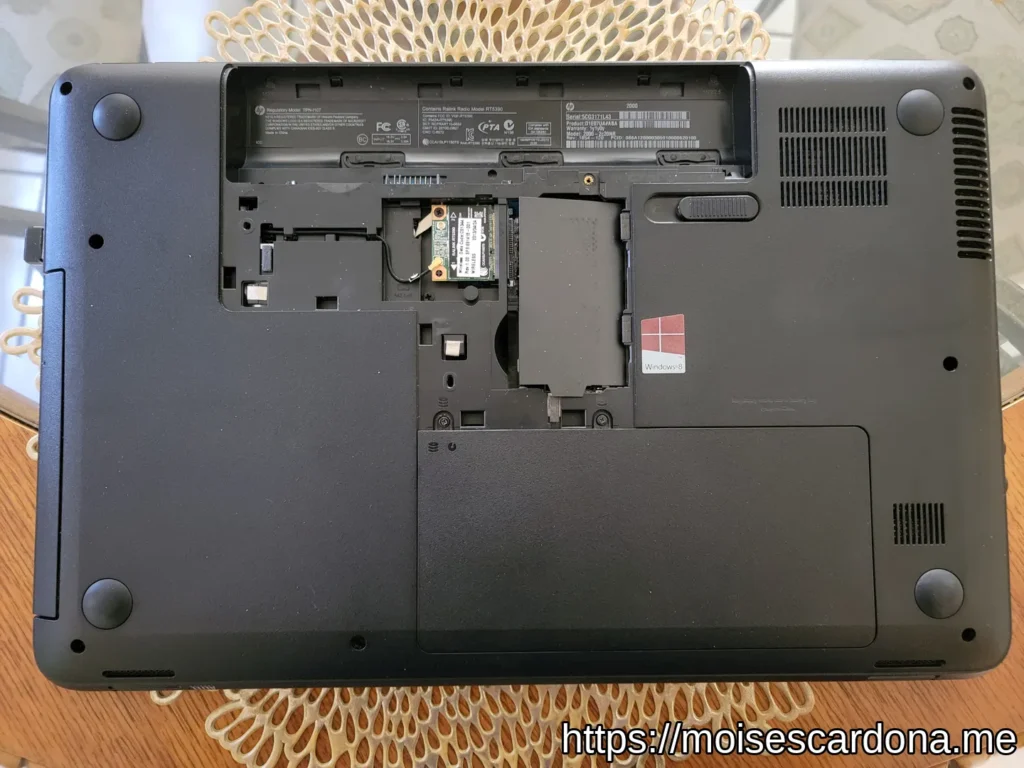
We now need to remove the Hard Disk Drive plastic cover:
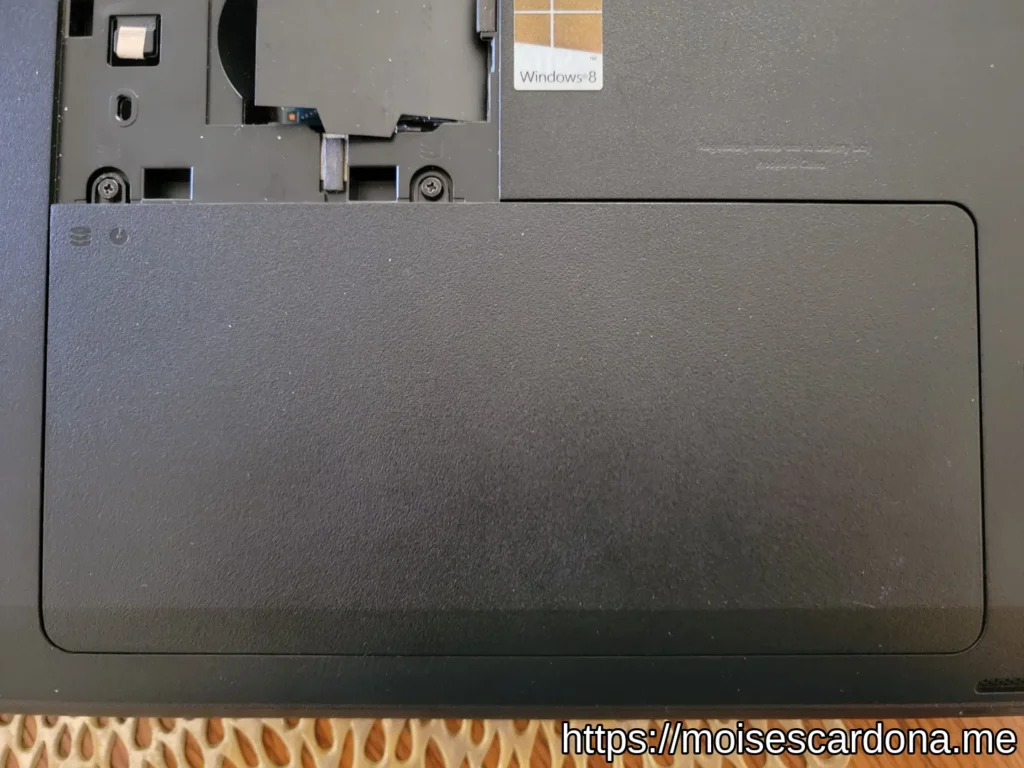
To remove it, we will be removing the following 2 screws:
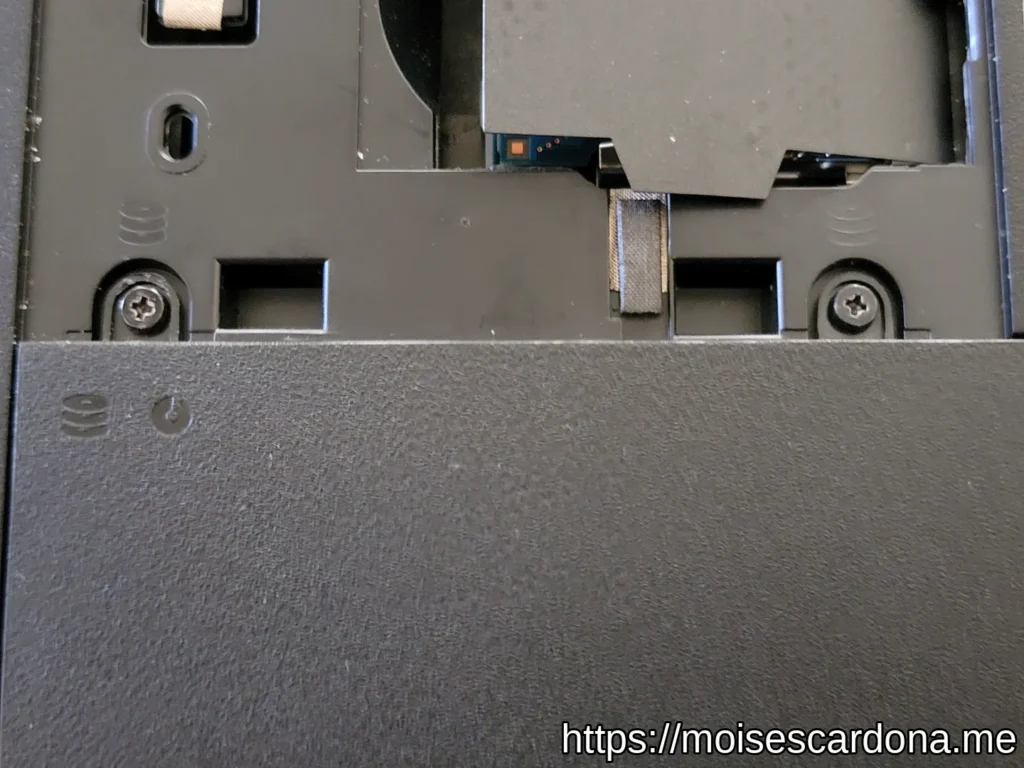
The Hard Disk Drive is now exposed:
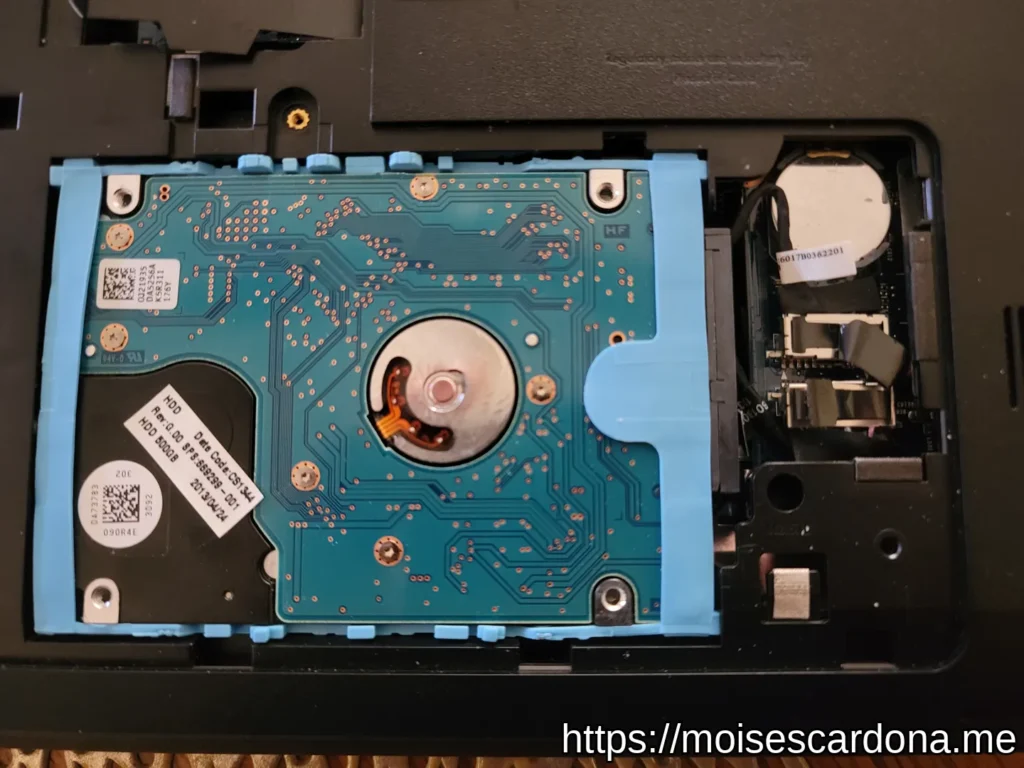
Removing it is as simple as carefully disconnecting it from the SATA connector, and using the rubber caddy, carefully pulling it up:
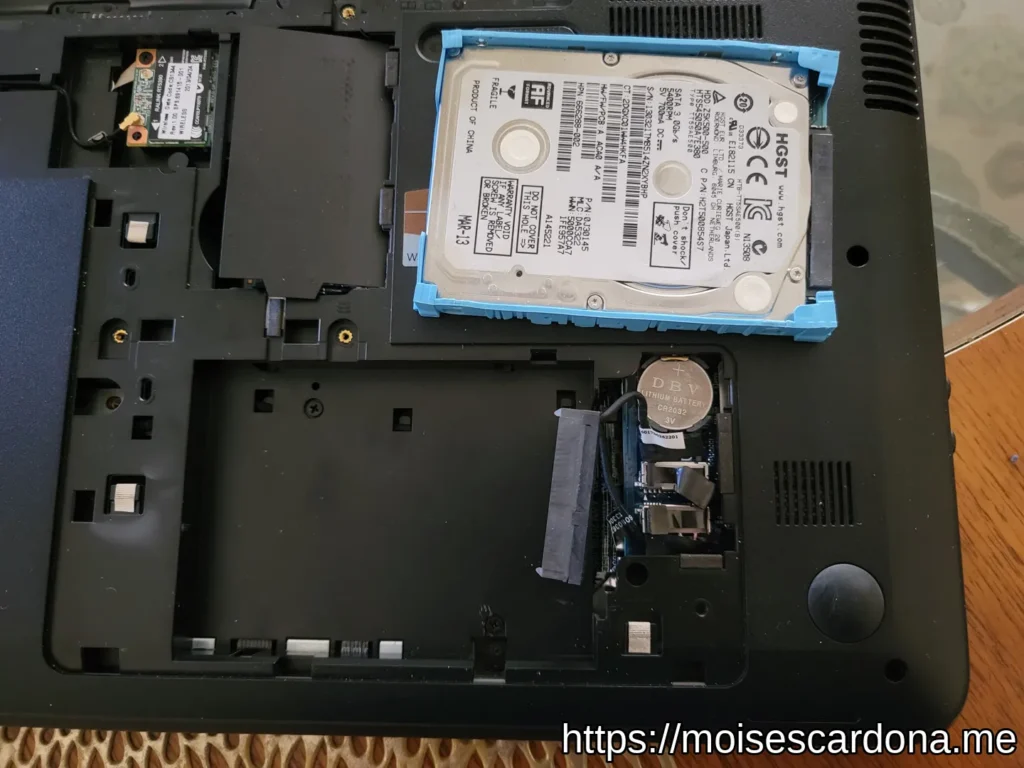
We now have removed the Hard Disk Drive, but we need to remove the rubber caddy that secures our Hard Disk Drive with the laptop:
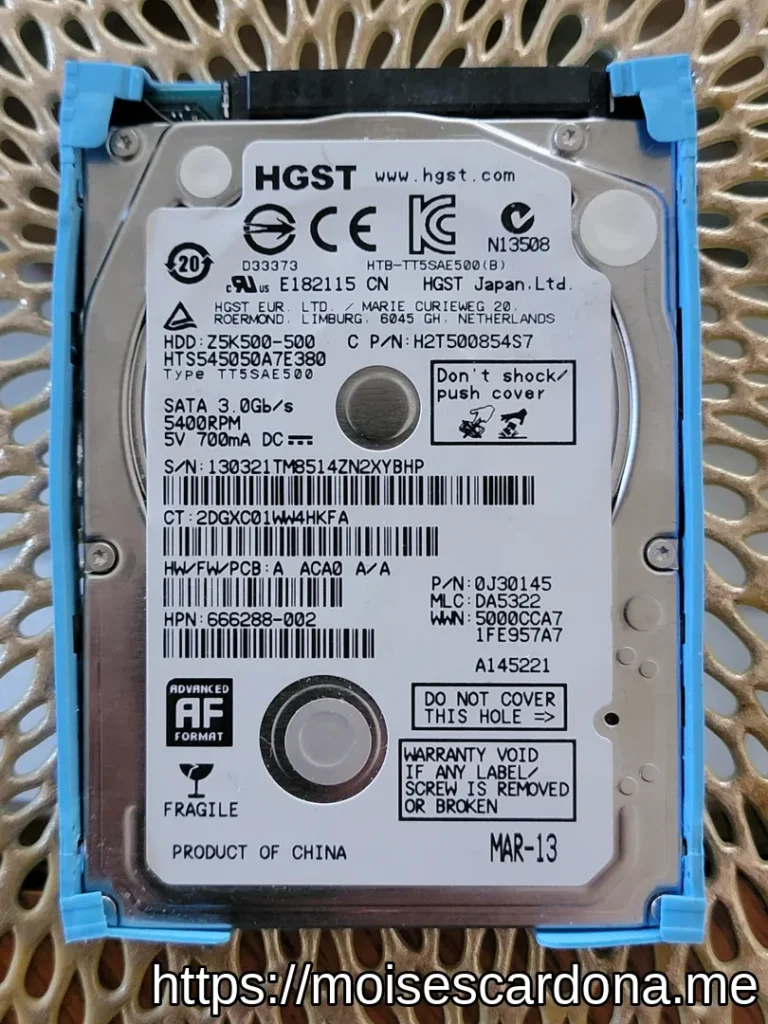
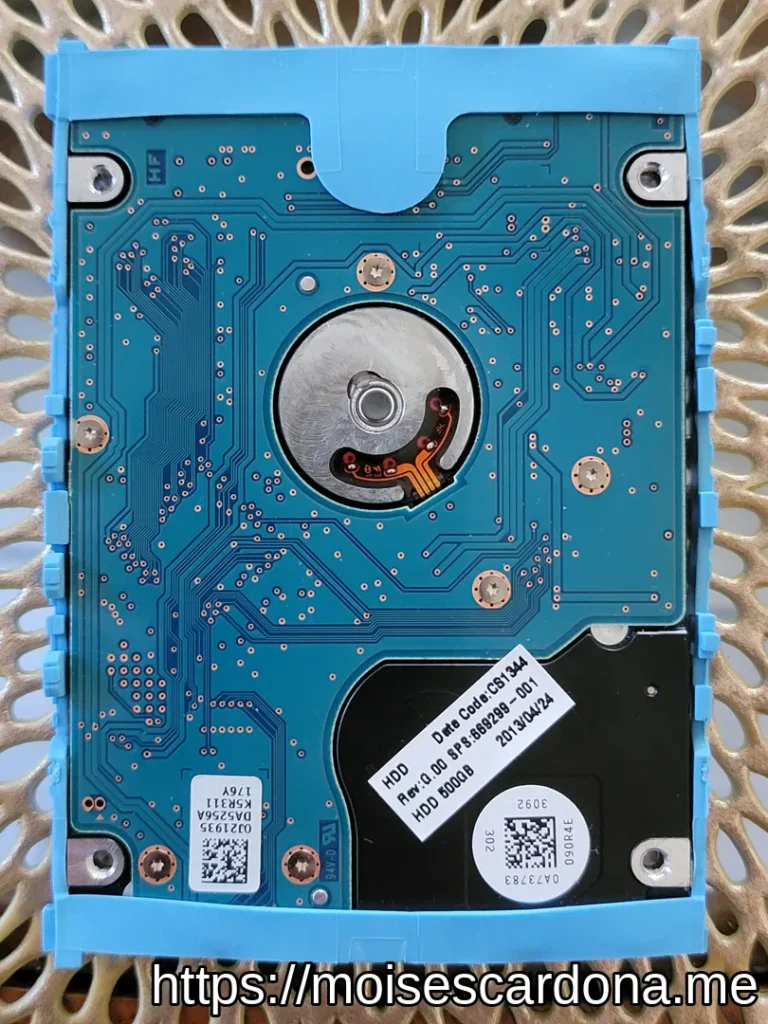
Carefully, pull the rubber caddy on each corner to remove it from each hard disk drive side screw holes:
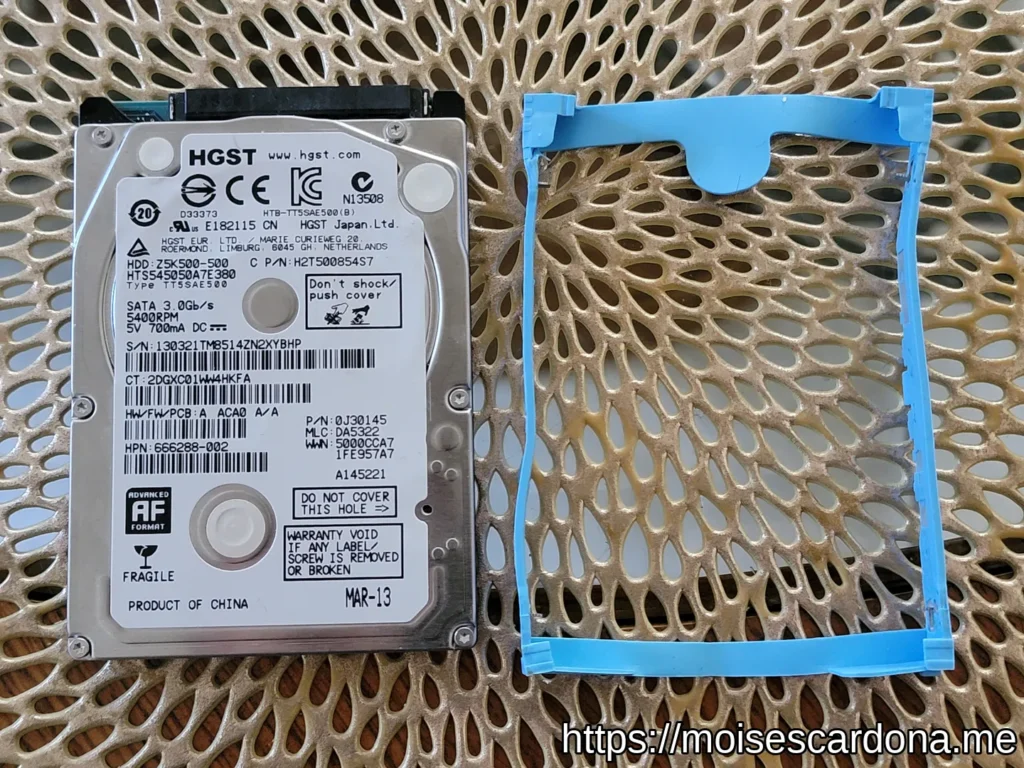
Now, you have successfully removed the Hard Disk Drive from the HP 2000-2c20NR laptop:
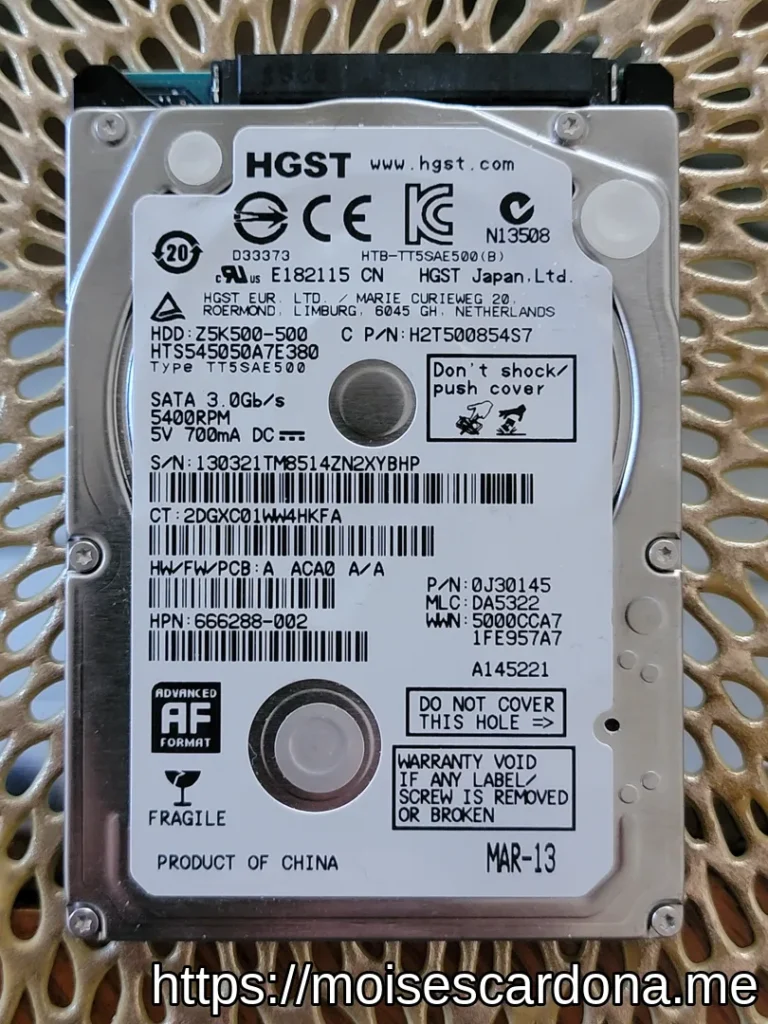
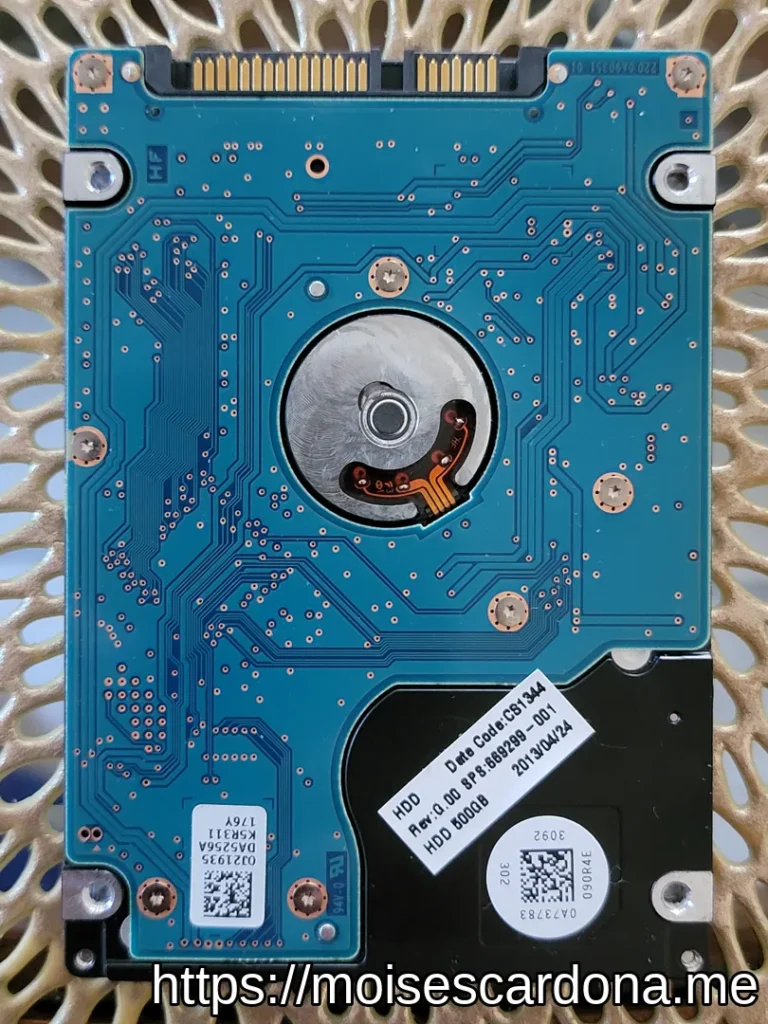
Please keep the Hard Disk Drive caddy around as we will be using it to install the replacement Solid State Disk we will use in this laptop after cloning this hard disk drive to it.